A lot of people out there have only seen gold miners on TV and think they want to undertake the challenge of digging up some gold. Before you do, let uncle Goose here tell you what its going to take to go out and find it.
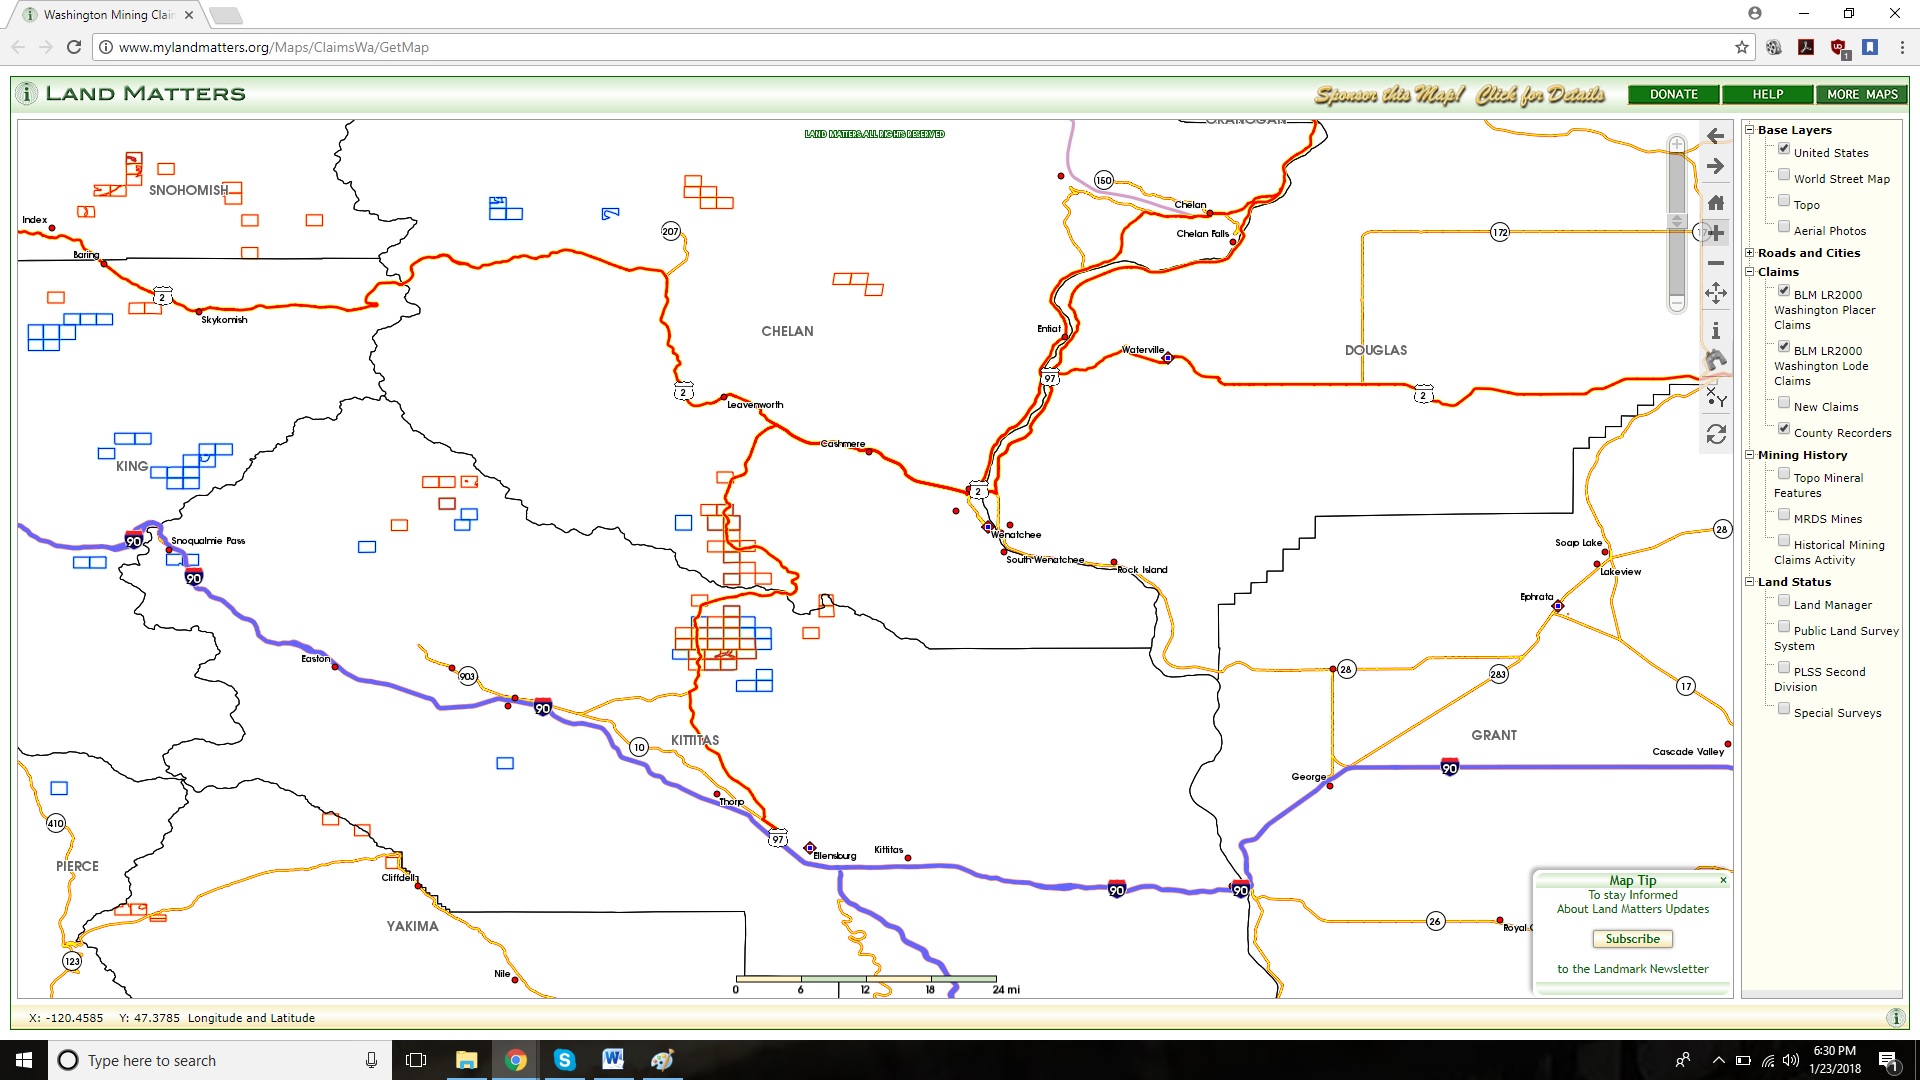
Before you run out to the store and start buying pans, shovels, classifiers, sluicebox, et. all, you need to find out if gold is even in the area where you live or want to drive to. I already know my area has gold but I use www.mylandmatters.org to help me zero in on an area, but it will show you all the mineral claims, what kind of mineral they are getting, is it placer or lode, historic claims, etc. If there arent any gold specific claims, 99% chance there isnt any gold. But if there are gold claims, DO NOT go running out to dig in one. You get caught digging on a claim, yes, its called "claim jumping" and it is a Federal crime if you get caught. The person that owns that claim will now own all your equipment and any gold you may have on you even if you got it from a different location. They have taken A LOT of time filling paperwork with multiple state and federal departments to own the rights to the minerals there. You will need to find areas around those claims to work.
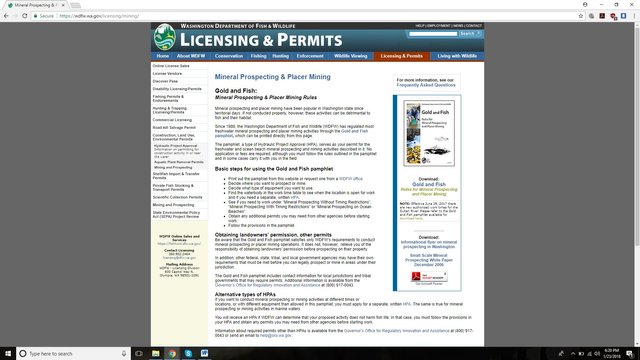
OK, now you know there is gold in your area. Now you need to know what the laws are in your state. Believe it or not, the residents of New York are not allowed to keep any gold they find. New York has a law that says any mineral deposits belong to the state (another reason for me to never visit that place). So that kind of defeats any reason to go dig it out of the ground. Here is Washington, there are very strict rules to follow and its all done through Fish and Game. So You'll want to download a copy and then read it front to back multiple times so you understand EVERYTHING. A mistake on your part and then claiming ignorance wont stop the swift hand of a squirrel cop writing you a ticket and taking all your gear.
Here is the page for Washington state where you can download the "Fish and gold pamphlet". Here this is all you need for basic prospecting.
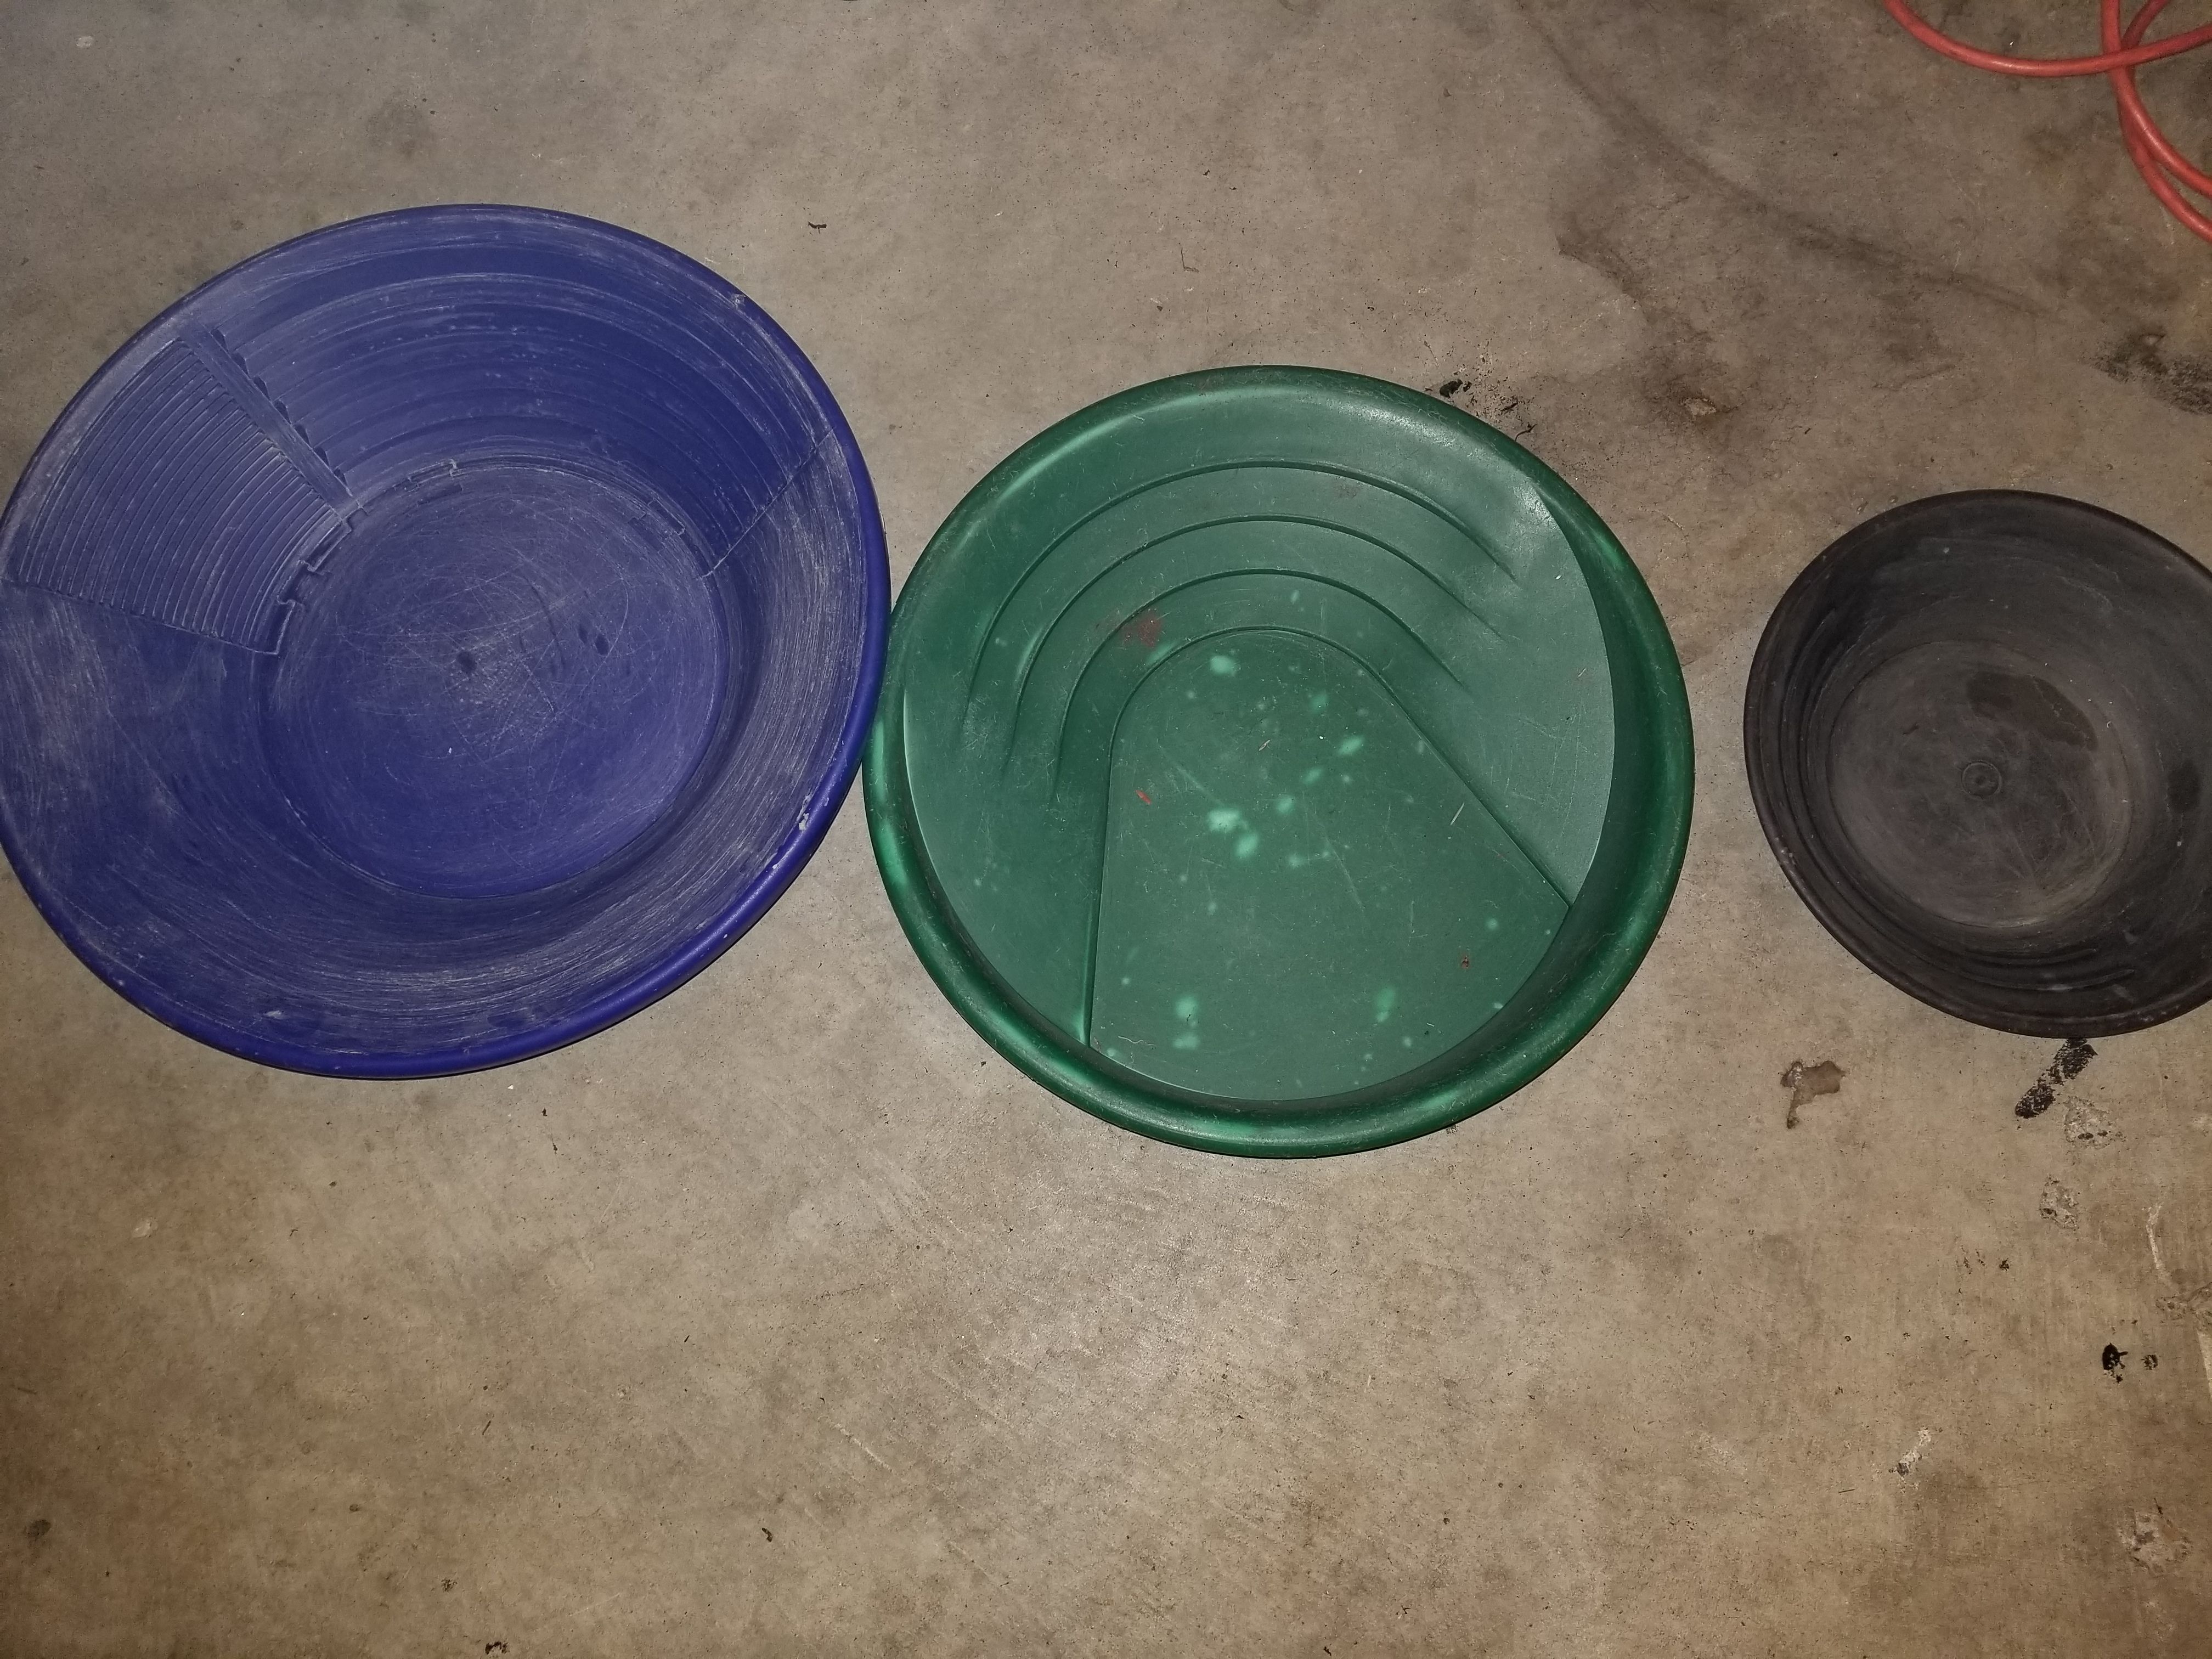
Alright, now you know gold is in your area, you know what the rules are. You need to know how to PAN the gold. The gold is a miners best friend. You never go out with one, ever. It is the final tool you will use....ALWAYS. The gold pan is what separates light materials (sand, gravels, dirt) from the stuff you want, GOLD! There are as many gold pans out there as fishing lures. They all work and once you understand how the pan works, you could almost use a cooking pan or cereal bowl in a pinch. Here are just a couple I use. My "go to" is my Garrett Super Sluice. Its great for testing an area as well as finish work.
And my personal favorite hanging off my back pack
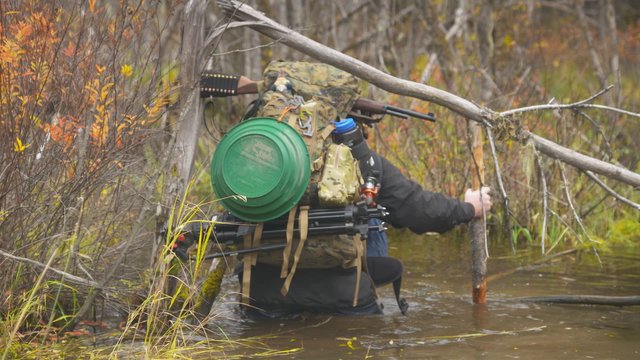
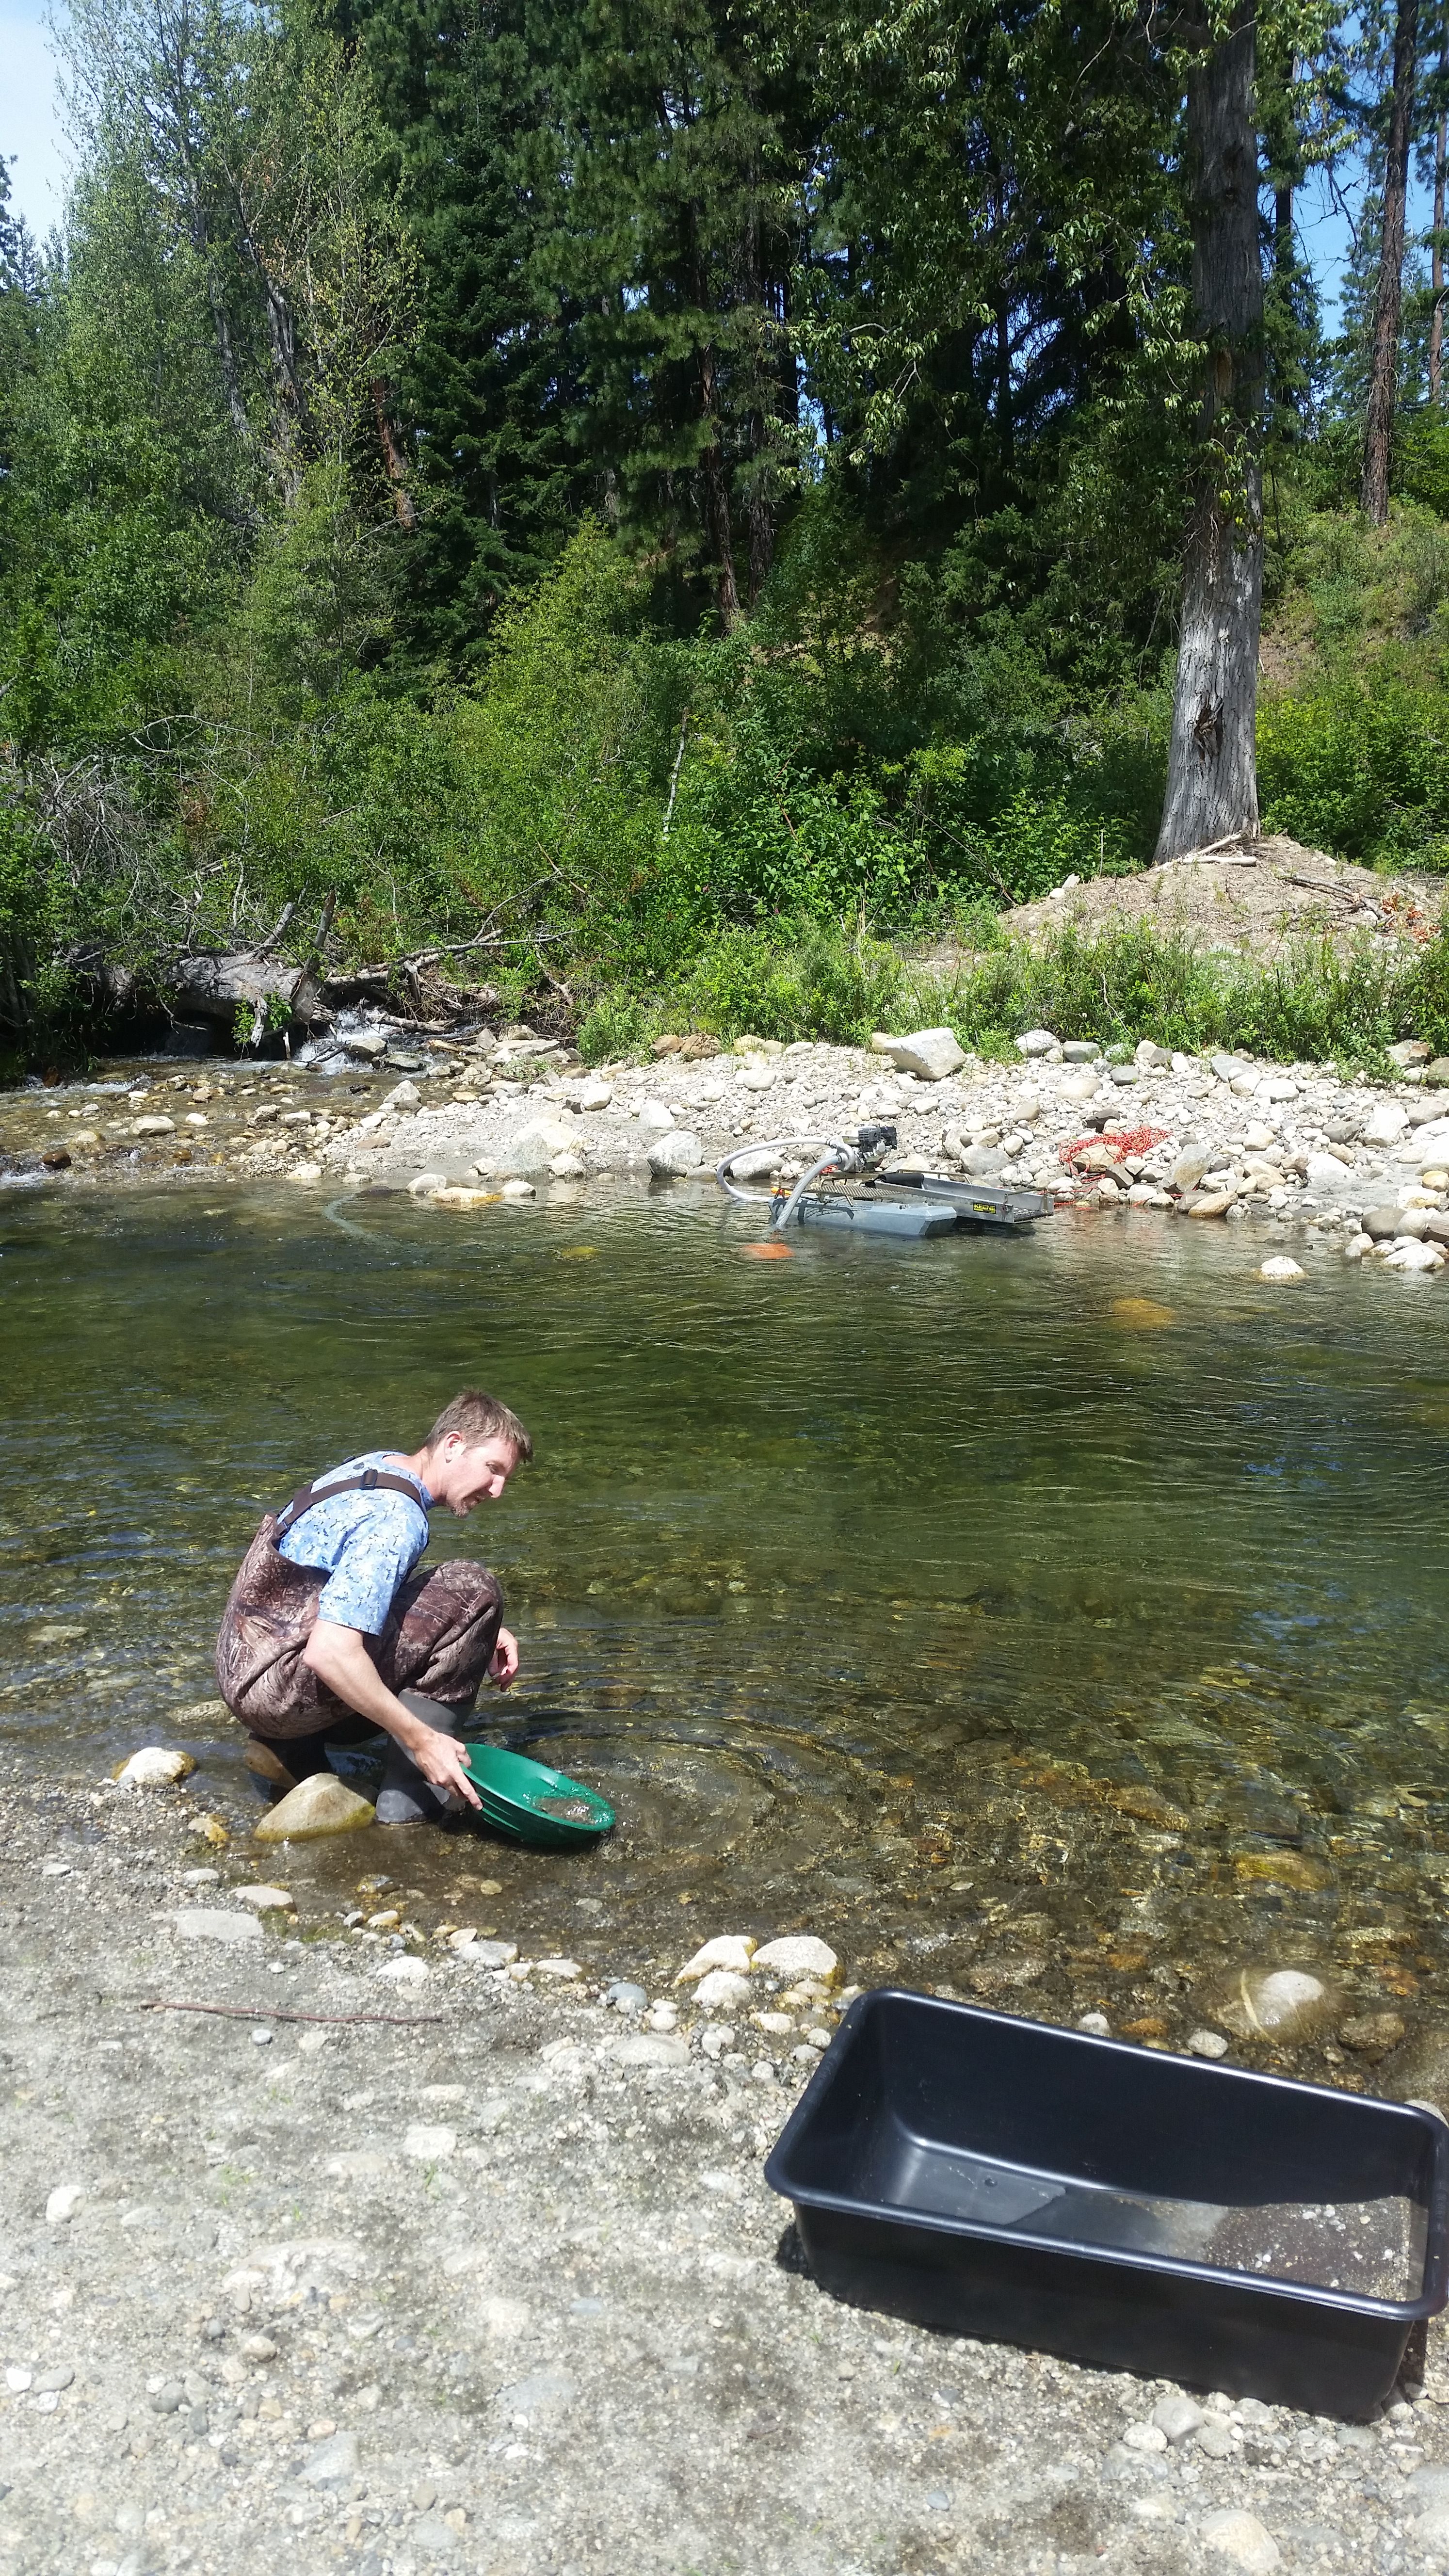
You will now need to learn how to use a pan. This is one of those things where you need someone to sit you down and show you or hop on YouTube and watch one of bajillion "how to pan for gold" videos. Then you practice, practice, practice and keep practicing. I started with a tub of water and pay dirt I bought on line years ago. Once you think you know how to do it, now you have to head out. Grab a shovel and your pan and head to the river. Here is my buddy trying to teach himself to pan.
Now that you are sitting on the side of the river and you know you arent on a claimed area and you know the rules, take a look at the river. You want to survey the river, watch how the water flows and the river bends (that part is very important). As gold moves down river it will get caught in "low pressure zones". That means in most cases, the gold likes to come to rest on inside bends. The picture shows a local river (one you cant dig on since 90% of it is a county watershed). Excuse the MS paint but you can see direction of water flow and yellow spots are where you want to start looking.

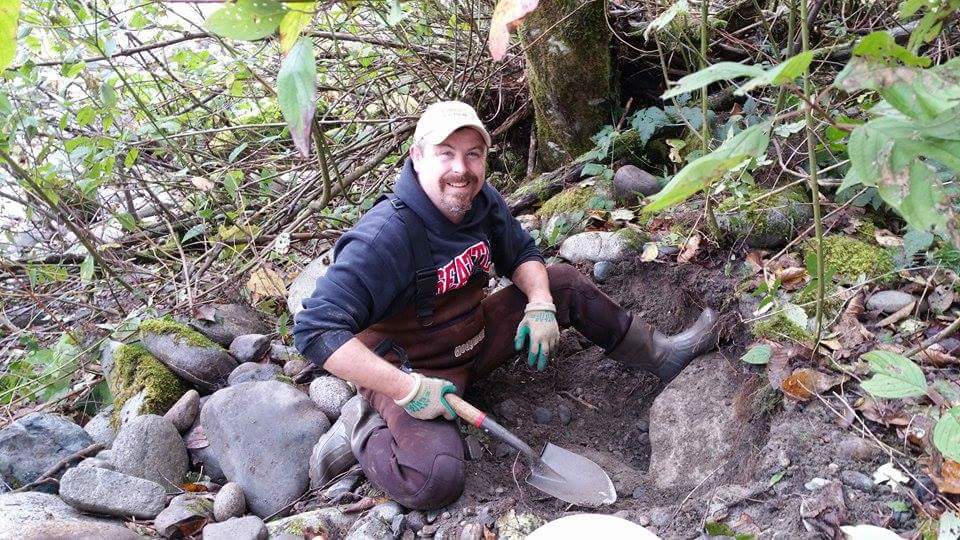
Once you've got your spot, start punching holes in the ground from the water line all the way up to where the water would be at flood stage. I punch a hole, the move about 3ft closer to the high water line, rinse and repeat all the way up. This is me working a high water line during some testing a couple years ago.
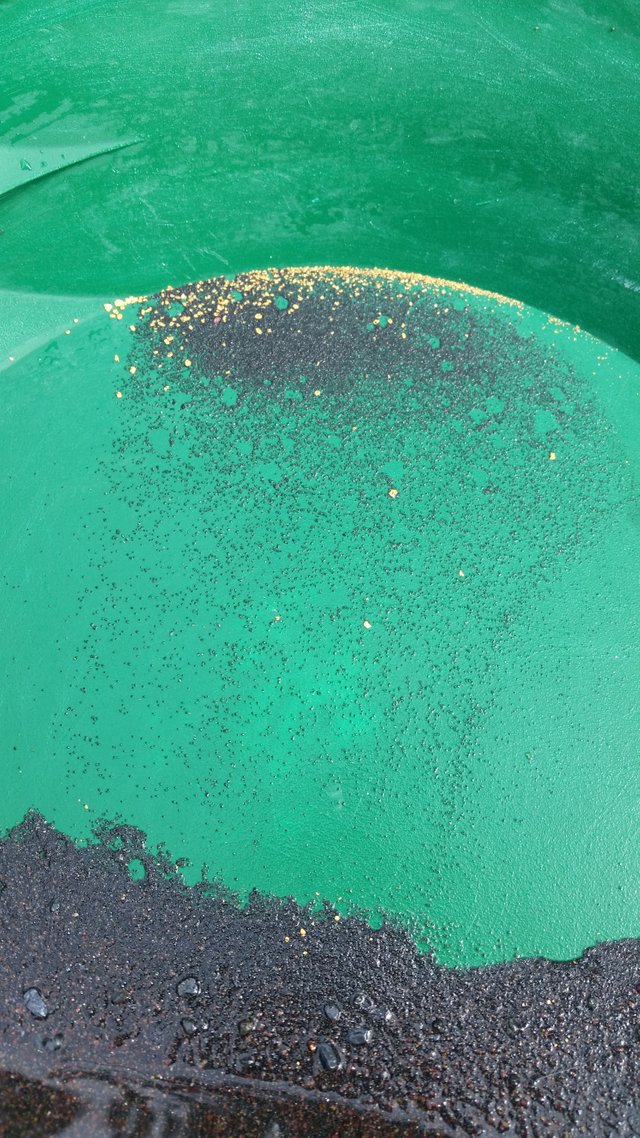
Always be making mental notes about what you are finding. One of the KEY things you are looking for is BLACK SAND. Once you have filled up a pan with dirt and work it down, you will want to be seeing this black sand. It is an indicator that you may be on gold or close to it. There is an old saying in mining, "all gold is found in black sand but not all black sand has gold". These sands are hematite and magnetite that have broken down over time and are called "heavies" because they will be the heaviest things left with the gold. And generally speaking, the bigger the black sand you find, the bigger the gold. Here is what it looks like. You can see it falling away from the gold in the pan.
You will notice that as you move up and down that you start finding higher concentrations of gold. But when you are panning, IT TAKES TIME. You will have pan after pan that will be empty or you might have black sand but no gold. Here is what a typical pan looks like after just dumping a couple shovels into it. A good pan will have a few small pieces in it if you're lucky. But as you dig, you want to do it in a grid pattern. You will start seeing more gold in certain areas as you work up or down the river. This is where the mental notes come in. You are looking for the "pay streak". Is the next picture, you will see the grid and where the concentrations of gold are at.

Now you are on the "pay"..............
Part 2......bringing in equipment to run dirt.
Coming soon.
I'll be putting together part 2 by the end of the week.
Downvoting a post can decrease pending rewards and make it less visible. Common reasons:
Submit