I love pizza. Particularly the kind of pizza made in traditional brick ovens.
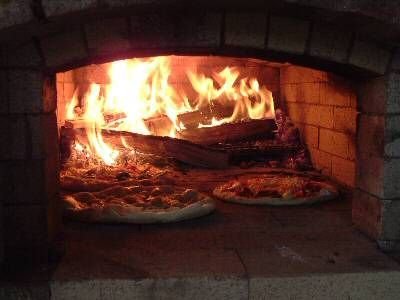
A few years ago after frequenting a mobile pizza stand that used a custom made brick oven on a trailer. I got in my head that I must have my own brick oven in my backyard. As usual, I totally underestimated the time and money building such a thing would take.
I looked around for plans for a design I liked but soon realized that sourcing a the material for someone else's design in my local area was going to be next to impossible. I also wanted my own unique design to go in my backyard. I ended up spending several hours learning the fundamental design aspects of how a brick fired pizza oven works. The devil is always in the details and seemingly simple things always turn out to be more complicated than they appear. After studying many designs seen on the internet in terms of functionality and asthetics I formed a loose idea of what I wanted. I attempted to draft up dimensional plans and a bill of materials but kept getting hung up on not knowing what type and sizes of materials were available or items just costing too much to implement into my design. So i scrapped my attempts of coming up with drawings and just decided to wing it.
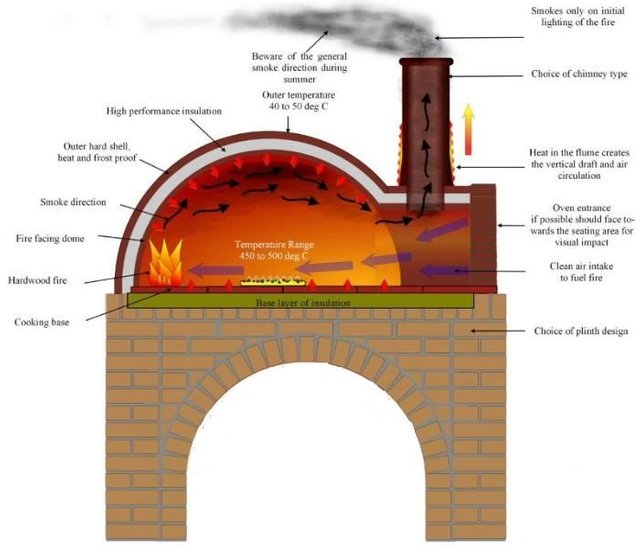
The most important part in a brick pizza and bread oven is the fire brick. Fire brick is extremely dense brick fired in a kiln at extremely high temperatures. Fire brick is able to withstand direct fire in the chamber and absorb and store heat. Brick ovens store heat like a battery stores electrical charge. The dome shaped brick ovens look really cool and they are great for directing the radiated heat in the oven directly towards the center of the hearth but they are difficult for someone with no masanry experience to build. I decided to go with a more assembly friendly design - the half barrel shape. The dome style and half barrel style designs are shown below:


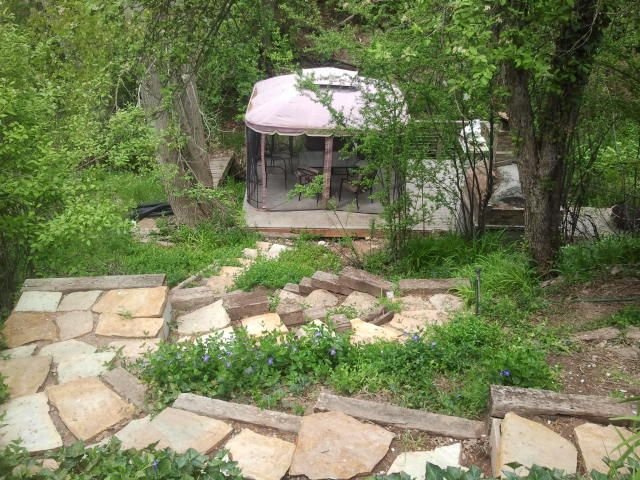
After all the time spent surfing the web for design inspiration and studying design characteristics I was more than ready to get my hands dirty. My backyard consists of kind of a steep grade down to a creek. During the previous summer I decided I wanted to utilize my mostly unusable backyard by building a deck by the creek. The deck would provide a much needed flat area in an otherwise steep and wooded terrain.
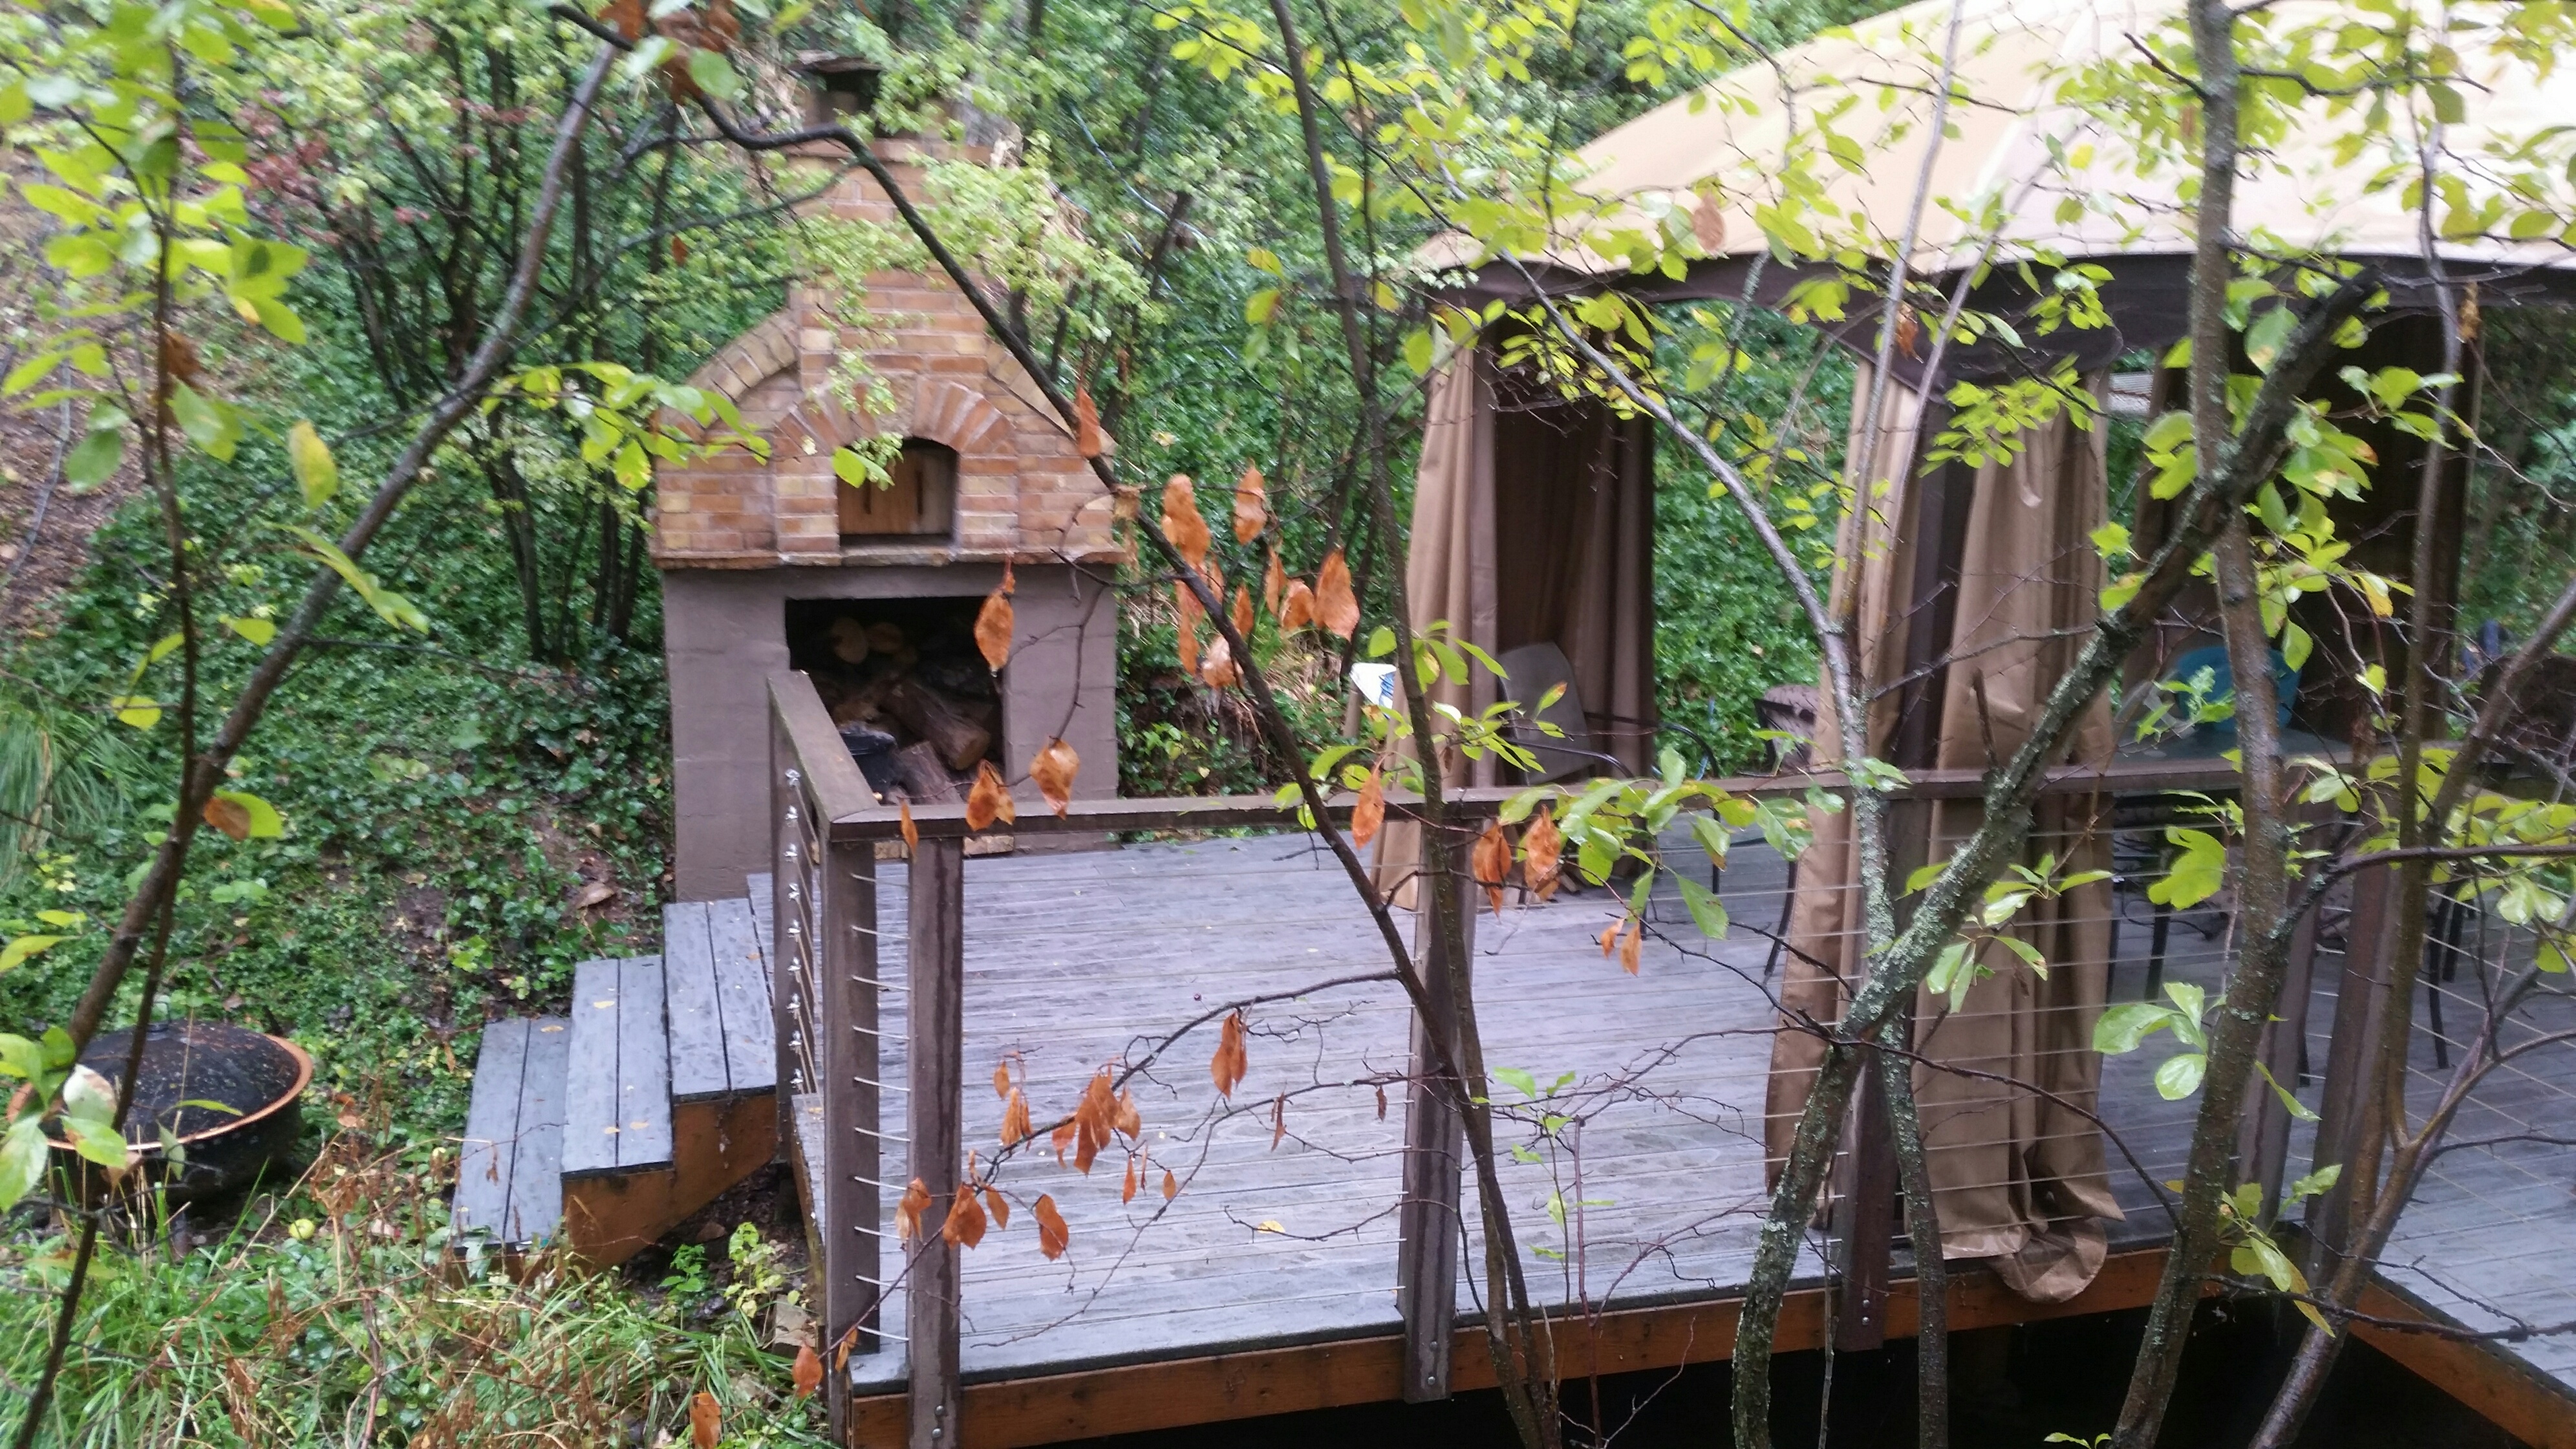
I thought the pizza oven sitting just off the deck would make the perfect addition for entertaining guests. I started by excavating for the pizza oven's foundation.
I was going to poor one solid cement slab for the foundation but realized as I was digging the whole that there is a ton of water running just below the top soil. The creek also causes a high water table. I wanted to use the space under the oven's hearth for wood storage but was afraid the direct exposure to water would obviously render the wood unusable and keeping the water out was going to be impossible. I decided to pour a rectangular footing or slab instead and leave the center open. I dug a hole in the middle and ran 4 inch flexable PVC drainage hose under the footing and out to the creek. I installed a drain cap and the plan was to fill the base with enough gravel to bring the floor above the water line yet not hinder drainage when it rains or ground water increases.
The rebar is to help anchor the cement blocks, used for the base walls , in the event of an earthquake. I temporally placed 2X4s over the center to help prevent myself from stepping into the wet hole while working.
I was having a difficult time sourcing the fire brick. I happen to look in the local classified adds and noticed that a defunct steel mill on the south side of the valley - Geneva Steel in Vinyard Utah in case you are interested... was selling unused firebrick from a blast furnace that was never assembled. I wasn't sure if any of it would be usable but I decided to go have a look anyway.
It turned out they were basically giving the brick away so I loaded up the trailer with whatever I thought might be useful. That's my son Charlie hanging out in the back of the trailer.
If all you are going to be using your brick oven for is to make pizza the design can be much more simple. To make pizza you simply place your favorite hard wood, typically apple or cherry wood in the oven start the fire and wait for the ovens surfaces to heat up sufficiently. Basically the hotter the better, I like the hearth to be about 750 to 900 degrees Fahrenheit. The top of the oven is usually around 1200 F and becomes a glowing white color. Creating a brick oven capable of baking bread is a different story. An oven used solely for cooking pizza does not need any cladding or insulation. A bread oven needs to be charged, cooled to about 400 degrees then maintain that temperature for as long as possible. This is to maximize the number of batches of bread you can make with one firing. If you only ever care to make a few loaves at a time then I suppose the cladding and insulation is not critical.
 .
.
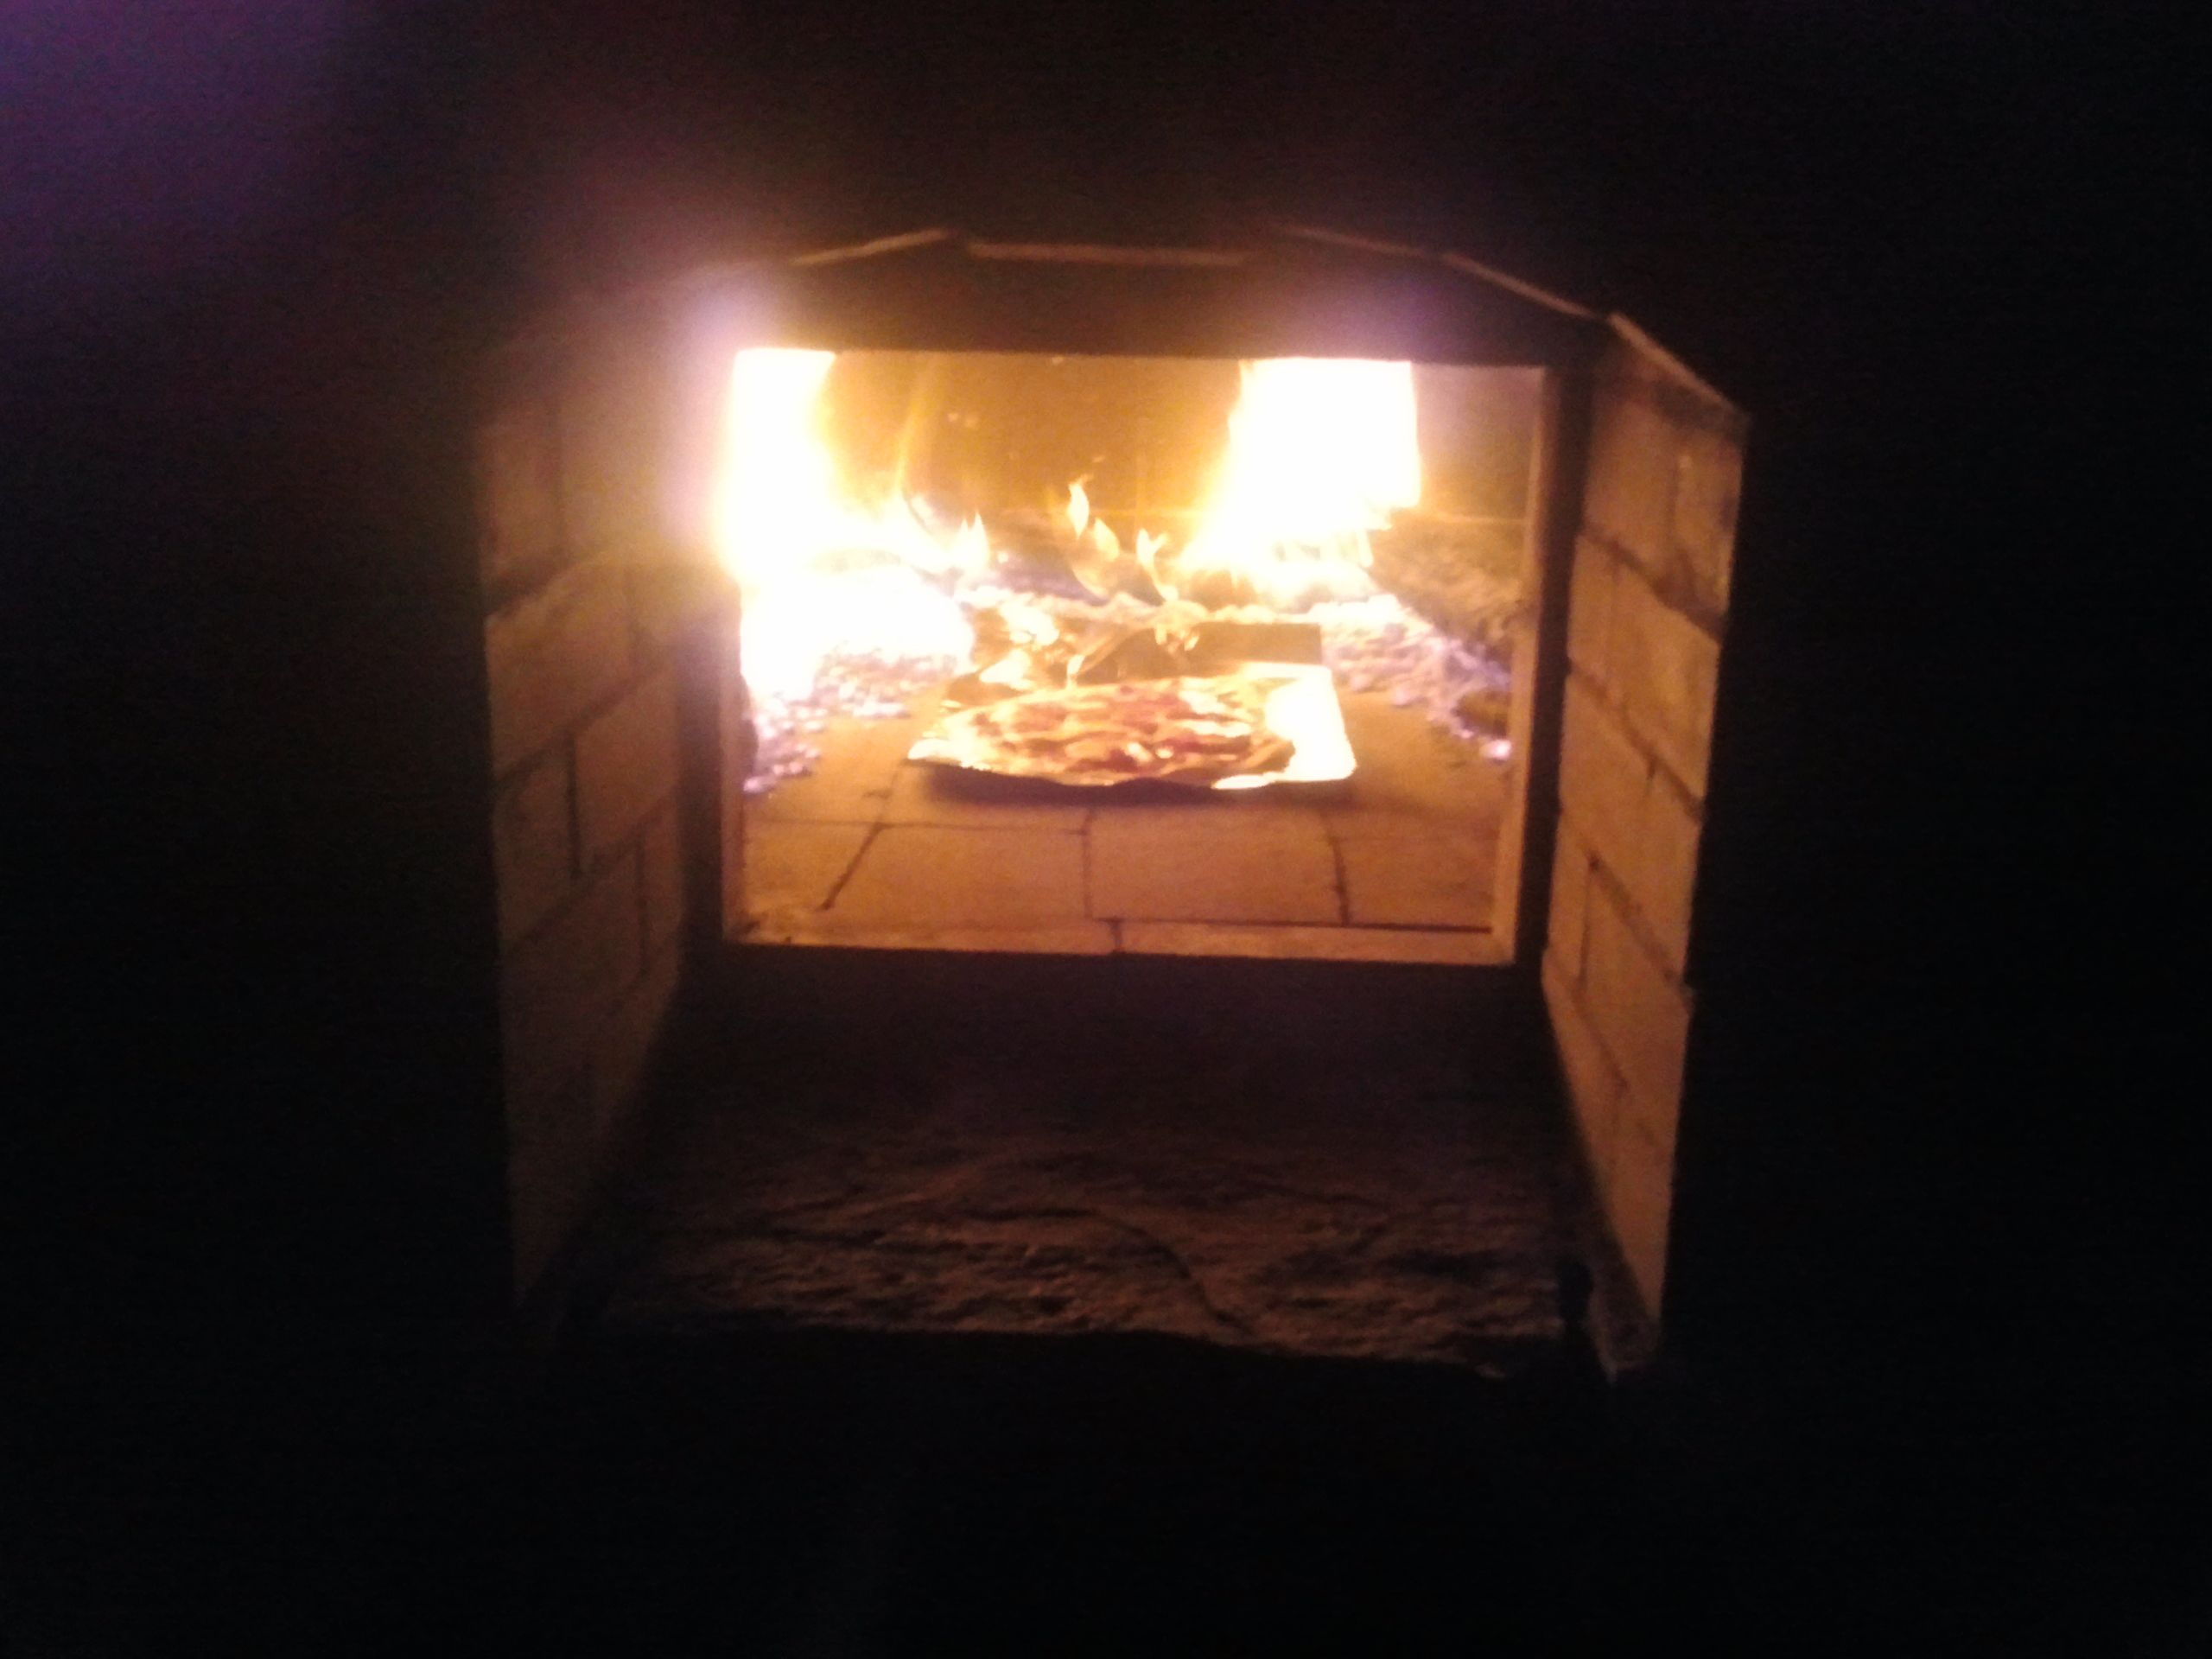
To make a well designed bread oven capable of retaining 350 to 400 degrees Fahreneit for up to 12 hours, 4 inches of cement cladding surrounding the firebrick and then at least another 4 inches of perlite or vermucalite for insulation is used. The fire brick and cladding layers absorb the heat from the fire. The cladding retains the heat and slowly radiates the heat back through the fire brick as the oven cools. While cooking bread no fire should be present in the oven chamber and a well insulated door is placed to seal the opening. When cooking pizza a fire pushed to the side or corner of the oven chamber needs to be maintained. Even though the cooking surfaces are up to 900 F the pizza does not burn because the oven is designed to draw in cool air from the front oven across the pizza and the pizza is cooked almost entirely from radiant heat. For thin crust, Italian style pizzas, the entire cooking time is only about one minute. It is pretty impressive to see the pizzas cooked to perfection in such a short amount of time.
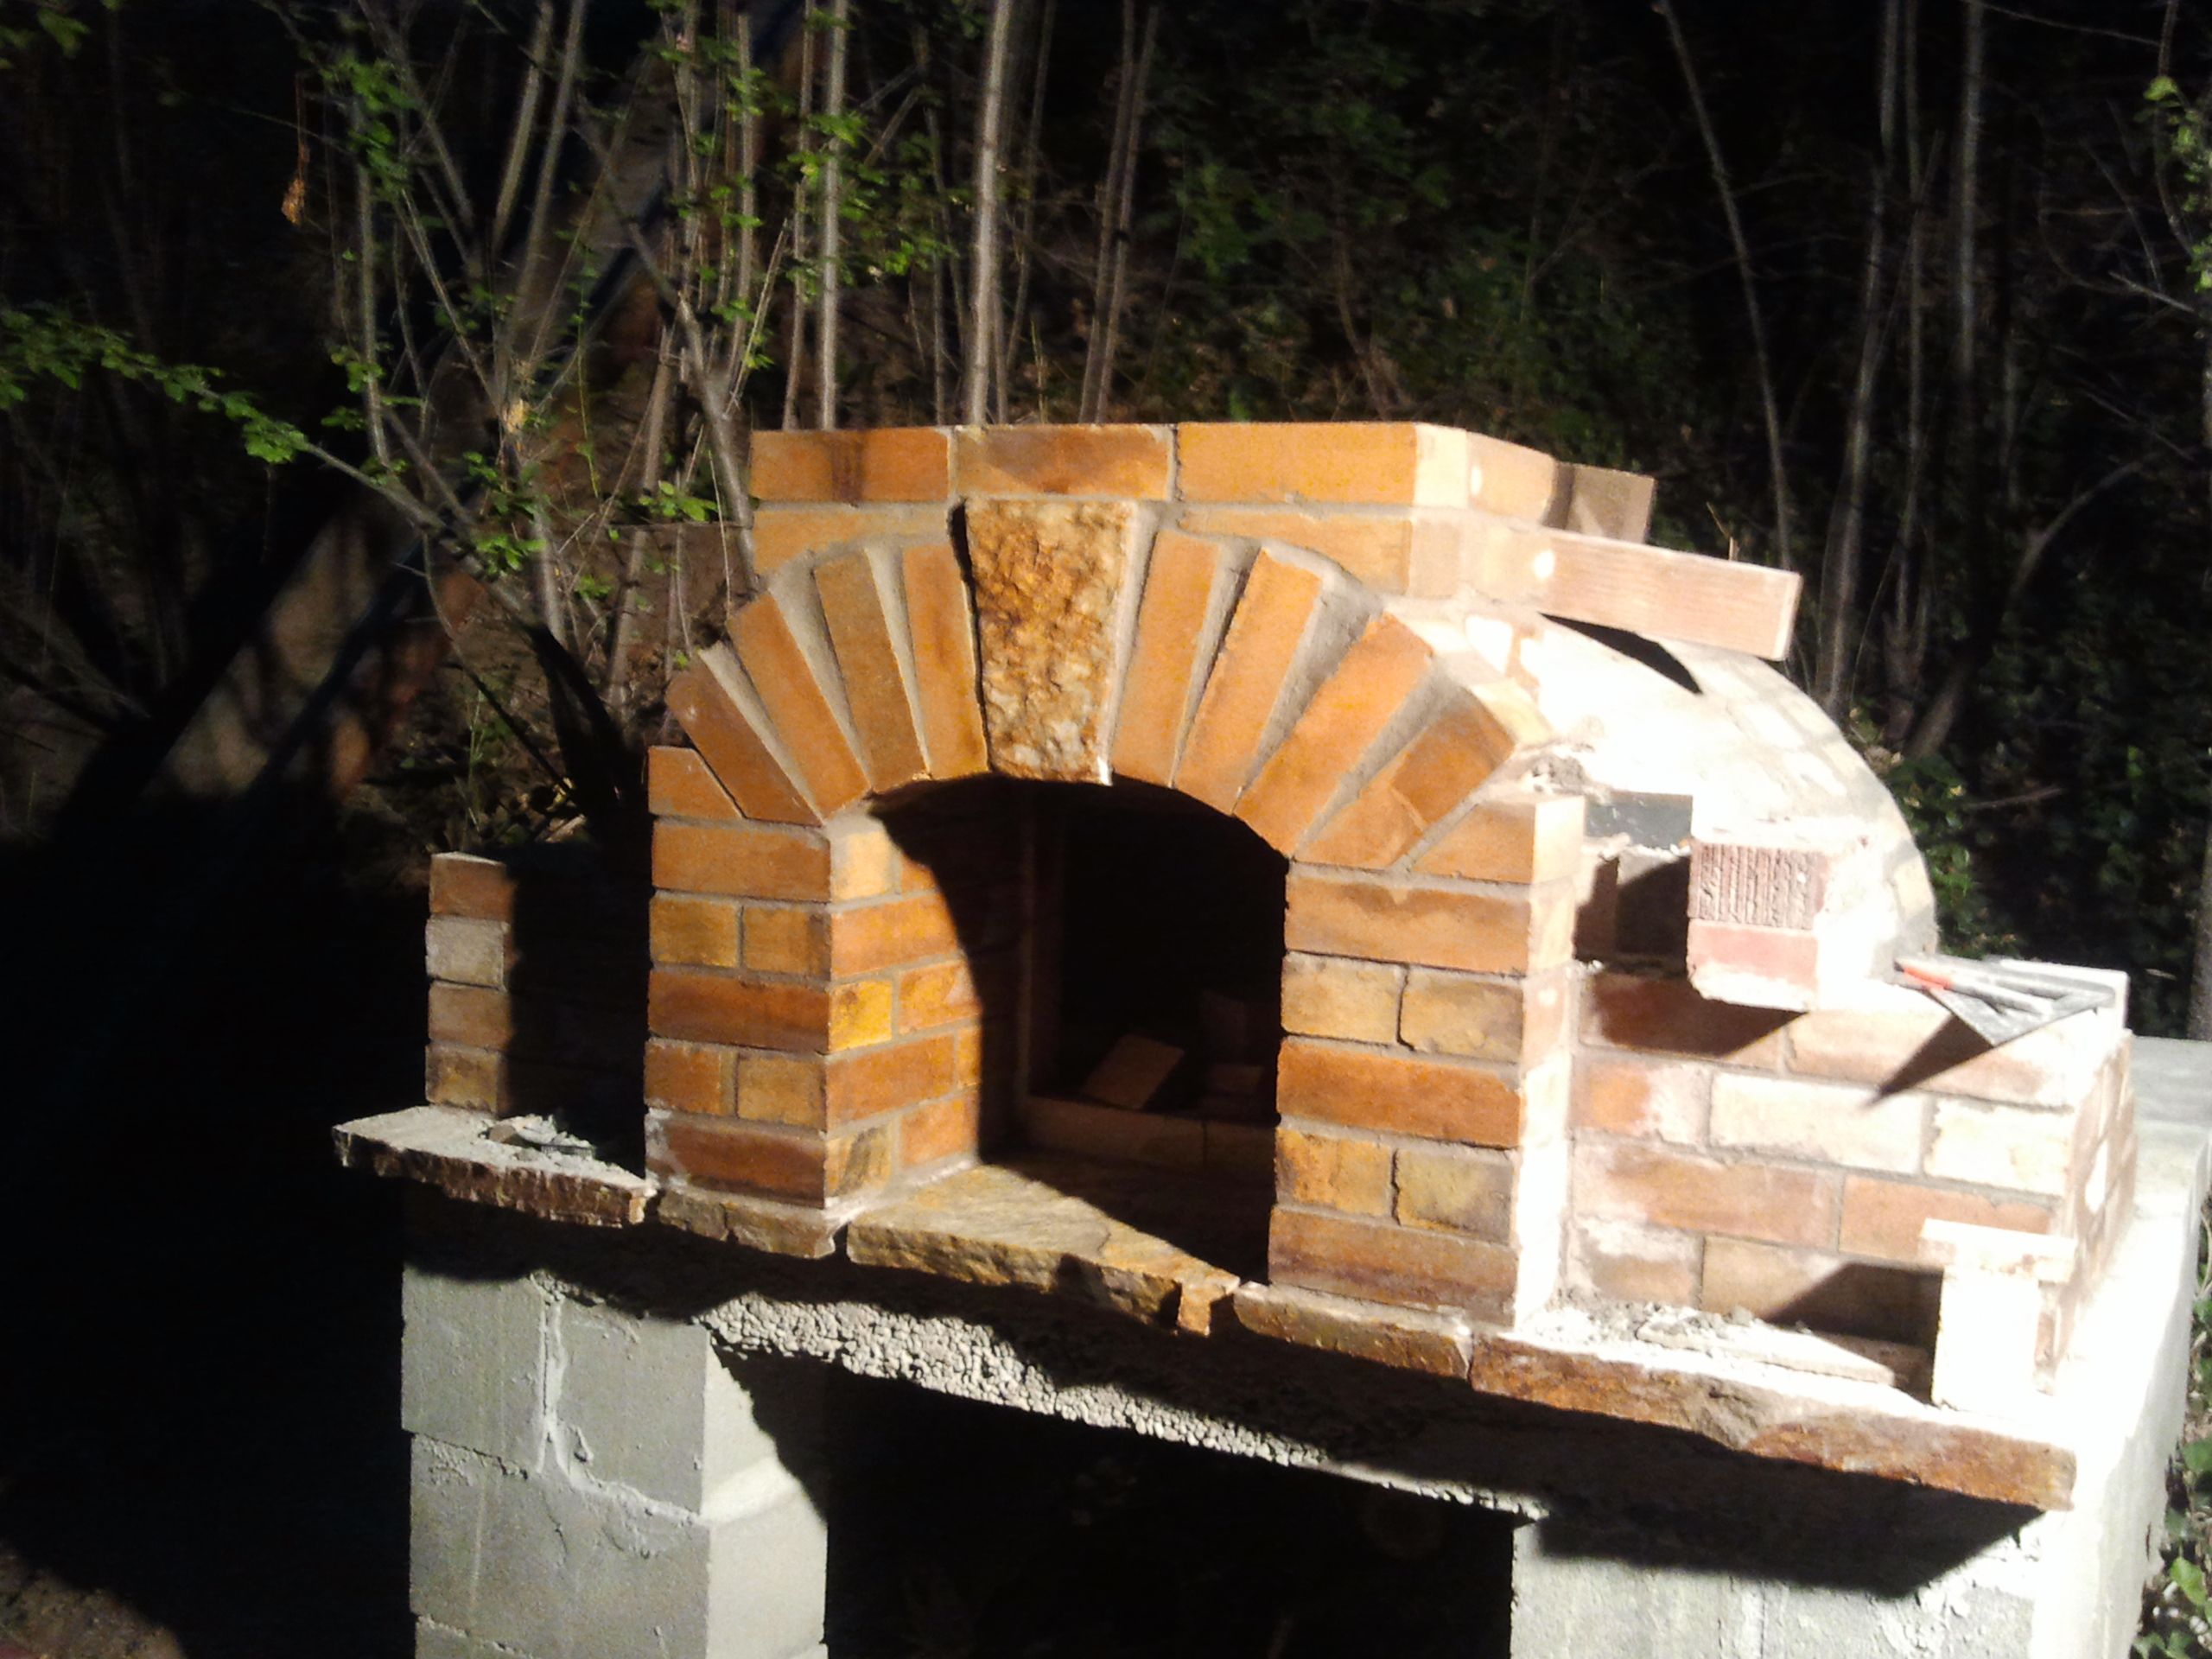
I used cement blocks to build the base walls of the brick oven. I capped the base off by building a temporary play wood form to poor a reinforced concrete top. I places a grid of 5/8 rebar above the form and poored 6 inches of concrete. Once the conrete set up I removed the form and began assemblying the oven chamber.
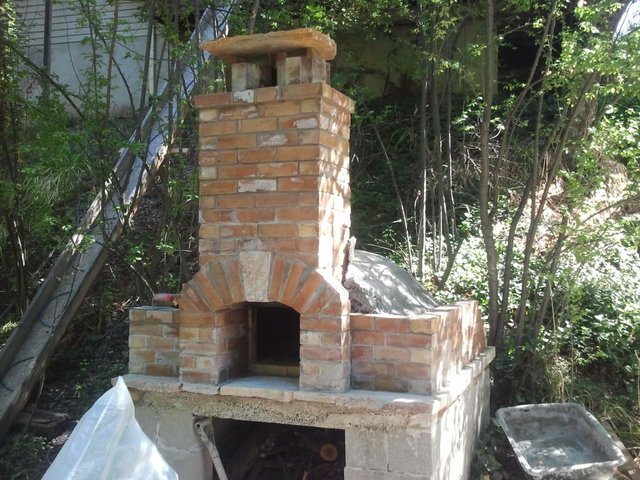
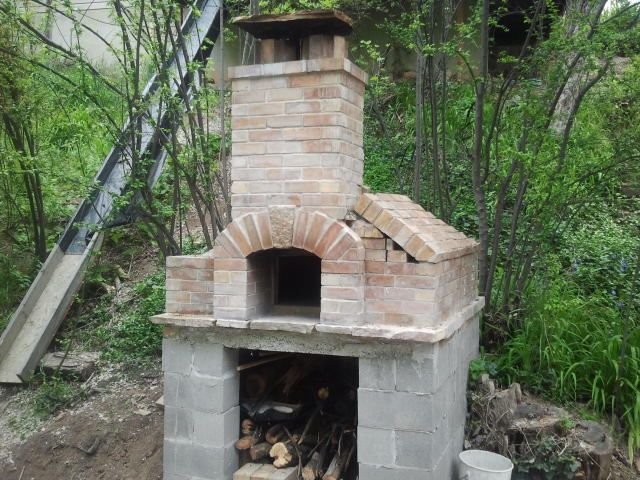
Construction continues with the chimney and chamber cladding.
Perlite insulation is placed between the chamber cladding. I like the all brick look so I used the same style brick that was used for the chimney to complete the oven. Once the chamber cladding and insulation is in place a multitude of materials can be used to protect the oven from the elements. I like an all brick look so I finshed the structure using the same style brick that was used for the chimney.
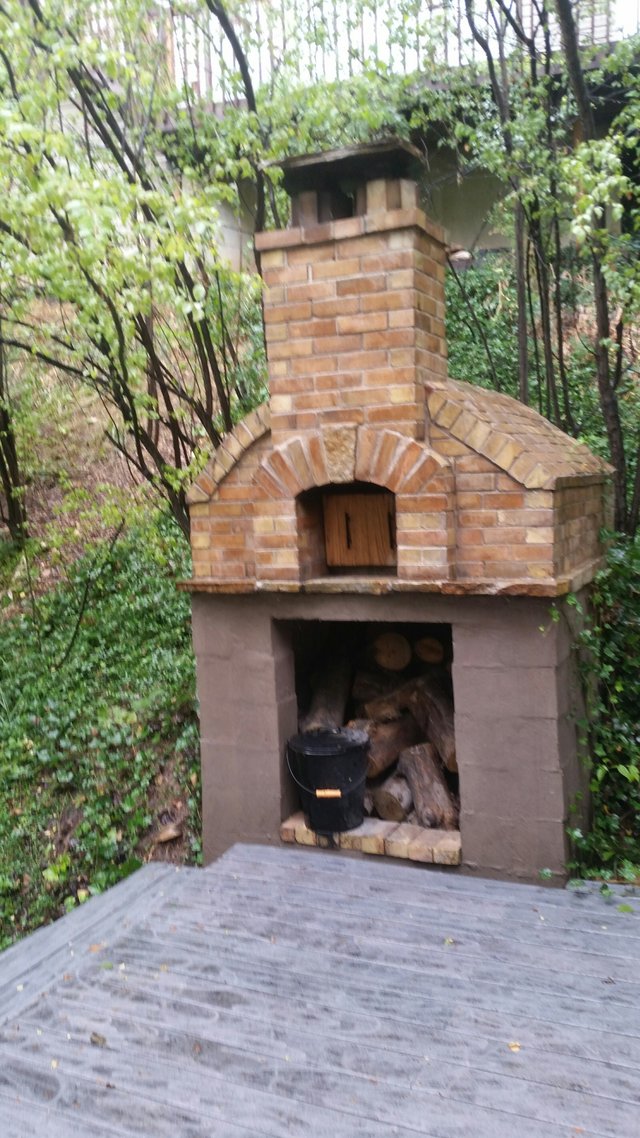
And finally the finished product.
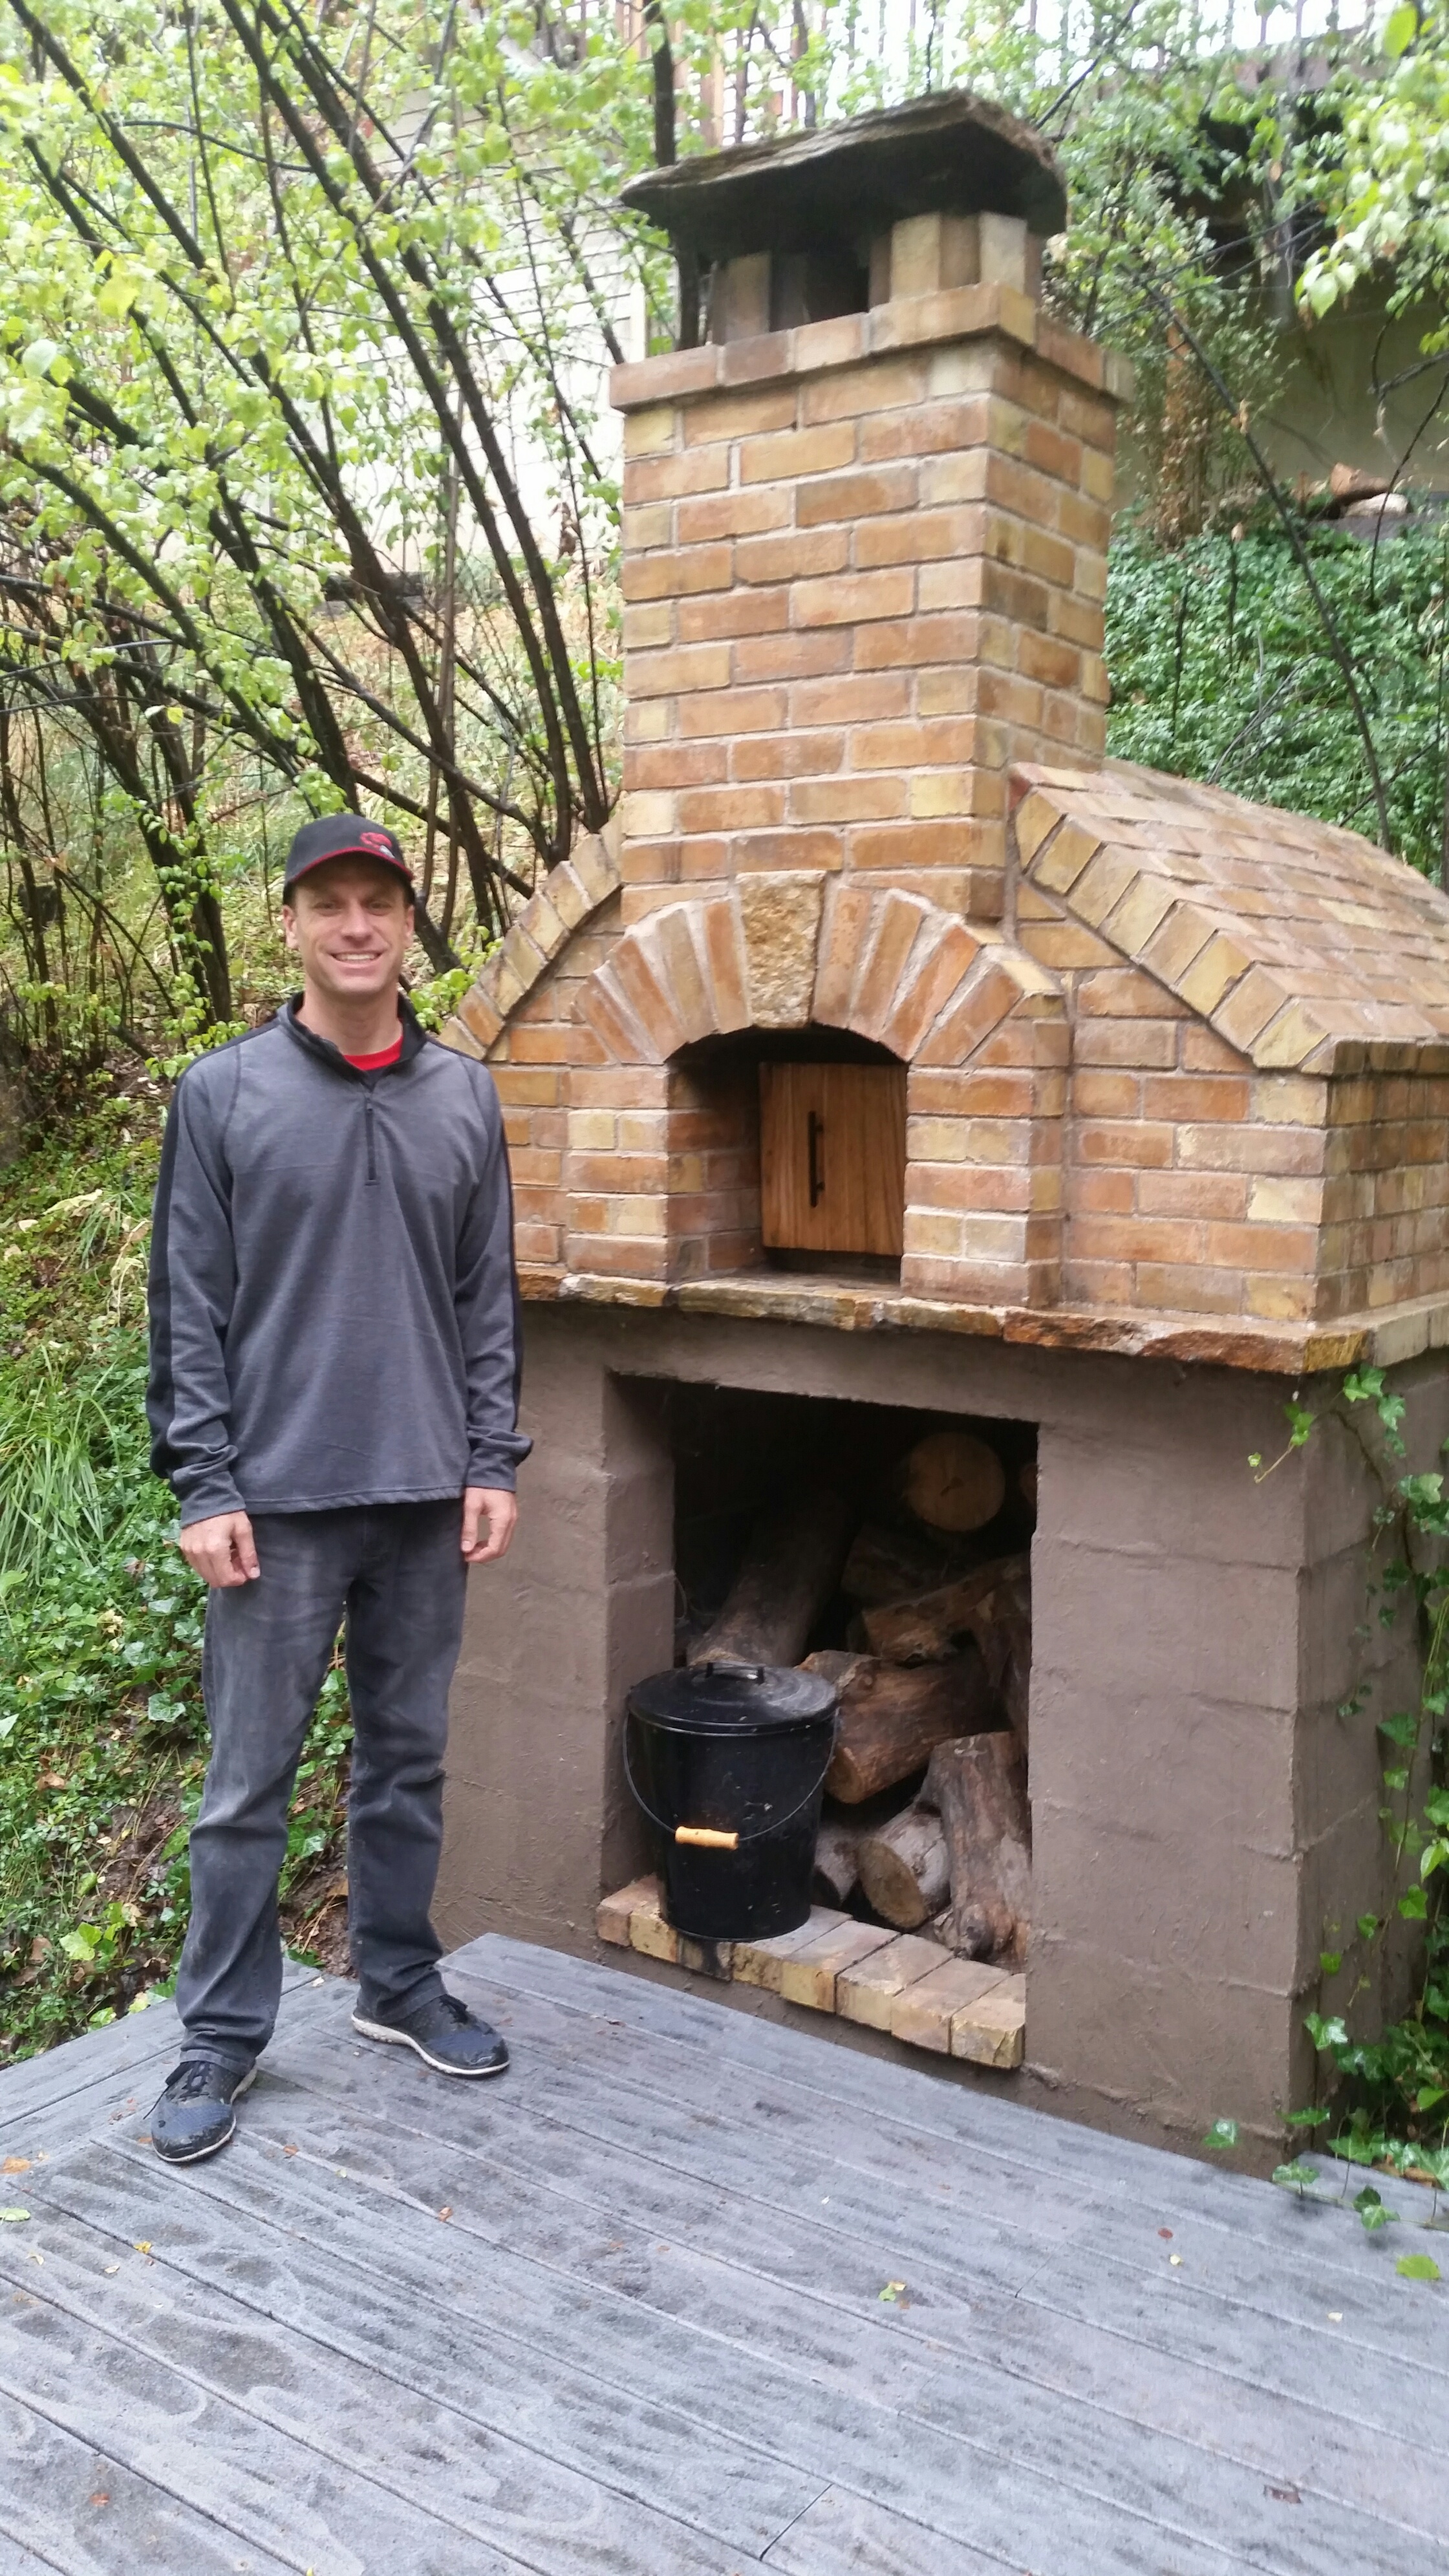
wow this makes me want to make my own
Downvoting a post can decrease pending rewards and make it less visible. Common reasons:
Submit
It was a really fun project. The bread is amazing too.
Downvoting a post can decrease pending rewards and make it less visible. Common reasons:
Submit
Congratulations @rubicon1! You have completed some achievement on Steemit and have been rewarded with new badge(s) :
Click on any badge to view your own Board of Honor on SteemitBoard.
For more information about SteemitBoard, click here
If you no longer want to receive notifications, reply to this comment with the word
STOPDownvoting a post can decrease pending rewards and make it less visible. Common reasons:
Submit
I want to buy a pizza oven, but I have absolutely no idea where to start choosing one. Which is better - a gas, electric or wood-fired oven? I need a model that will be compact but powerful enough to cook real Neapolitan pizza. How to understand what characteristics are important: type of fuel, maximum temperature, body material? I will be glad to advice about the best brands or stores where you can buy a quality oven. If anyone has any trusted online stores or local stores in Canada, let me know!
Downvoting a post can decrease pending rewards and make it less visible. Common reasons:
Submit
When I was choosing a pizza oven, it turns out that wood-fired models really create a special flavor due to the high temperatures and woody flavor. On the Fontana Forni USA website, I found information on how to cook with a woodfired pizza oven . This guide explains what to look for when choosing, from material to size and even fuel. I also bought a pizza oven there, which turned out to be perfect for our backyard. They have great prices right now, and it's basically an investment in culinary pleasure for years to come!
Downvoting a post can decrease pending rewards and make it less visible. Common reasons:
Submit