Purpose
A quick guide on how to find and view tardigrades. Later posts will examine an easy and practical means to grow a community of tardigrades and care for them.

for more information on tardigrades
Finding Tardigrades
The most reputable location to find tartigrades is in lichen growths on trees. After taking numerous samples in the same environment including moss and lichen at various locations (rocks, trees, ground) lichen on trees seems to be the best location. I found a total of 5 tardigrades (that were visible) in the tree lichen sample while I found none in the other samples. The location of the tree is also important. Looking for tardigrades in the city vs out in a park or woods is more difficult. So if possible start your hunt somewhere away from the big smoke. Numerous attempts were made to find these by looking for lichen and moss on trees and the ground level in my local urban environment to no avail.
94jBKRCvqsxZeUGYRHAKojBggrBA/image.png)
Sample sizes
You don't want too much or too little. 3cm in diameter should be more than enough. Be sure to put these samples in labelled paper bags to prevent mould growth. Record the location of the sample on the bag and coordinates of where you got it (you can use google maps to get the longitude and latitude).
Sample prep
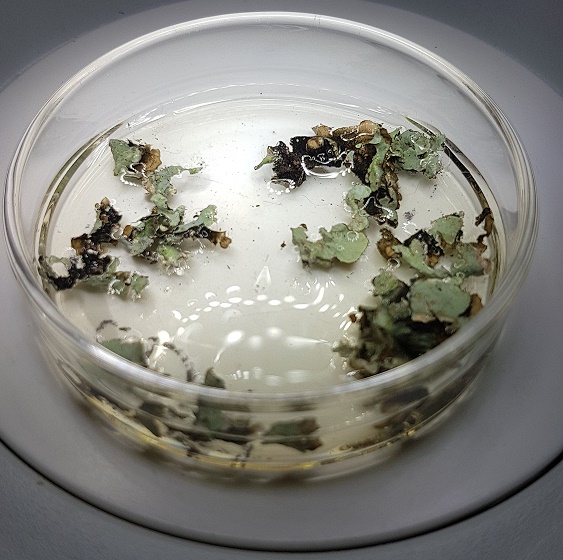
Samples should be placed in a small dish (petri dish 60mm in diameter is what I used below) or cup and filled with with just enough water (I used distilled water) to cover the bottom of the container and left for 24 hours. If you use too much water it will make hunting difficult, if you use too little water it may evaporate. If your container is not see through and easily operable under a microscope you'll want to transfer small volumes of water from the sample container to a slide or other viewing media when it's time to hunt. Despite the nick name "water bears" they can't actually swim and will sink to the bottom of the container.

Viewing tardigrades
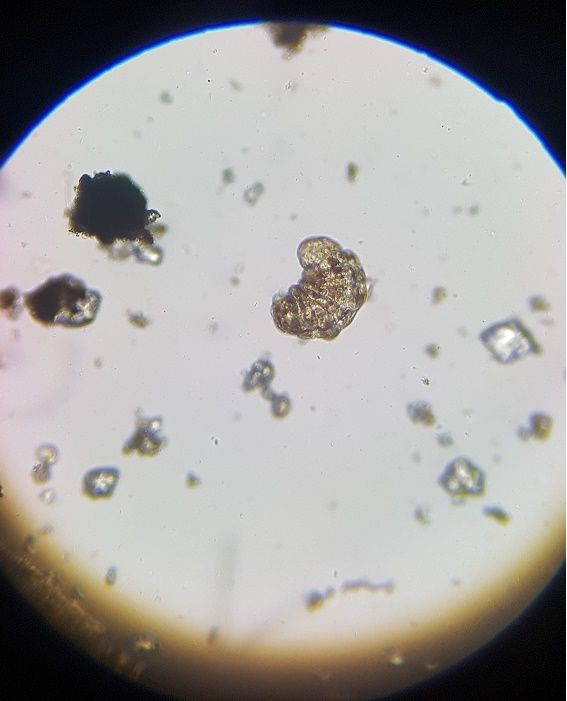
They are tiny! You'll want a magnification of 10x to 20x for hunting and viewing them in all their glory will be possible with 200x. While you'll be able to see them easily with 200x magnification, you don't want to hunt at this magnification as it will take you quite a while to find them. Start with a smaller magnification and be patient (10x or 20x). Work your way in a pattern across the viewing slide or dish side to side and pause after you begin to examine a new section. You'll want to carefully observe for movement. If there is any debris, examine them as tardigrades will likely latch on to them. They are slow moving so again, be patient.
Once you've found something that could be your target, increase magnification and have a look. Be careful not to swap to 100x if you're using a standard light microscope as the lens will dip into your sample and may pick up the tardigrade! (Happened to me ) .
Picking tardigrades
If you have a small volume pipette 1ml or smaller, you can attempt to relocate the tardigrade to a different environment. If you have a micropipette, these are much easier to use and prevent you sucking up large amounts of fluid along with the tardigrade, in essence they are more accurate. A 10 to 20 microliter pipette works the best.

You'll need to use some very delicate hand to eye (via microscope eye piece) coordination to do this. Once you see the tardigrade being taken into the pipette you'll want to try and stop taking up any more liquid and then transfer it to the new environment standing by.
Hope you enjoyed this quick guide, please feel welcome to leave feedback.
Congratulations @thunktank! You received a personal award!
Click here to view your Board
Downvoting a post can decrease pending rewards and make it less visible. Common reasons:
Submit
Congratulations @thunktank! You received a personal award!
You can view your badges on your Steem Board and compare to others on the Steem Ranking
Vote for @Steemitboard as a witness to get one more award and increased upvotes!
Downvoting a post can decrease pending rewards and make it less visible. Common reasons:
Submit