Hi everybody! Previously I showed you how to clean the cooling system of a HP Pavillion G6 laptop. Today I tell you, how to replace fan of a cooling system of a ASUS K53T laptop.
Ниже представлен перевод данного руководства на русском языке.
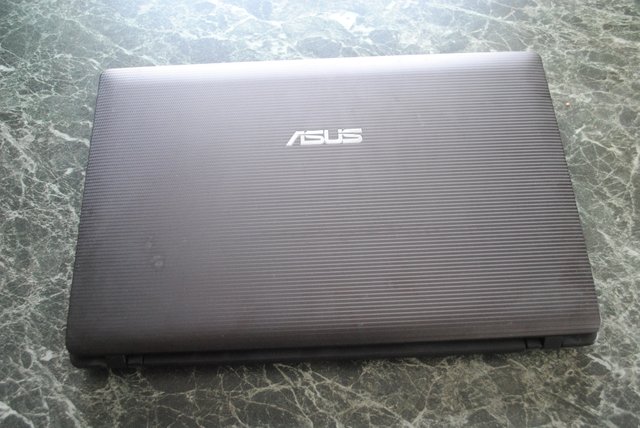
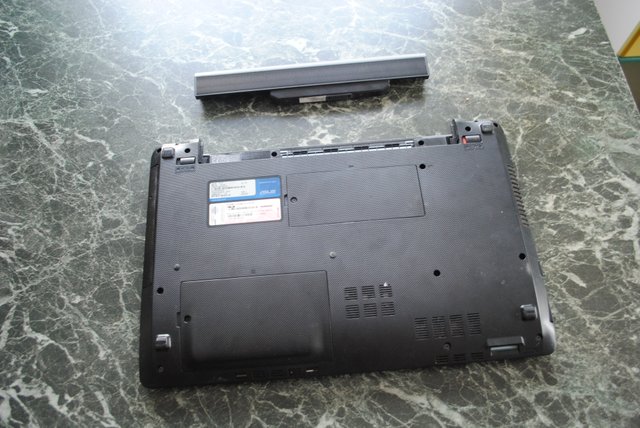
Firstly remove the battery.
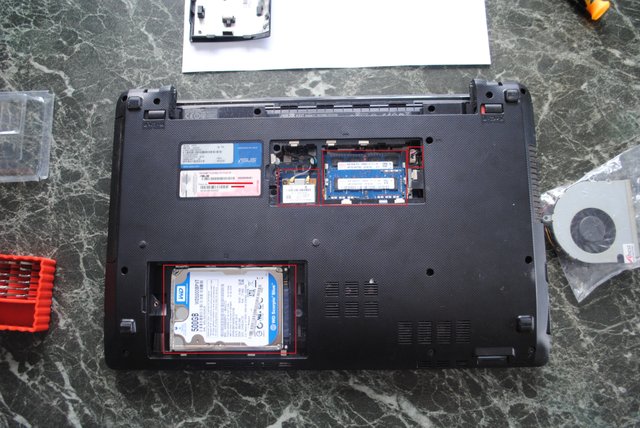
Then disconnect Wi-Fi module, the RAM, the hard drive and power cable.
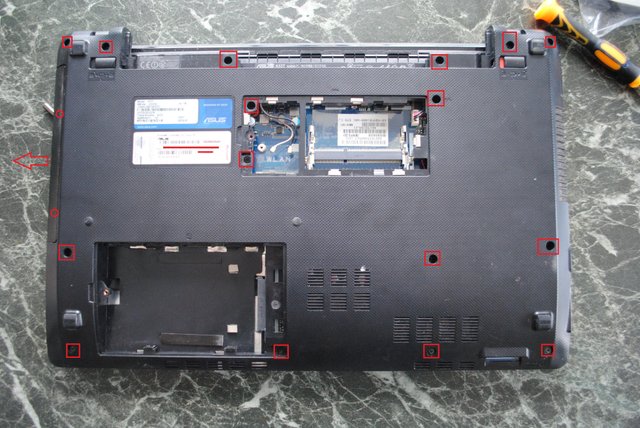
Then unscrew every screw and disconnect the DVD — drive. Two screws are hidden under the DVD – drive.
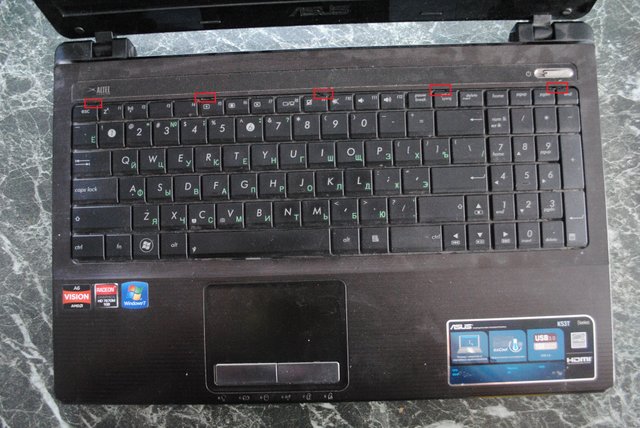
Overturn the laptop and remove the keyboard. We need to unhook the fastening in these places and to remove the keyboard. Disconnect the wire.
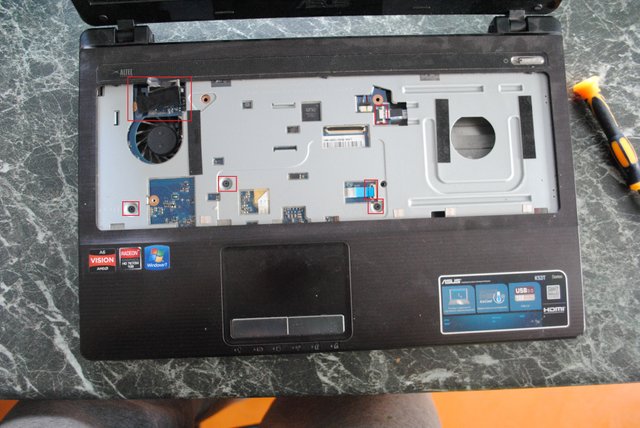
Unscrew three screw on the cover. Disconnect the wires. Remove the cover.
Disconnect the specified wires and unscrew the screw.
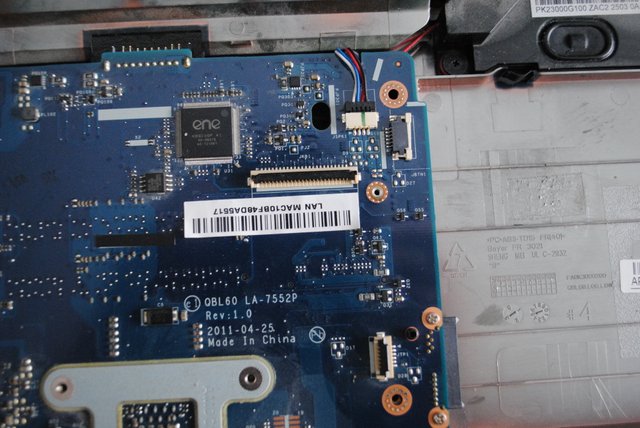
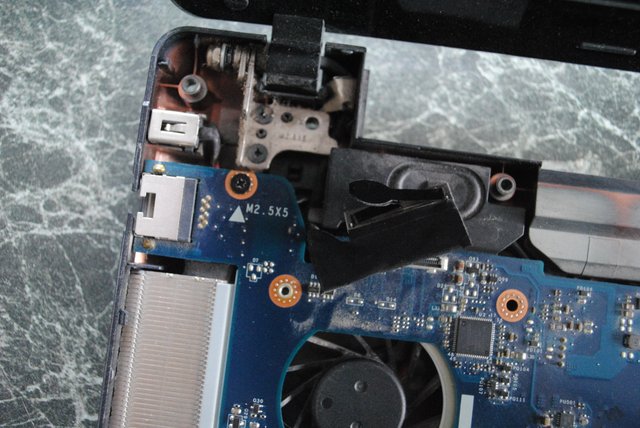
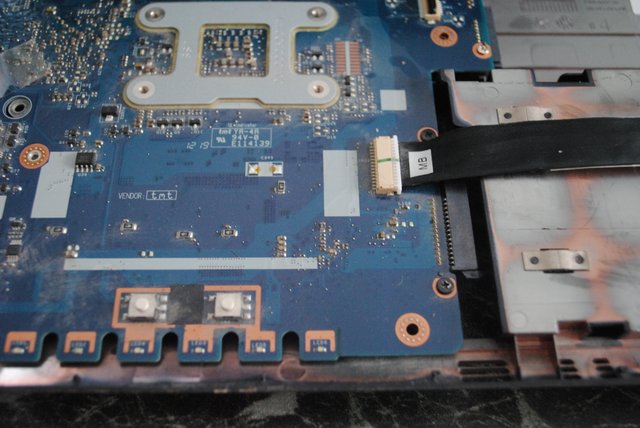
Remove the motherboard.Now disconnect the cooling system. Observe the numbering. Install the new fan (that's what I wanted to do). Apply a little paste on chips.
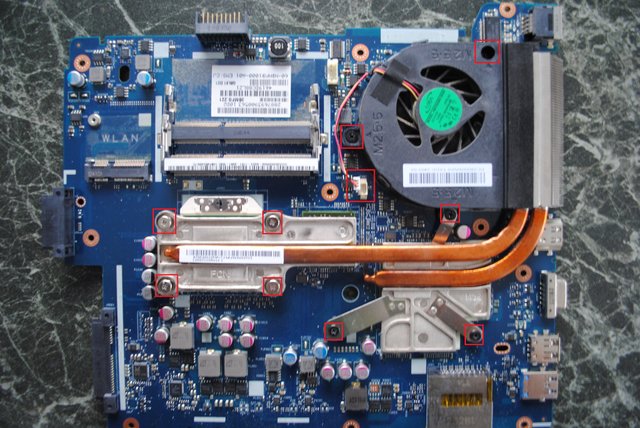
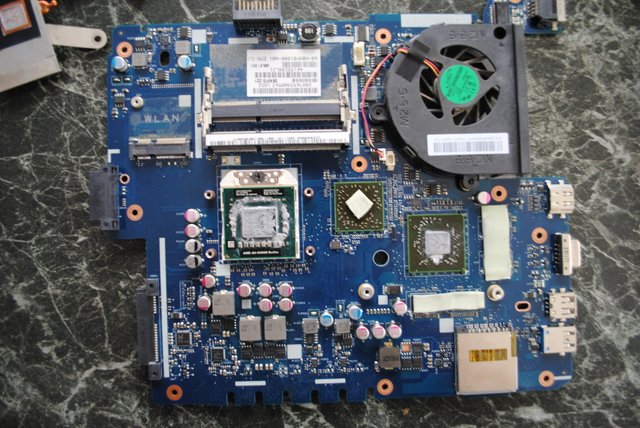
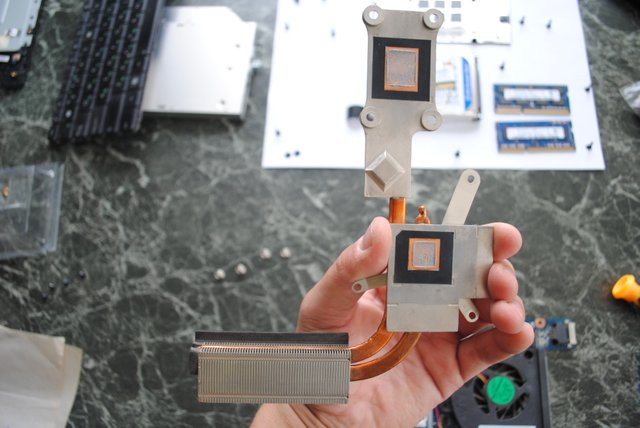
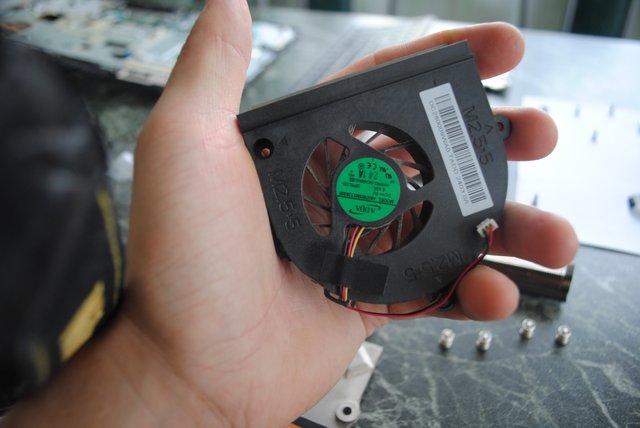
Let's start the assembly. Install the fan and the cooling system on the motherboard. Screw the screws. Insert the motherboard into the case. Screw the screw and connect the wires.


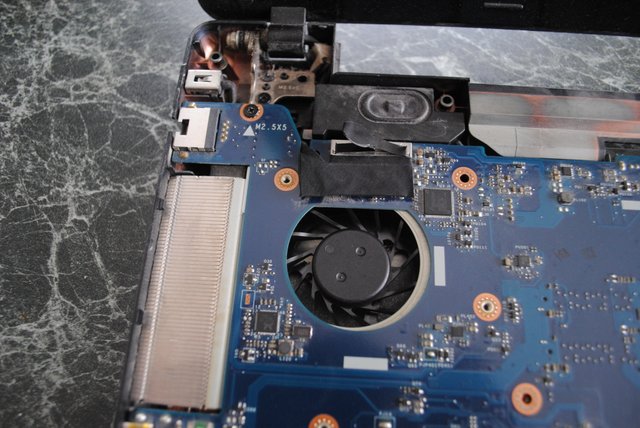
Install the housing cover. Connect the wires. Screw the screws.
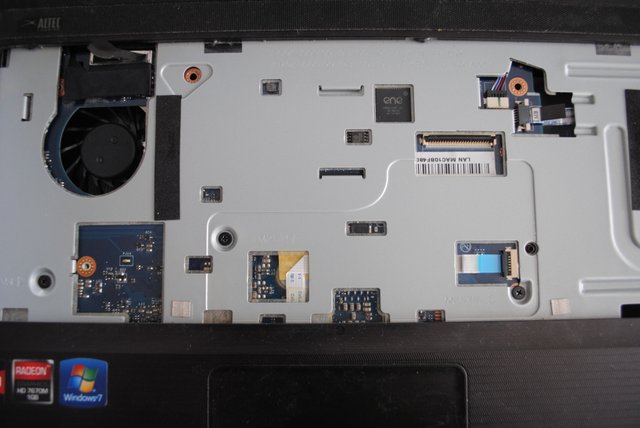
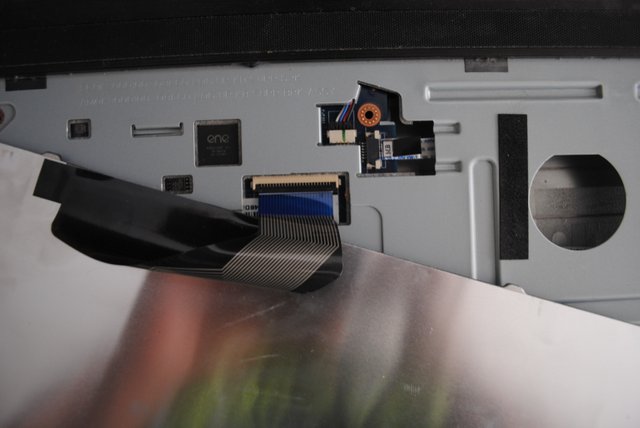
Connect wire of keyboard. Install the keyboard.
Overturn the laptop. Screw two screw from left under drive. Install the DVD – drive.
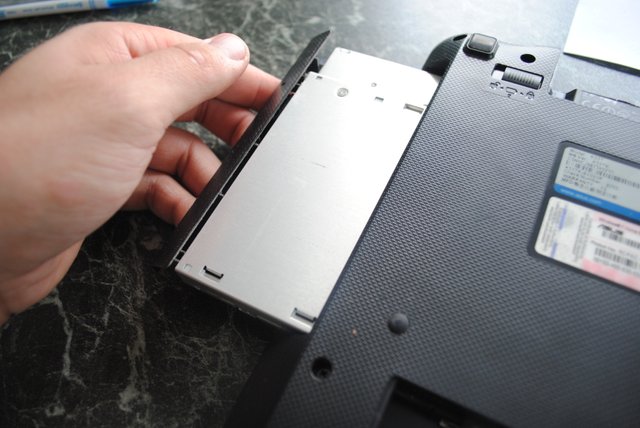
Insert the hard drive, RAM, Wi-Fi module. Connect power cable.

Install covers. Screw the screws. Install the battery.
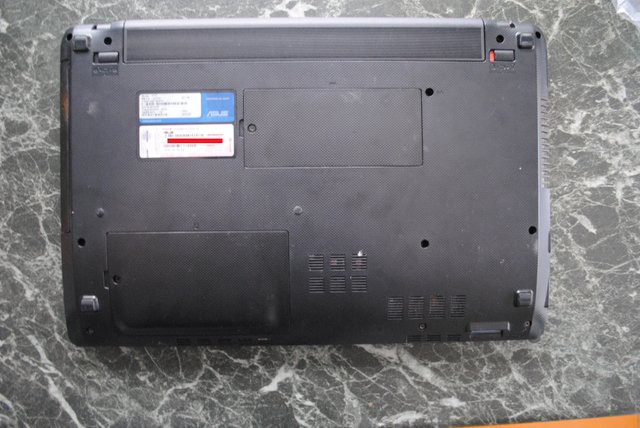
It's done!
Thank you for your attention!
If you like this article, you can follow me on STEEMIT: @acidsun
Всем привет. Я уже показывал ранее как почистить систему охлаждения ноутбука HP Pavilion g6. Сегодня я покажу как поменять вентилятор на примере ASUS K53T.
- Снимаем батарею.
- Отсоединяем ОЗУ, модуль WI-FI и жесткий диск и кабель питания.
- Откручиваем все указанные винты и отсоединяем привод. Также два винта скрыты под приводом.
- Переворачиваем ноутбук. Отцепляем клавиатуру в указанных местах и отсоединяем шлейф.
- Откручиваем три винта. Снимаем крышку.
- Отсоединяем указанные провода и откручиваем винт.
- Снимаем материнскую плату.
- Теперь отсоединяем систему охлаждения. Следим за нумерацией. Устанавливаем новый вентилятор. Мажем термопасту и начинаем сборку.
- Устанавливаем радиатор и вентилятор. Закручиваем винты.
- Устанавливаем материнскую плату. Закручиваем винт и подсоединяем провода.
- Закрываем крышку. Закручиваем винты.
- Подсоединяем шлейф клавиатуры. Ставим клавиатуру на место.
- Переворачиваем ноутбук. Закручиваем винты слева под приводом. Устанавливаем привод.
- Устанавливаем ОЗУ, модуль Wi-Fi, жесткий диск. Подсоединяем провод питания.
- Закрываем крышки. Закручиваем все винты и подсоединяем батарею.
- Все!
Большое спасибо за полезную информацию, добавляю в закладки, буду следовать за Вами надеюсь, взаимно, с уважением @rucoin
Downvoting a post can decrease pending rewards and make it less visible. Common reasons:
Submit
Спасибо. Также подписался на Вас.
Downvoting a post can decrease pending rewards and make it less visible. Common reasons:
Submit
Благодарю! Хорошее дело делаешь!
Downvoting a post can decrease pending rewards and make it less visible. Common reasons:
Submit