Greetings terrain makers!
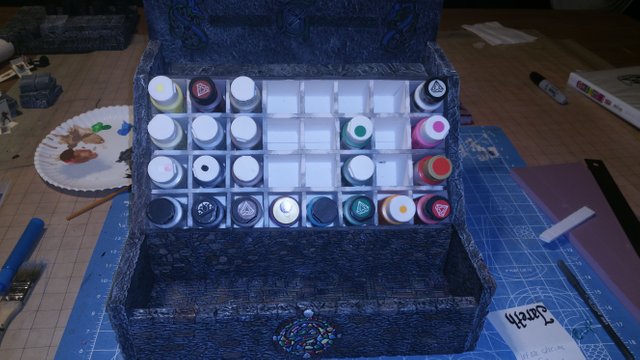
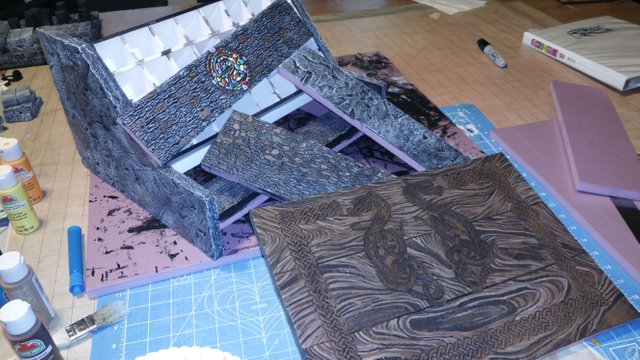
Before we get started building terrain, I wanted to share this paint holder I made. I didn't have a place to hold all my paints, so I decided to make a paint holder. It also has a place to store brushes, pencils and other odds and ends, so you don't have your supplies scattered all over the place.

Note: I made mine a bit too small. You may want to make yours a bit larger to hold more paints. You can even add dividers for extra tools and supplies if you like!
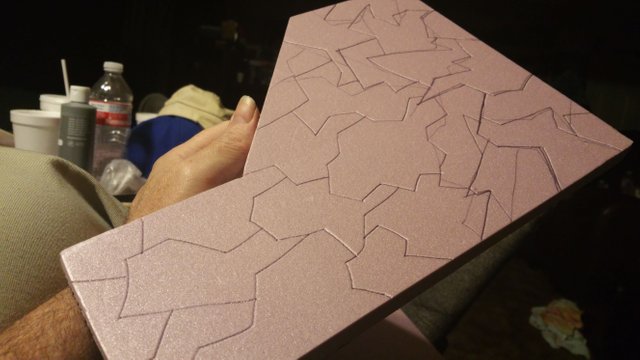
For starters, you'll need a 4x8 sheet of that pink XPS foam i listed in my first tutorial. It says it's 1/2 inch thick, but it actually measures about 5/8ths of an inch. So, its important to keep that in mind.
You'll also need to have some of that Dollar Tree Foamboard (use whatever color you like, I believe they carry black and white foamboard. I recommend black...it hides the errors much better than white). We talked about the foamboard in the Supplies Tutorial.
If you missed the tutorial, here is the link:
https://steemit.com/terraincraft/@balfore/balfore-s-builds-getting-started-in-terrain-craft-tutorials-001-supplies
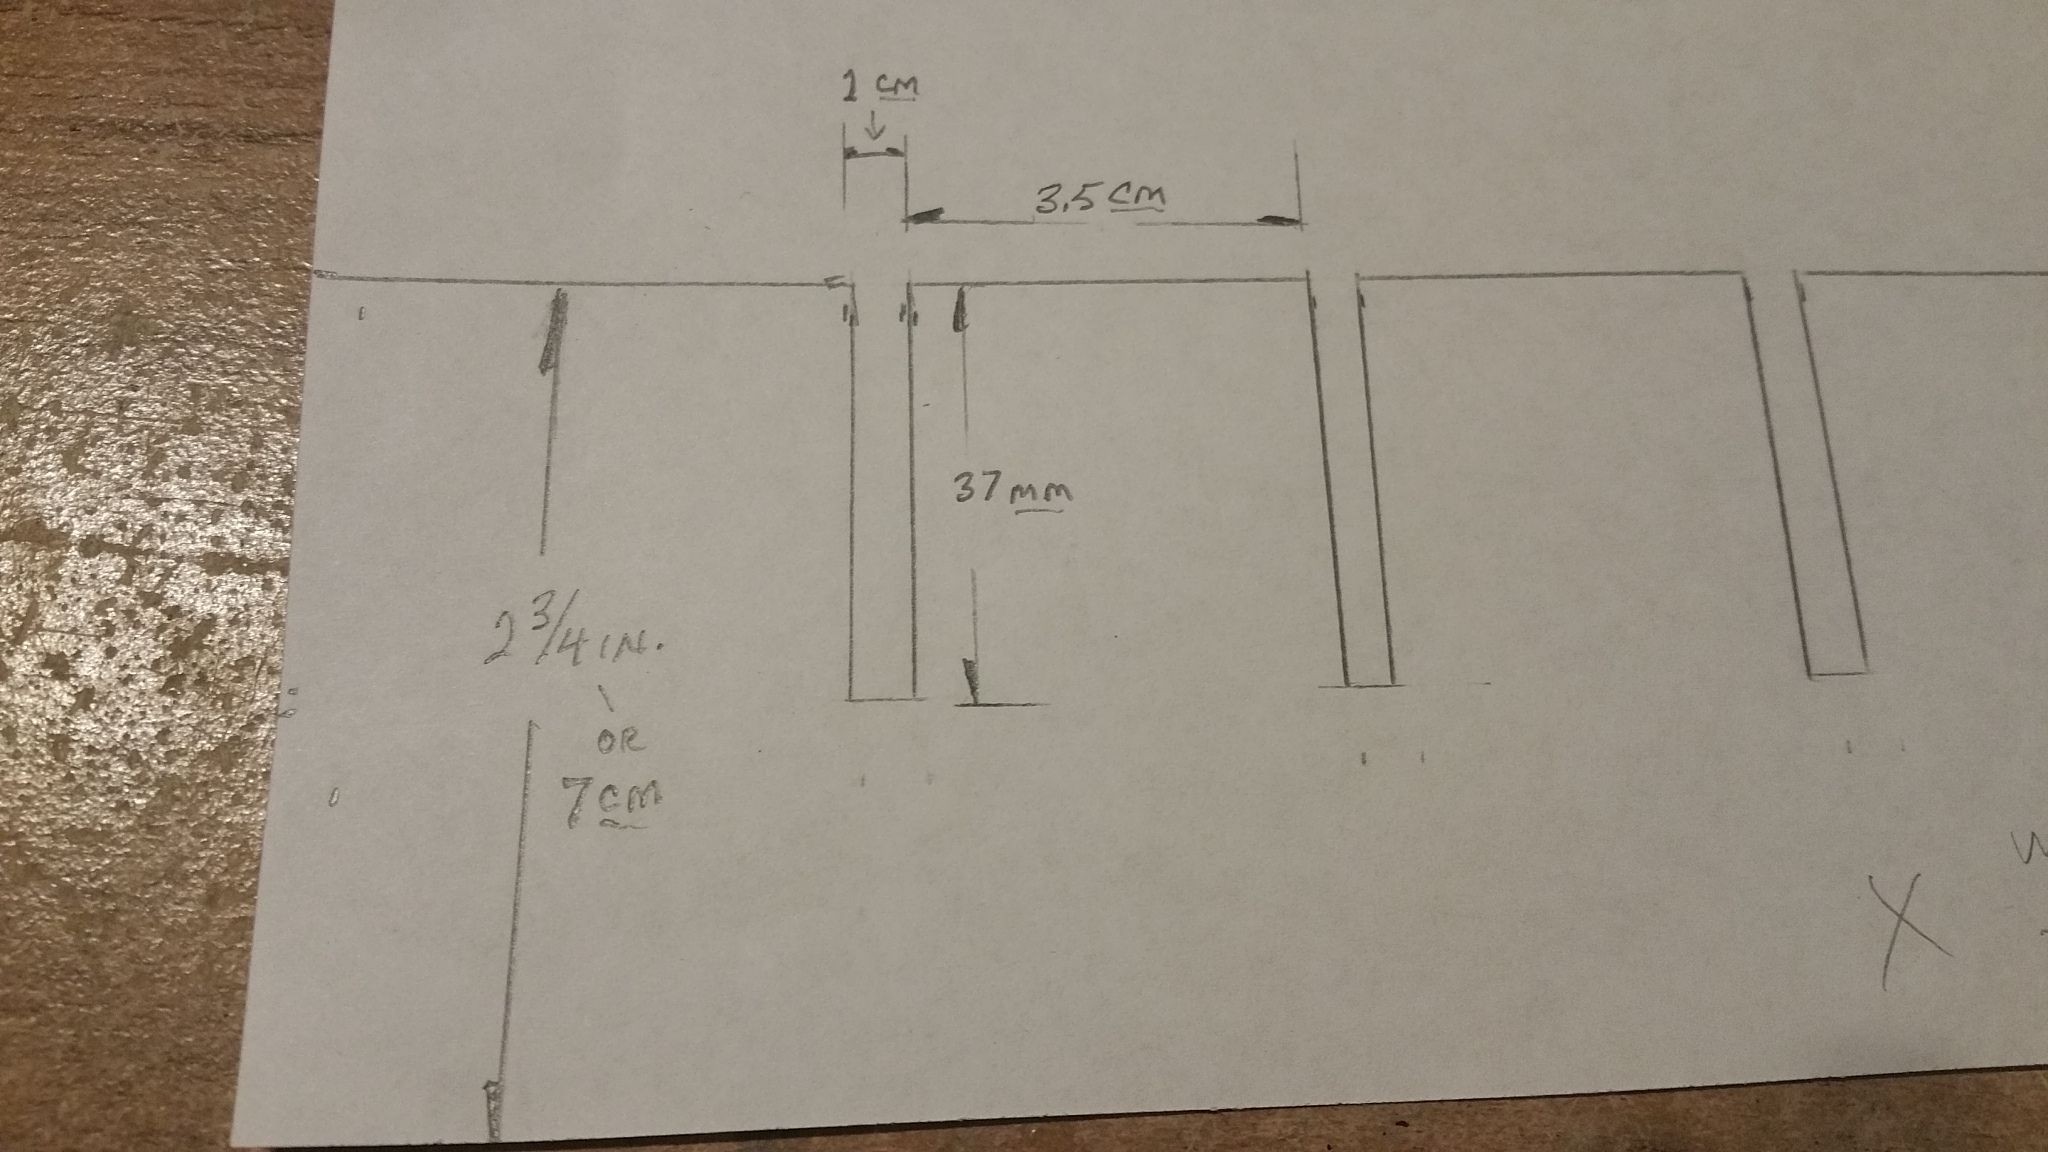
This is the template for the foamboard I used, to make the part that holds the paint. You can make them as long or as tall as you like as you like. Keep in mind, the foamboard is 1 cm thick, so make sure you allow for measurements with inside and outside dimensions.
Lets say you make enough pieces to hold 32 paint bottles (like I did), you would want 3 long pieces at 13 inches long (for the pieces that run the width). Then the additional top and bottom pieces will be 13 inches PLUS 2mm, that will not have the 'gaps' cut out. (you'll see later)
You would also need 7 "rib" pieces at 7 inches long (for the pieces that run the height). You can make these pieces any size you like. and 2 additional pieces that will not have the 'gaps' cut out.
However, all pieces will have these measurements (see image below):
2 3/4 inch tall (or 7 cm)
3.5 cm compartment size
37 mm groove (to slide together)
approx: 11 mm (a hair over 1 cm) for the interlocking gap
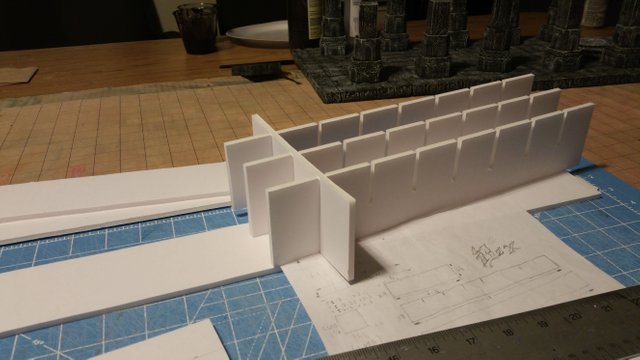
Use a good metal ruler to cut out your pieces so they fit together like so.
Take your time and make nice, clean even cuts. You will need to make these gaps on one side of all the pieces used for the ribs and the horizontal pieces.
Do not make 'gap' cuts in the top. bottom and 2 sides.
Make sure you press the gaps together until they are flush with the intersecting pieces.
The should start looking like this:
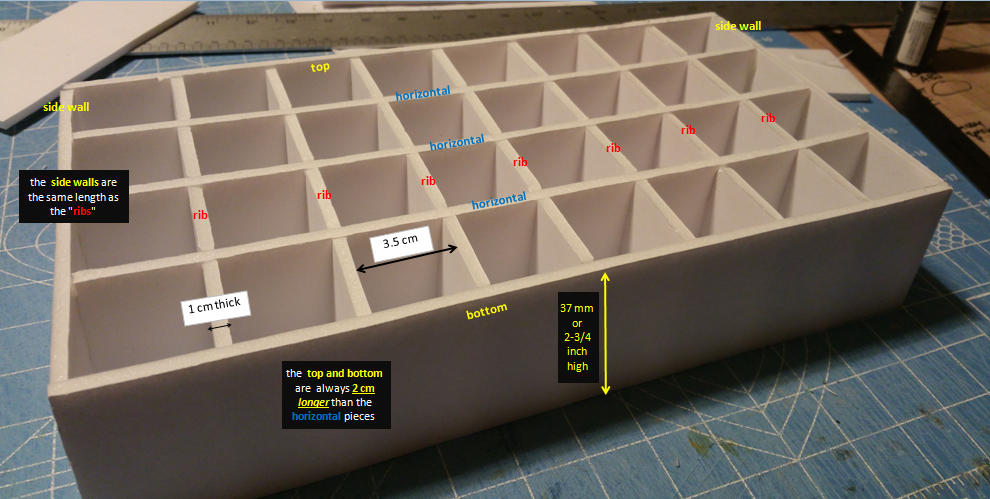
(If you haven't already)Now you need to cut out pieces to "box it all in". These will be pieces that have no 'gaps' cut in them, and will act as the walls around the outside of each of the 4 sides.
The side walls should be the same length as the ribs
The top and bottom, will be always be 2 cm longer than your horizontal pieces
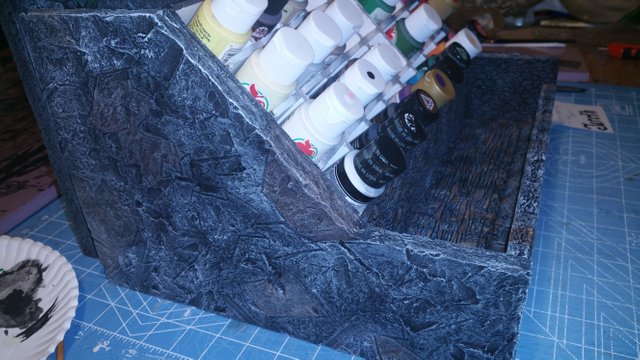
Now, measure and cut out a single square/rectangle piece, that will fit bottom. Hot glue it to the bottom. This will keep the paint bottles from 'falling through', and provides the bottom of your new "box".
Once completed, it should look something like this:
This is how deep the paint bottles will fit in the box

Apologies for not getting pictures of the sides, but I think you can figure it out.
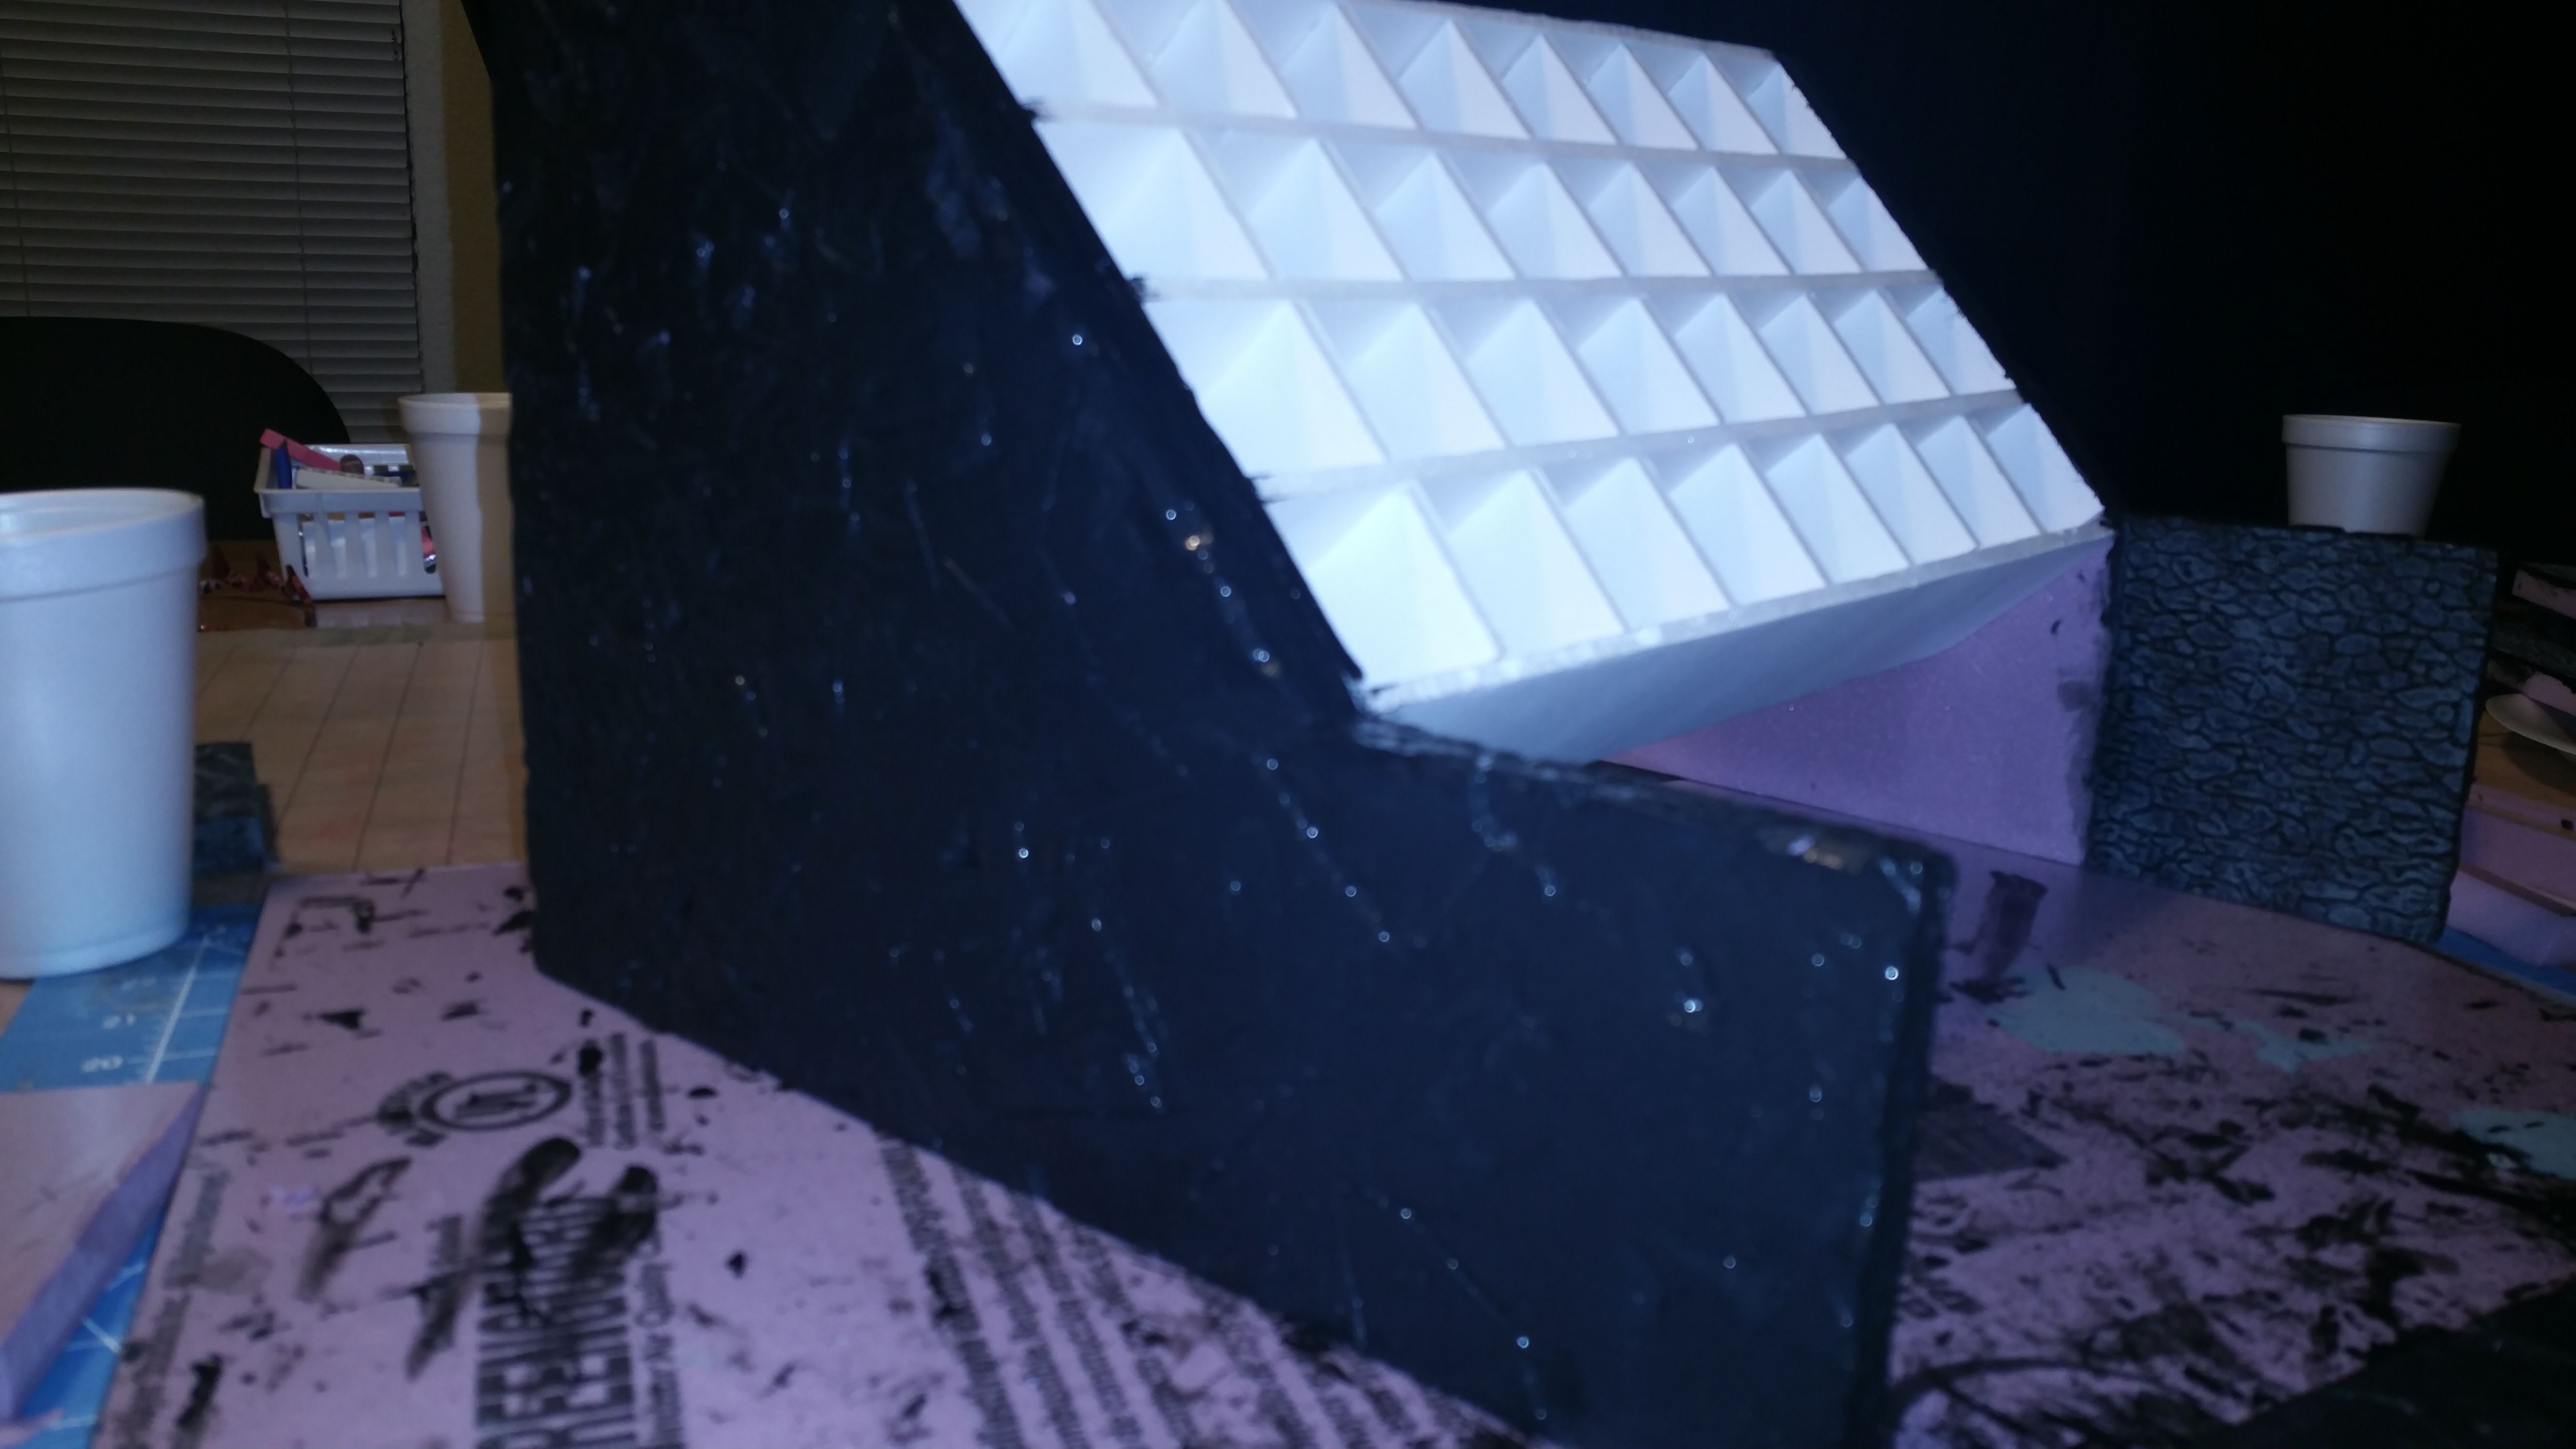
You want to use pink XPS foam, and cut out a shape that will be the same measurement as the height of your holder.
Once you know your measurements, cut out the sides, then glue together like the image below:

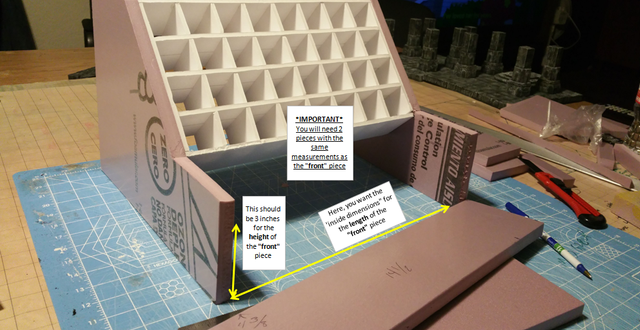
Now comes one of many tricky parts...
You'll need to measure out; 2 pieces that will form the front tray/supply holder (brushes, pencils, blades...etc...)
one of those pieces will have to be cut down to size...but we will get to that one later.
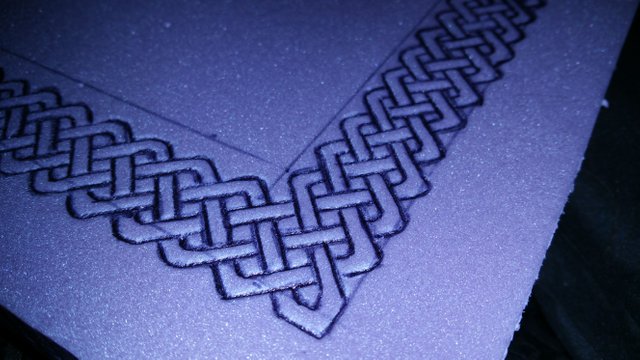
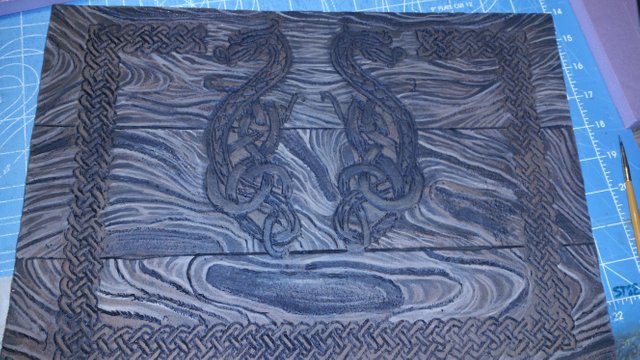
I decided to do some freehand brickwork on all the different parts. You don't have to. You could just base-coat it all with acrylic paint, and then decorate it however you like. Even stickers!
Disregard the holes. You should have already glued the bottom of the 'box', which keeps the paint from falling through...LOL
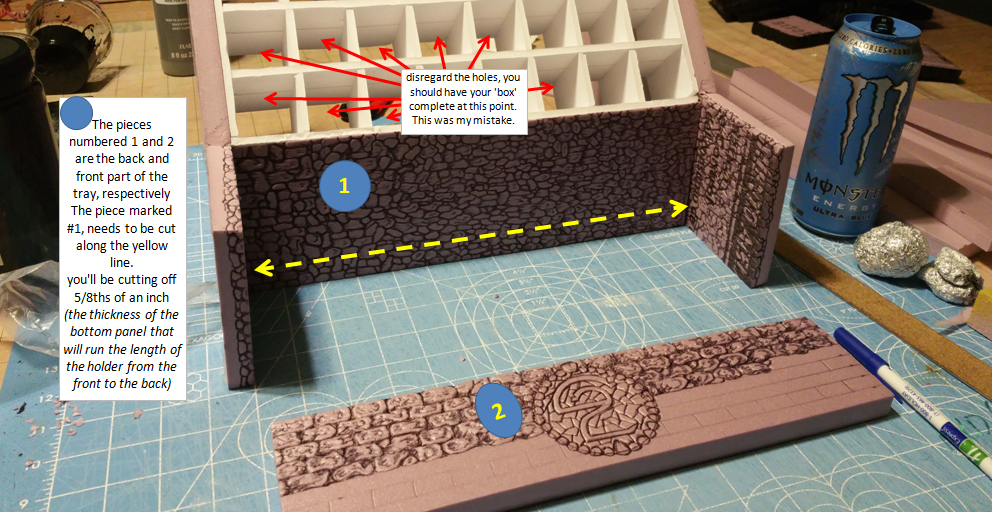
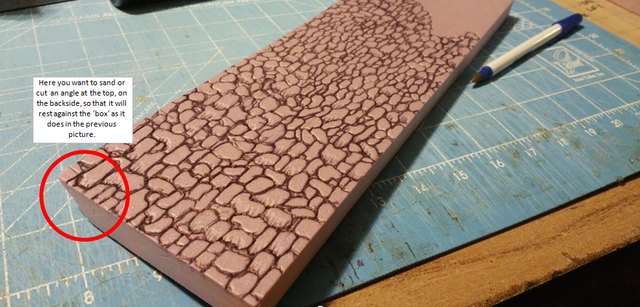
Here's a closeup of the piece marked as #1. You will have to cut an angle on the back side to allow the piece to rest flush against the 'box' as seen in the picture above.
The pieces will fit together like this:
NOTE: Don't glue 1 and 2 just yet, this is just to give you an idea of how they will look

Now just a few pics for detail work...
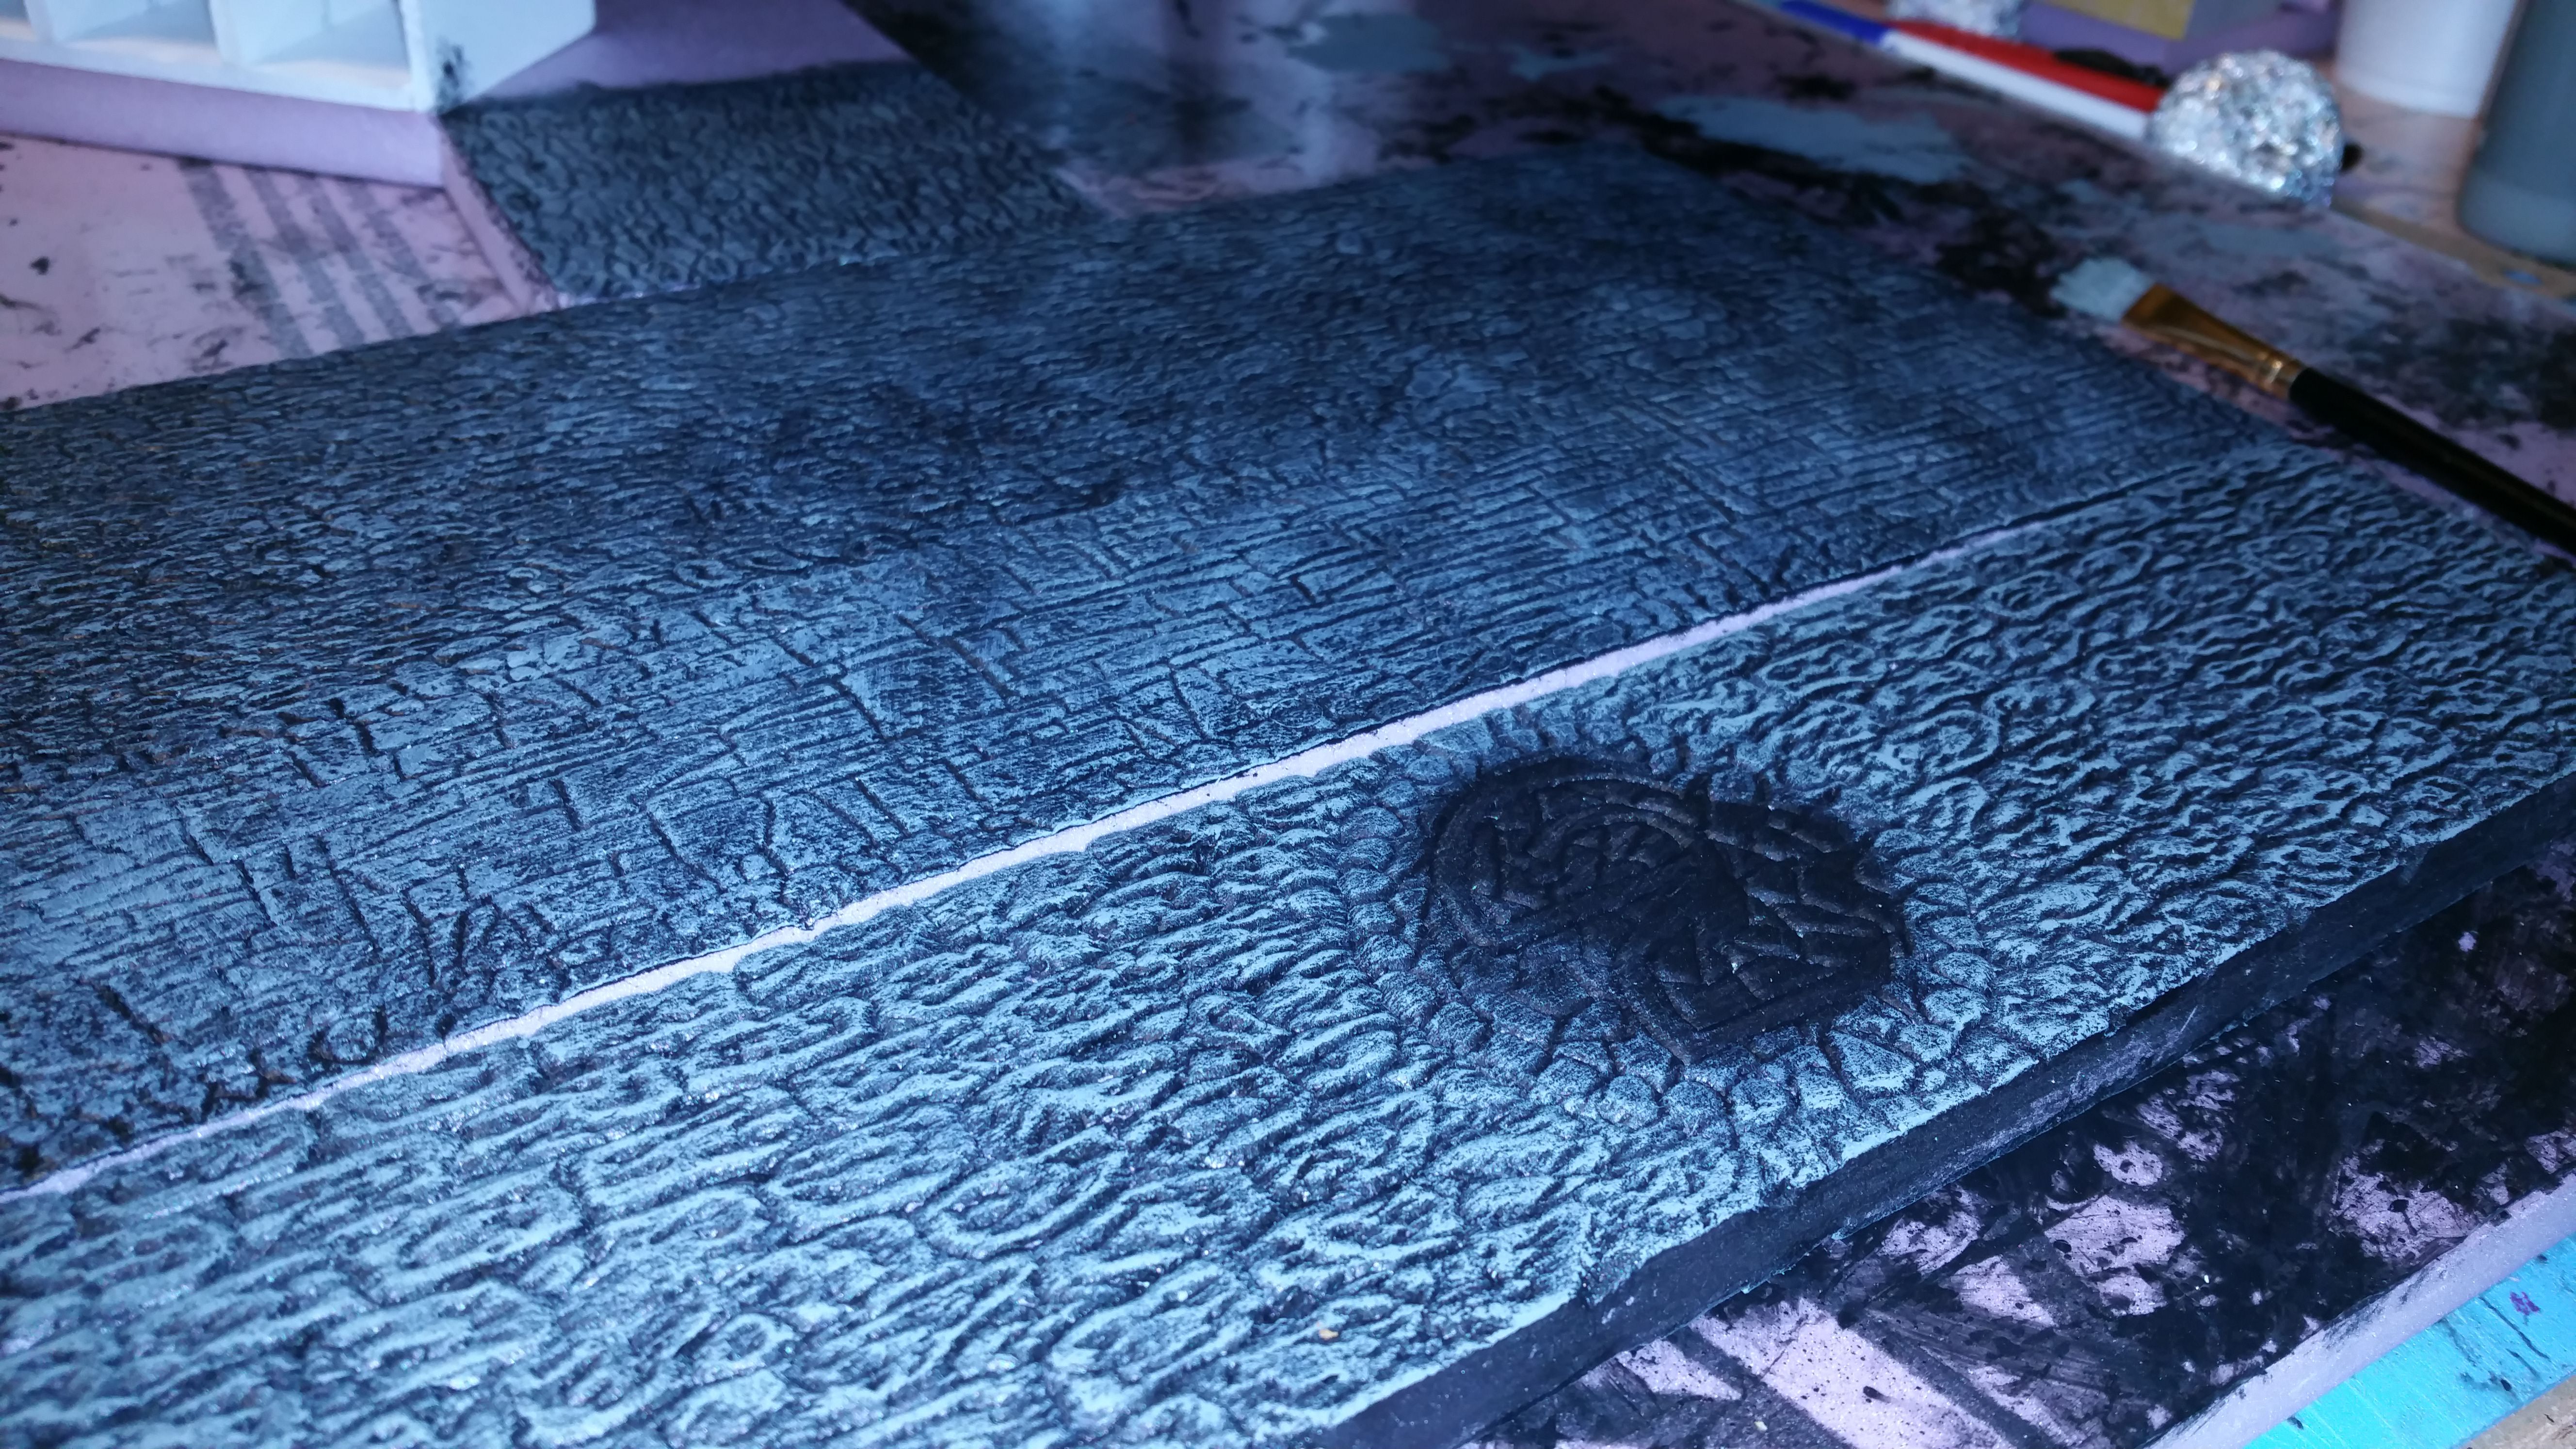
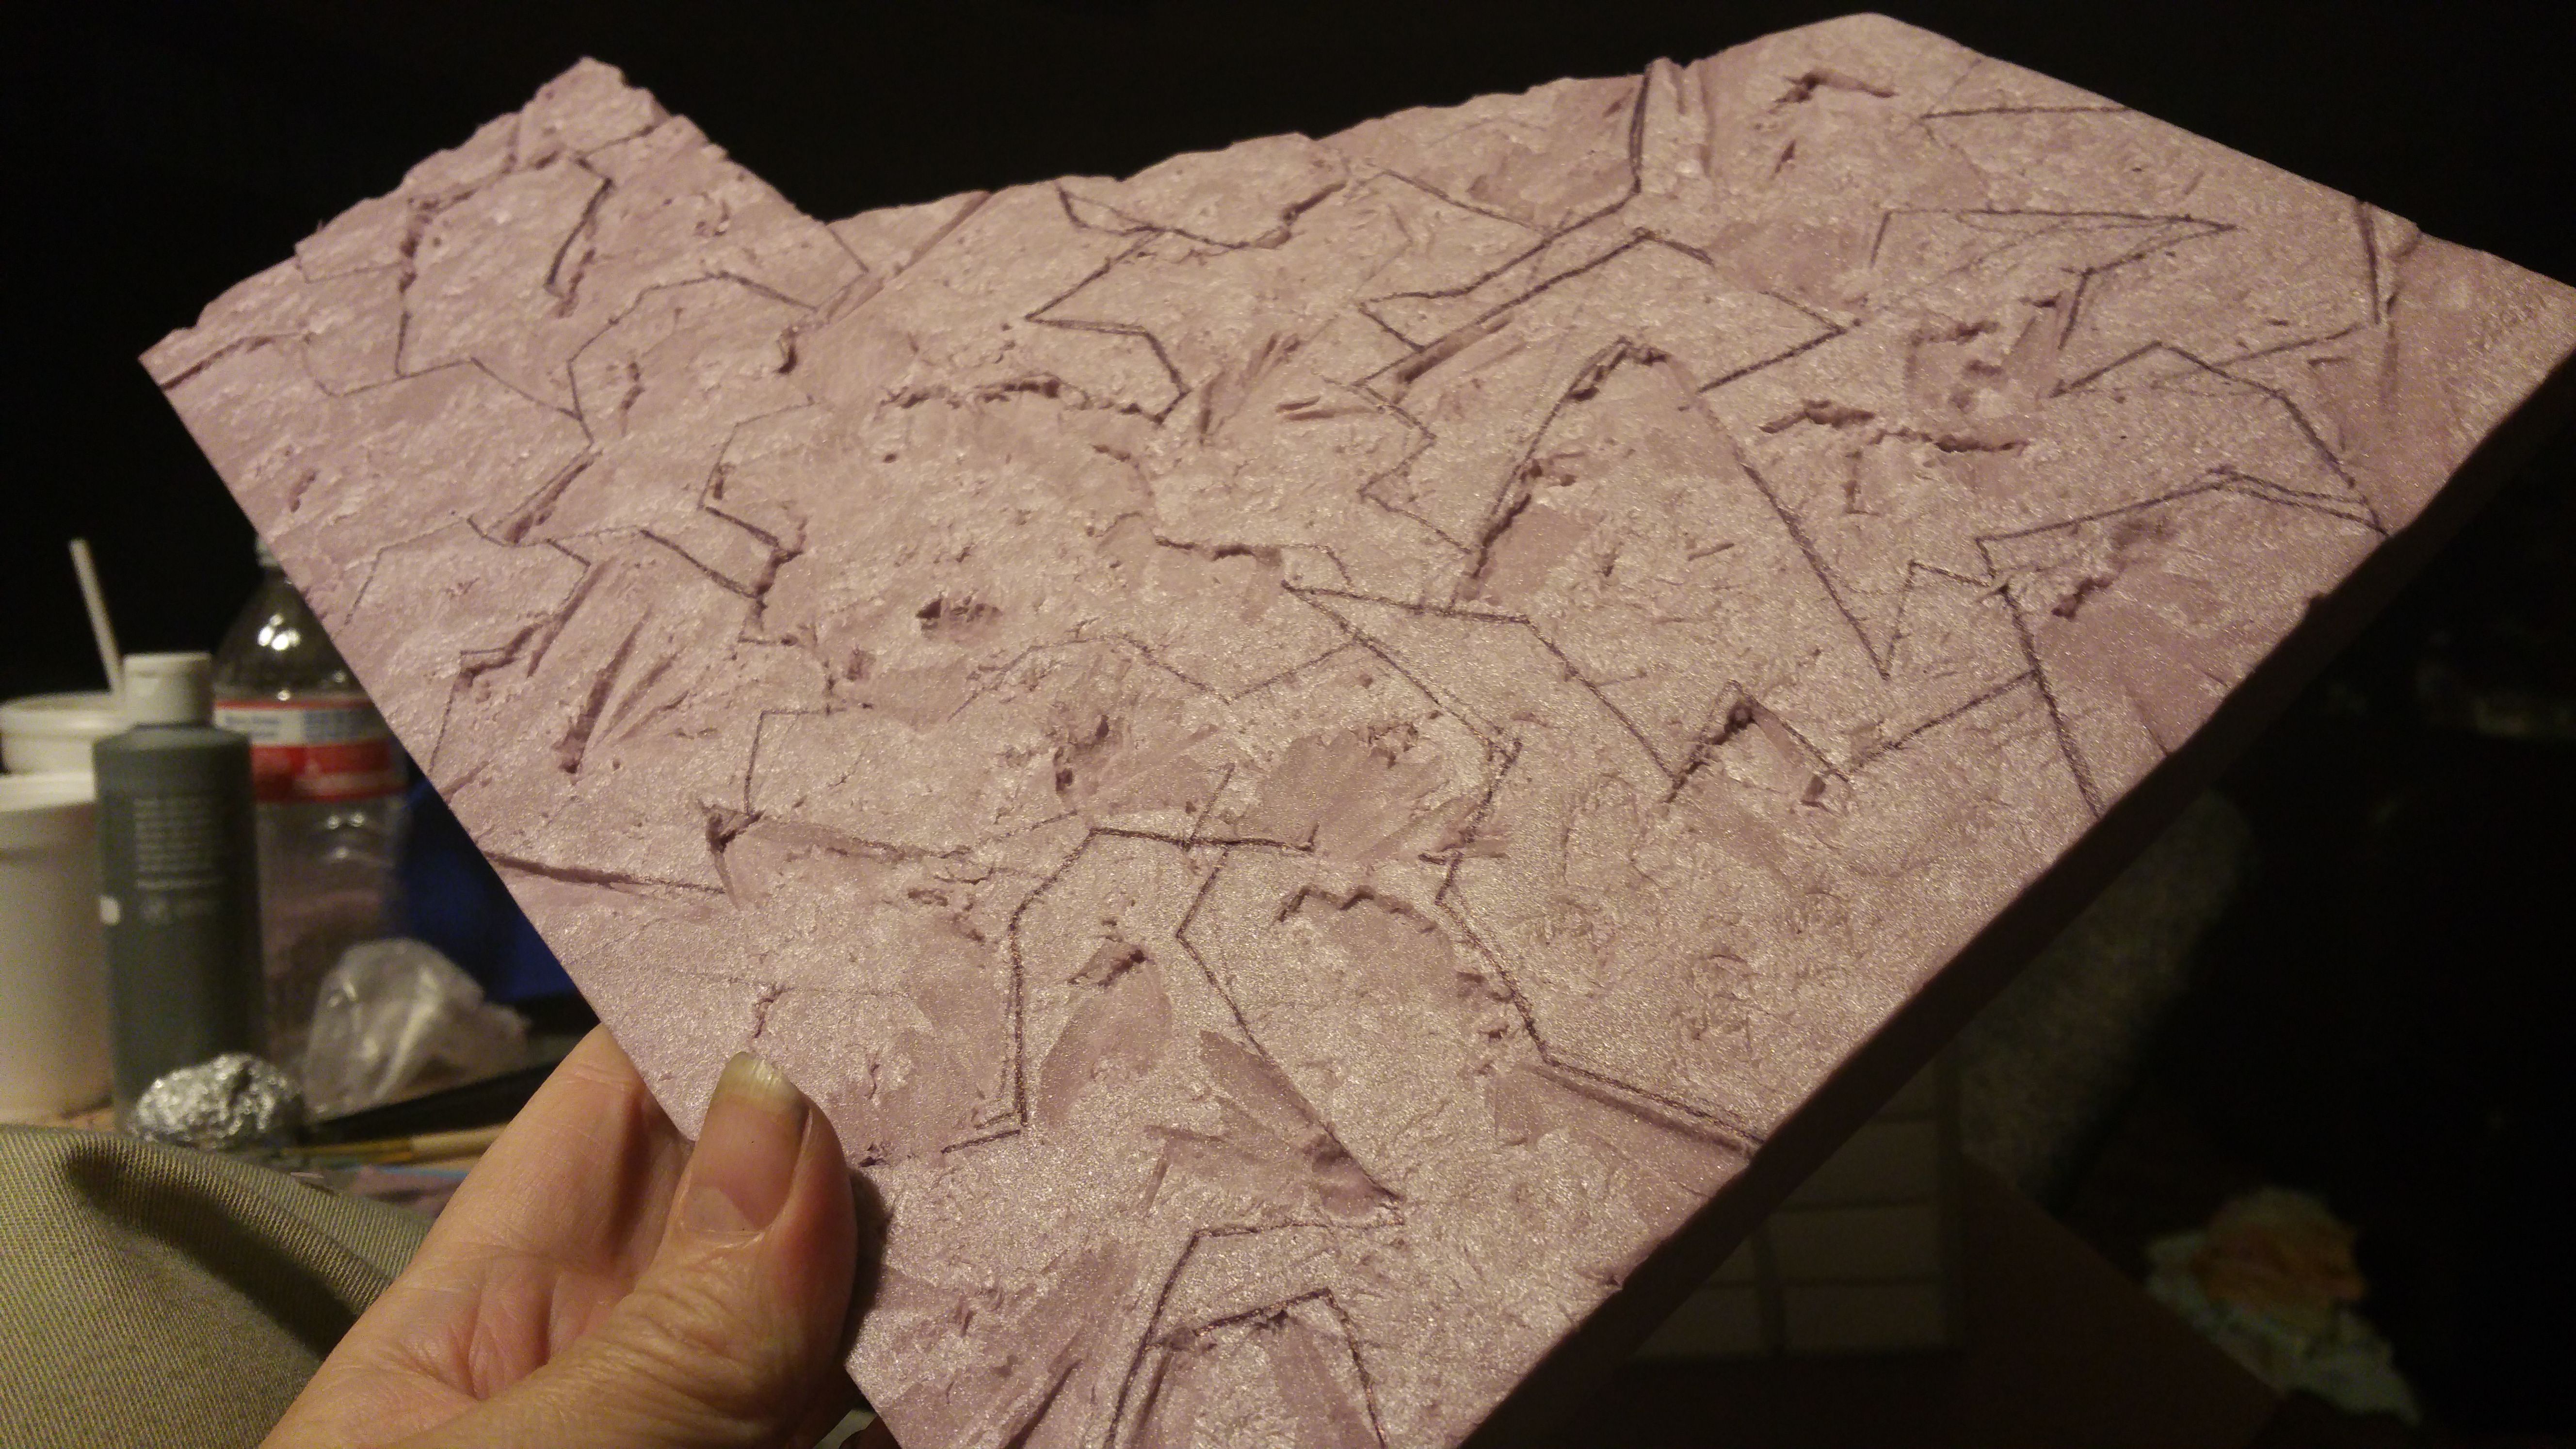
I wanted to do a variety of bricks and stone. I did different styles on multiple pieces.
If you decide to try and do brickwork...be patient. it's very tedious, but the result is worth it.
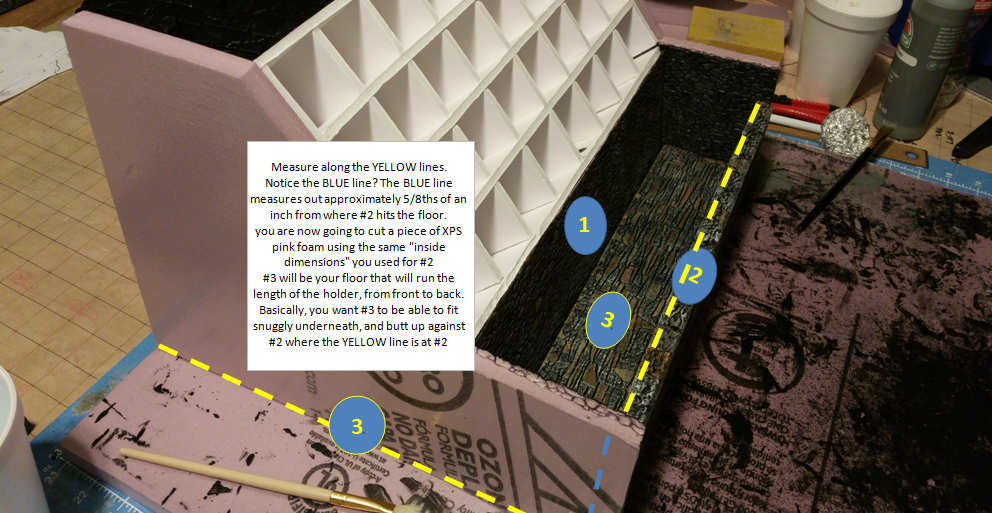
Now you want to make the base/floor. This is measured by using the 'inside dimensions' you used on #2 to get the width. To get the length, just measure along the side from front to back. Be sure to make it short by 5/8ths of an inch.
this will allow the base/floor to butt up snug against #2.
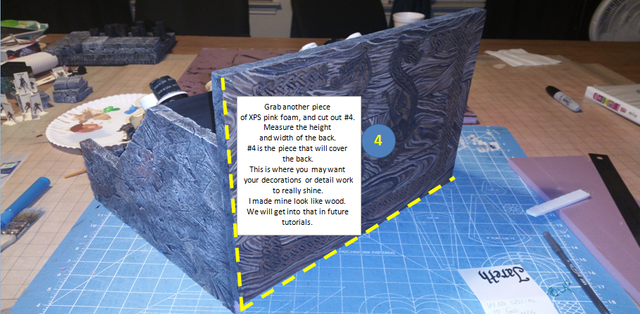
Grab another piece of XPS pink foam, and cut out #4.
Measure the height and width of the back.
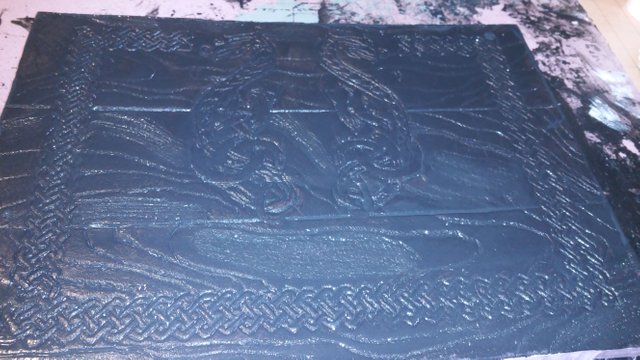
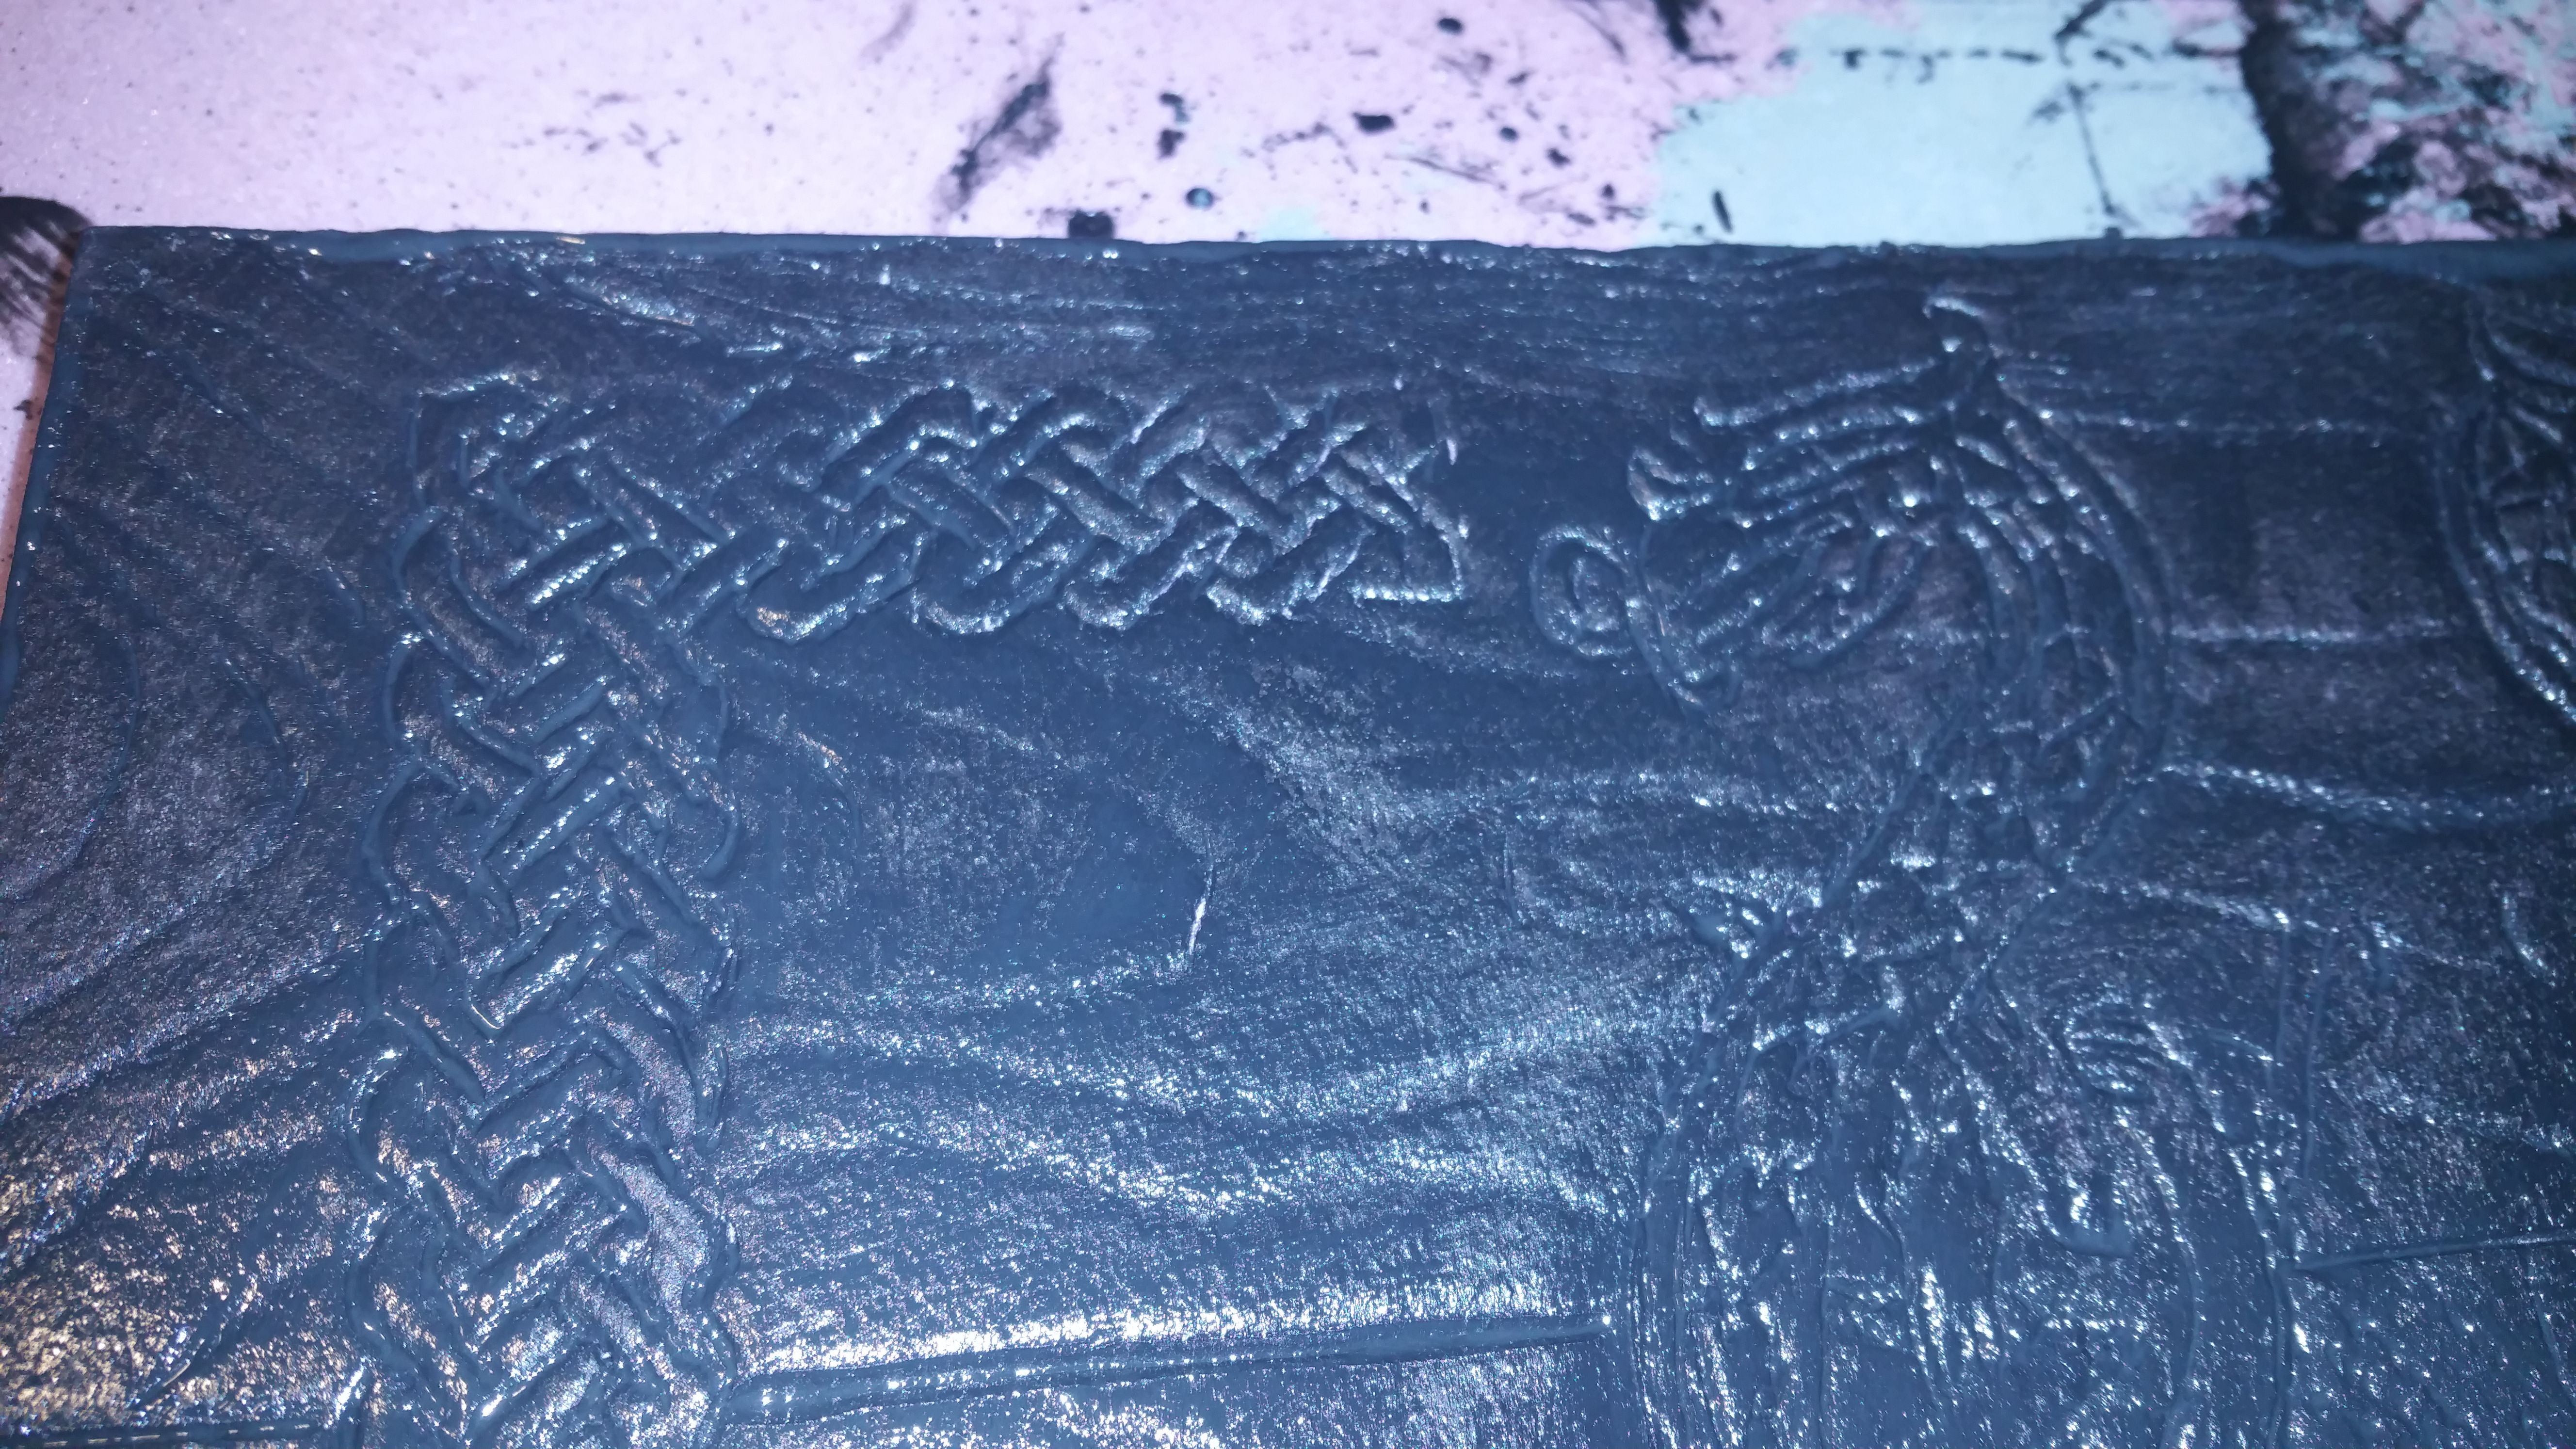
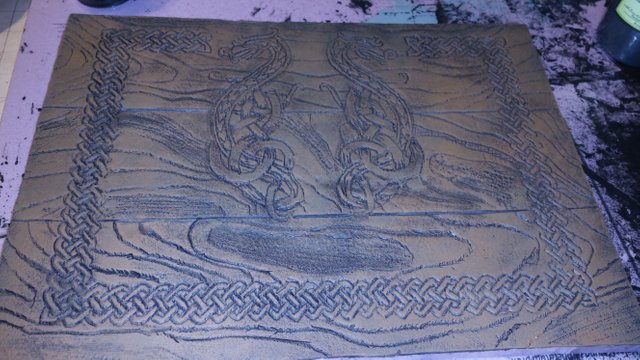
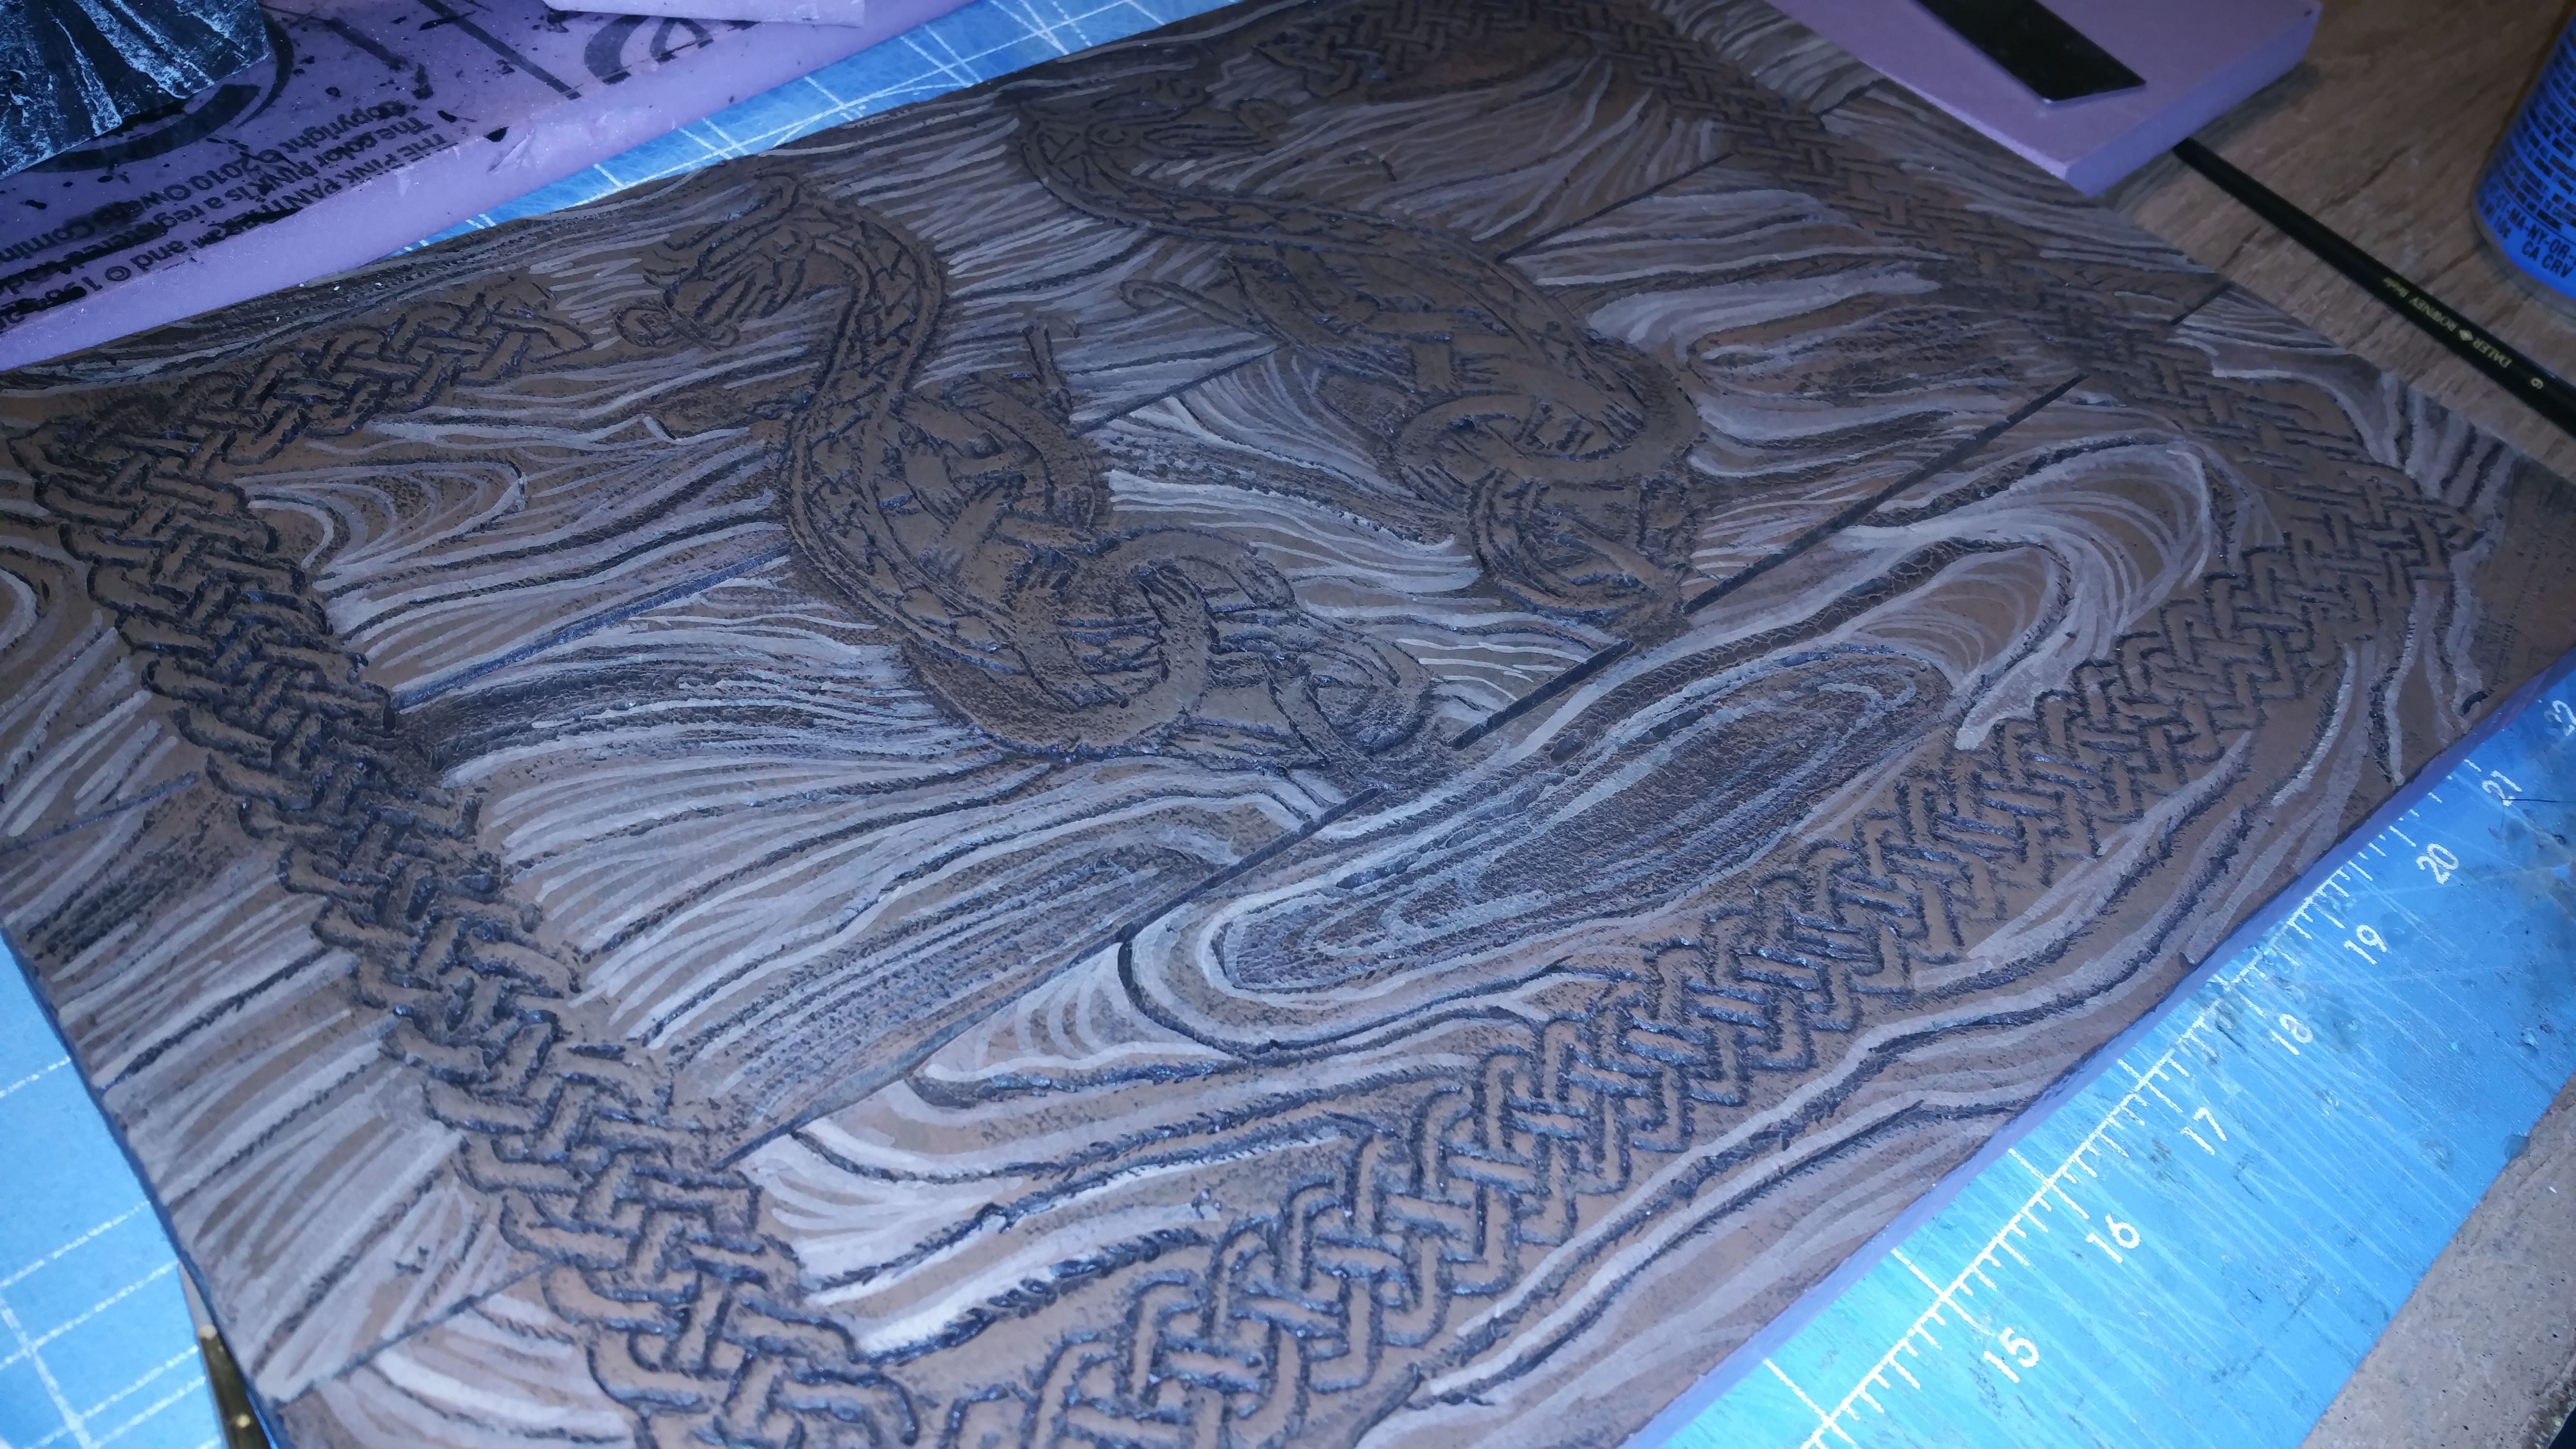
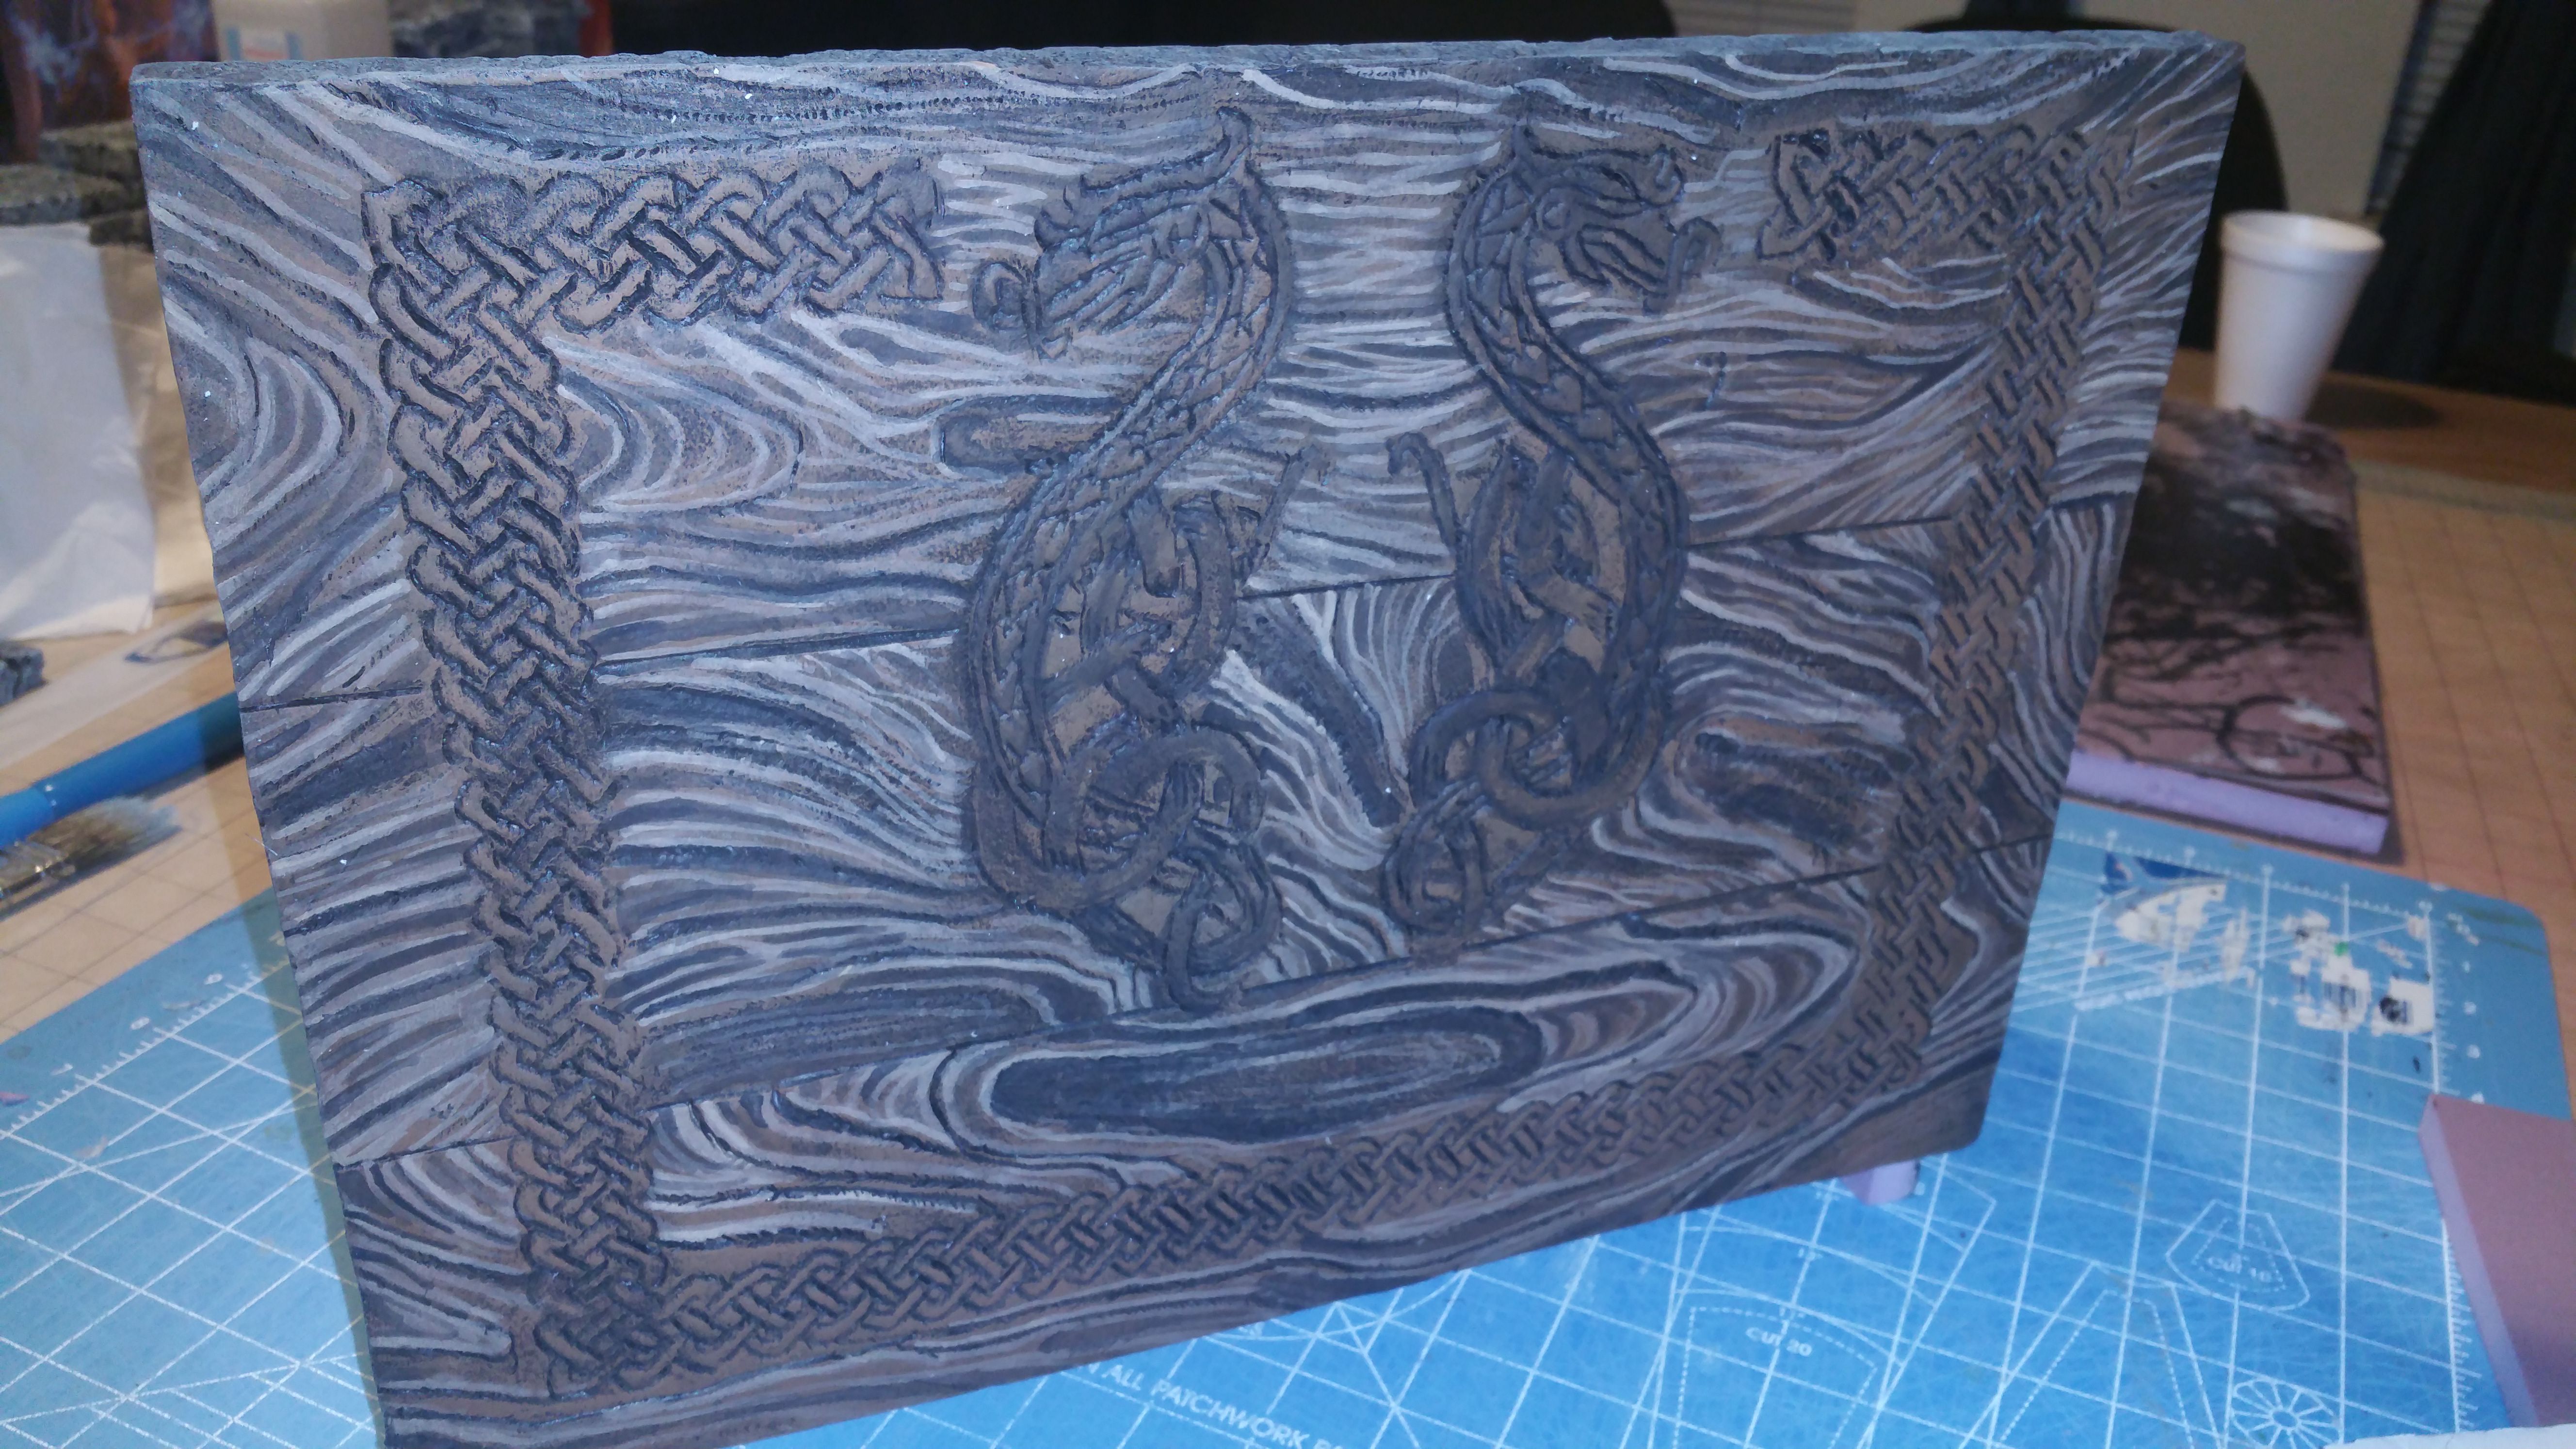
#4 is the piece that will cover the back. This is where you may want your decorations or detail work
to really shine. I made mine look like wood. I also downloaded some cool patterns and printed them out on paper.
I then traced it with a pen, and added some really neat effects.
But , we will get into that in future tutorials.

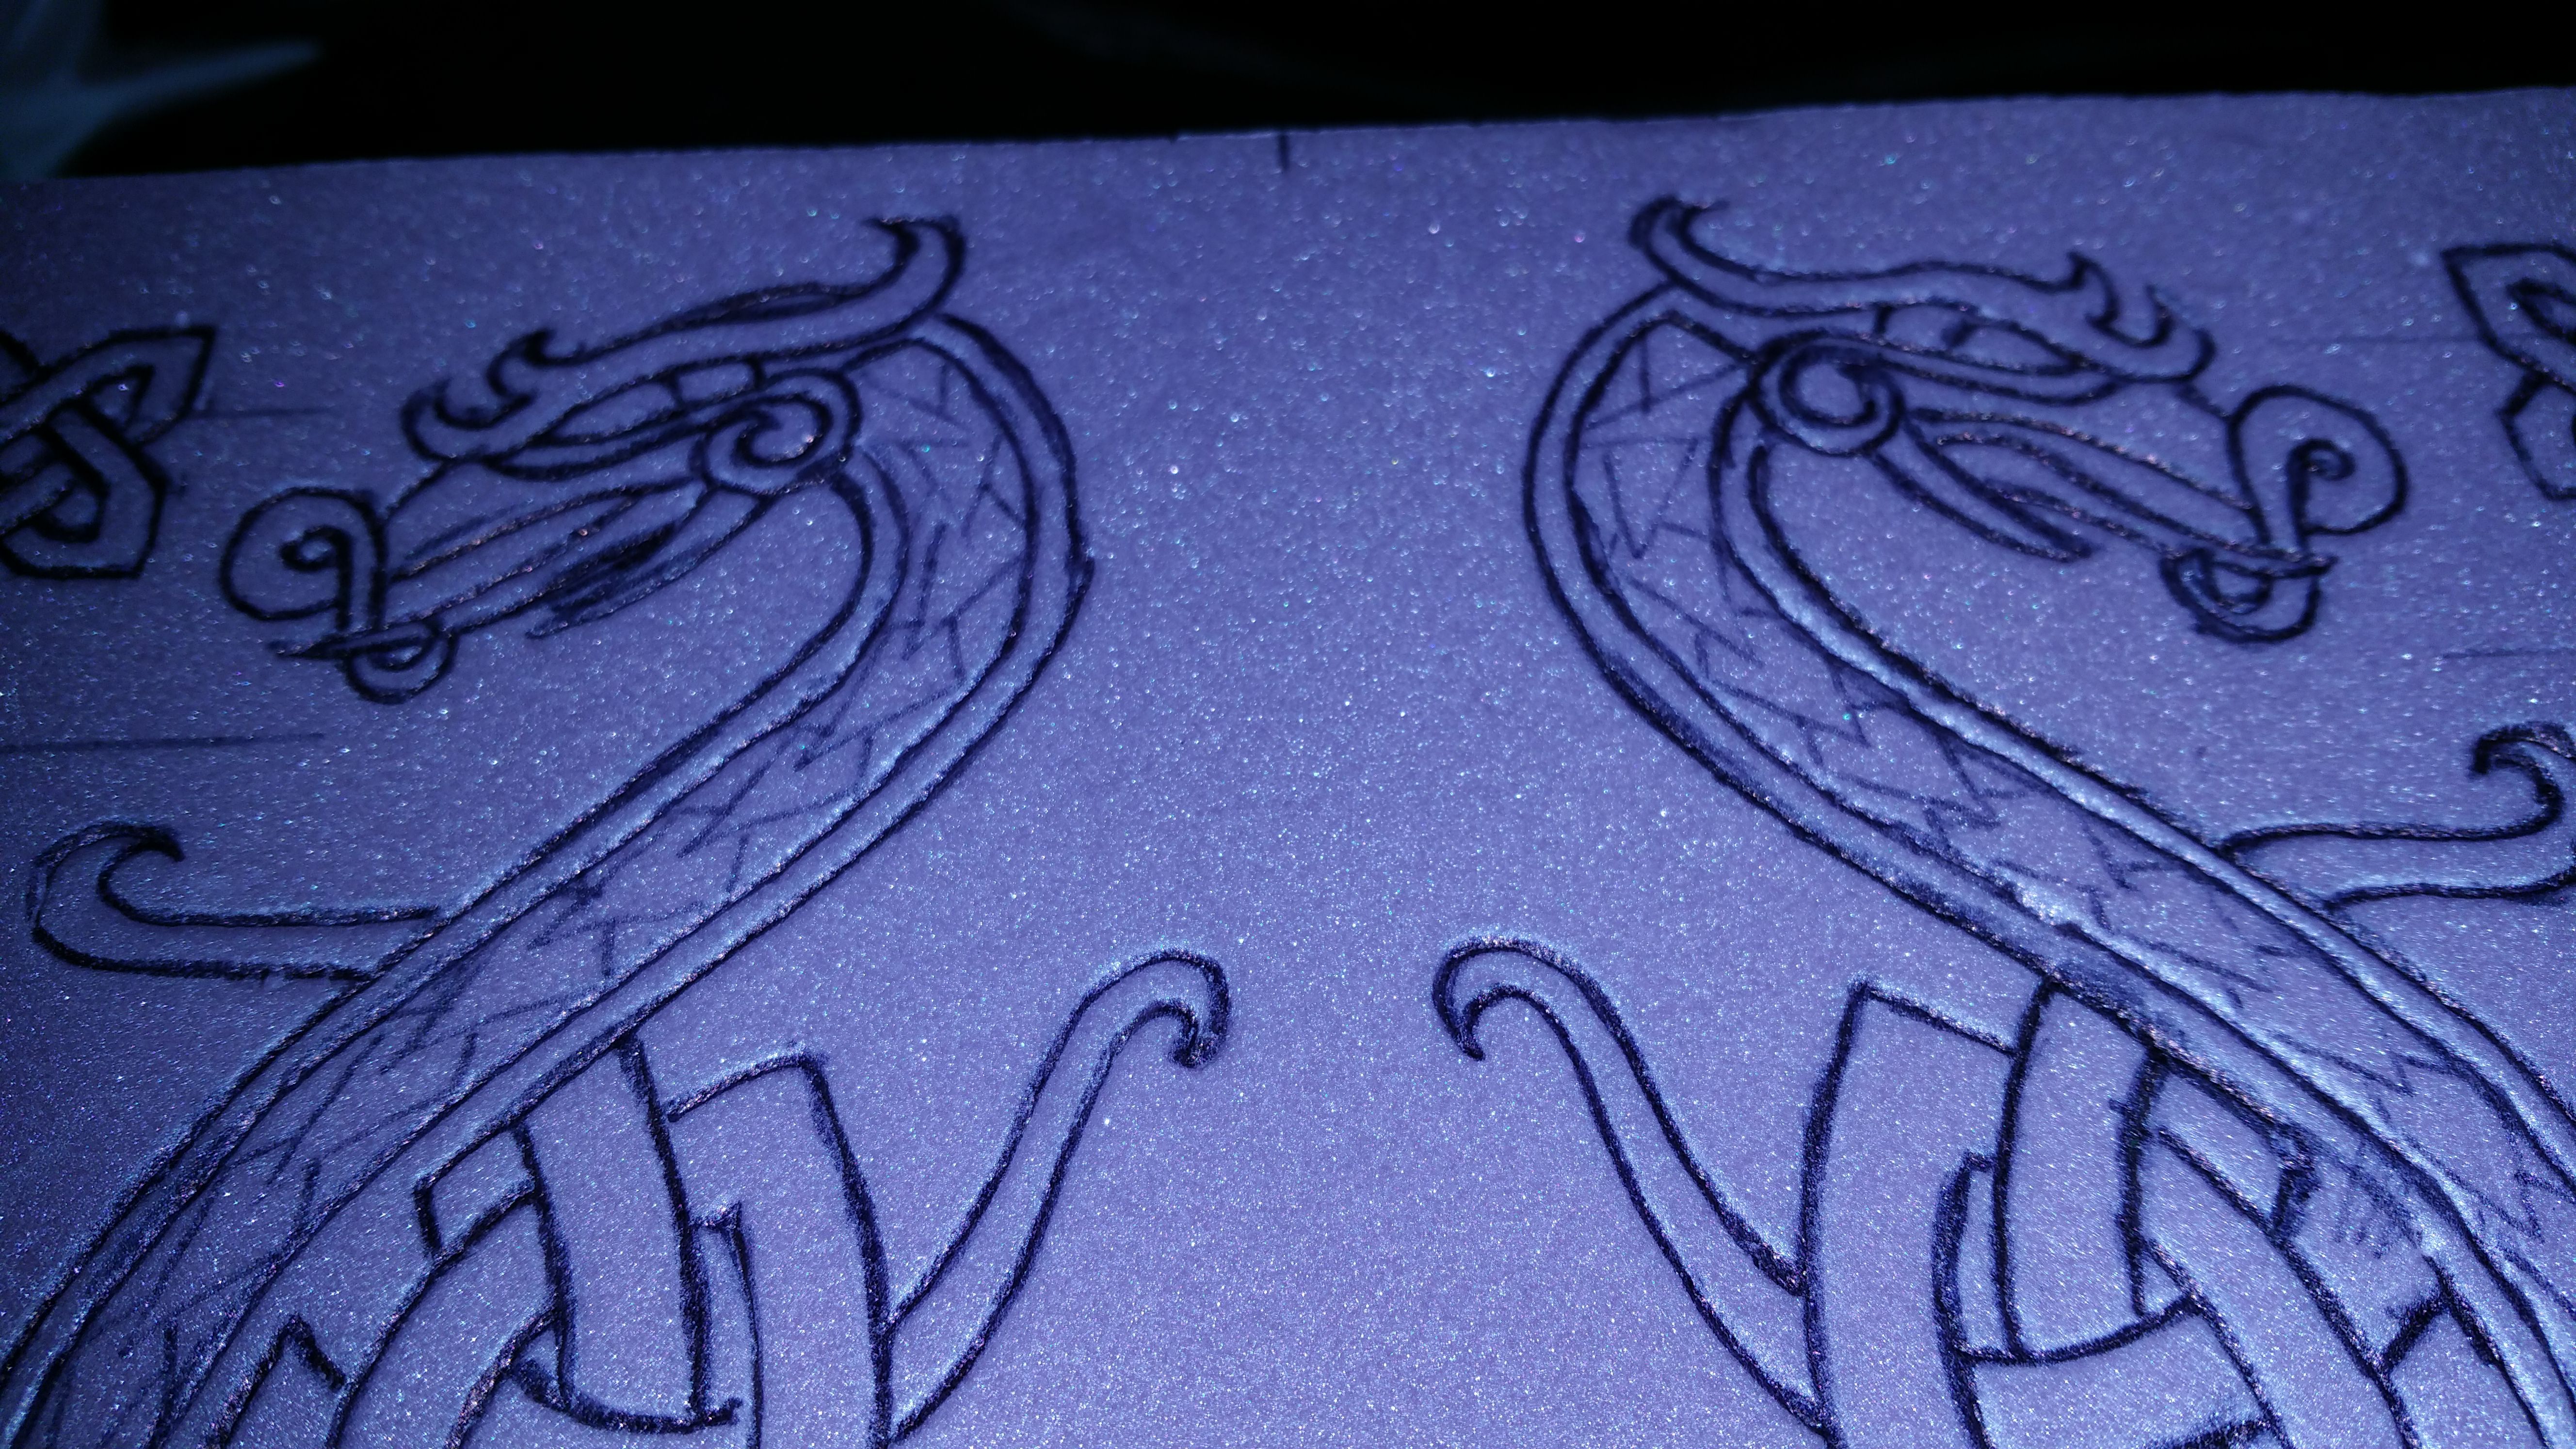
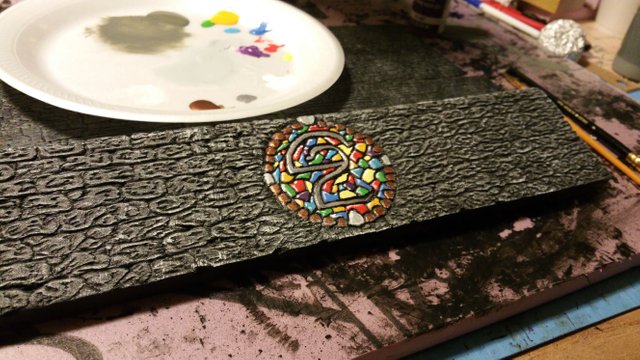
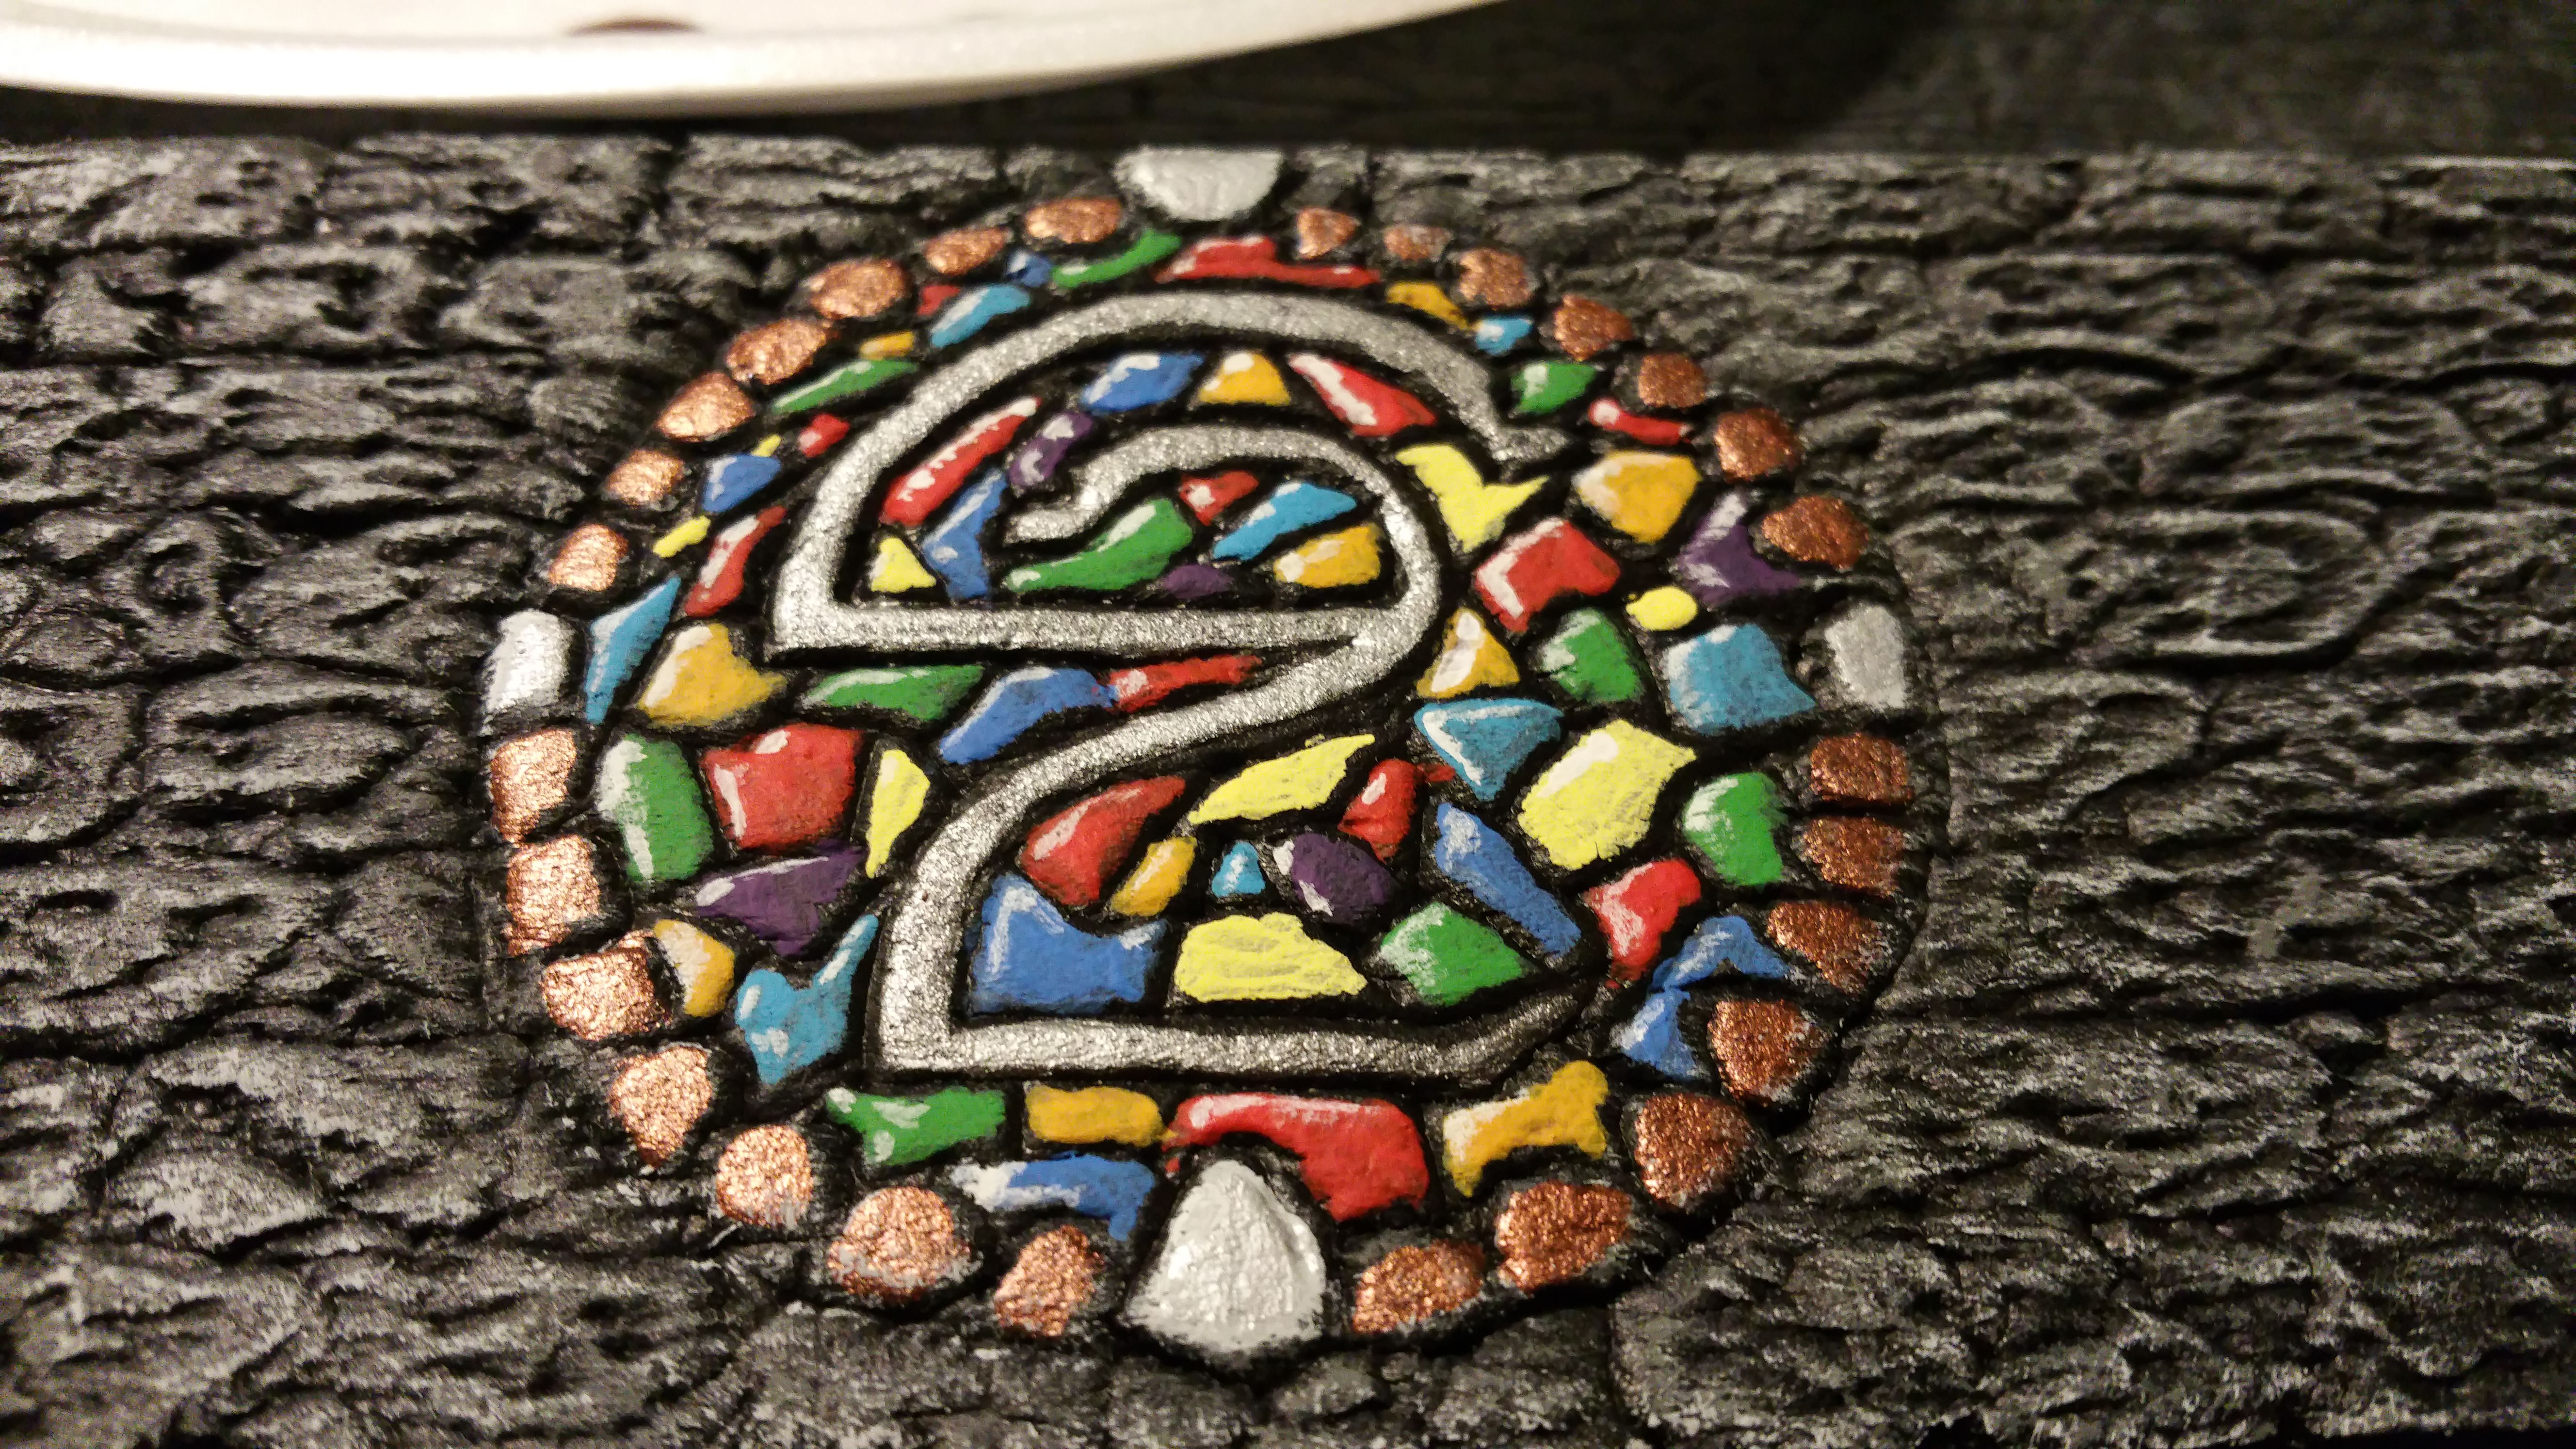
A little embellishment for the front as well...
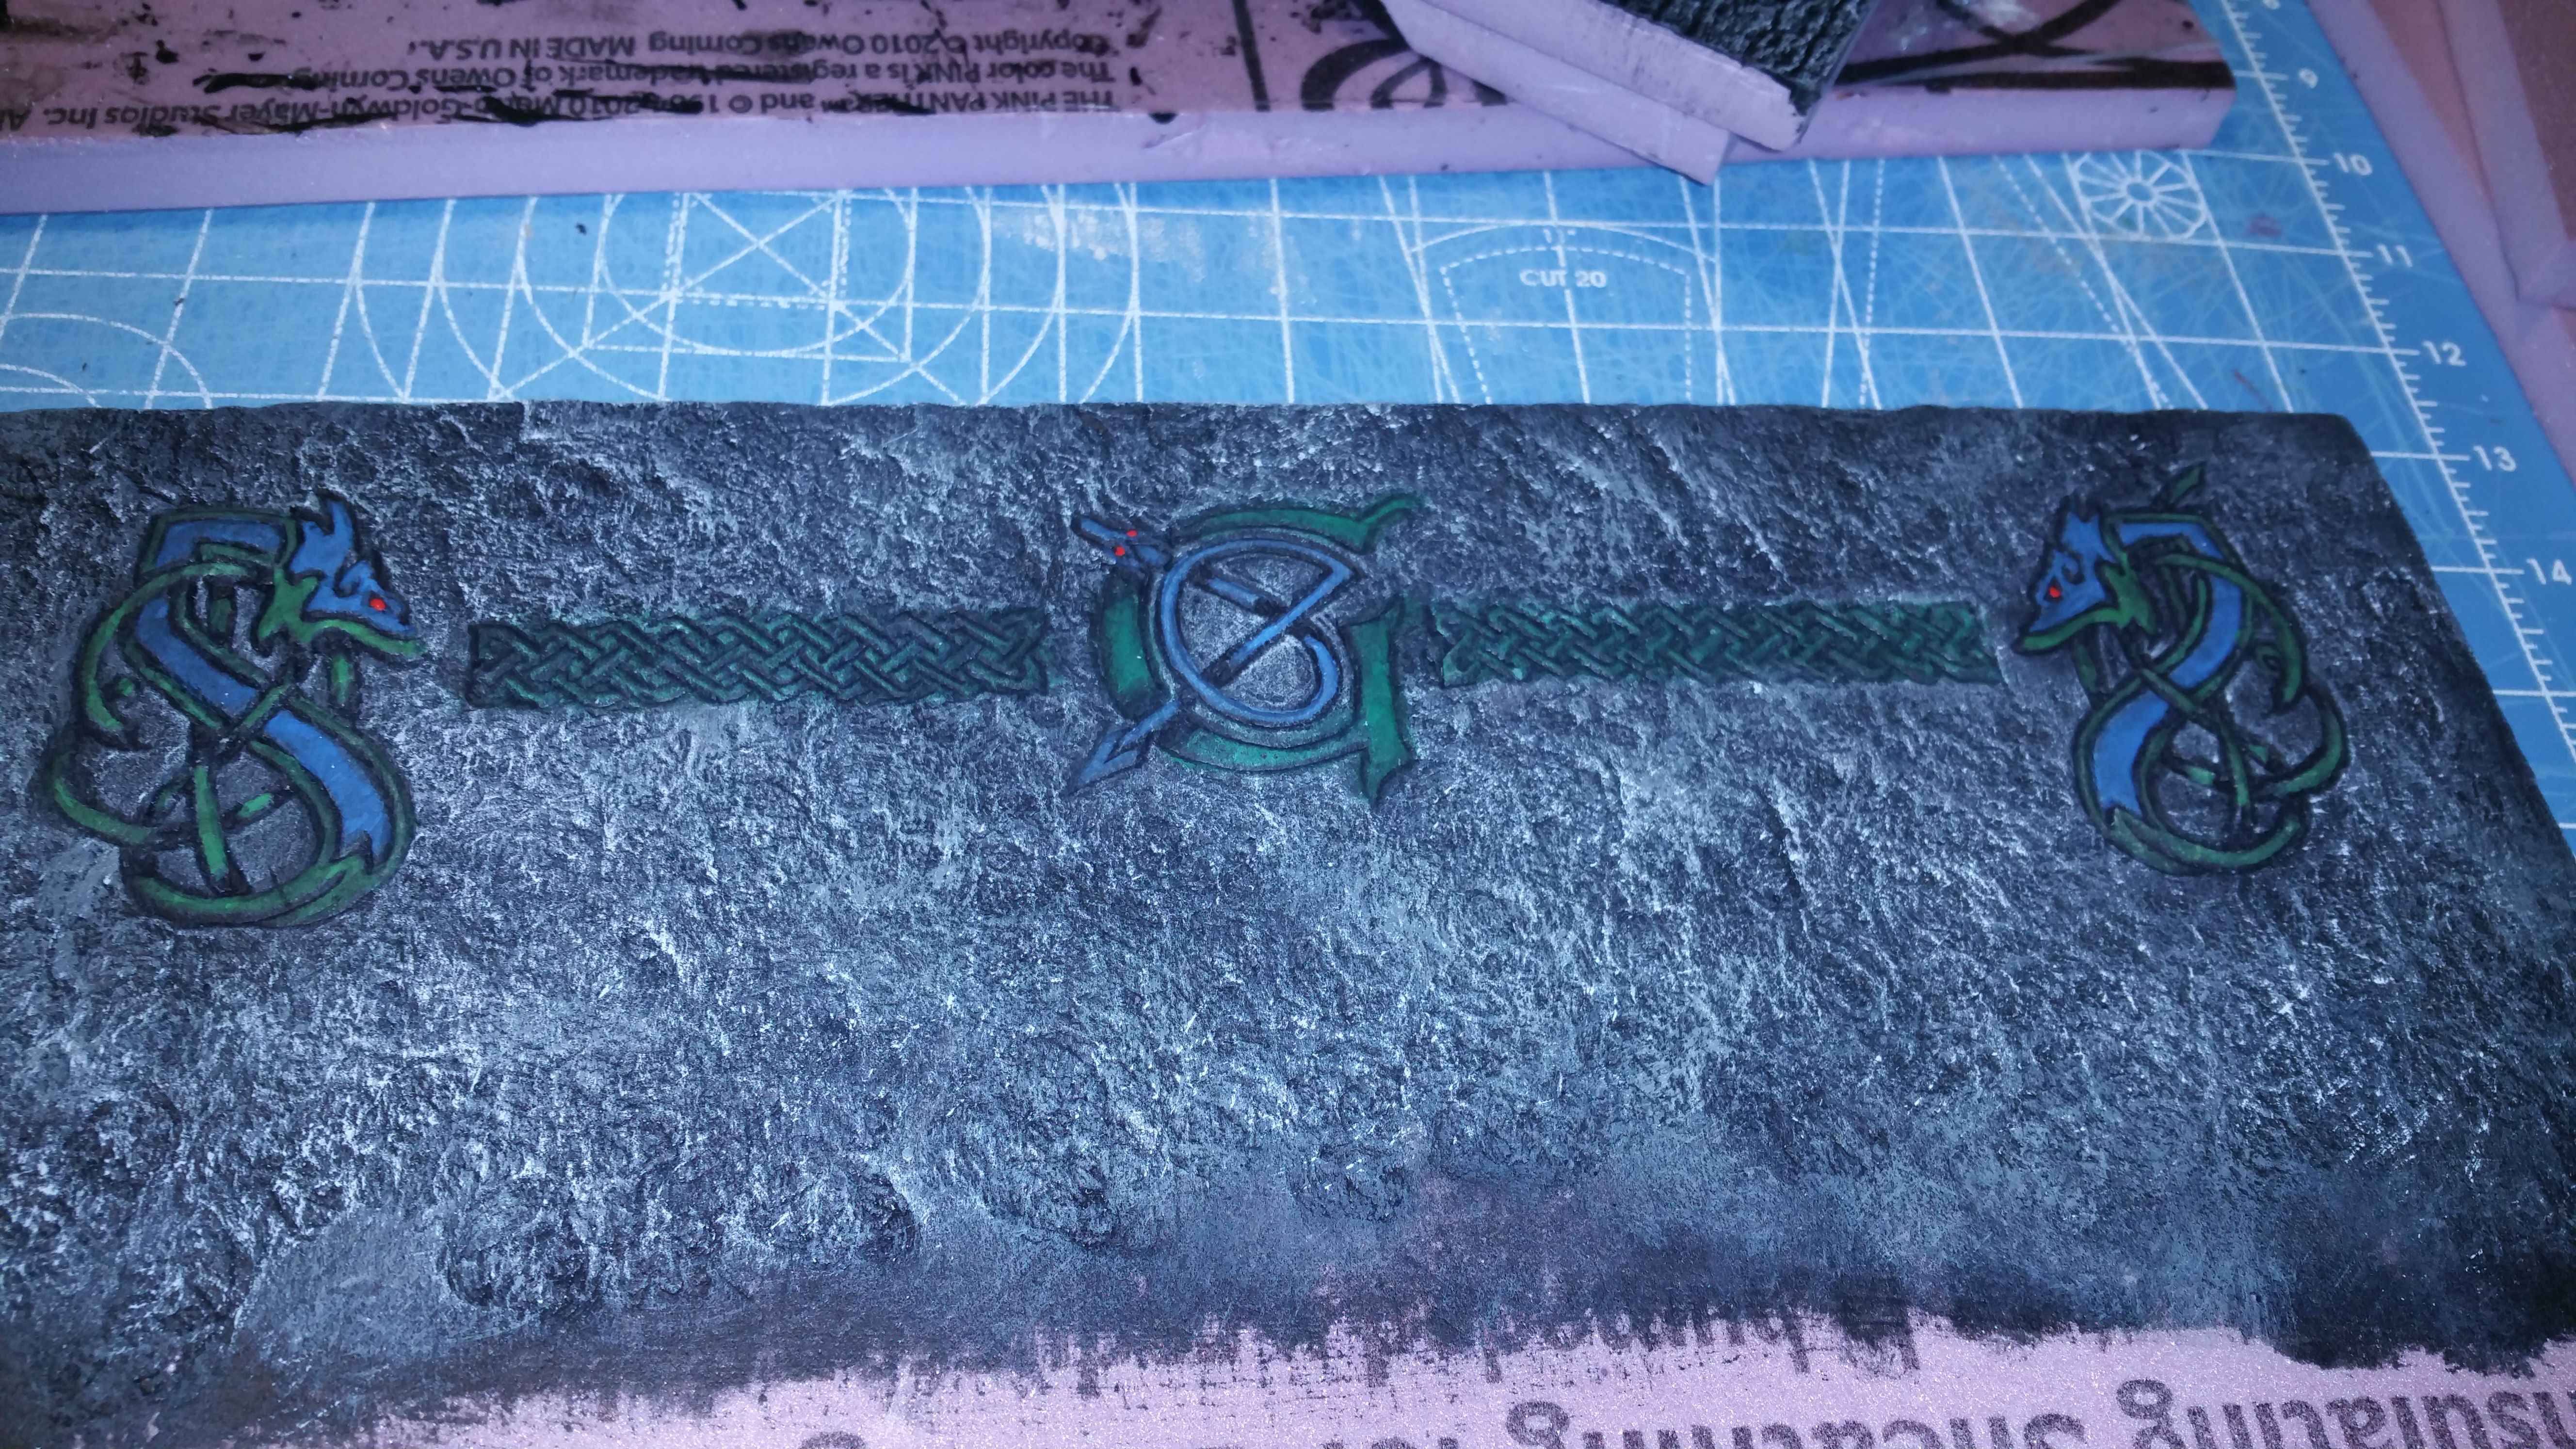
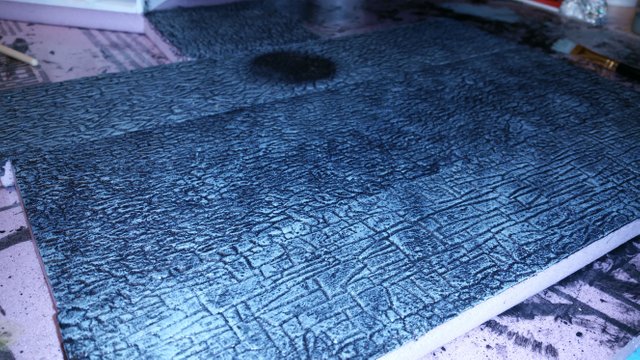
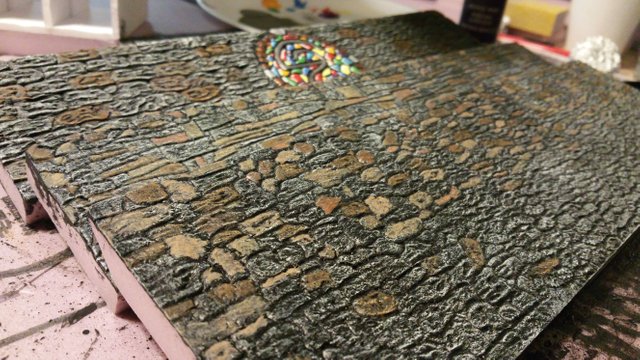
More stone/rock details, and then base-coat it all in with a combo mixture of ModPodge and Black Acrylic paint.
I just make a mixture of 70% ModPodge and 30% black acrylic paint. This also seals it.
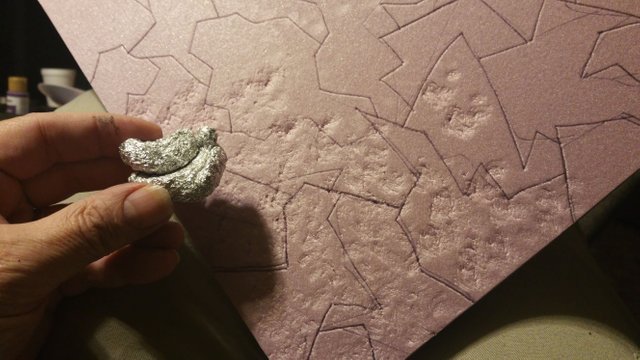
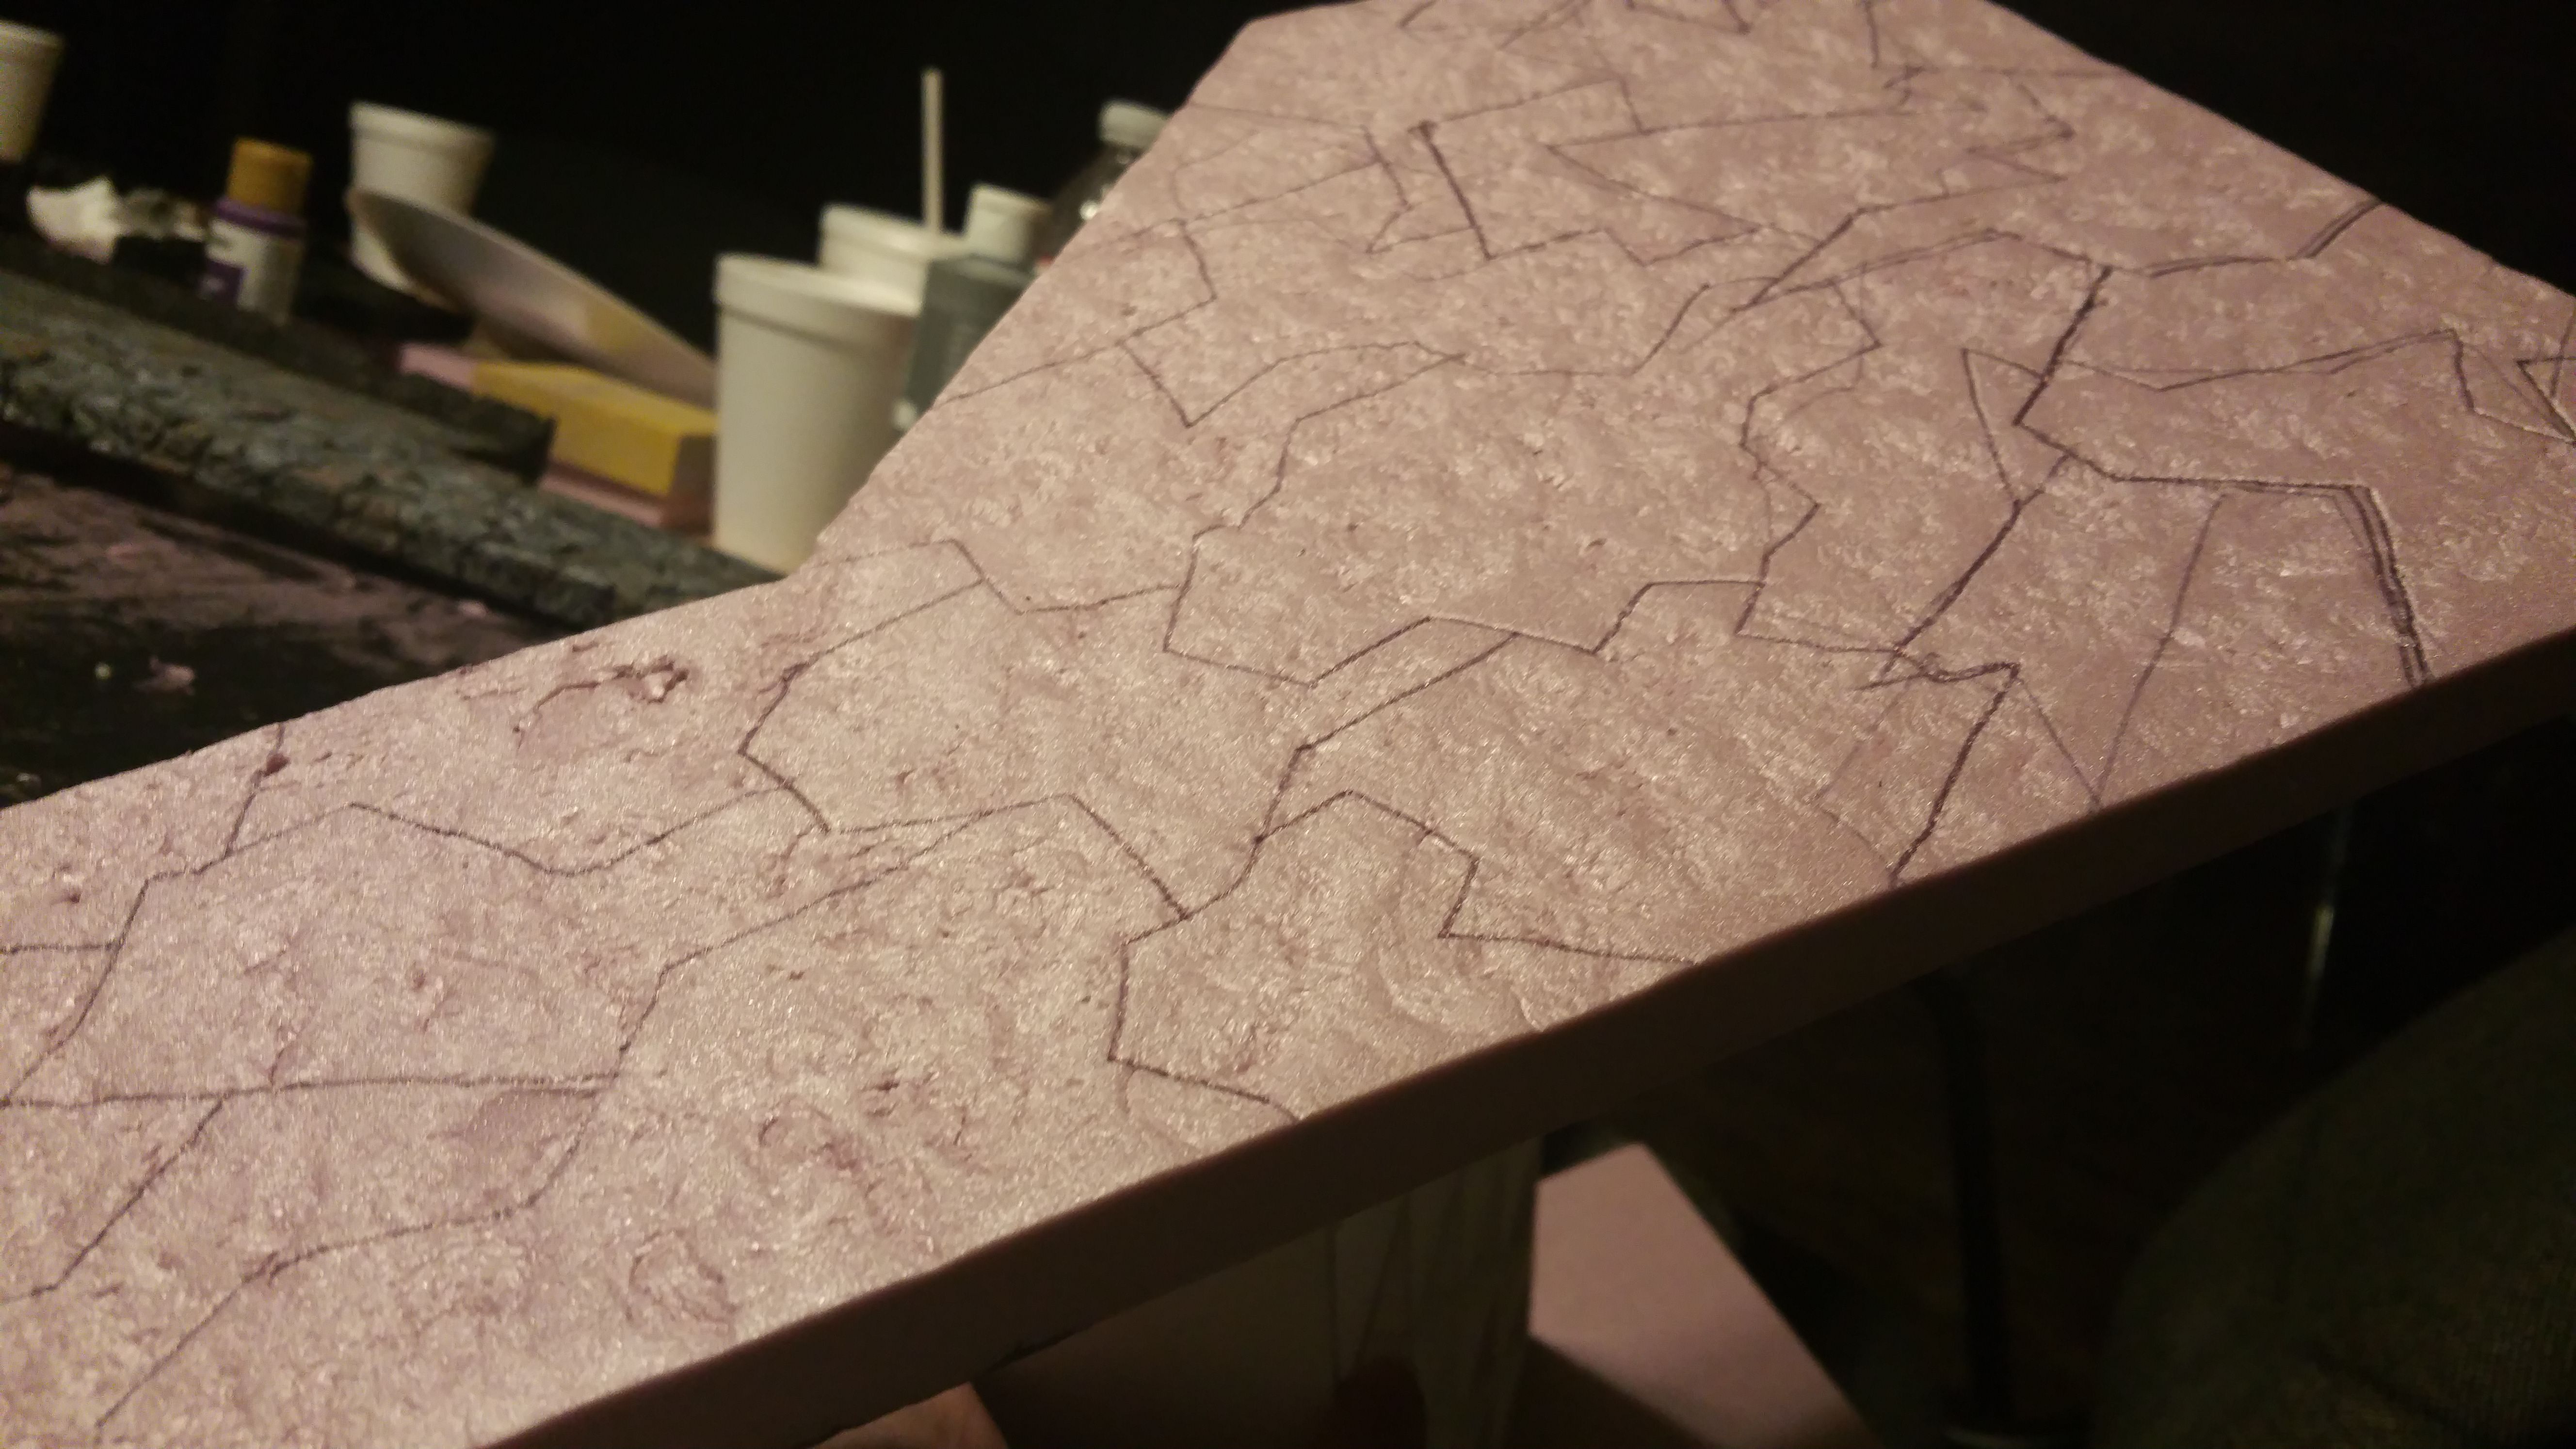
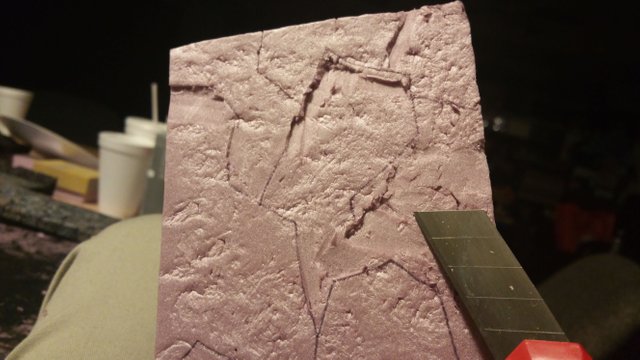
Here is a way to add some minor detail: take a ball of aluminum foil, and press it into the XPS pink foam...you'd be surprised at how the foam holds an imprint. It makes it look like it has a stone surface.
Once you have all the pieces detailed to your liking, you can proceed to got gluing all the pieces together.
NOTE: you don't have to do the detail first, but if you are making tiny details, I find that it works better to do so
Base-coat everything
Paint it up to your liking :-)
Well, I hope you enjoyed the tutorial. Please let me know if you have any questions. I would be happy to answer.
Congratulations @balfore! You have completed some achievement on Steemit and have been rewarded with new badge(s) :
Click on any badge to view your own Board of Honor on SteemitBoard.
For more information about SteemitBoard, click here
If you no longer want to receive notifications, reply to this comment with the word
STOPDownvoting a post can decrease pending rewards and make it less visible. Common reasons:
Submit
Very nice! I love the dragons and other decorations! Beautiful work. :)
Downvoting a post can decrease pending rewards and make it less visible. Common reasons:
Submit
Many thanks!
Downvoting a post can decrease pending rewards and make it less visible. Common reasons:
Submit