Hello, steemians!
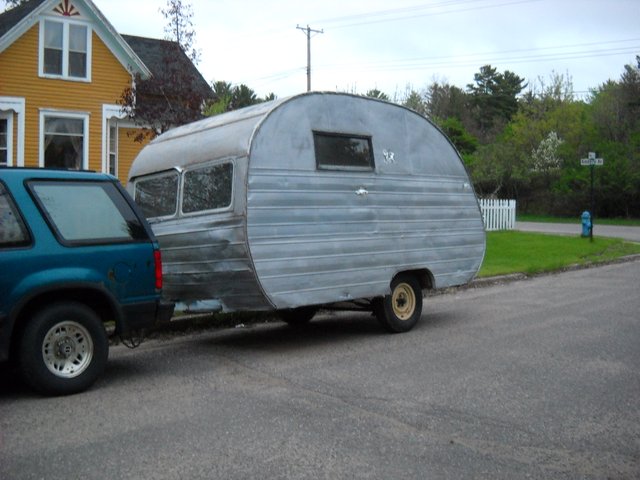
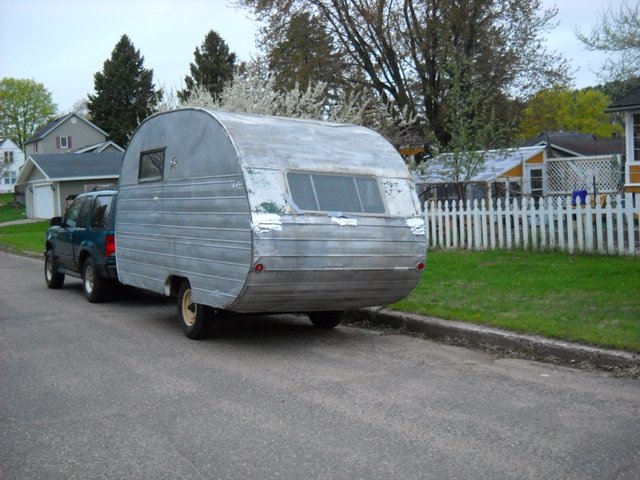
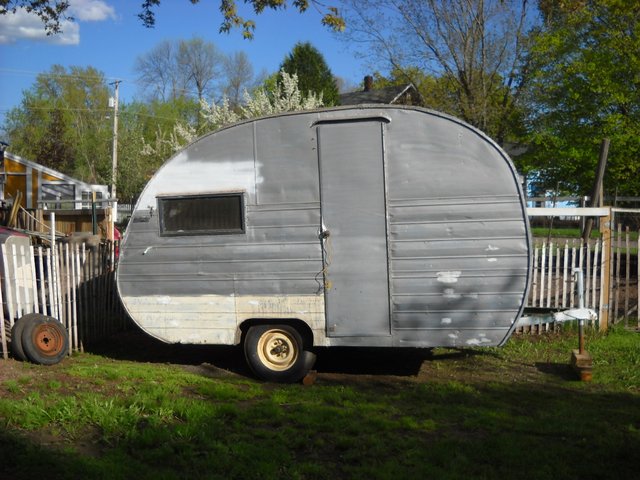
I have an old travel trailer that I bought in May of 2019. I don't know how old the trailer is or which trailer manufacturer built it, there are no identity markings anywhere on the trailer that I have been able to find since I've had it. I believe that the trailer was made in the 1950s or 60s.
This is what the trailer looked like when I bought it and brought it home.
This trailer was built with a steel main frame, and a wood structure covered with an aluminum skin. When I bought the trailer, the insides had been removed by the previous owner, so that he could start replacing the bad wood in the structure that was caused by years of water leakage. I think he decided that it was more work than he was willing to do and put the trailer up for sale. I've been working on fixing it up since I bought it. The trailer needed a lot more work than I expected due to water leakage problems and probably years of neglect before I bought it.
In 2019, I rebuilt the entire back of the trailer's structure and replaced a couple of the skin panels that had holes in them. As part of that process, I removed the back window due to the leak problems with it. That work took me all of the summer of 2019, and I wrote a series of posts about it on my steem blog back then.
In the summer of 2020, I ended up rebuilding the entire wood structure of the front of the trailer due to water damage and wood rot. I was able to reuse the skin panels on the front area, so I didn't have to replace them. I wrote a series of posts about that process on my steem blog at that time.
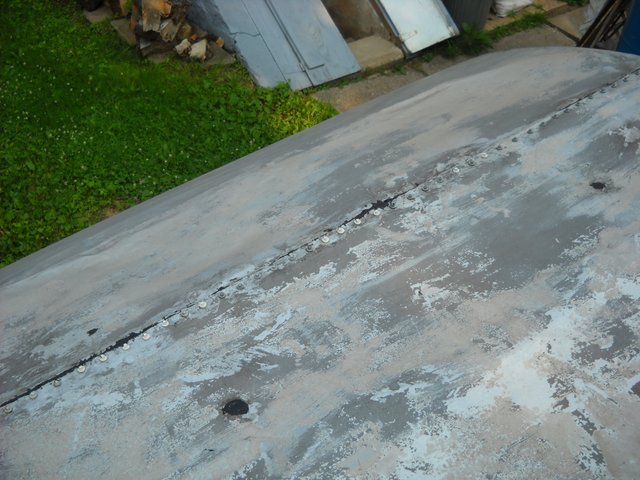
Over this past summer, I didn't work on the trailer very much, but there was still work to do on it. In July, I decided to start working on getting all the leaks fixed on the trailer roof. I had a persistent leak that I had not been able to fix because I couldn't find where it was leaking. Because of that, I decided to re-seal all the seams and old hole patches on the roof. I started on the seams on the sloping back of the trailer. There wasn't as much to do on the back because of the work I had previously done there. I mostly just applied a bit more sealer to the seam joints.
When I got to the seam above the work I had previously done, that's where the real work started. I had to remove all the old rusty screws that were holding the seam to the roof structure, and then I scraped as much of the old dried up sealer out of the seam joint as I could. Once that was done, I used a caulking gun to apply neoprene sealer to the seam joint, pushing the sealer into the seam joint as much as I could. Once that was done, I let the sealer set up for a while, and then put new screws into the original screw holes to screw it back down to the roof structure. For screws, I used sheet metal roofing screws with the rubber washers to seal up the screw holes.
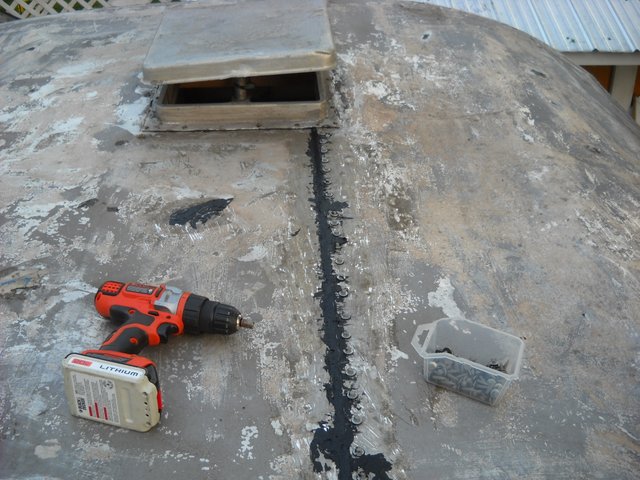
This is that seam after I was finished. I didn't think to take any pictures until after I was done with that seam. You can see how the pressure from the screws squeezed some sealer out of the seam in places. That makes for a better seal. You can also see the remaining old paint on the roof.
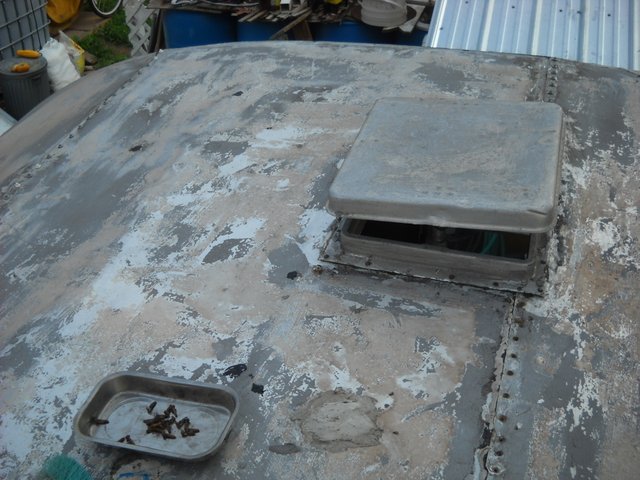
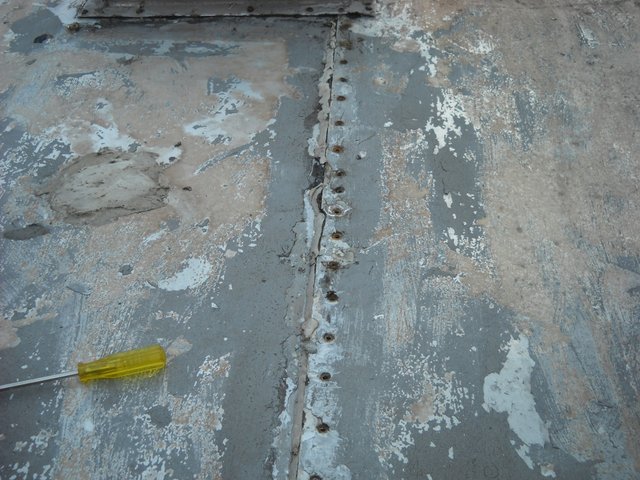
The next seam that I worked on is on the top of the roof. The first thing I did was to pull out all of the old rusty screws. A few of them had rusted off and weren't holding anything.
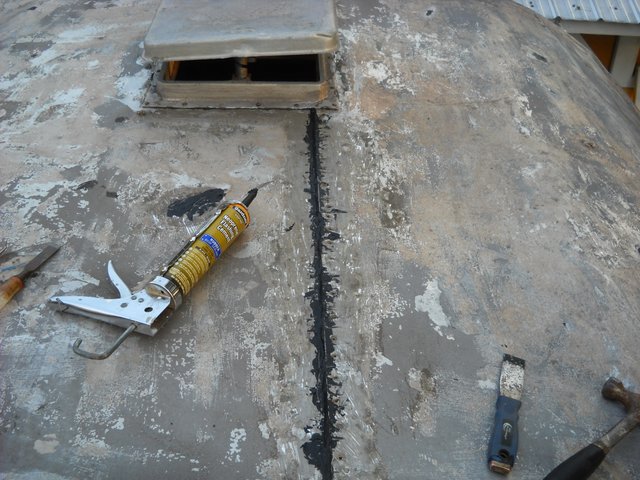
After that, I scraped all the old putty out of the seams the best I could. Once I had the seam scraped out, I applied the neoprene sealer into the seam. I also re-sealed a hole in the roof that was close to the seam, after having scraped off the old sealer.
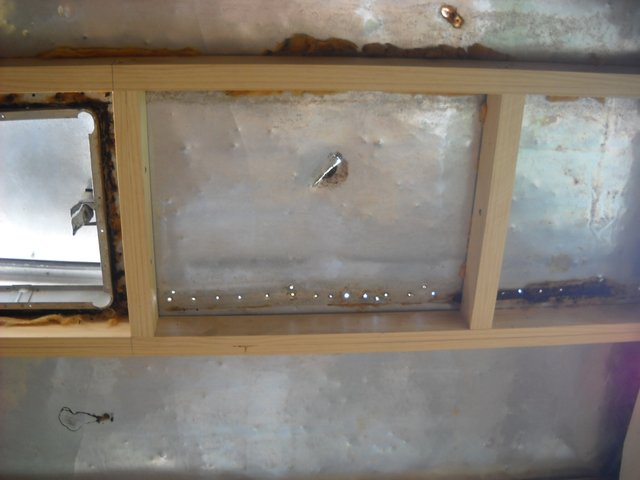
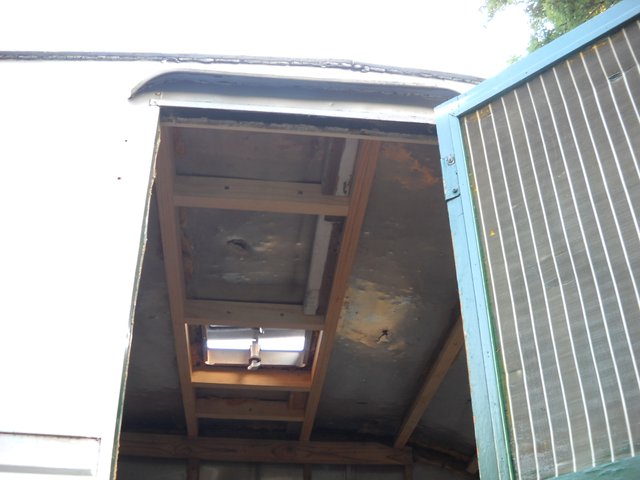
I had to do some work to the roof structure before I could put new screws in the old holes. When I had repaired the roof structure in that area the previous year, I had pulled out the rotten wood in that area, so there was nothing to put the screws into. The replacement wood framing was not on the seam.
I had to cut pieces of 2X4 wood to fit into the roof structure so that there was wood to run the roof screws into.
Once I had all the wood pieces screwed in place in the roof structure, I was able to use the metal roofing screws to screw that seam down to the roof.
That took care of the main roof seam. That was all I did to the trailer until the end of September when I decided to remove the old original metal roof vent and replace it with a new one. That will be the subject of the next post about my trailer.
That's all I have for this post, I hope you found it interesting!

