Quick update following on from previous post, DIY Trezor Hardware Wallet Journey #1
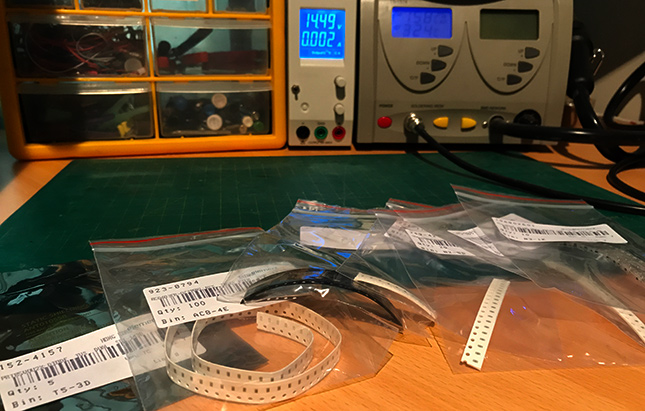
Components I didn't have in stock arrived ...

The ST32F205 MCUs (Wikipedia:MCU) are still on backorder. Should arrive by end of this week.
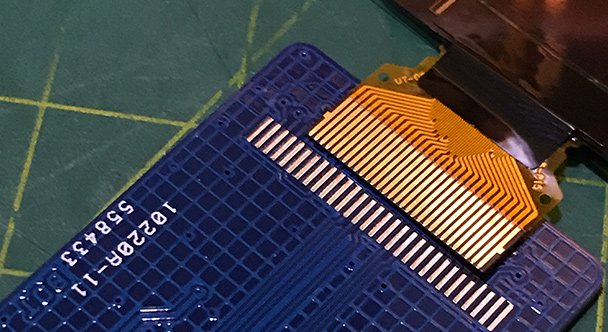
Then I realised I had ordered the wrong OLED displays from BuyDisplay.com. D'oh!

Oh! I forgot to mention in the previous post that I'm actually also using a larger display then the original Trezor. So, I'll have to redesign the case.
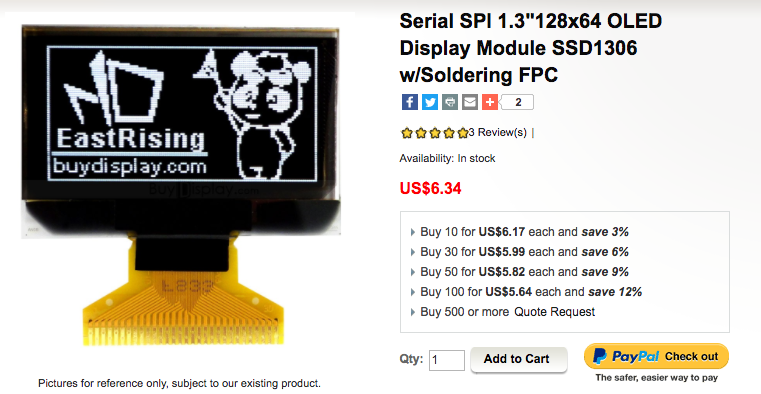
This is the one I should have ordered ....
The main difference is that the correct display is the direct solder version, whereas the one I originally bought have sockets. I just assumed the pin spacing was the same. Duh.

Image source: http://www.theleadermaker.com/good-habits-1-never-assume-anything
Anyway, the correct displays will likely be another couple weeks, winding their way here through roads, clouds, customs, more clouds and one last set of roads. Pretty freakin amazing though, when you think about it!
That's it for this update.
I'll be back when the MCU's arrive, when we can start soldering.

I bet you're curious how a human can solder such tiny parts, huh? FOLLOW ME and remember to check back to find out.
Hint: It's a lot easier than you think! ;-)
Bryan.
