Creating a trybe article is not really a big deal once you get used to the steps involved, there is no hard and fast rule to go about it.
The challenge newbies commonly face on the platform when they onboard is that of successfully crafting a post for publishing. it was even evident on my previous article on getting started on trybe where a new user asked about how to make a post.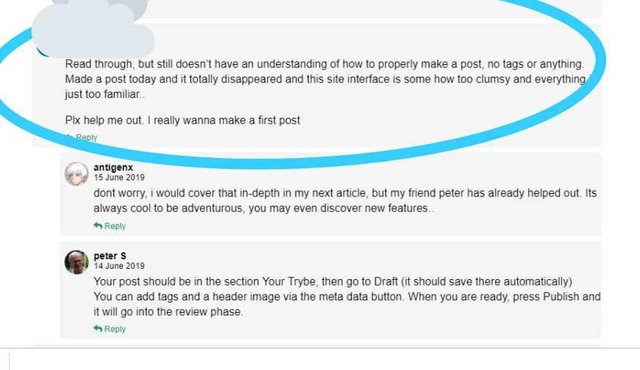
In this article, I shall be giving a step by step guide on how to successfully create an article and get it on the queue for publishing without any worries, as I said before, it’s a very simple process once you get to practice it every time.
Previously, there used to be this prompt to notify users on rules, but with the new upgrade, it was taken away. It is always important to have these same set of rules in mind.
• The content must 100% be yours.
• You must select one category.
• You must upload a featured /cover image
• Create content that is educational, informative or generally useful to the others in the community.
CREATING AN ARTICLE.
The create button is not difficult to locate, It can be found on the top- right of your screen( just by the right of the wallet button), I am sure you wouldn’t miss locating the wallet button for anything! Once you click on the button, it would take you automatically to a fresh page where you have two boxes.
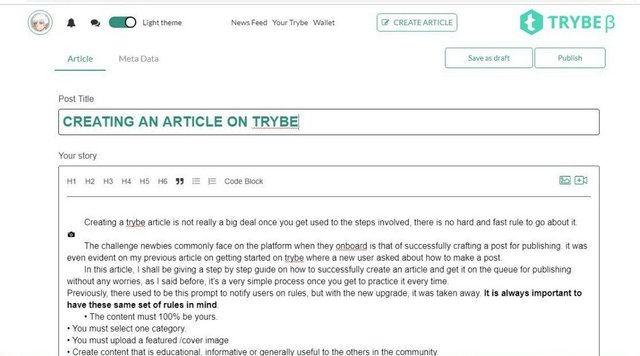
POST TITLE.
This is where you craft the most suitable title for the article you intend to craft.
YOUR STORY.
This is where you input the article you intend to share with the community( remember, it must be educational, informative or generally useful to the others in the community). There are some editorial tools you can make use of here which could be easily located beneath ‘your story’ heading. They are very easy to use, there is also a photo and video button found on the top right of your post that can help to input the desired image or video to make the article catchy to the reader.
After going through the pains of formatting your article for the readers, the next button to click is the metadata.
THE METADATA.
This takes you to another page to complete your editing to enable your work to qualify for publishing! In this window, there are 5 things to take note of.
CATEGORY
You would be required to select a category where your article can fall into, going through the list, you should be able to find the best for the particular work you want to share with your readers.
FEATURED IMAGE
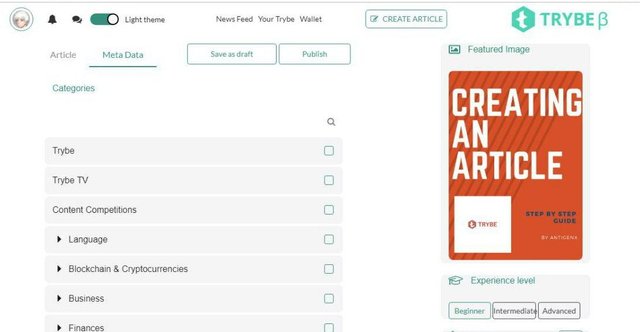
This is a very important feature that must be filled before submitting your work for publishing if not the work would be sent back! The featured image is simply a thumbnail that would be on display when somebody gets to see a link to your article. You can think of it also like a cover picture that best describes the story you have written about!
EXPERIENCE LEVEL
This is a newly added feature, which basically helps to further categorize your article into a three (3) audience category for ease of understanding. Although I have not really seen the feature in the body of most articles I have read, Its cool to choose one of them.
SERIES
This feature was created especially for users who may be interested in publishing lots of similar articles for their readers to be able to follow up.
TAGS.
This could come in handy when there is a special request for it( maybe for a particular contest requirement ), it can also be used to further elaborate what your article portrays.
CONCLUSION
Having gone through this steps, You can head back to the top right of the window and publish your article if you are sure you want it published or you can even choose to save the article in your drafts for it to be sent for publishing on the desired date of yours.
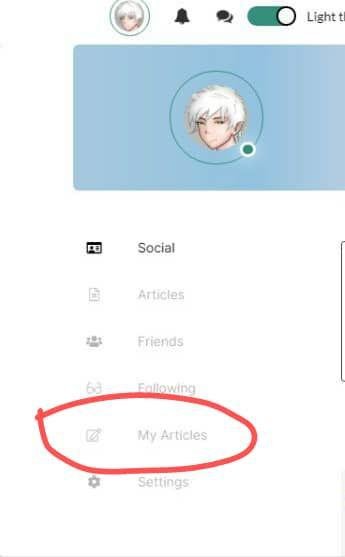
To sum it up, once you send your article for publishing, there are 3 places to check for this article, You can easily find this in my articles, under the note pad icon (in draft, in a review or published). When you Practice these steps often, you would get used to it in no time.
Thanks for reading.
..curled from my blog
Posted using Partiko Android