Orange and Teal
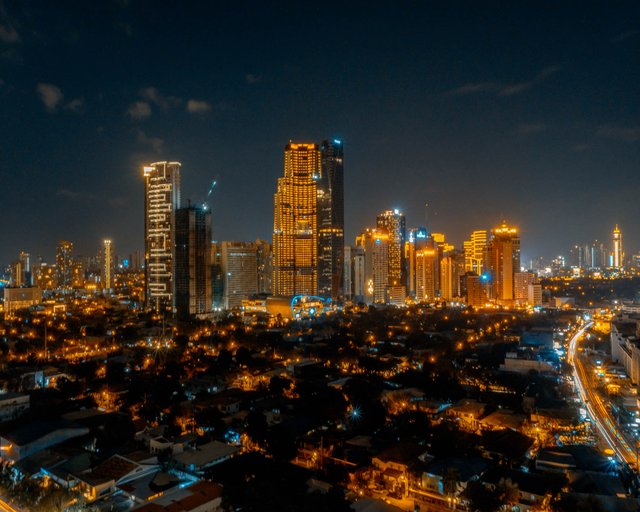
Introduction
Hello guys! Raymund Bumagat here and today, I am going to share you on how you can get the Orange and Teal tone in your photos in less than 5 minutes.
Have you ever heard about Orange and Teal?
Do you want to learn and achieve this kind of tone and apply it in your photos?
Then, this post is for you!
What is Orange and Teal
As you can see for the past few years, using different social media sites are part of our daily activities. One of these is Instagram.
Different people will be able to see your photos and your story that's why for me and for some, post processing is a big part when we are uploading photos in our social media sites, since it helps us to tell more story, curate our feed, make our own style and to produce quality content.
Many Famous Instagram Personality are using Orange and Teal for their photos and one of them is Sam Kolder ( https://www.instagram.com/sam_kolder/ ).
I know that explaining this in words is hard to imagine. Let me show you what Orange and Teal looks like in photos. See below:
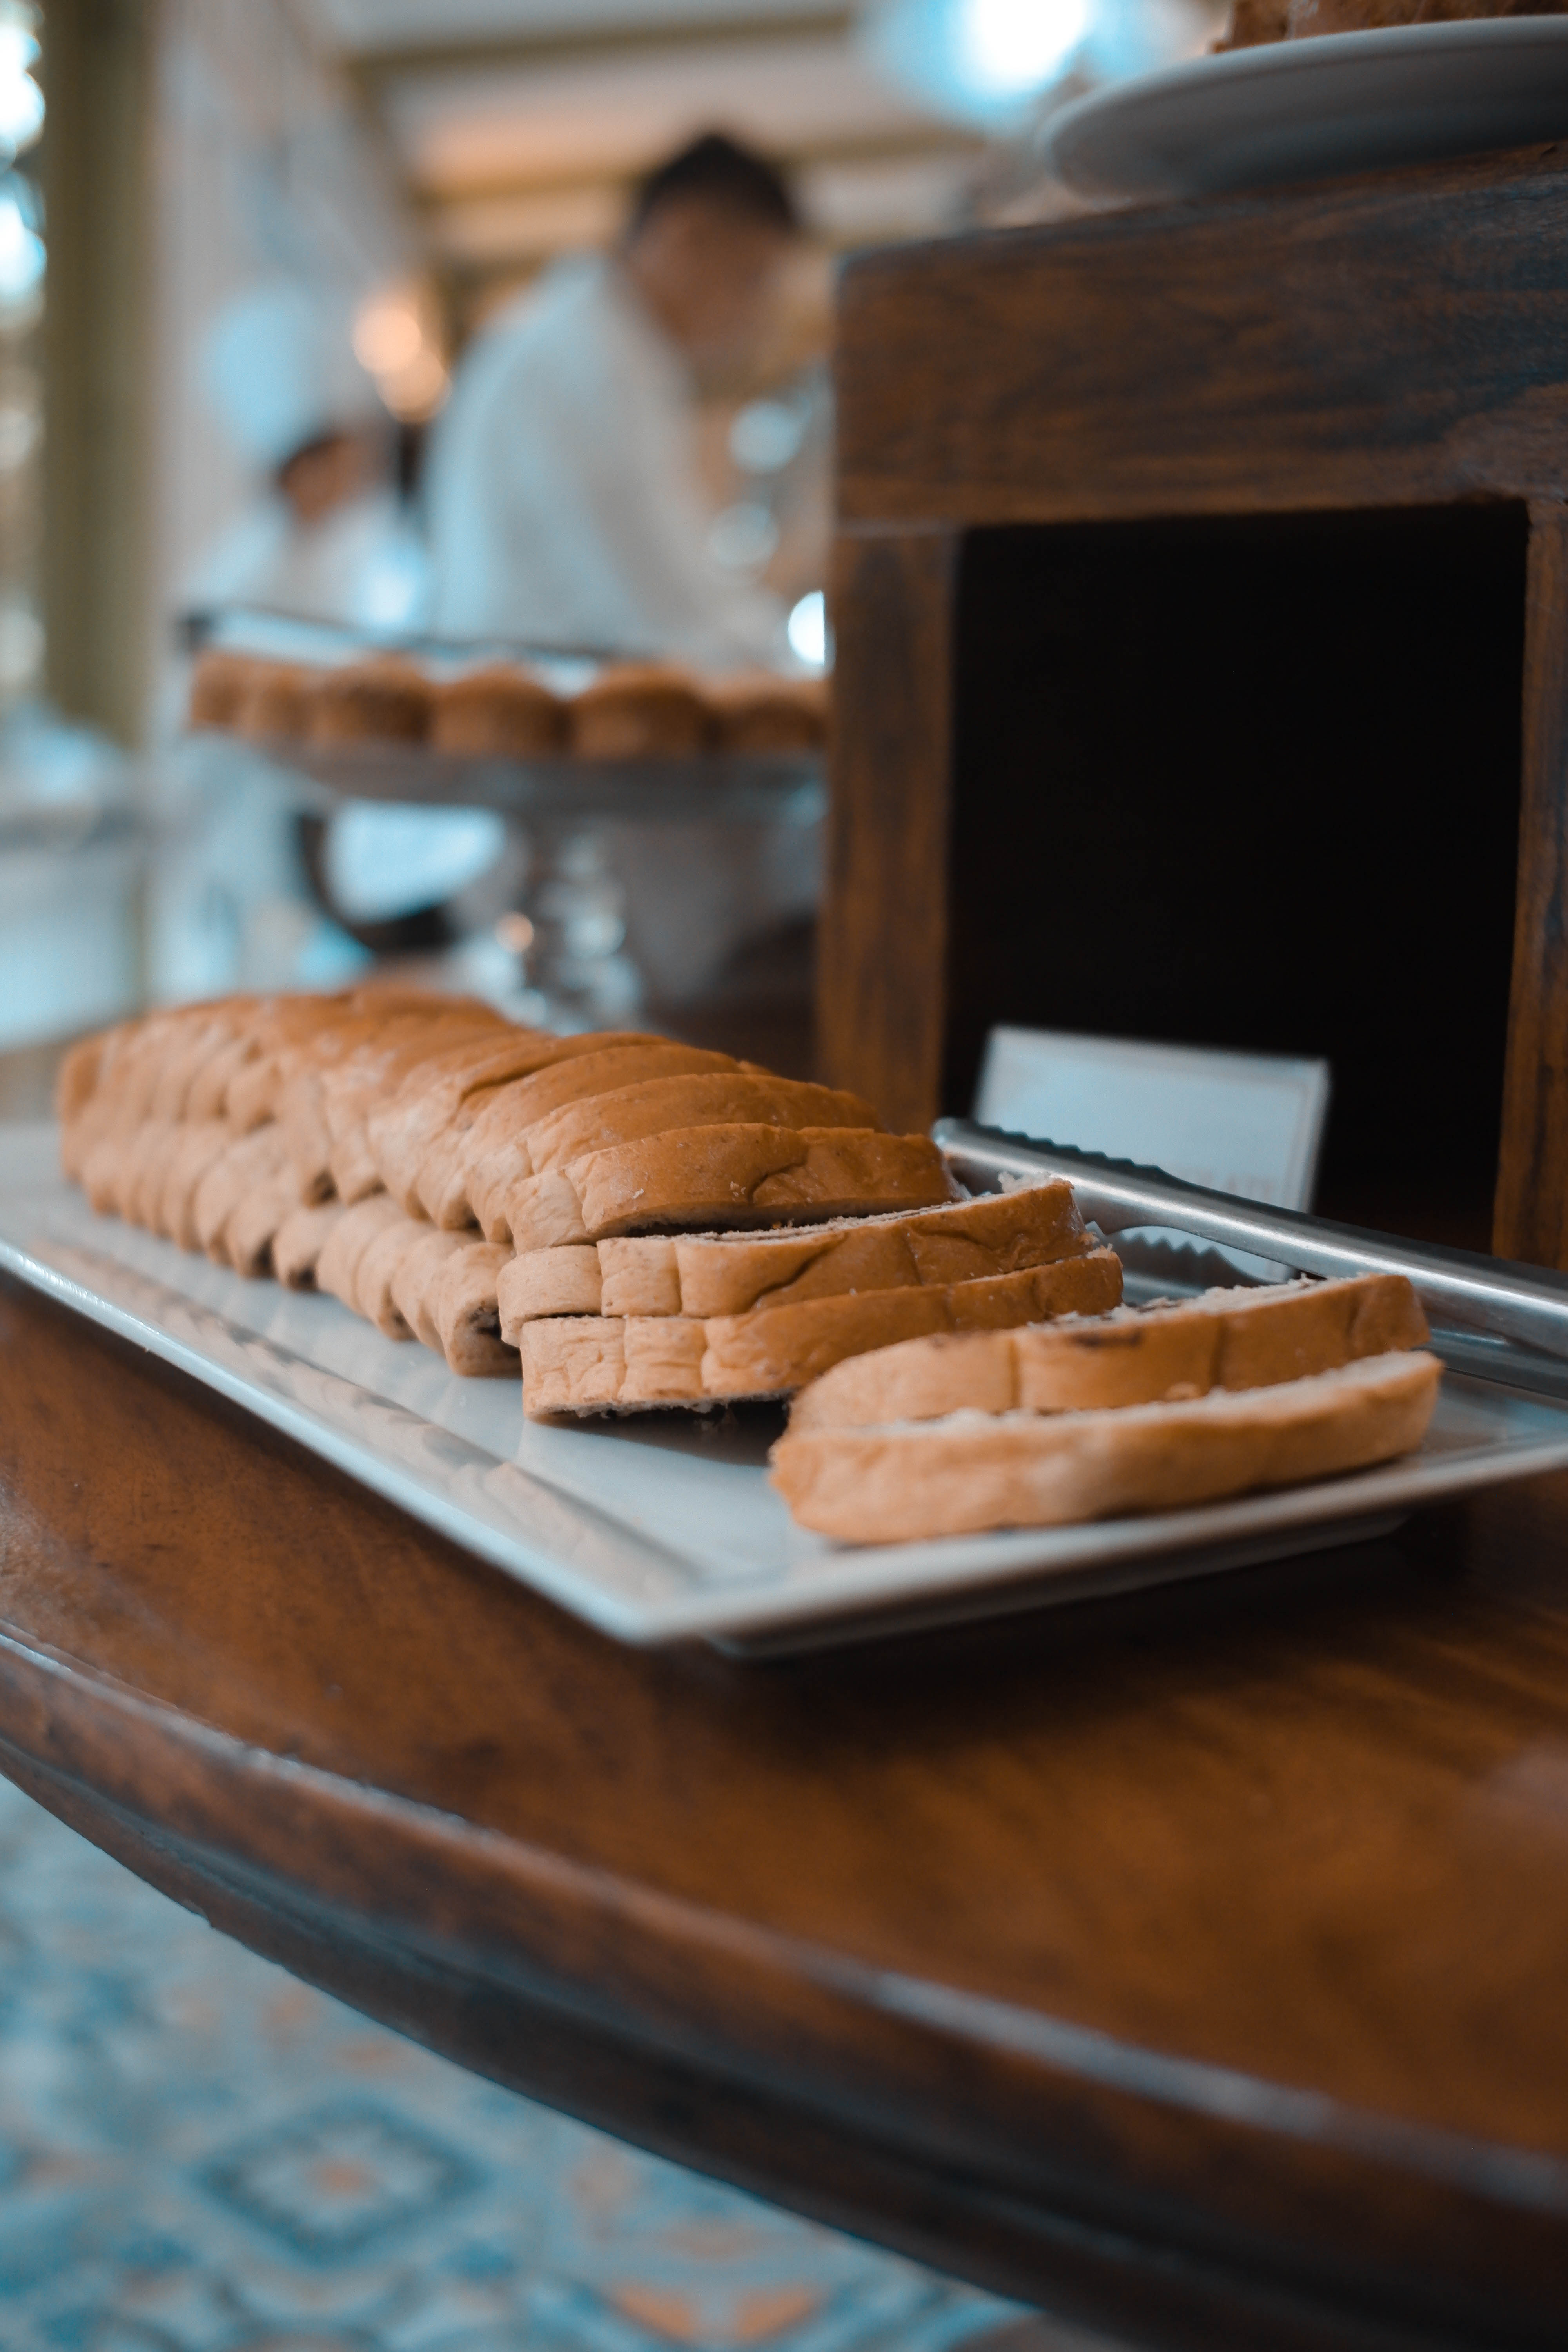
( I took a photo of a sliced tasty bread inside a buffet restaurant in Tagaytay )
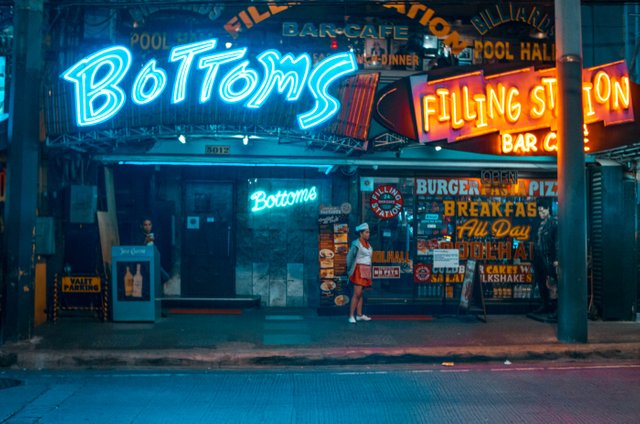
( Outside of a restaurant that filled with neon lights )
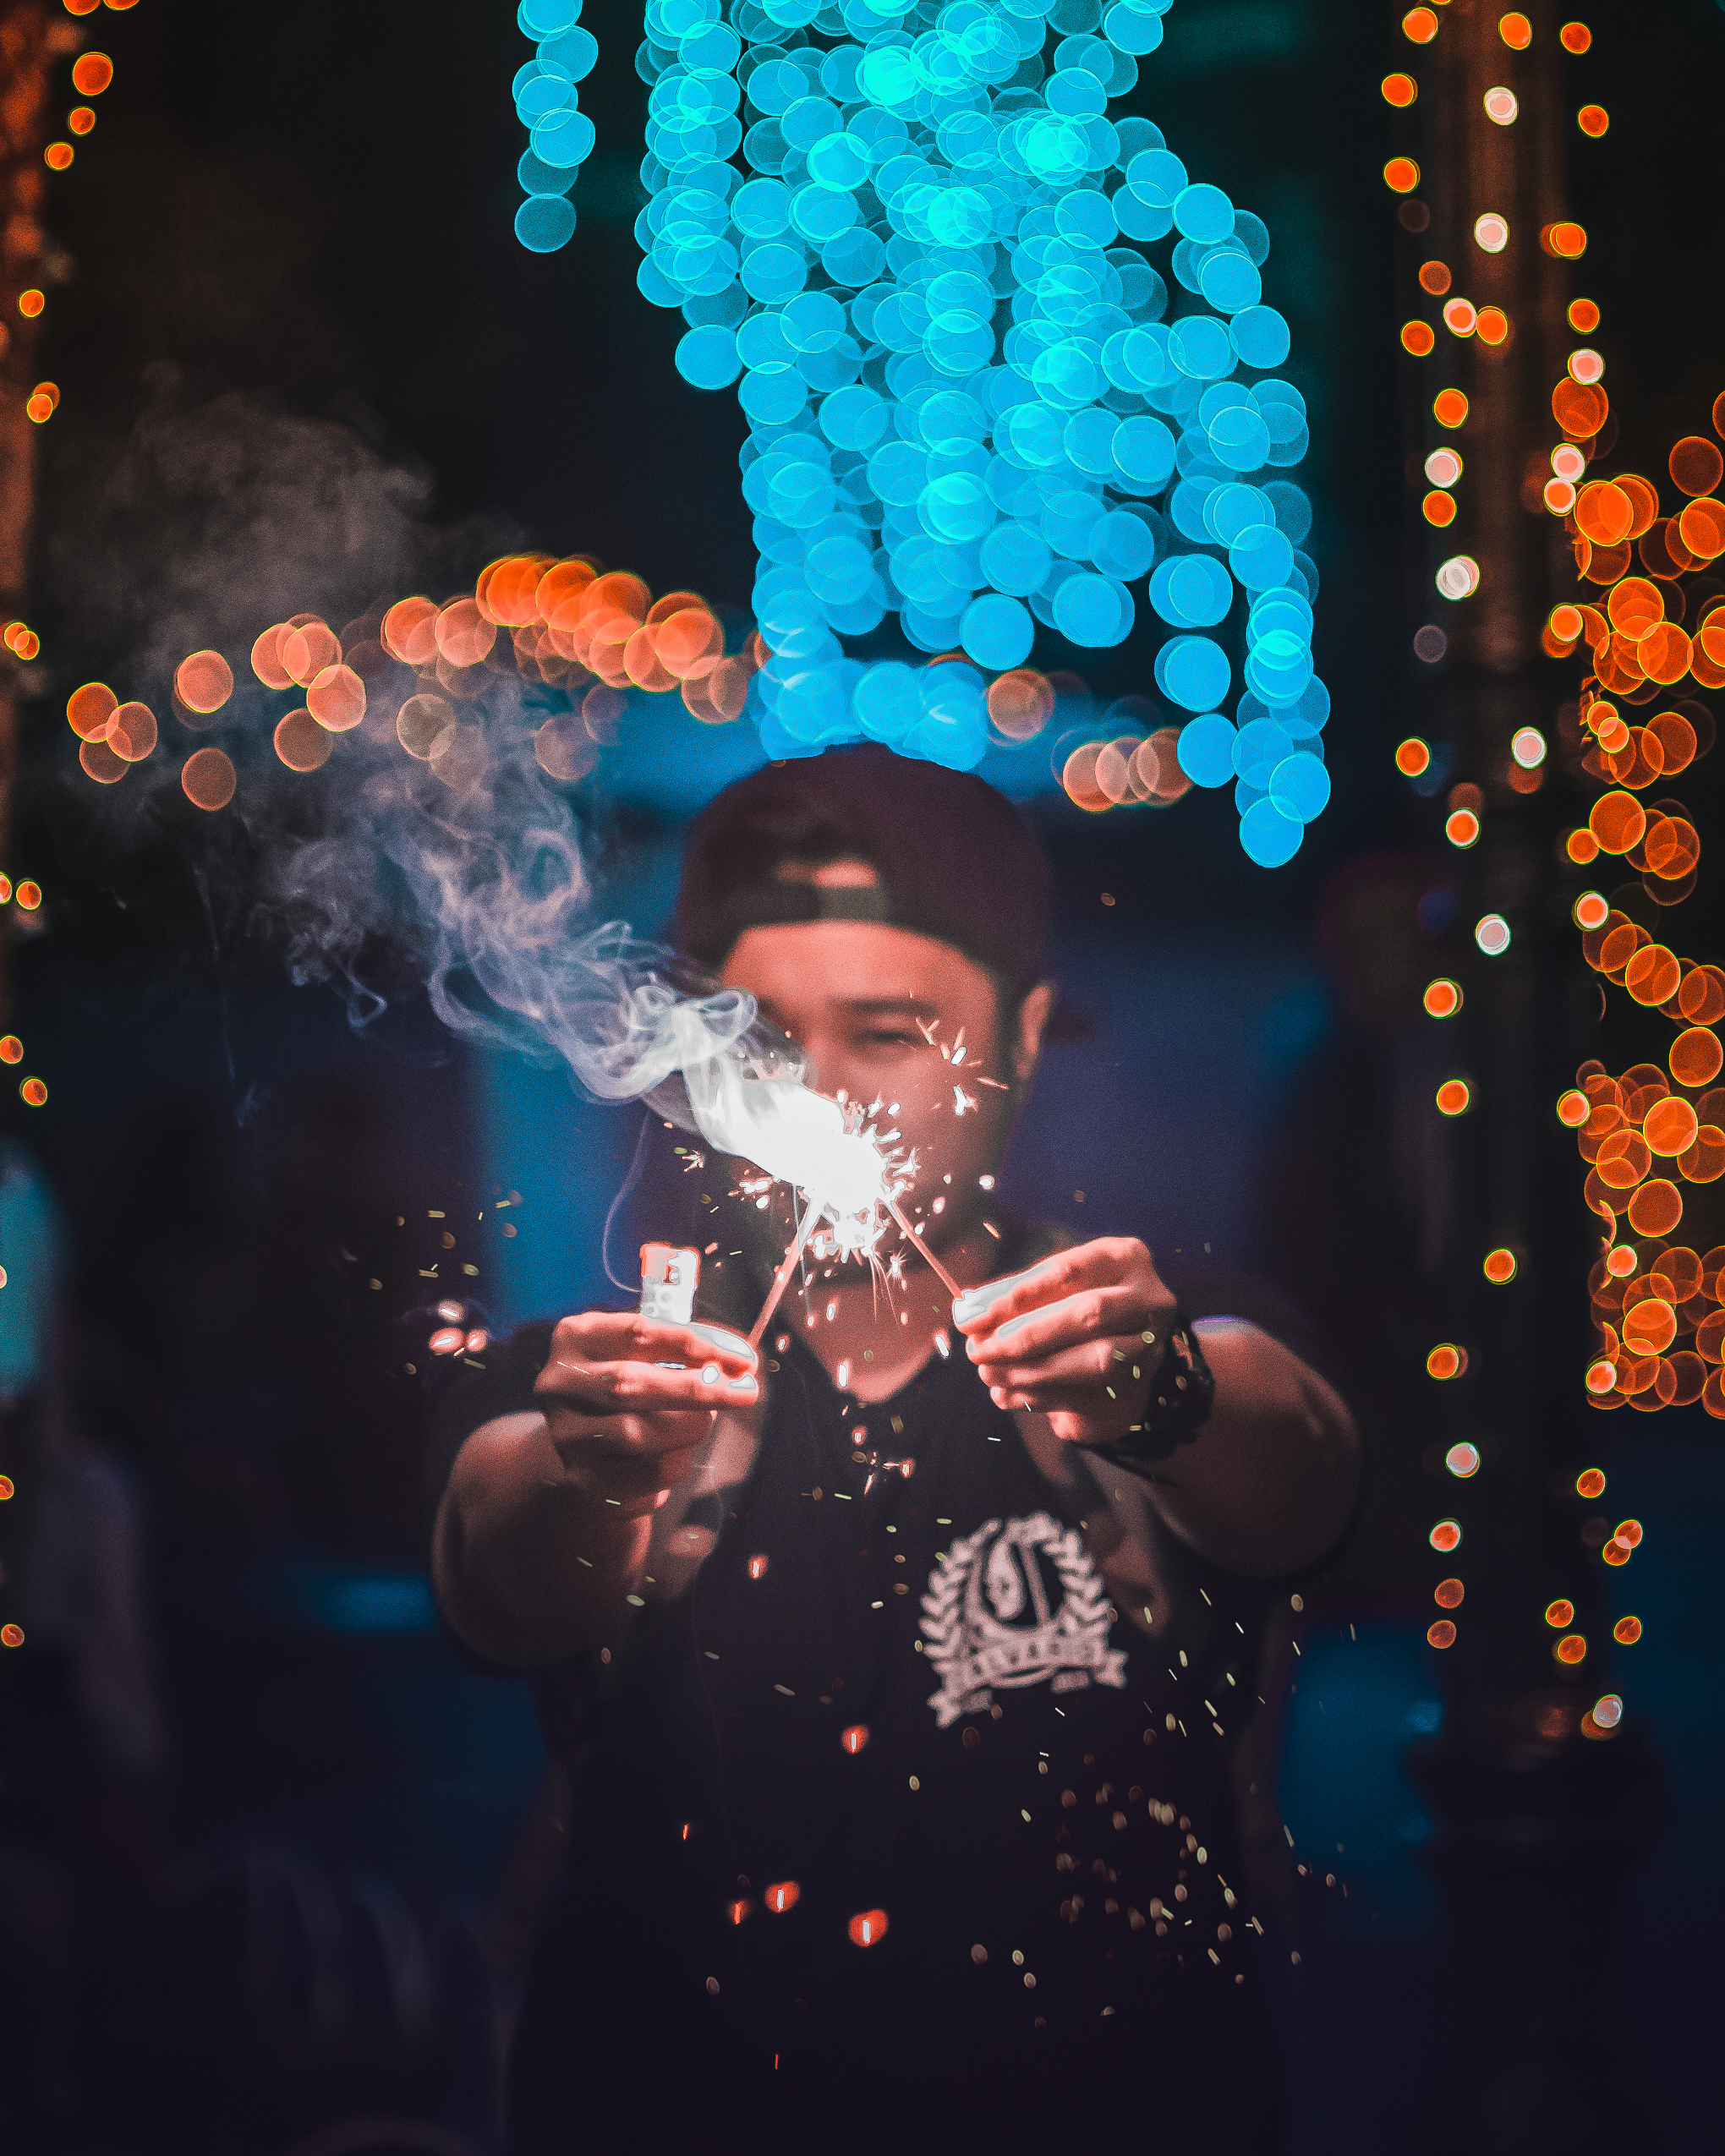
( A self portrait for my New Year Themed post in Instagram )
Now, you already saw what Orange and Teal looks like. As you can see, it is a good tone to apply in different kinds of photography and I'm not going to lie, I'm quite obsessed with it as well.(lol)
Why Orange and Teal?
Since this is a tutorial on how to achieve it in your photos, I am not going to get in to details on why orange and teal looks good, but just a quick info, most people believe that the reason why it is a great combination is because orange and teal are opposite colors in the color wheel and it can be represented as shadows and highlights in your photos.
Now that we already know how Orange and Teal looks, why don't we get in to steps on how to achieve it in your photos? Ooh yess, Lezzgaw!
How to do Orange and Teal?
Things that you need:
-a Picture that you desired to edit.
-a Computer
-an Adobe Lightroom installed in your computer ( unfortunately, the sliders that we will going to use is not available in Lightroom Mobile. )
Now let's get started!
This is the photo that I will use:
( This is a Straight out of the Camera photo aka SOOC. )
( In this phase, I adjusted the exposure, shadows, highlights and other basic adjustments, refer to the settings below)
Now this is the part where the magic begins. On your Lightroom, scroll down on your adjustment panel and look for Camera Calibration.
Adjust your sliders like this and you should get an image with orange and teal tones on it:
Now your photo should somehow look like this:

( This is the final result of the photo using the settings above and I also added some sharpening and noise reduction to make this more clean. )
Before and After
This is a snapshot of the before and after in my Lightroom using the settings in the camera calibration
Tip!
Also, just a quick tip, just in case your picture is too orange, adjust the Temperature to the left(colder) and if it is too blue, then go ahead and adjust Temperature to the right(hotter)
You can also adjust the saturation sliders, don't be afraid to experiment!
Alright guys, it is easy right?! All you need to do is to follow the steps that I have provided and you will surely get it.
Good bye and Thank you!
Let me know in the comment section below if this worked for you or not, your questions and your feedback, I'd love to hear it.
So that's it for me today guys! I hope that you liked it. Hit that up-vote button, follow me if you haven't already, and see you guys in the next posts!
Yes orange and teal is very trendy and eye catching...though I’ve never done this because I work with photoshop
Downvoting a post can decrease pending rewards and make it less visible. Common reasons:
Submit
Hey @wildempress, thanks for reading my post. Btw, you can also do the same thing with photoshop. All you need to do is to go to Filter > Camera Filter > and look for the panel that looks exactly as Lightroom's Camera Calibration, follow the same settings and you'll surely get the same.
Downvoting a post can decrease pending rewards and make it less visible. Common reasons:
Submit
No way, I’ve been doing photoshop for years...had no idea about this. Freaking photoshop is never ending, learn something new all the time. ❤️
Downvoting a post can decrease pending rewards and make it less visible. Common reasons:
Submit
Haha, I hope that you can find it in your photoshop. Again that's inside camera raw filter :)
Downvoting a post can decrease pending rewards and make it less visible. Common reasons:
Submit
https://www.photoshoptutorials.ws/downloads/photoshop-actions/orange-teal-luts-photoshop-actions/
Downvoting a post can decrease pending rewards and make it less visible. Common reasons:
Submit
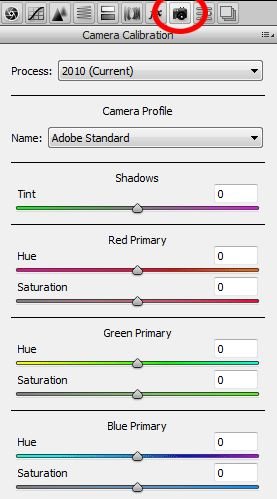
Hello @wildempress and @deveerei, here's the camera calibration inside PhotoShop. All you need to do is to Filter > Camera Raw Filer > Search for the tab below and follow the same settings on my post. Hope you can try that stem so you can adjust it based on your mood :)
Downvoting a post can decrease pending rewards and make it less visible. Common reasons:
Submit
I'm trying this out - never knew this option existed!
Downvoting a post can decrease pending rewards and make it less visible. Common reasons:
Submit
Thanks for sharing this, I am greatly enjoying it. Been adding some more edits to the photos under the Camera Raw Filter too. Maybe I need to start shooting with RAW files now too. I don't think this laptop can keep up on it - this laptop is all beauty but lacks brains lol.
Downvoting a post can decrease pending rewards and make it less visible. Common reasons:
Submit
Perfect! Nice post @deveerei, I am very happy that you were able to apply the tutorial in your photos and in your blog. Yes always shoot in raw, say no more to low quality image ☺
Downvoting a post can decrease pending rewards and make it less visible. Common reasons:
Submit
Gonna try this at home. I actually not really good in Adobe software. But i do have Adobe lightroom which is much easier to use. I'll definitely try this. Thanks
Downvoting a post can decrease pending rewards and make it less visible. Common reasons:
Submit
Perfect! Dude, I suggest, you watch some YouTube videos on how to edit photos in Lightroom, for sure with some practice, and experiments you can definitely add or make your own tone for your photos. I'm gonna wait for your orange and teal photos man!
Downvoting a post can decrease pending rewards and make it less visible. Common reasons:
Submit
Do you have a tutorial for Photoshop CC?
Downvoting a post can decrease pending rewards and make it less visible. Common reasons:
Submit
Nevermind. Googled one https://www.photoshoptutorials.ws/downloads/photoshop-actions/orange-teal-luts-photoshop-actions/
Downvoting a post can decrease pending rewards and make it less visible. Common reasons:
Submit
Will surely try this one @deveerei, tho I haven't tried Luts before. I already provided the PS version of my steps on the comment section with @wildempress you can check that too :)
Downvoting a post can decrease pending rewards and make it less visible. Common reasons:
Submit
This is such a great avenue for beginners like me who wants to start learning photography. I just use my phone right now, and I really wish I would improve through your tutorials. Thanks @rymndbmgt for this very helpful article. You deserve an upvote.
Downvoting a post can decrease pending rewards and make it less visible. Common reasons:
Submit
Hello there @cestlag25, thank you for appreciating my tutorials! I hope that you can follow me as well. I will take note of that and I will make a mobile version to achieve the same tone. Thank you so much!
Downvoting a post can decrease pending rewards and make it less visible. Common reasons:
Submit
Great!
Downvoting a post can decrease pending rewards and make it less visible. Common reasons:
Submit
Wow.. Its cool
Downvoting a post can decrease pending rewards and make it less visible. Common reasons:
Submit
Hello @teddyslim, thanks for reading, you should try it as well 🤙
Downvoting a post can decrease pending rewards and make it less visible. Common reasons:
Submit
I just did follow you ,follow back and upvote. Have a great journey for both of us.
Downvoting a post can decrease pending rewards and make it less visible. Common reasons:
Submit
You just got a vote from Sndbox-Alpha! For more information, click here
Downvoting a post can decrease pending rewards and make it less visible. Common reasons:
Submit
@playitforward, thanks for the upvote together with the Sndbox-Alpha, I would like to be a part of your community. more power to you all!
Downvoting a post can decrease pending rewards and make it less visible. Common reasons:
Submit
Thanks for the helpful guide! I also want to recommend a helpful article featuring the best photo editors - https://gotoandlearn.com/ . I've already found my favorite and I'm sure you will like some of these too.
Downvoting a post can decrease pending rewards and make it less visible. Common reasons:
Submit