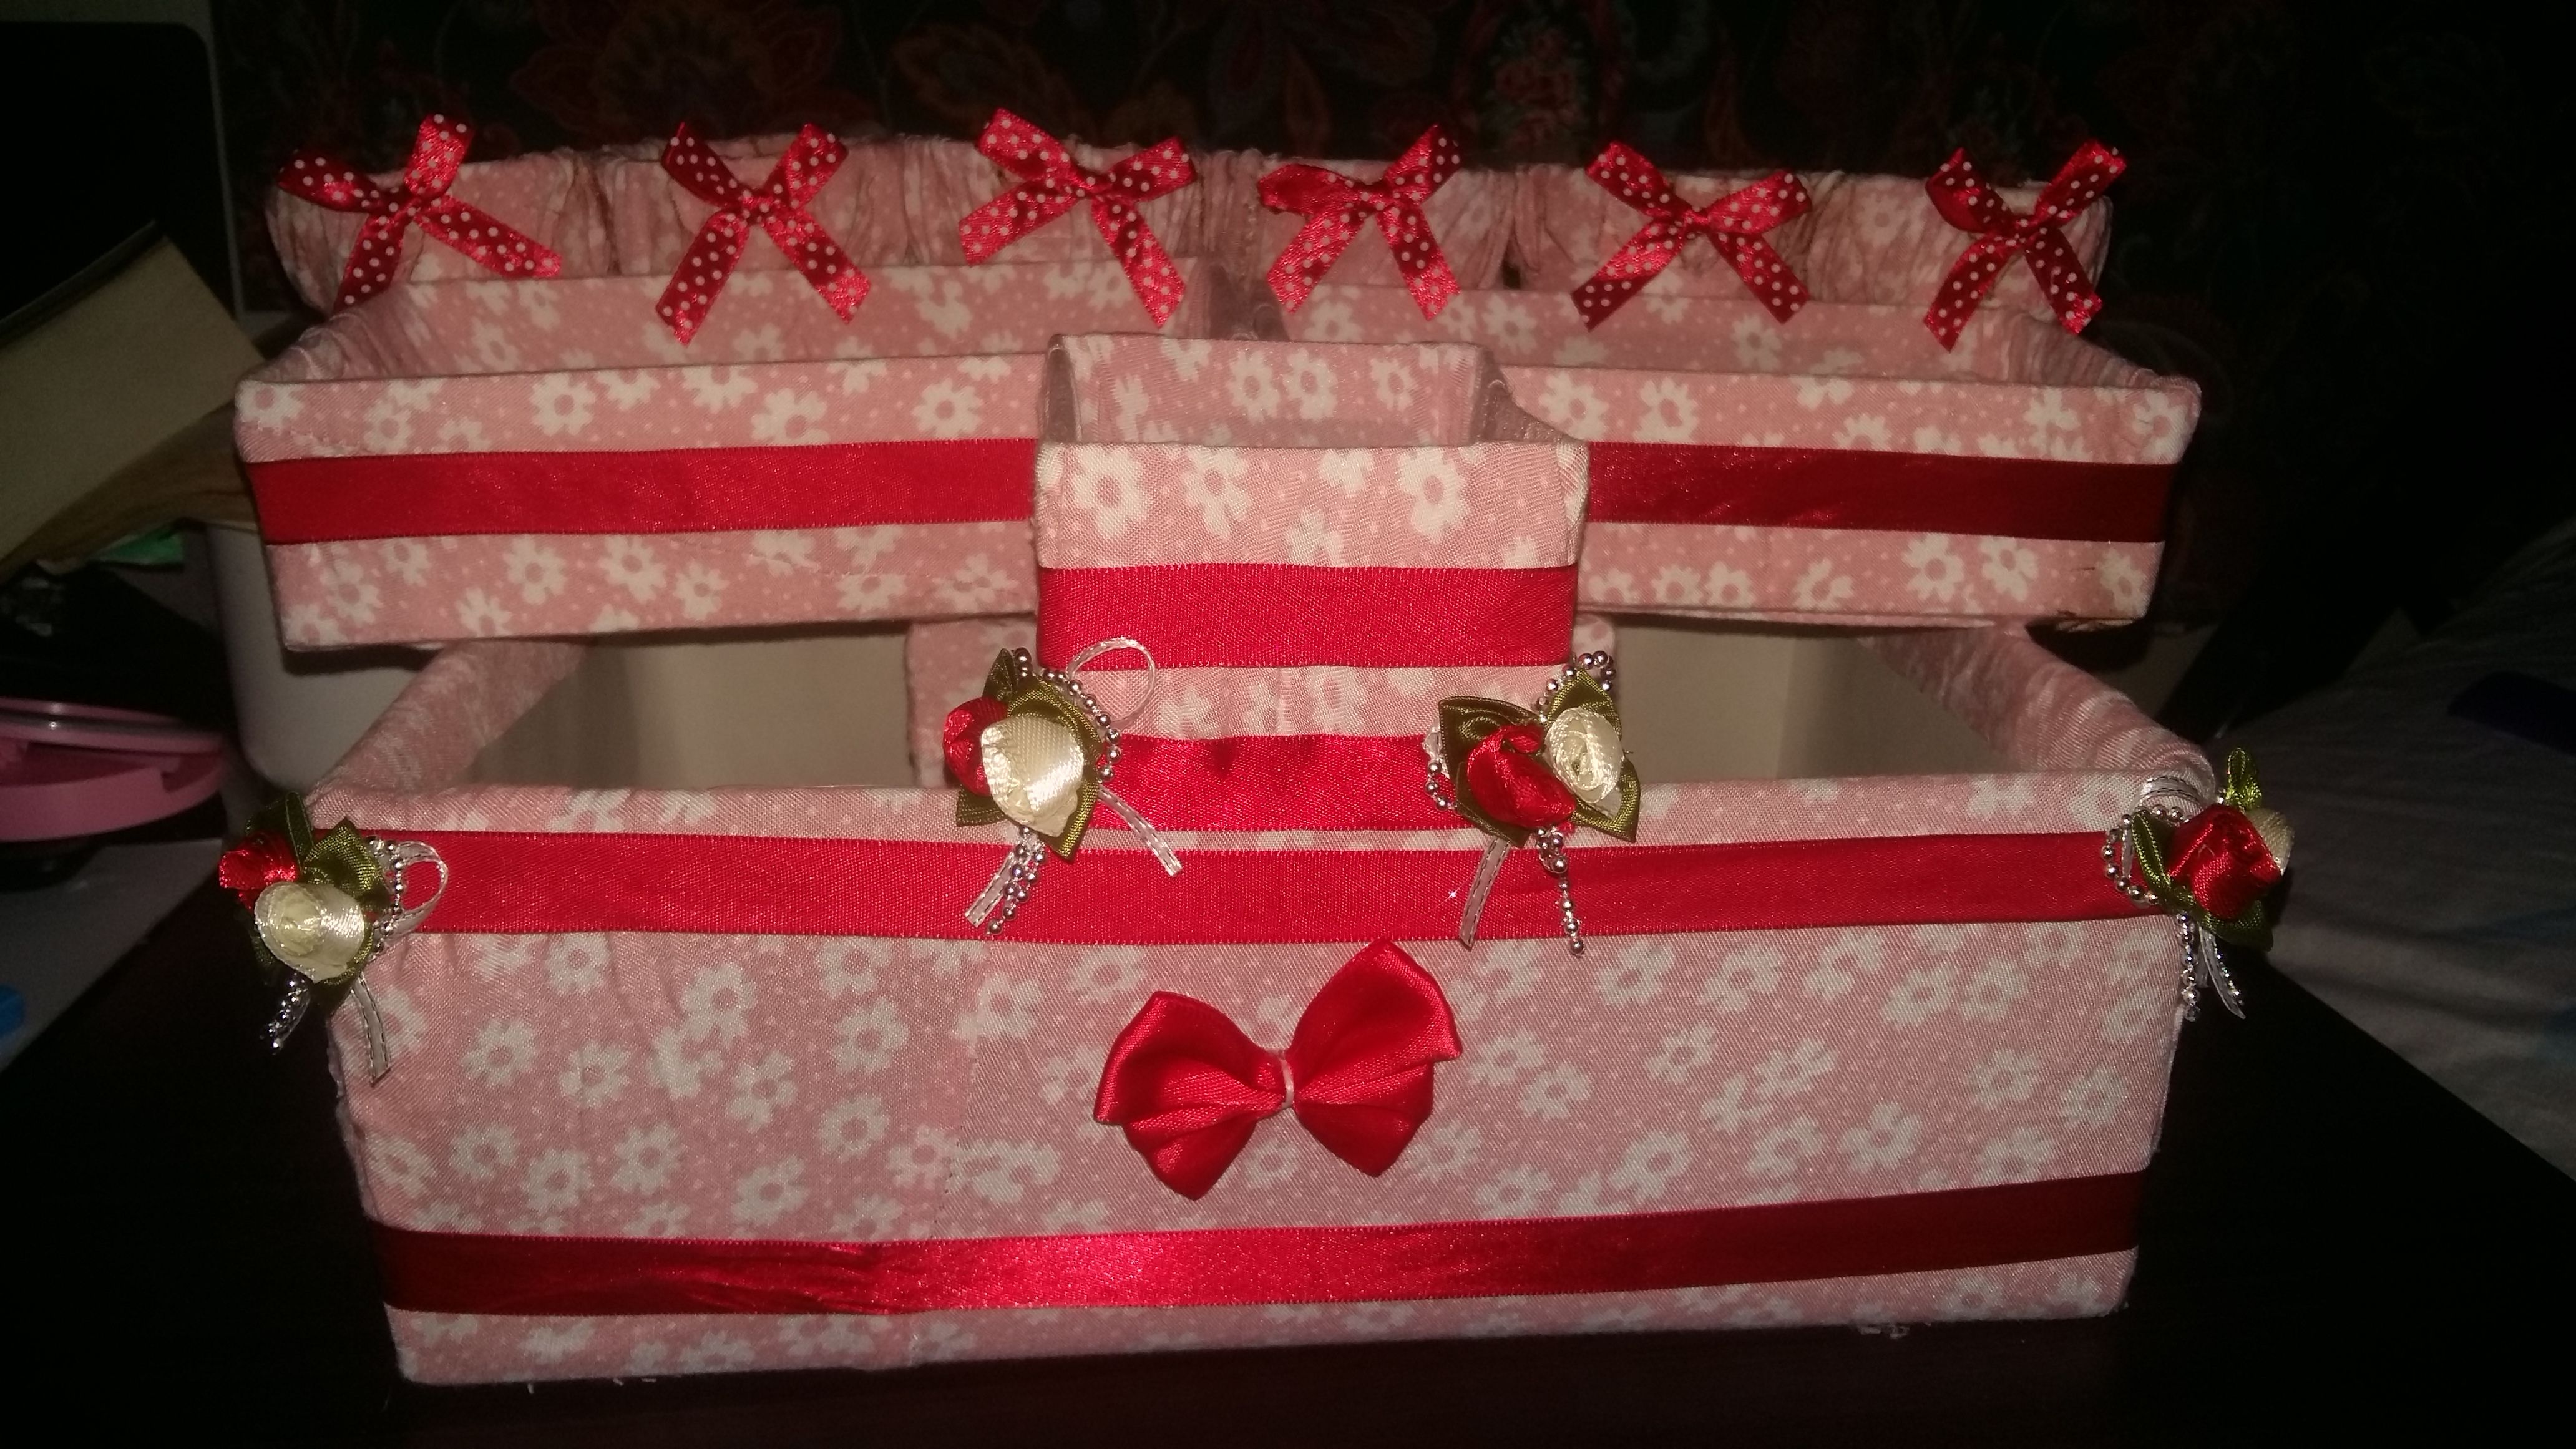
It was a boring day when I saw the shoe boxes scattered in the living room. Then, I imagined making an organizer box for my desks because it is also messy. Instead of tearing apart the cartons or throwing it away, why not recycling? Aside from very resourceful, we can save the world. I also saw the plastic cups that seemed to be thrown out after they used it for the fruit salad. Then, an iPhone box also. Then, I took my old dress and torn as covering for surfaces. So, what are the steps to do the organizer box at home? Make sure you have the materials mentioned below.
Materials:
scissors
shoe boxes, iPhone boxes, and plastic cups
glue gun
stick glue
unused clothes
pencil
ruler
embellishments
stick glue
yarn needle
trimmer
cardboard
lighter
Step I. Cover the Boxes
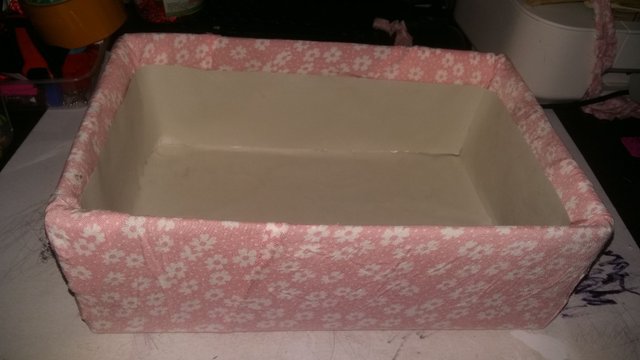
a. Trim the clothes that match the sizes of the boxes.
b. Measure the size of the boxes until its fold lines. Begin measuring its length. Start its left and right sides by the ruler.
c. Measure the size of the boxes until its fold lines. Measure its width from the upper side to the downside by using the ruler.
d. Cover the surface by the cloth and paste finely by stick glue through the glue gun. Make sure to tighten the cloth first before gluing.
e. Cover the middle space and the fold line spaces by paper.
Step II. Cover the Plastic cups
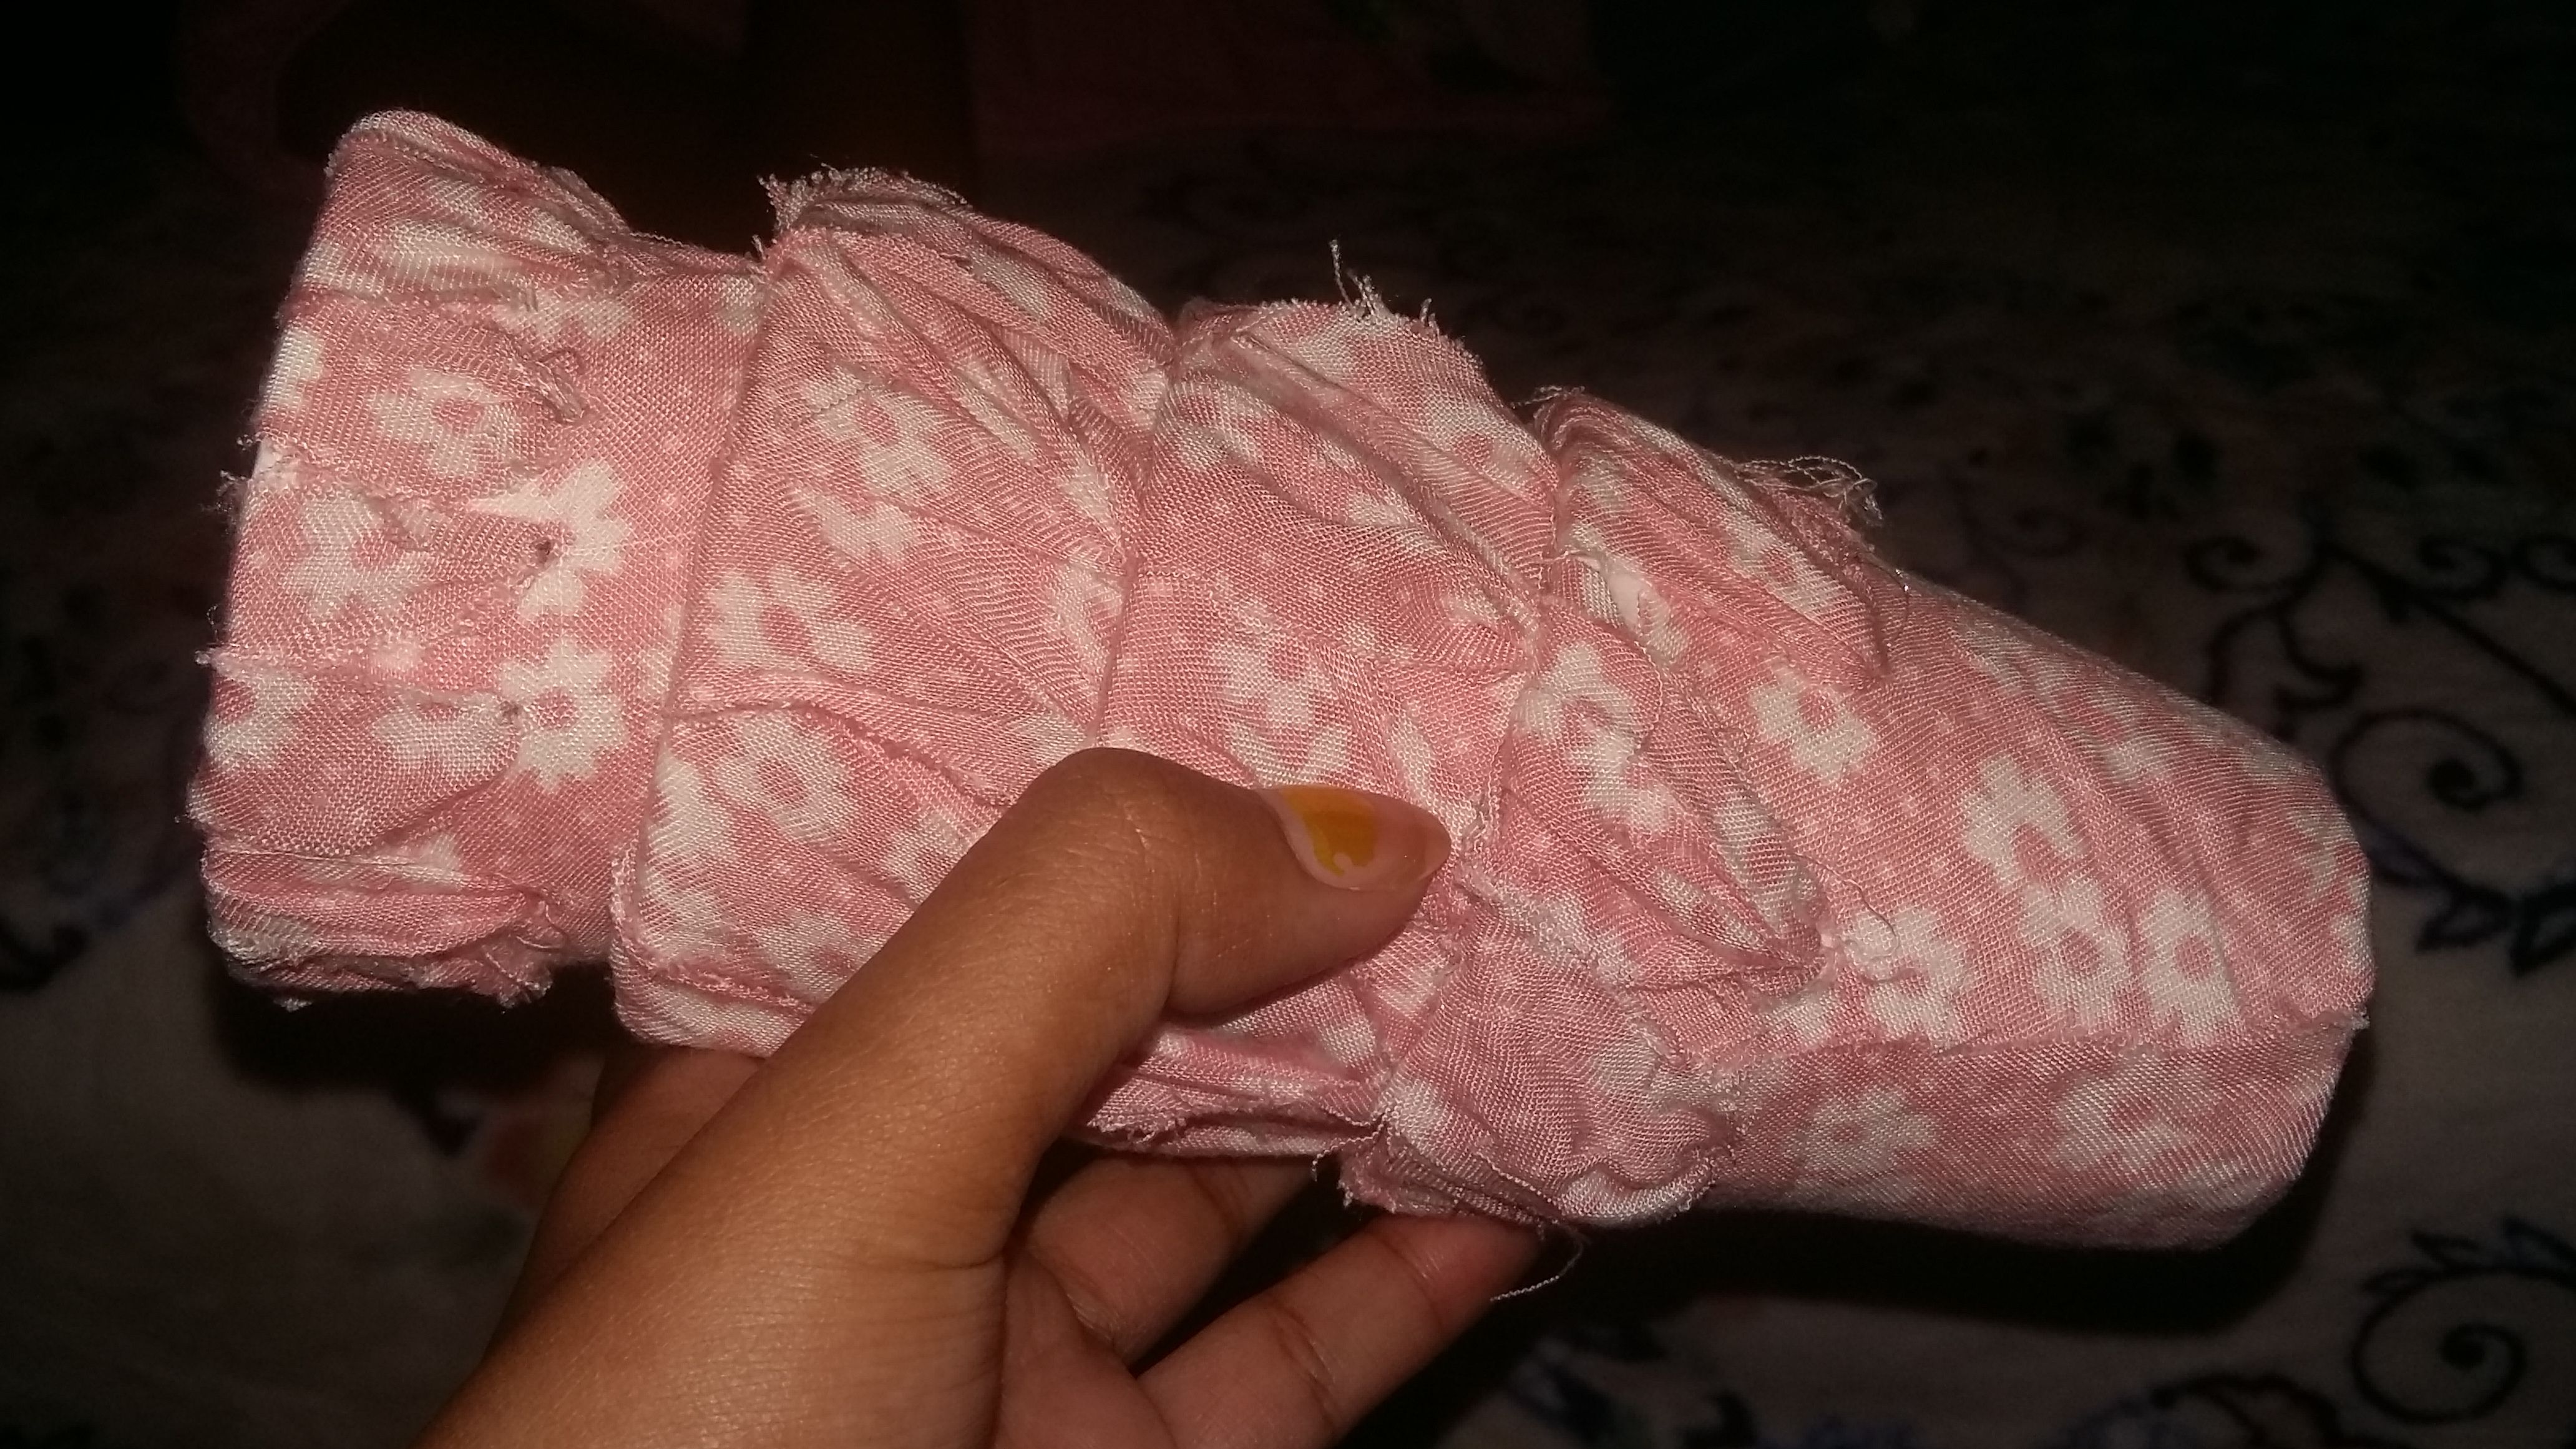
a. Measure the cup's length from the lower part into the middle. It shouldn't reach the top.
b. Trim the clothes according to the measurement.
c. Glue the cloth and begin to cover the cup.
d. From the upper part of the cup, measure the space down to the middle line by a ruler. Put separated horizontal lines.
e. Put a hole in each horizontal line by the trimmer.
d. Get the lengthy clothes and push and pull it to the hole using the yarn needle. Continue to the other holes until there will be no cloth.
f. Glue the cloth residue according to the measured space from the top to the middle.
g. Get the lighter and burn each side of the clothes mildly to prevent the thread separated.
Step III. Construct an Organizer Box
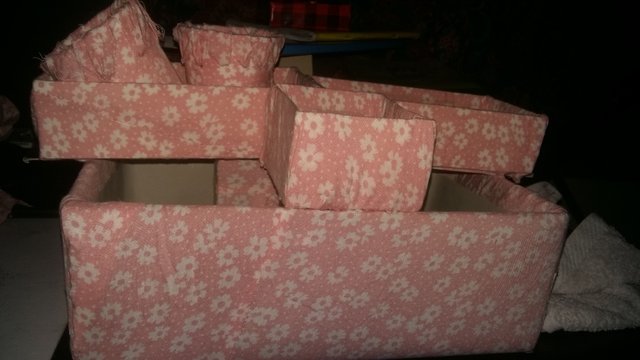
a. Get a cardboard and glue on each side of the shoe box from the middle to the back.
b. Put the small boxes above the cardboard and glue finely.
c. Behind the small boxes, glue the cups altogether.
e. Under the shoebox, put a covered cloth in the middle to avoid the tiny boxes drooping.
f. Trim the excessive floored cardboard using the trimmer and scissors.
Designing
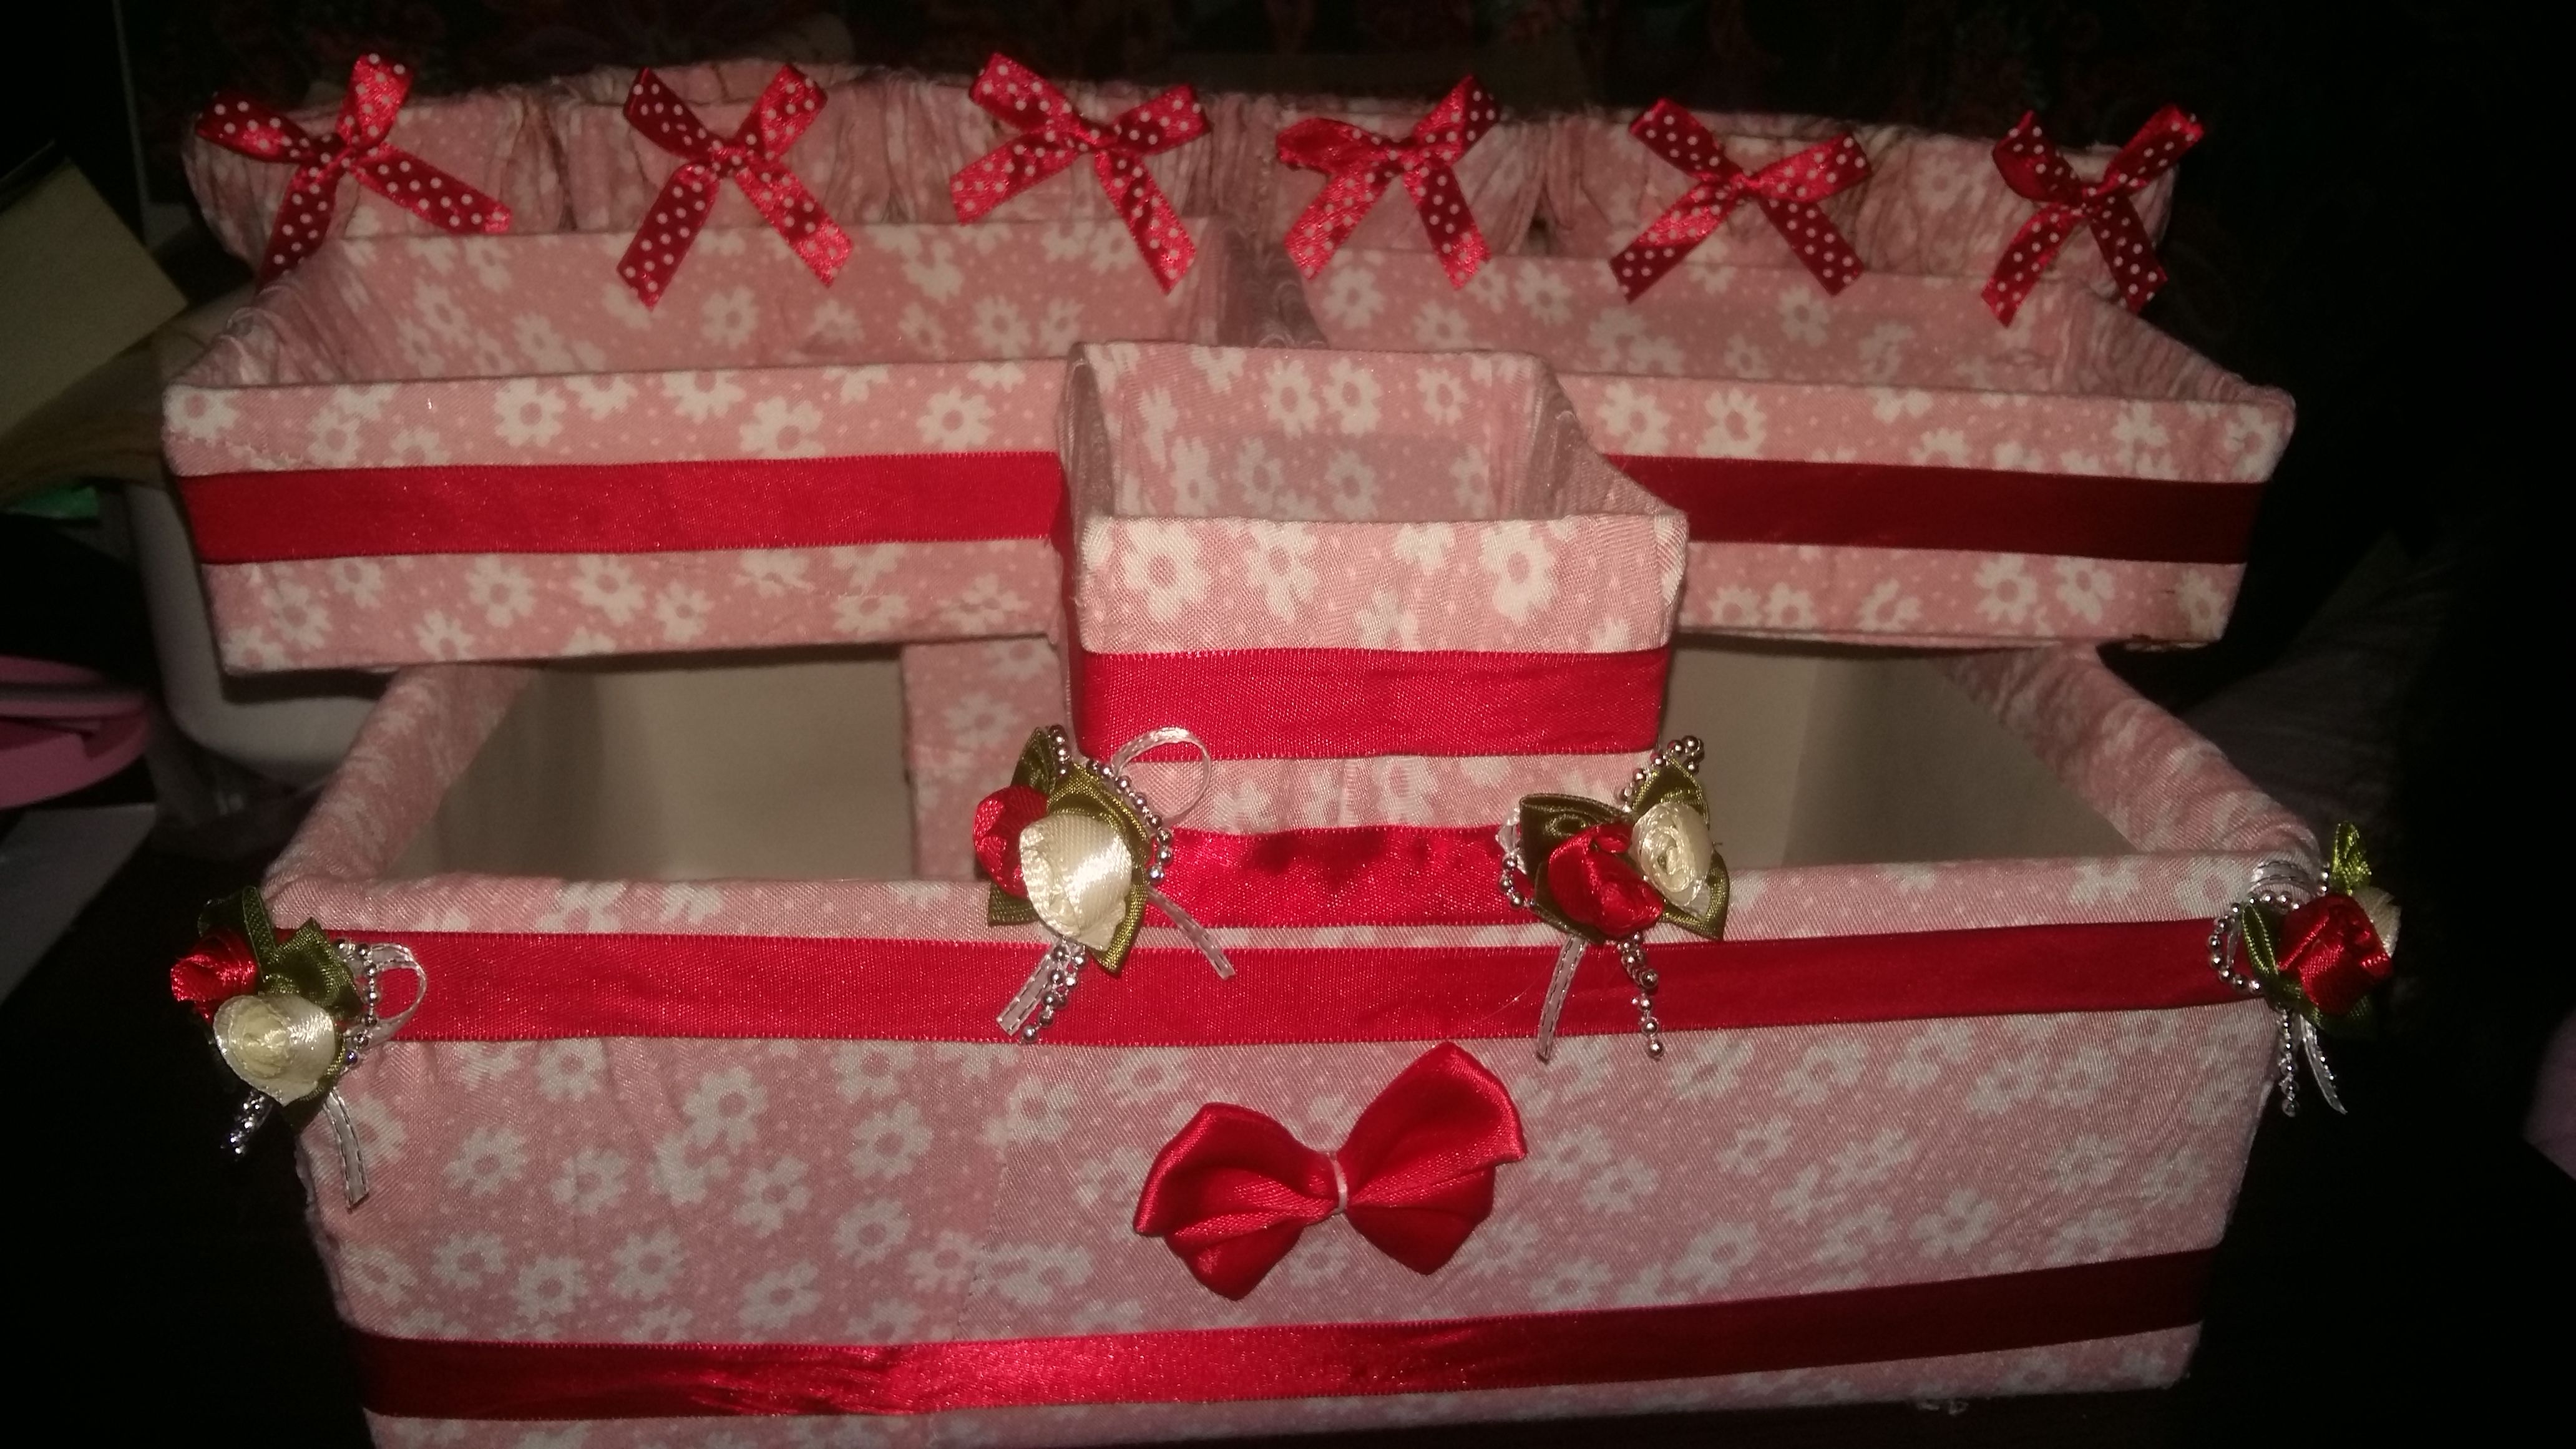
a. Put the ribbon in the middle and the frontal view of the shoe box.
b. Add ribbons horizontally above the bottom and below the top. There should be a space. Do it to the other boxes.
c. Add small ribbons to the glued cups at the back of the small boxes.
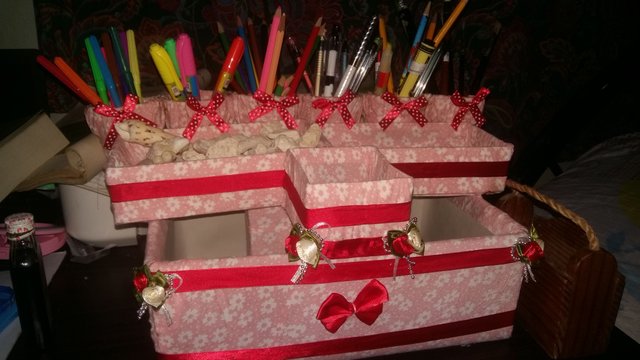
d. Put all your materials to the organizer box
Downvoting a post can decrease pending rewards and make it less visible. Common reasons:
Submit
WARNING - The message you received from @sohan890 is a CONFIRMED SCAM!
DO NOT FOLLOW any instruction and DO NOT CLICK on any link in the comment!
For more information, read this post:
https://steemit.com/steemit/@arcange/phishing-site-reported-postupper-dot-ml
If you find my work to protect you and the community valuable, please consider to upvote this warning or to vote for my witness.
Downvoting a post can decrease pending rewards and make it less visible. Common reasons:
Submit
Congratulations @iamshane487! You received a personal award!
You can view your badges on your Steem Board and compare to others on the Steem Ranking
Do not miss the last post from @steemitboard:
Vote for @Steemitboard as a witness to get one more award and increased upvotes!
Downvoting a post can decrease pending rewards and make it less visible. Common reasons:
Submit