I've showed importing of Genesis 3 characters into Unity several times now. There is always one area that always looks like crap when imported. That is the eyes.
I took some time today to determine how to address this and this will be a short tutorial focusing just on that.
Here are my results

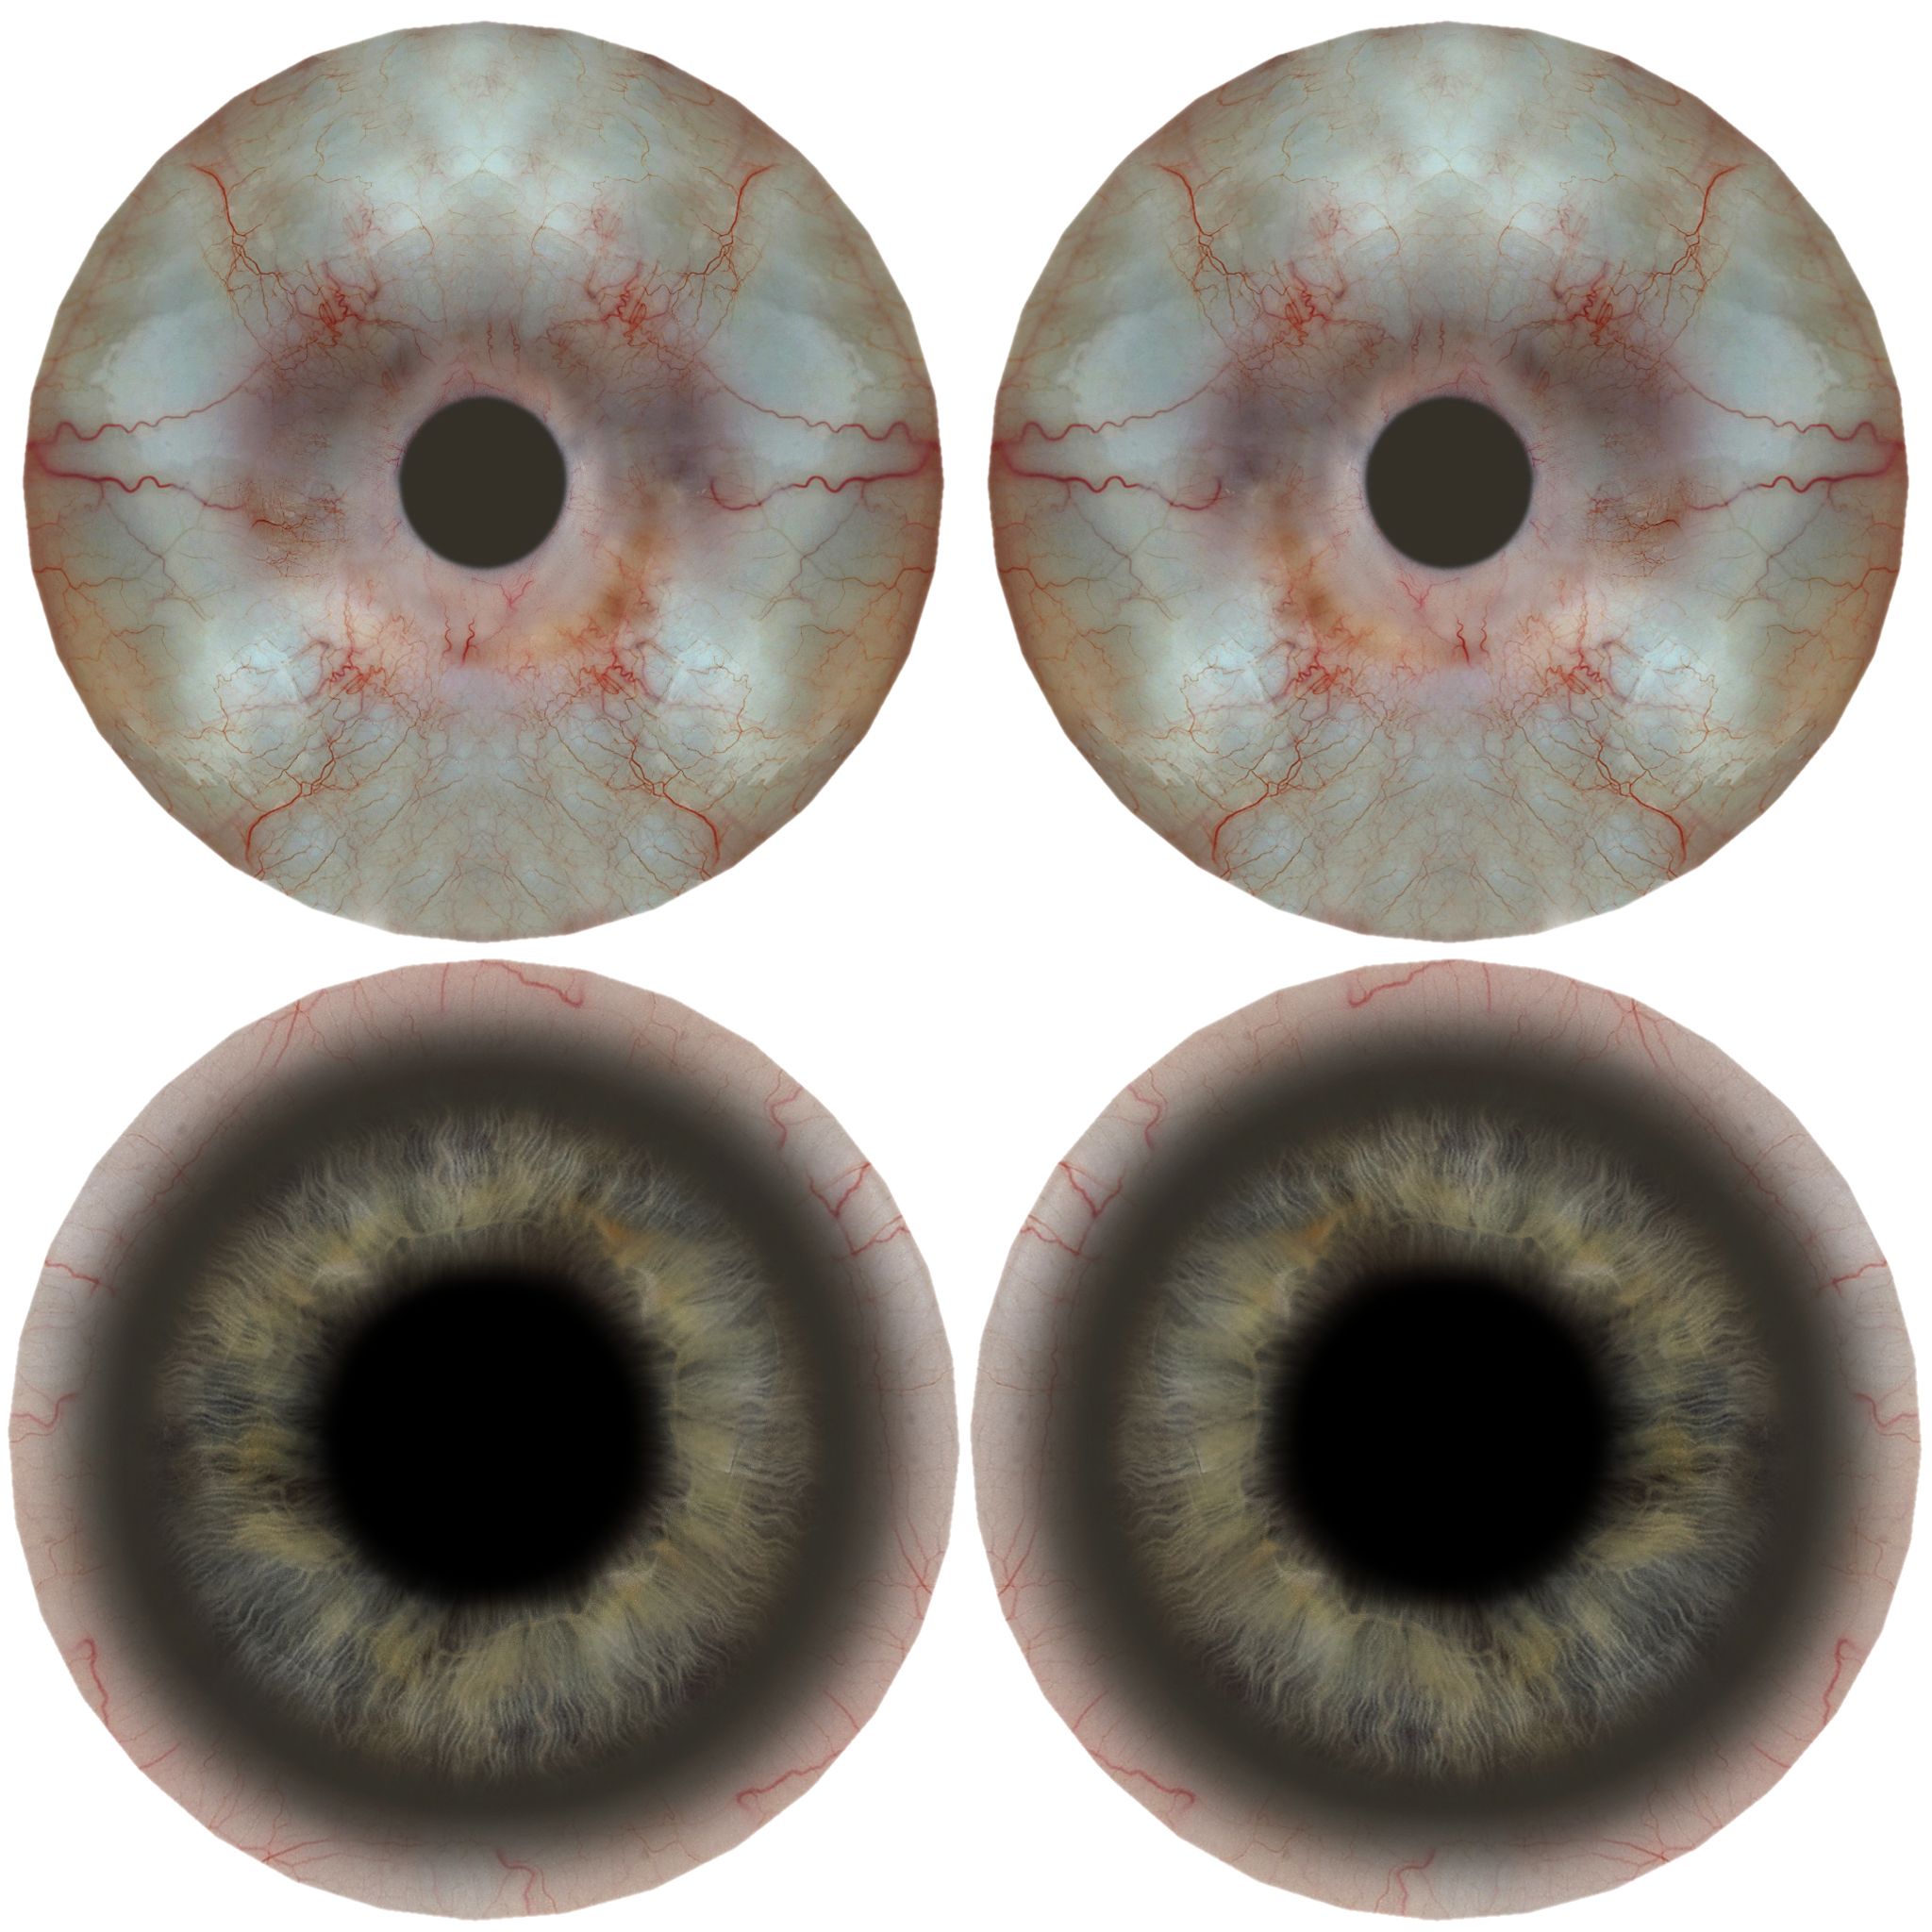
Using this texture:

Now there were three materials related to the eye it imported. I was messing with Bethany 7 as she is one of the figures I am reworking for our Wormhole Ventures game.
EyeMoisture (Material)
Bethany7_eyes_007 (material)
Cornea (Material)
So, eye moisture is intended for crying and tears and such. No texture exports for that and setting unity to transparent, fade, etc does not really help with this. Slapping the Eye texture here looks really ugly and that is what I showed in an earlier tutorial.
Instead I went into photoshop and created a white texture 64x64 and called it tears and set its opacity to 5%. I then used that in my EyeMoisture albedo texture. I went ahead and maxed out the smoothness. If you plan on doing a lot of crying and such you may want to tweak this and change the texture some.

This texture should work for you for Eyemoisture as long as you check Alpha is Transparency on the texture in Unity.
TEXTURE BETWEEN THIS POINT

AND THIS POINT


This texture is the white part of the eye.
Cornea is the actual color of the eye, iris and all of that.

Note it doesn't look very good. This is where I discovered a really important step in Unity.
Set the tiling X and tiling Y to 3 and 3 respectively. Suddenly your eyes will look like they should.


I thought this might prove useful to some of you that are trying to use Daz figures in conjunction with Unity.

Past Daz 3D/Daz Studio Tutorials
- DAZ Studio - Morphs Library - Genesis , Genesis 2, Genesis 3, and Genesis 8 [NSFW]
- DAZ Studio - My Complete figure line up [NSFW - Nude figures] - Genesis, Genesis 2, Genesis 3, and Genesis 8
- DAZ Studio / Unity / Simple LOD - Experimentations in optimizing the crazy DAZ Studio hair polygon count so it is not as bad for game engines
- DAZ 3d Studio - Genesis 3 to Unity PBR Setup (Blender for AO Maps) [Graz'zt]- How to get a character into Unity and set it up with full Physically Based Shading
- Daz Studio - Different types of Export data Michael 5/Genesis, Michael 6/Genesis 2, Michael 7/Genesis 3, and Michael 8
- DAZ3D-DAZ Studio - Genesis 8 Male/Michael 8 figure released today... first look [3D Character Models]
- DAZ3D-DAZ Studio Genesis 8 Male/Michael 8 - NSFW version includes male Genitalia
- Importing Daz Studio Characters into Unity - Use them in your game... Unoptimized version
- DAZ 3D: Releases new version called Genesis 8, and Victoria 8...
- DAZ3D - Introductory Post - Use it for still images, videos, and even game development...
- Game Development - My Journey To Daz Studio - and how I plan to use it in Unity
- Daz 3D - Figures - Different figure appearances - nude also will show anatomical add-ons NSFW

another great tutorial!
Downvoting a post can decrease pending rewards and make it less visible. Common reasons:
Submit