To get started you need 2 software that must be installed on your computer Local server using XAMPP and WordPress itself.
1. INSTALL XAMPP
XAMPP is a web server software that can run PHP and MySQL code. And since WordPress runs using PHP and MySQL then we can use XAMPP as a local server to run WordPress.
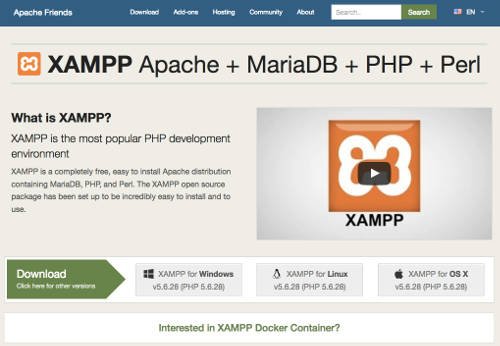
Please visit the official Apache Friends website and download the latest version of XAMPP, you will see XAMPP can be used on Windows, Mac OS and Linux.
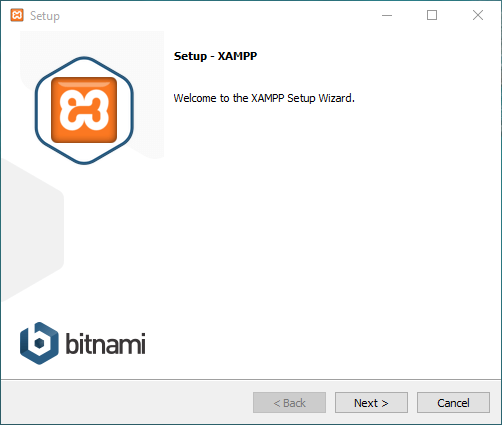
After download and need to install on your computer with double click on the XAMPP file and will appear the initial installation process, please click "Next".
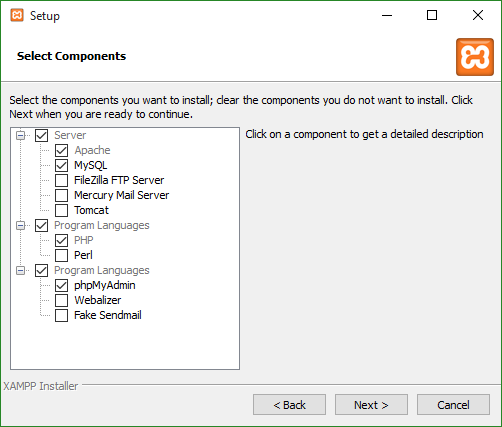
Next when prompted to select a component, you must check MySQL, phpMyAdmin, Apache and PHP as seen below.
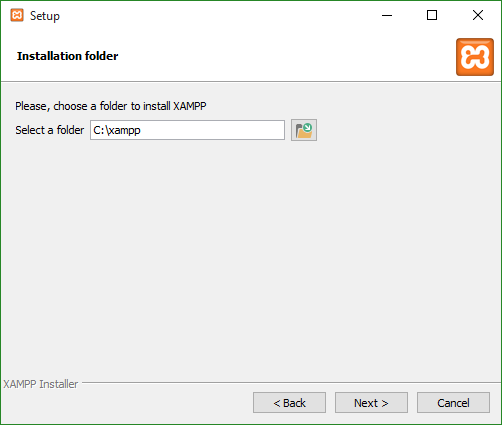
The next step is to choose the folder where XAMPP you want to install. In this example I installed XAMPP on drive C:. However, you can install it in the folder you want.
In the next step, you will be given information about Bitnami for the XAMPP application module. You do not need to install the module and uncheck "Learn more about Bitnami for XAMPP" and proceed to the next step.
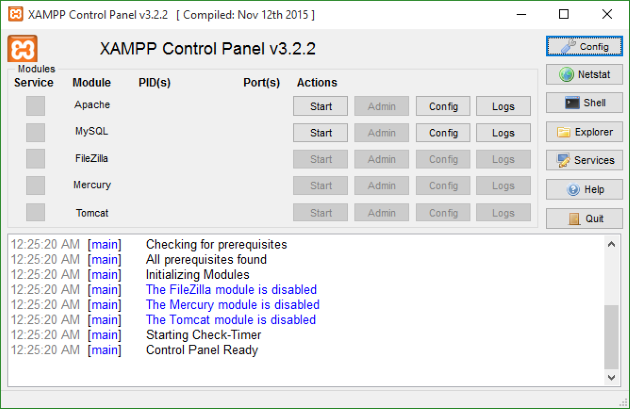
Next follow the next install steps, because in this step no settings are required. Once installed, it will have Xampp icon on your desktop or XAMPP menu on start program, please click and you will see XAMPP Control Panel, please click Start button on Apache and MySQL.
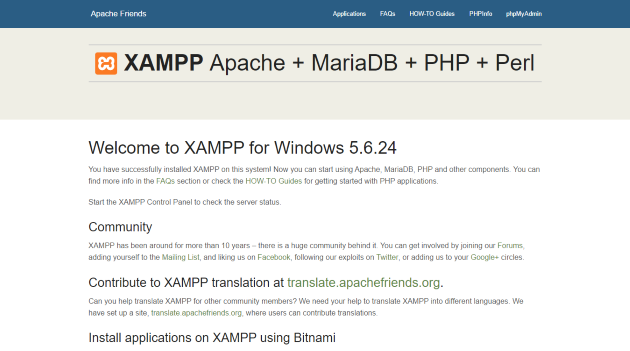
Now it's time to test whether your local server is working correctly or not by opening your web browser and type in http: // localhost URL in the address bar. If you look at the start page of XAMPP like the picture below then it means your local server is working perfectly.
2. CREATE DATABASE
The second step is to create a database for your WordPress. Please open your web browser and type in http: // localhost / phpmyadmin URL.
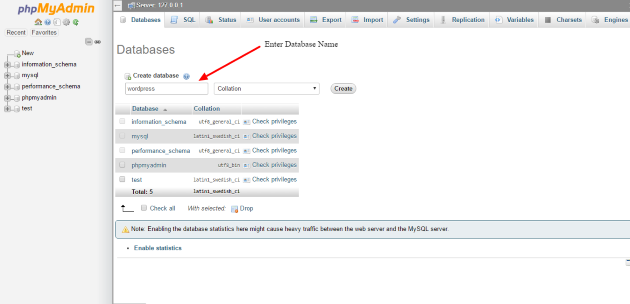
Click on the "Database" menu located at the top, and type your database name into the available field to your liking. In this example I type "WordPress" for my database name and click the "Create" button.
3. INSTALL WORDPRESS
The third step is to install WordPress, please download it on the official WordPress.org. After finished download WordPress please extract the WordPress file in the zip form and copy the folder into the folder C: / xampp / htdocs /.
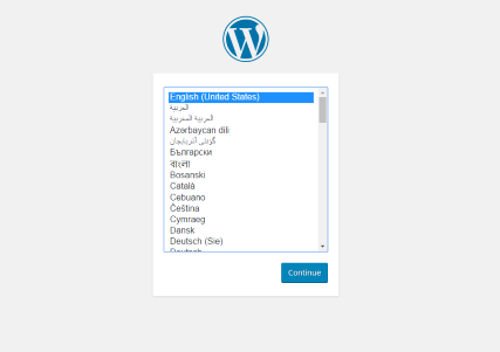
Now you need to open your web browser and type the following URL in the address bar http: // localhost / wordpress (URL after http: // localhost / is must match the name of your site's file folder in htdoc). Once you type in the URL please enter and you will see the initial view of WordPress installation process with language selection.
WordPress is available in many languages. You can choose the language you want. Here I choose English (United States) and click "Continue".
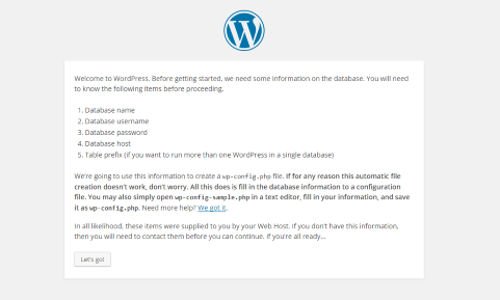
Next will open a page informing you that you need some information such as database name, username, password and hostname on the next page. This is required to connect the database to your WordPress installation. And click the "Let's Go" button
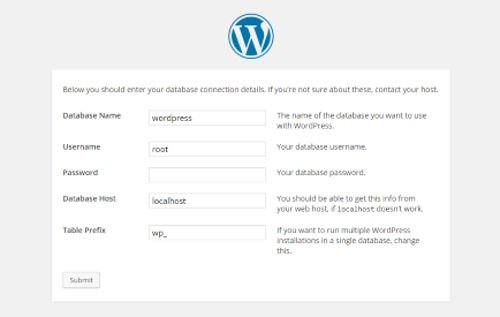
You should now enter the following database details on this page:
- Database Name with wordpress. If you give a different name to this example, you can enter the database name according to what you created in step 2 earlier.
- Username - root. The default username is root unless you have changed it.
- Password - leave blank.
- Database Host - localhost
- Table Prefix - wp_
After you enter the above details, please click "Submit".
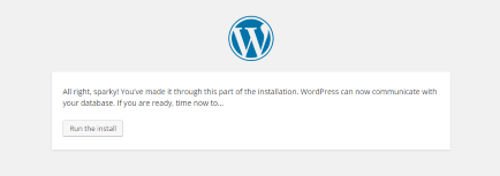
Now click on the "Run the install" button and wait for WordPress to communicate with the database for a while. And remember if the information provided in the database details page is incorrect, you will get some errors.
If the process succeeds, WordPress will now connect to your database and will bring up a page that will prompt you to enter blog details like site name, username, password and email. Make sure you remember your username and password because you will need them to get into the WordPress admin or Dashboard section.
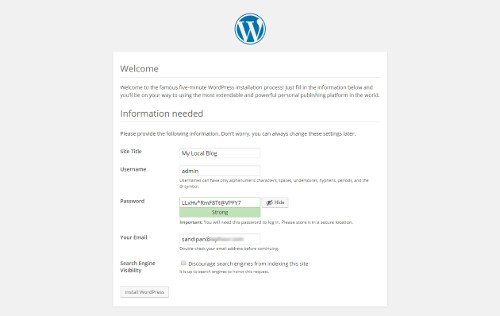
Once you're done, click on "Install WordPress". After the page appears yes Once you're done, click on "Install WordPress". After the page appears that says "Success", now you can login to access the Dashboard. Enter your username and password and click Login. This will take you to the WordPress Dashboard.
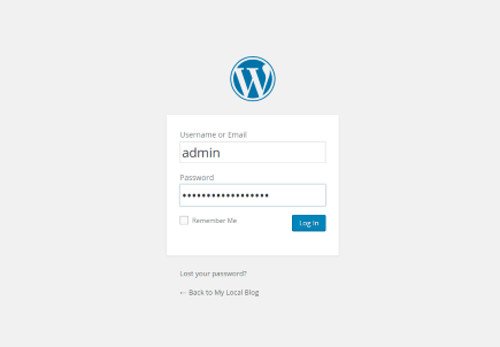
And here is an admin area view or WordPress Dashboard.

And now you have successfully installed WordPress on your local computer. And that's the complete tutorial guide to install WordPress on PC Localhost or Offline. Please follow the steps above and hopefully this post I hope it's useful for you.
Posted on Utopian.io - Rewarding Open Source Contributors
saved
Downvoting a post can decrease pending rewards and make it less visible. Common reasons:
Submit
It's mean..??
Downvoting a post can decrease pending rewards and make it less visible. Common reasons:
Submit
I wanted to come back and share this to my readers, I commented so I could find you, I am following you now thanks for the guide!
Downvoting a post can decrease pending rewards and make it less visible. Common reasons:
Submit
Congratulations @abuzenk! You have completed some achievement on Steemit and have been rewarded with new badge(s) :
Click on any badge to view your own Board of Honor on SteemitBoard.
For more information about SteemitBoard, click here
If you no longer want to receive notifications, reply to this comment with the word
STOPDownvoting a post can decrease pending rewards and make it less visible. Common reasons:
Submit
Thank you for the contribution. It has been approved.
You can contact us on Discord.
[utopian-moderator]
Downvoting a post can decrease pending rewards and make it less visible. Common reasons:
Submit
thanks for approved..@shreyasgune
Downvoting a post can decrease pending rewards and make it less visible. Common reasons:
Submit
Hey @abuzenk I am @utopian-io. I have just upvoted you!
Achievements
Suggestions
Get Noticed!
Community-Driven Witness!
I am the first and only Steem Community-Driven Witness. Participate on Discord. Lets GROW TOGETHER!
Up-vote this comment to grow my power and help Open Source contributions like this one. Want to chat? Join me on Discord https://discord.gg/Pc8HG9x
Downvoting a post can decrease pending rewards and make it less visible. Common reasons:
Submit