SharpDevelop IDE, gives you the perfect entry into the world of .NET programming. I explained how to design and code a simple project using SharpDevelop before. Today I am going to take a look at some of SharpDevelop's integrated tools.
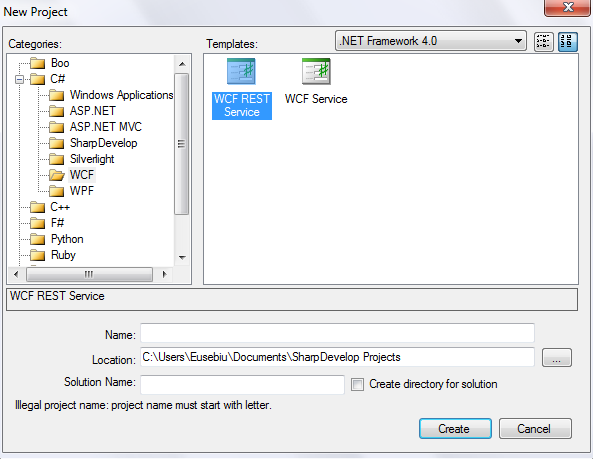
1. Importing Projects
It's a plain fact that most of the existing C# code in the world has been written using Microsoft's Visual Studio .NET. Fortunately, it's simple to import this code into SharpDevelop. All you have to do is select the Visual Studio C# Project extension '.csproj' when opening a file. When you load the project, SharpDevelop automatically converts it into its own project format with the extension '.bdsproj'. Naturally, if the original project makes use of components or libraries, which aren't available on your system, the conversion may not be successful. Otherwise, the conversion should be simple, fast and complete. For an example of this, try converting the Tree.csproj project, which we've supplied on the cover disc. Incidentally, if you want to export your SharpDevelop projects to Visual Studio .NET, you can do this just as easily by selecting an option from the Tools menu.

2. Importing Project Groups
Visual Studio .NET can create groups called 'solutions' comprising multiple separate projects. This is useful when, for example, you may want to develop a user control and simultaneously test it in a separate application. This is precisely what I've been doing in the C# tutorial in recent contribution. I've provided the Visual Studio solution containing last projects in the ControlTest directory on the disc. Let's see how you would go about recreating this in SharpDevelop.
Firstly, open the MyButton.csproj project and allow SharpDevelop to convert this to MyButton.bdsproj. Now, in the Project Manager pane, right-click the root branch labelled 'ProjectGroup1' and, from the popup menu, select 'Add Existing Project'. Navigate one directory level up to the ControlTest directory and then down into the MyButtonTestApp directory. Open MyButtonTestApp.csproj and let SharpDevelop convert it to MyButtonTestApp.bdsproj. The Project Manager should now be showing a Project Group comprising two main branches – MyButton.dll and MyButtonTestApp.exe. Make sure that the MyButtonTestApp.exe branch is emboldened to indicate that this is the project that will be executed by default.
If it's not emboldened, right-click this branch and select 'Activate' from the menu. You can now run this program in the normal way. To switch between the two projects, double-click on the UserControl1.cs branch of the control project and the Form1.cs branch of the application project. If you want to follow the development of this project be sure to convert this month's C# Masterclass solution in the same way. For help on developing a control from scratch, see the box, 'Creating A User Control'.
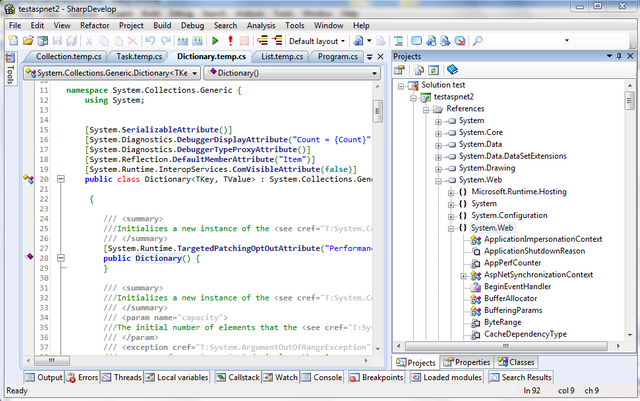
3. Customising the Environment
SharpDevelop provides a number of customisation options so, if you don't like the way it looks and works by default, you can alter it to a large extent. To customise the environment, start with Options on the Tools menu. This enables you to change things such as the automatic saving of editor files when you compile or close a project and the colours of specific items in the Object Inspector and editor. You can also tailor the editor for use with other languages such as C++, Visual Basic and HTML.
The appearance of the entire workspace can be configured by selecting View, Desktops. Delphi users may feel more at home with the 'Classic Undocked' desktop, which puts the form designer, Object Inspector and Project Manager in free-floating windows. You can also alter the layout of the workspace by hand and save it as a named configuration. This layout can subsequently be applied by selecting it from the combo box in the menu bar.
Many customisation options are available from pop-up menus. For example, right-click the Tool palette to pop up a menu that lets you change the button sizes, colours and captions. Right-click the horizontal toolbar to select which toolbars to display by default. You can configure each individual toolbar by selecting the Customize option. You can tailor the behaviour of the compiler and debugger by selecting Options from the Project menu. Here you may instruct SharpDevelop to treat warnings as errors (in which case the compilation will halt when a warning is shown), generate overflow checks to trap problems with integer arithmetic and generate XML documentation of your projects from comments preceded by three '/' characters as explained in the help system.
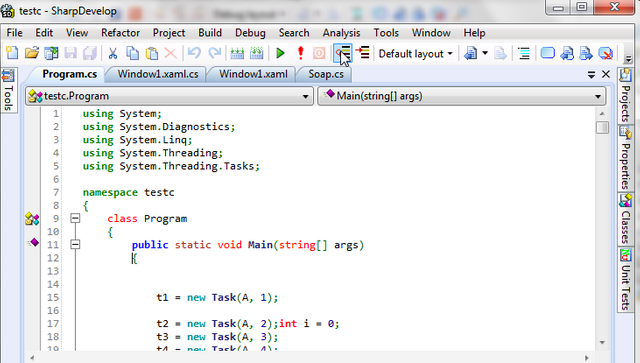
4. Form Design Tools
It's easy to create a basic form design just by dropping controls from the toolbox and resizing them with the mouse. You can add extra polish to your designs using several built-in utilities. For example, if you want to make sure that the user is able to tab from one control to another in a logical sequence, right-click the form and select Tab Order from the menu. Each control will be numbered with its present position in the tab order. To alter this order, click each control in the desired sequence. Click a single control repeatedly to increment its position in the tab order. To adjust the relative positions or sizes of controls, select two or more controls on the form and use the Align, Position and Spacing toolbars in the form designer to make precise adjustments.
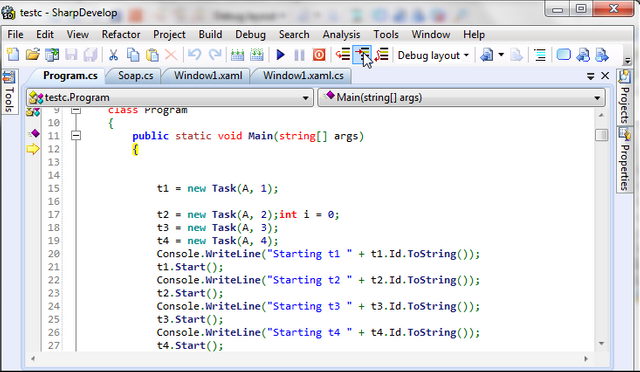
5. Navigating Source Code
One of the eternal problems of programming is finding the code you're looking for. The SharpDevelop editor has a variety of tools to help you do this. We mentioned last month its code-collapsing capability, which allows you to hide blocks of code by clicking the plus sign in the margin. There are also several searching tools including the pop-up menu's 'Find declaration' option which can be used to locate the definition of a variable or method, 'Find In Files' from the Search menu which can locate text in all the files in a project and 'Incremental Search' (Control+E) which lets you enter a string in order to locate the first matching piece of text.
If you need to work repeatedly on one or more specific piece of code you can use the pop-up menu to place a numbered bookmark alongside each location in the left-hand margin. The same menu provides an option to move to a selected bookmark.
Once you start to use SharpDevelop in earnest you will discover numerous other labour-saving tools. These include editing shortcuts such as the simple keystroke recorder at the bottom left of the editor window and debugging options such as the disassembly view (Control+Alt+C). Then there are the File New wizards that can help to create Windows, Web and Control projects, while the Add To Repository dialog lets you save customised forms for reuse in other projects.
6. Creating a User Control
One of the great things about .NET is that it makes it remarkably easy to create your own user controls. To do this in SharpDevelop, start a new C# Control Library project from the File menu. Name this project MyControl and save it in a directory of your choice. Leave the source file with its default name, UserControl.cs. You will see that this puts a blank grey square into the designer. Drop a button onto this grey square. When you compile this you will have a simple, if rather pointless, user control containing a button. We now need another project in which to test our control. To create this, select Project, Add New Project. Highlight C# Projects, Application. Click OK and save the project as TestApp. From the Projects menu, select Build All Projects. Right-click the SharpDevelop Toolbox and select Installed .NET Components. You may need to wait while the .NET Components dialog is populated.
Scroll down to UserControl and tick its checkbox. Click OK. Now select Project, Add Reference. In the Project References page, select MyControl and click Add Reference. Click OK. You should now see a group called My User Controls in the Tool palette. If thus is not immediately visible, select it using the categories button. This group should contain an item called UserControl. Select this and click the form named WinForm in the TestApp project. Your use control will appear on the form and you are now ready to run this application to test it out. You can now switch between the UserControl and TestApp projects to try out any changes you make to your control. In its current state, our control is not particularly useful. In fact, it is quite possible to create controls of great complexity. Now that you have created a very basic user control in SharpDevelop, you can follow the advice in that column in order to create more complex components.
Posted on Utopian.io - Rewarding Open Source Contributors
Thank you for the contribution. It has been approved.
You can contact us on Discord.
[utopian-moderator]
Downvoting a post can decrease pending rewards and make it less visible. Common reasons:
Submit
Hey @dorodor I am @utopian-io. I have just upvoted you!
Achievements
Suggestions
Get Noticed!
Community-Driven Witness!
I am the first and only Steem Community-Driven Witness. Participate on Discord. Lets GROW TOGETHER!
Up-vote this comment to grow my power and help Open Source contributions like this one. Want to chat? Join me on Discord https://discord.gg/Pc8HG9x
Downvoting a post can decrease pending rewards and make it less visible. Common reasons:
Submit