What Will I Learn?
- You will learn making app in Swift programming language.
- You will learn how to integrate Steem-api's in swift programming language.
- You will learn how to store data in arrays and dictionaries.
- You will learn how to pass data between two view controllers.
Requirements
- Xcode
- Basic Understanding of Xcode.
- Understanding of swift language in iOS development.
- Understanding of arrays and dictionaries in swift.
Difficulty
- Basic
Tutorial Contents
Welcome back guys to second part of our awesome iOS app tutorial. In first part we learn how to integrate api and get info from the response to show that in our app. We fetch user name and sbd balance in part 1 of our tutorial. Now in Part 2 of our tutorial we gonna do some changes in our app. Let me first tell you in short that following tasks, we gonna do in today's tutorial :-
- Change api url because the url we are using currently is not giving data in proper way.
- Remove username and sbd balance labels from first screen.
- Store data in arrays and dictionaries .
- Create new screen to show user details
- Pass json data between two view controllers.

So let's start our tutorial Part 2. While working on app later night i noticed that, the json data we are fetching from api.steem.js is not in proper way. So i decide that we change this and now we fetch data from steemit.com. So first go to your 'Go button clicked' function and replace whole code of the function with below code :-
 @IBAction func goButtonClicked(_ sender: Any) {
            let url = URL(string: "https://steemit.com/@" + nameTextfield.text! + ".json")!
            URLSession.shared.dataTask(with: url, completionHandler: {
            (data, response, error) in
            if(error != nil){
            print("error")
            }else{
            do{
            let json = try JSONSerialization.jsonObject(with: data!, options: []) as! [String: AnyObject]
            if let name = json["name"] {
            DispatchQueue.main.async {
            self.userNameLabel.text = name as? String
            }
            }
            }catch let error as NSError{
            print(error)
            }
            }
            }).resume()
    }
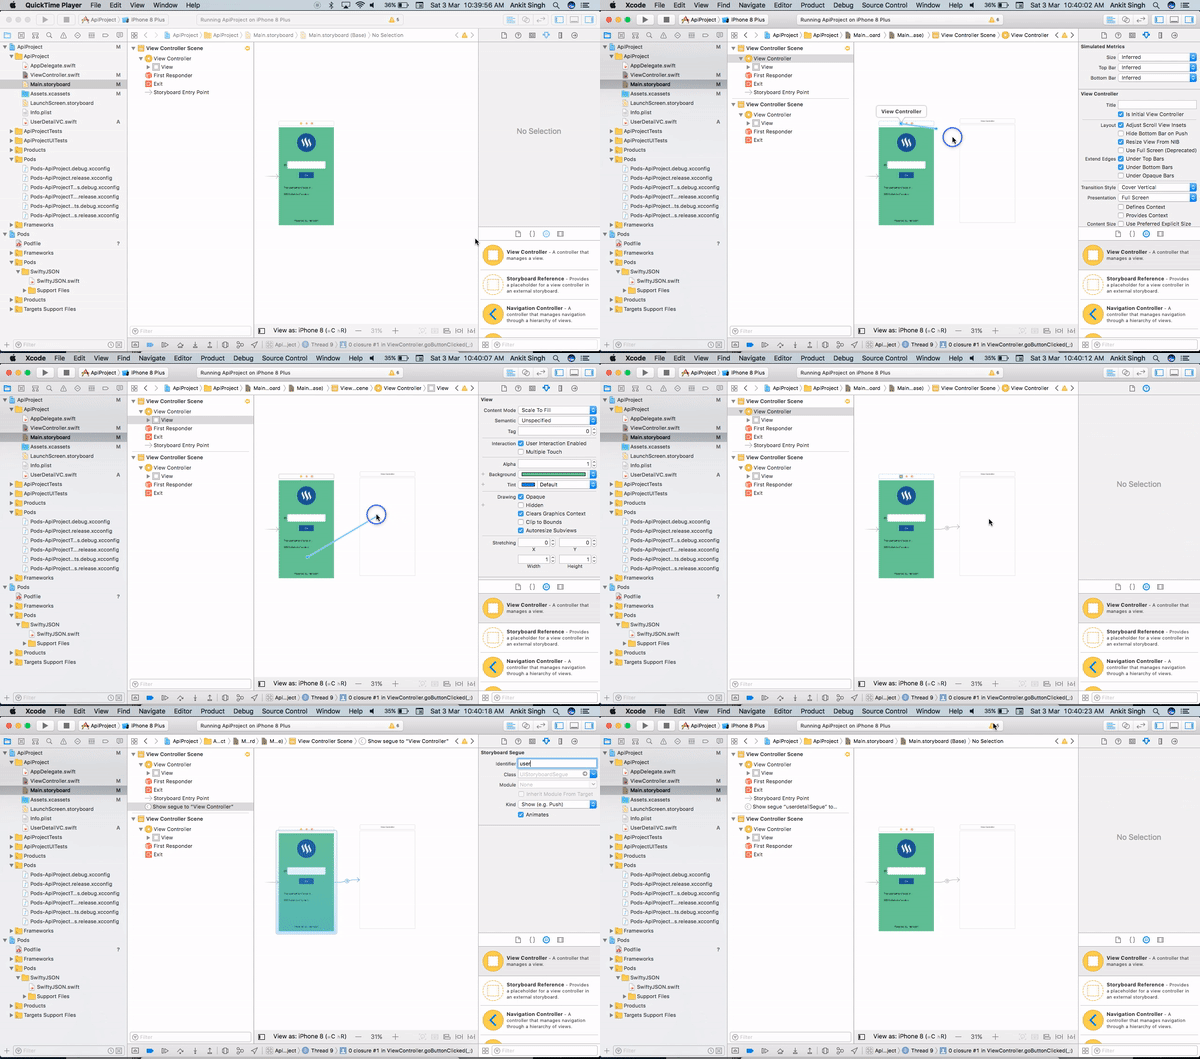
As now we are making a separate screen to show user details, so drag another view controller on your storyboard and create a segue of that new controller with the first view controller like this :-

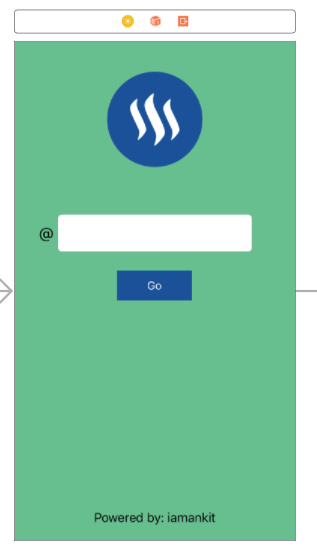
Now we need to create a viewcontroller file for our user detail view controller. So create a new cocoa touch file and name it whatever you want , i am naming mine as "UserDetailVc". Go to your storyboard and set your view controller class to name of file you created. So our new screen is ready but wait, now we need to remove the labels of username and sbd balance from storyboard and also remove their outlets from view controller file. After all this your storyboard and viewcontroller file will look like this :-

import UIKit
import SwiftyJSON
class ViewController: UIViewController {
    @IBOutlet var nameTextfield: UITextField!
    override func viewDidLoad() {
        super.viewDidLoad()
        // Do any additional setup after loading the view, typically from a nib.
    }
    override func didReceiveMemoryWarning() {
        super.didReceiveMemoryWarning()
        // Dispose of any resources that can be recreated.
    }
    @IBAction func goButtonClicked(_ sender: Any) {
            let url = URL(string: "https://steemit.com/@" + nameTextfield.text! + ".json")!
            URLSession.shared.dataTask(with: url, completionHandler: {
            (data, response, error) in
            if(error != nil){
            print("error")
            }else{
            do{
            let json = try JSONSerialization.jsonObject(with: data!, options: []) as! [String: AnyObject]
            }catch let error as NSError{
            print(error)
            }
            }
            }).resume()
    }
}
- Now first we need to navigate to another screen on the go button click. And for this we call a segue on button click. To do this we make a function which we call when go button clicked and in that function we use swift segue method to pass data. So, Change the code of your view controller file like this :-
import UIKit
import SwiftyJSON
class ViewController: UIViewController {
    @IBOutlet var nameTextfield: UITextField!
    var userName: String?
    var userBalance: String?
    override func viewDidLoad() {
        super.viewDidLoad()
        // Do any additional setup after loading the view, typically from a nib.
    }
    override func didReceiveMemoryWarning() {
        super.didReceiveMemoryWarning()
        // Dispose of any resources that can be recreated.
    }
    @IBAction func goButtonClicked(_ sender: Any) {
            let url = URL(string: "https://steemit.com/@" + nameTextfield.text! + ".json")!
            URLSession.shared.dataTask(with: url, completionHandler: {
            (data, response, error) in
            if(error != nil){
            print("error")
            }else{
            do{
            var json = try JSONSerialization.jsonObject(with: data!, options: []) as! [String: AnyObject]
                self.userName = json["user"]!["name"] as! String
                self.userBalance = json["user"]!["balance"] as! String
               self.sendToDetailVC()
            }catch let error as NSError{
            print(error)
            }
            }
            }).resume()
    }
    func sendToDetailVC() {
        performSegue(withIdentifier: "userdetailSegue", sender: self)
    }
     override func prepare(for segue: UIStoryboardSegue, sender: Any?) {
        if segue.identifier == "userdetailSegue"{
           // in this function we pass data to another view controller.
        }
    }
    }
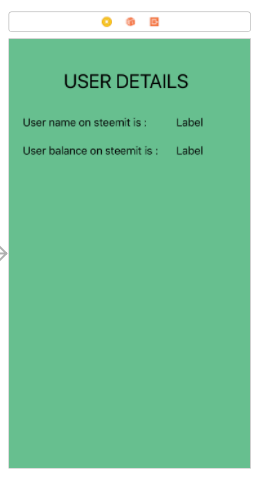
- Now we need to add username and user balance labels to user detail view controller and also need to make their outlets in their class file. So add labels on your storyboard and make their outlets in your view controller file. Like this :-

and write code in your user detail viewcontroller file like this :-
import UIKit
class UserDetailVC: UIViewController {
    @IBOutlet var userNameLabel: UILabel!
    @IBOutlet var userBalanceLabel: UILabel!
    var userName: String?
    var userBalance: String?
    override func viewDidLoad() {
        super.viewDidLoad()
        // Do any additional setup after loading the view.
    }
    override func didReceiveMemoryWarning() {
        super.didReceiveMemoryWarning()
        // Dispose of any resources that can be recreated.
    }
 }
- Now we need to pass data two user view controller. For this write the following code in your
prepare segue:-
override func prepare(for segue: UIStoryboardSegue, sender: Any?) {
        if segue.identifier == "userdetailSegue"{
            let vc = segue.destination as! UserDetailVC
            vc.userName = self.userName
            vc.userBalance = self.userBalance
        }
    }
- Ok we got the data from previous view controller, now we need to update the data to our user detail screen. For this just write code in your user detail vc like this :-
import UIKit
class UserDetailVC: UIViewController {
    @IBOutlet var userNameLabel: UILabel!
    @IBOutlet var userBalanceLabel: UILabel!
    var userName: String?
    var userBalance: String?
    override func viewDidLoad() {
        super.viewDidLoad()
        self.userNameLabel.text = self.userName
        self.userBalanceLabel.text = self.userBalance
        // Do any additional setup after loading the view.
    }
    override func didReceiveMemoryWarning() {
        super.didReceiveMemoryWarning()
        // Dispose of any resources that can be recreated.
    }
}
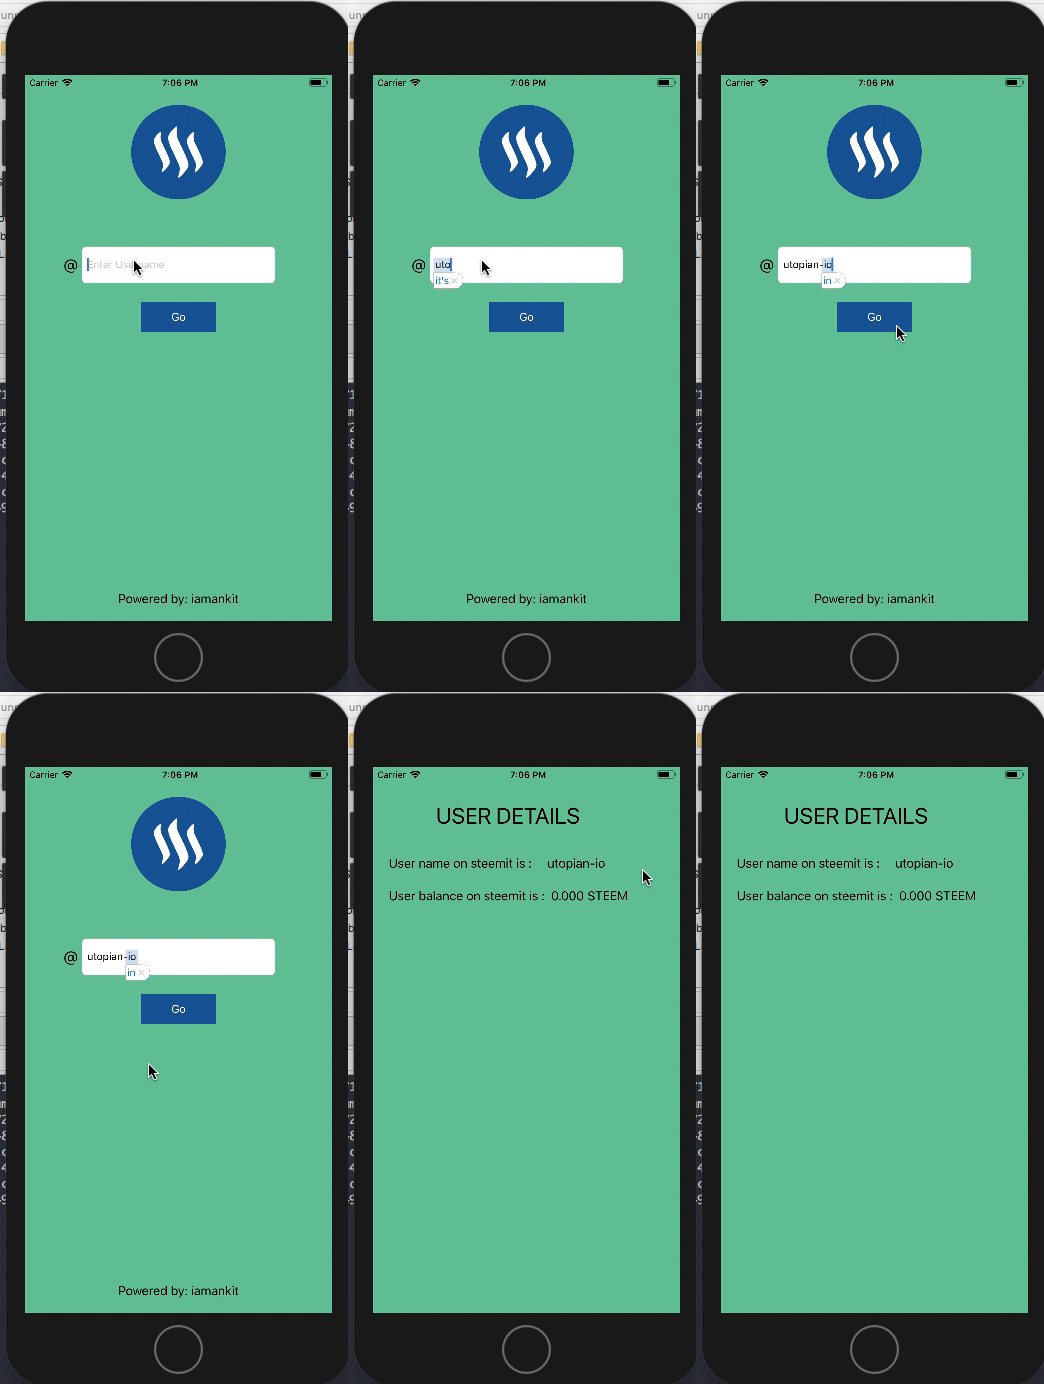
- Now run the app and you see that after clicking on go button app take you to another screen where you can see username and his balance.
- So that's it for today. In next tutorial we make app more alive by adding validations, animations and also full user profile with image, posts and other stuff. Till then enjoy coding in swift and if you missed the part 1 of tutorial, then check course curriculum. Thanks
Curriculum
Posted on Utopian.io - Rewarding Open Source Contributors
Thank you for the contribution. It has been approved.
Please be careful about proper code formatting in future tutorials.
You can contact us on Discord.
[utopian-moderator]
Downvoting a post can decrease pending rewards and make it less visible. Common reasons:
Submit
Thank you
Downvoting a post can decrease pending rewards and make it less visible. Common reasons:
Submit
Hey @iamankit I am @utopian-io. I have just upvoted you!
Achievements
Suggestions
Get Noticed!
Community-Driven Witness!
I am the first and only Steem Community-Driven Witness. Participate on Discord. Lets GROW TOGETHER!
Up-vote this comment to grow my power and help Open Source contributions like this one. Want to chat? Join me on Discord https://discord.gg/Pc8HG9x
Downvoting a post can decrease pending rewards and make it less visible. Common reasons:
Submit