How to put Effect on your Text.
Hi everyone, in this time i will show you my tutorial to how to put effects on your text using GIMP 2.8 just follow the steps.
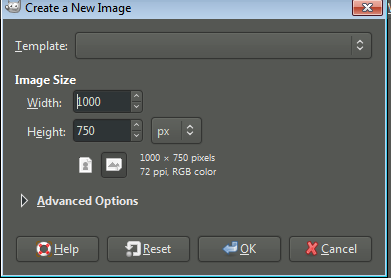
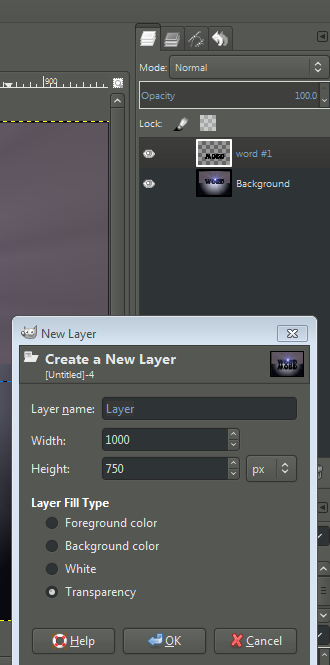
- First you need to creat a new project in Gimp
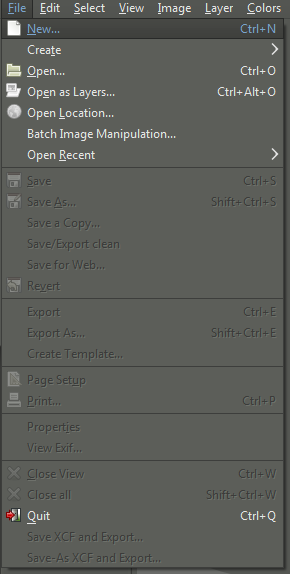
and then make sure that you change the size of your image in 1000 in width and 750 in height.
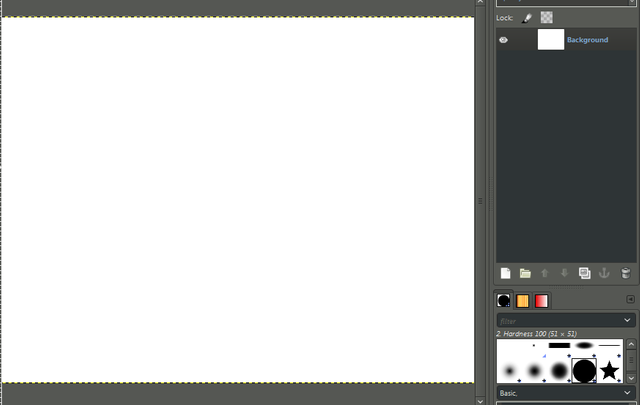
and make sure that your foreground is black and your background is white.
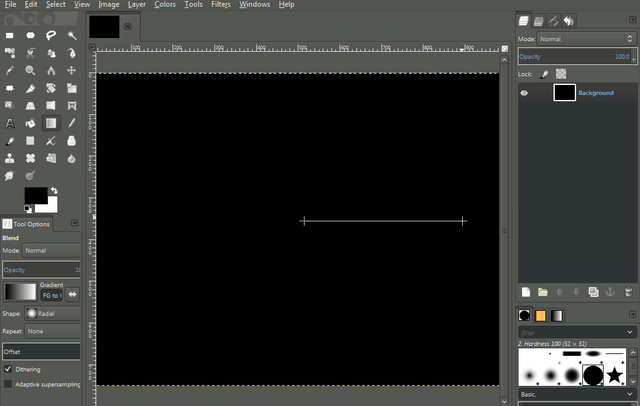
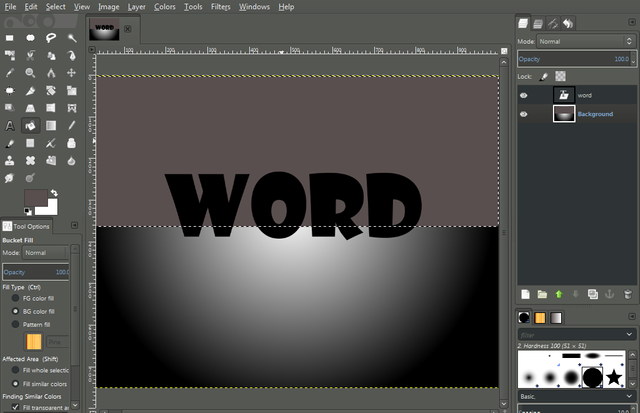
- After that click the Bucket fills tools.
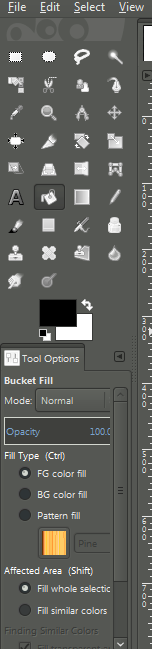
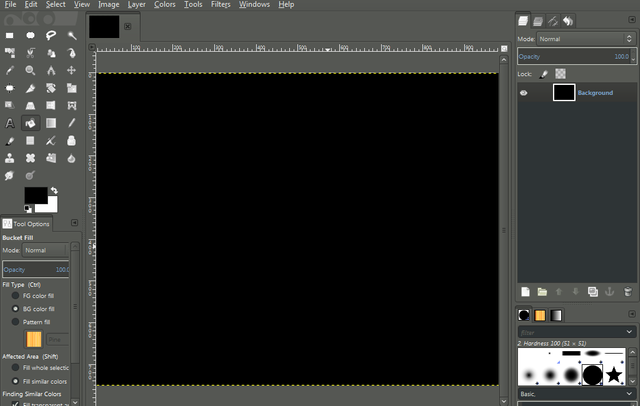
Click the white image by your Bucket fills to turn it in to black.
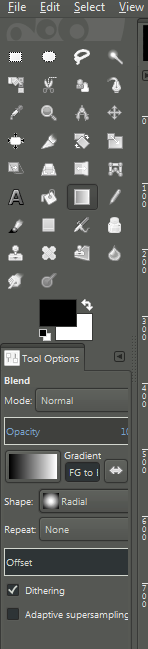
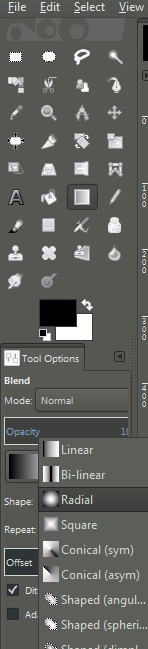
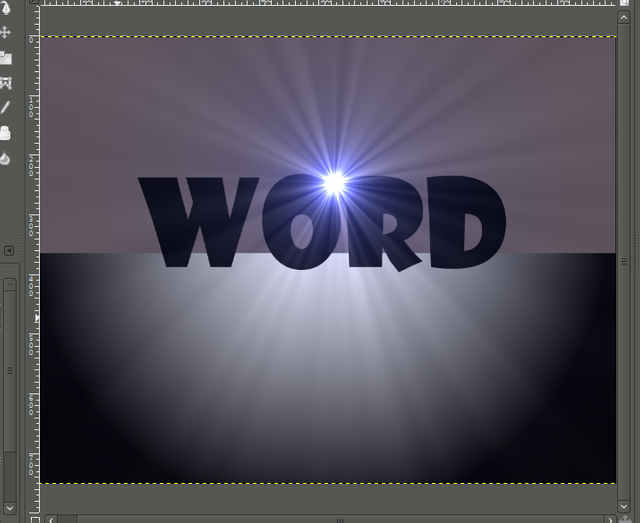
after that click the Blend tools to make a white light in the middle of your image, make sure that you use in shape are radial.
![Capture_2017_12_19_19_34_31_165.png]
( )
)
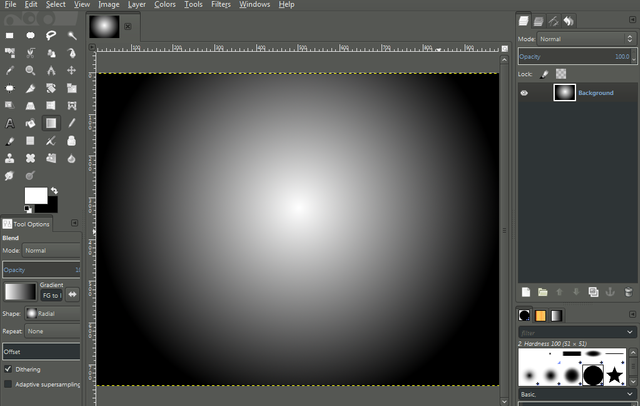
- If you've done on blend settings click the middle of your image to blend it.
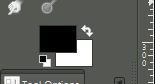
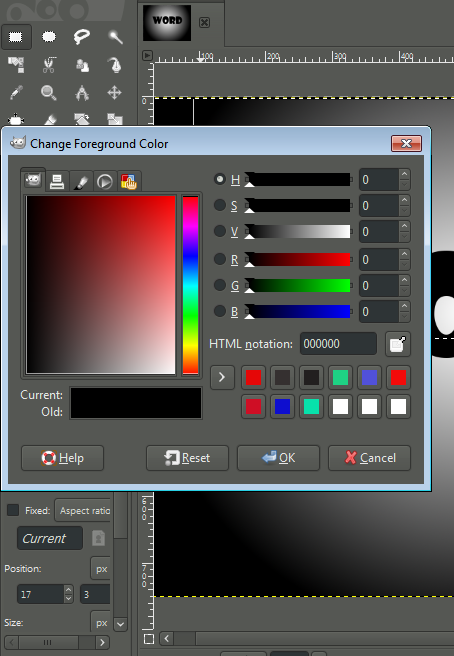
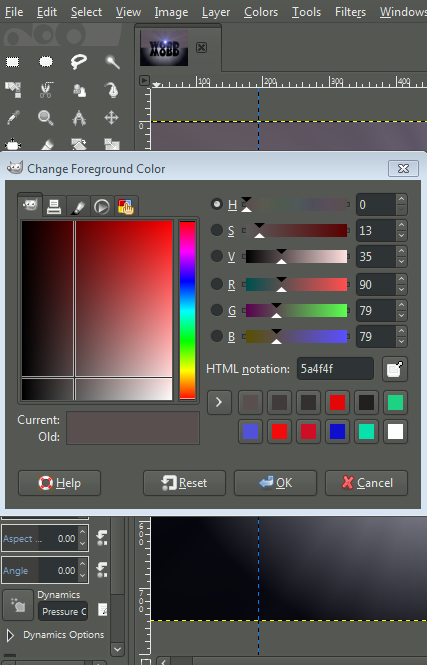
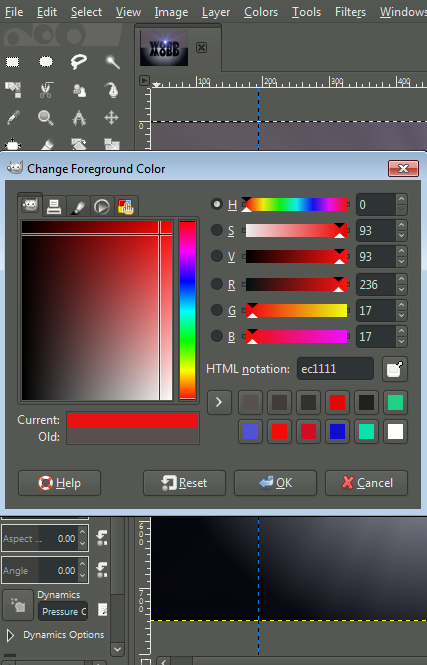
And after that change again the foreground and the background by clicking the arrow on the top of black background.

Then click the Text tools and choose the font you want, i choose font is showcard and guys make sure that the size of your text is 200.
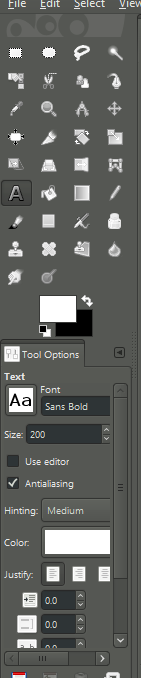
- And now type the word you want to use in your project i use in my tutorial is word.

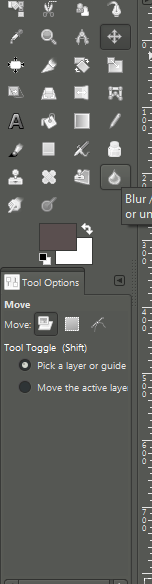
After that click the move tools to arrange your text and move in the middle of your image.
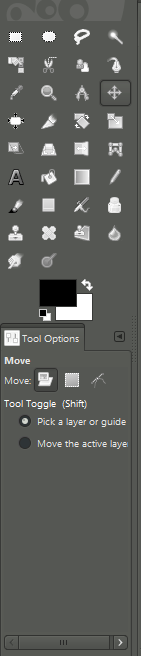
- And then click the selection in the tools the first tools in the left and then select the background layer in a half like in my picture.
and after that go to bucket tools and change the color of your paint change it in dark gray like this
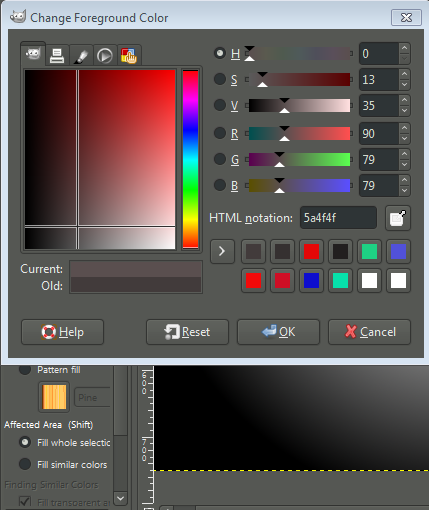
Click it on the selection area.
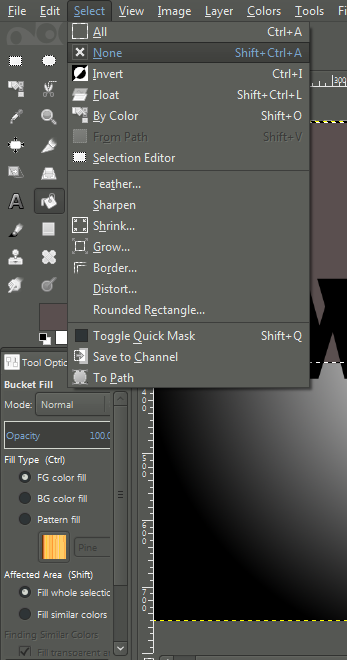
After you do that go to Select and click the none to remove the selection on your background layer.
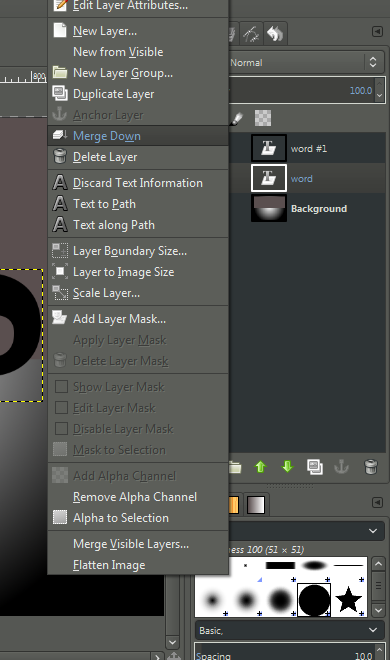
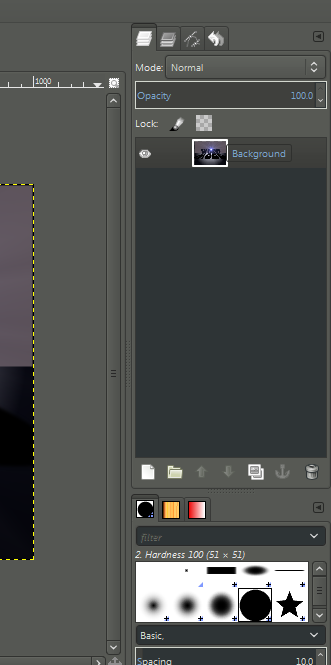
After that go to your layer in the right side and duplicate your text layer.

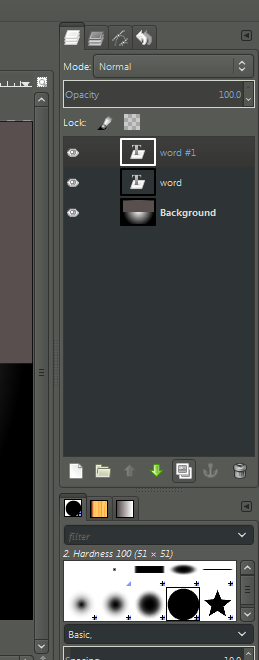
click the eye on your layer side to hide your layer in the background .
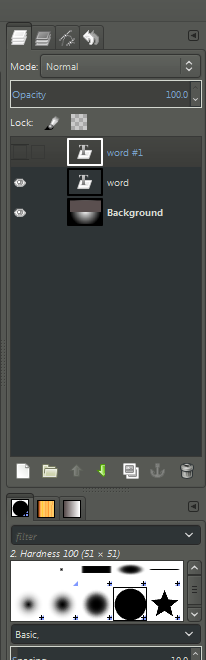
After that click the original Text layer and right click it then click the merge down to merge it in the background.
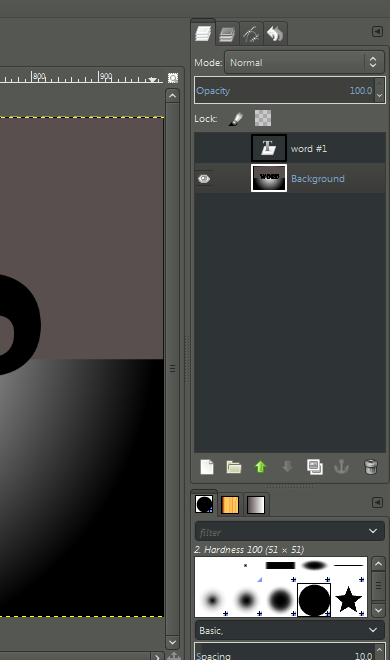
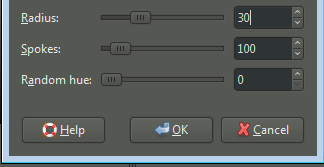
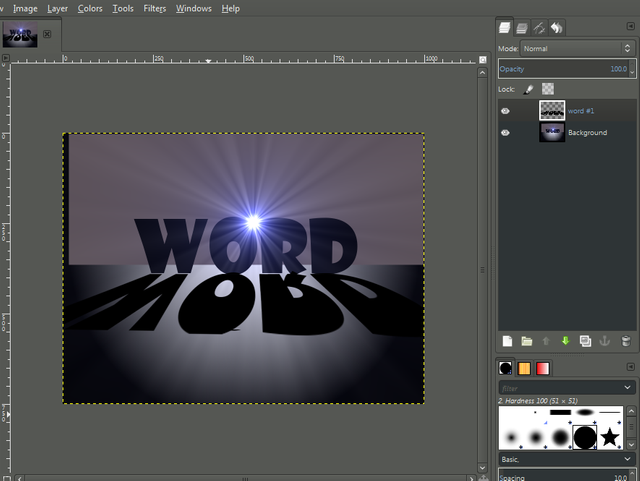
Then After that go to filters and click the Light and shadow and click the supernova for the effects light on your text.
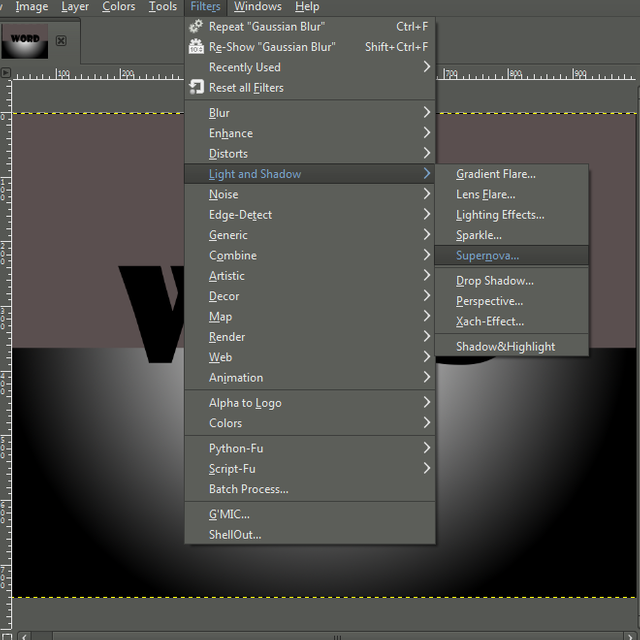
you need to move the light in the middle of your text.

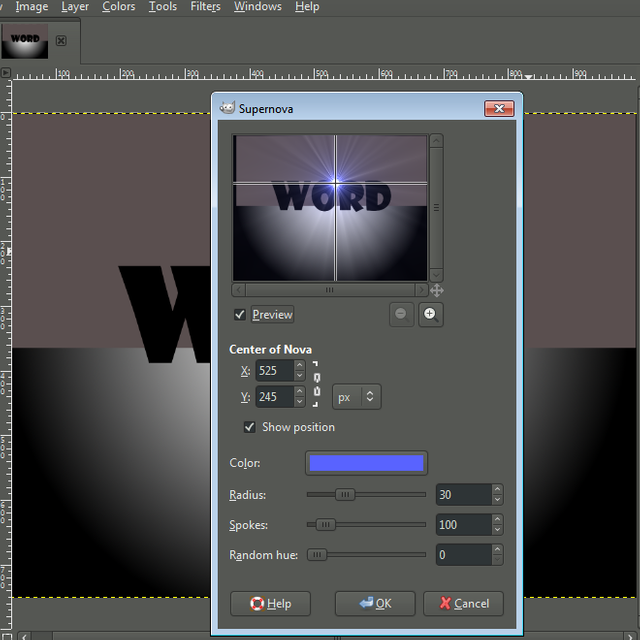
and make sure that the radius size is 30 .
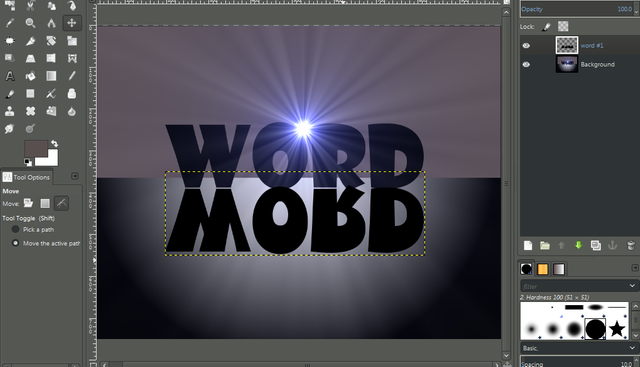
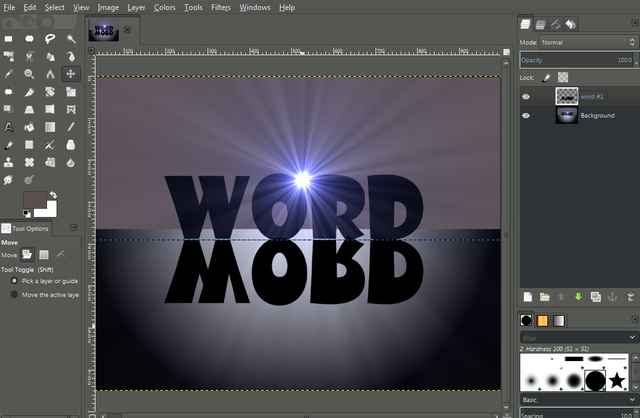
- After that go to flip tools and check the vertical.
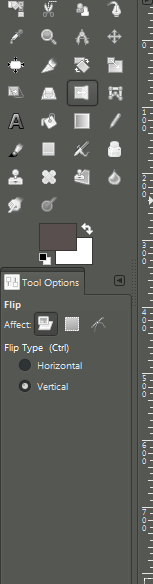
And then click the middle of your text. follow this step.
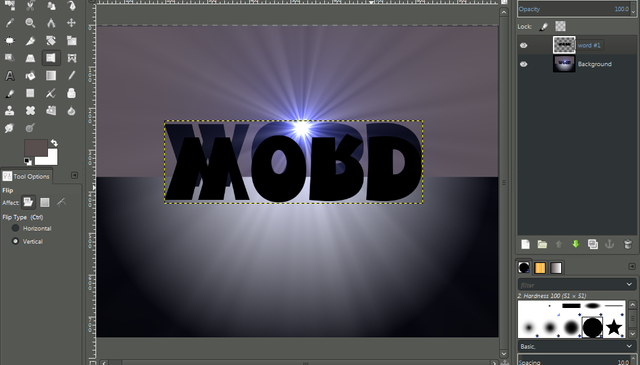
After that click the move tools to move the flip text, and arrange it like a shadow of your text.
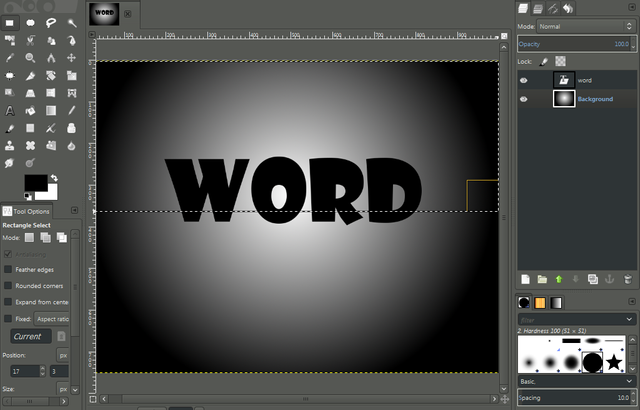
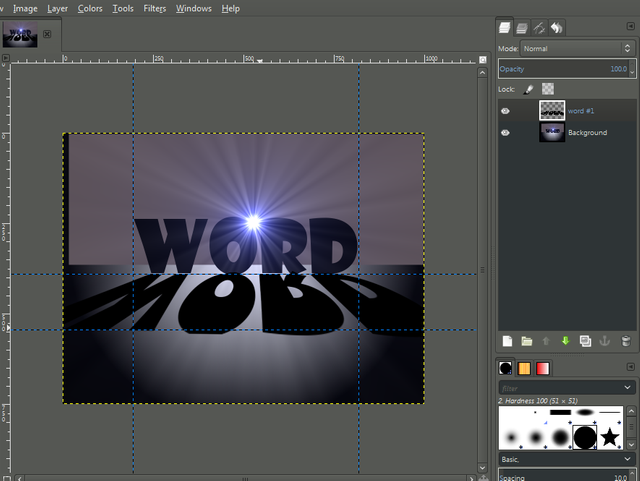
And then after that go back in to your layer and right click and then click Layer to Image size.
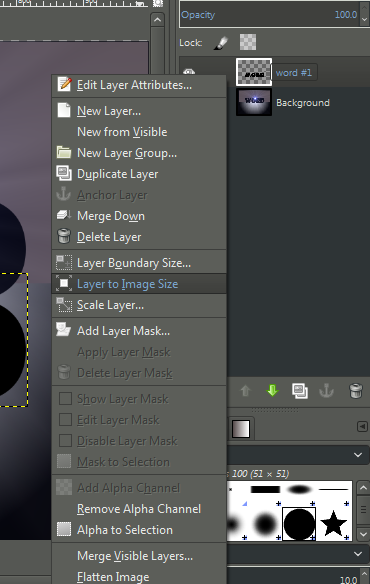
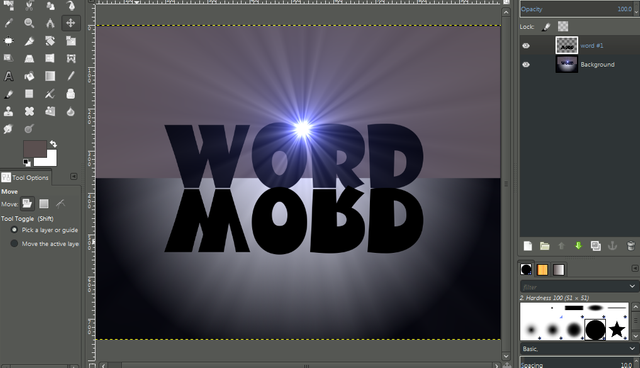
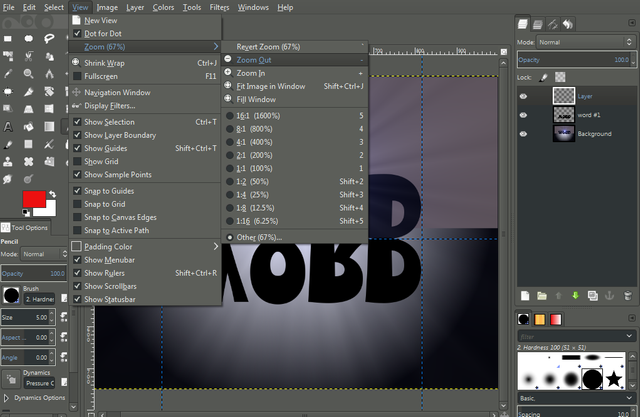
And Then go to view and make sure that the Show guides have check.
![Capture_2017_12_19_19_55_29_869.png]
(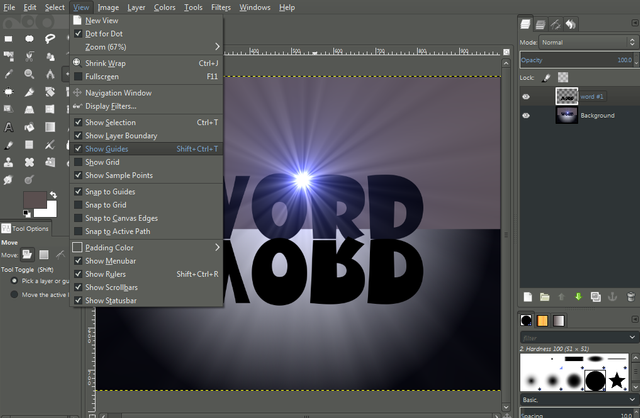 )
)This is case guys just follow the step of the picture below.

After you do the step go to your layer and create new layer.
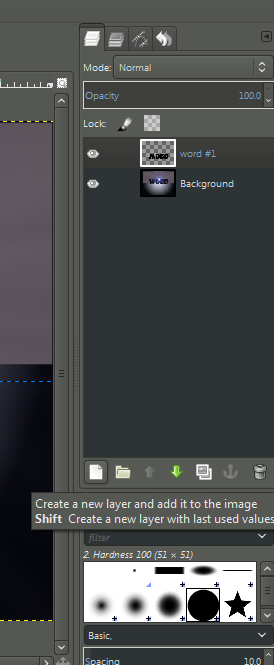
after that make sure the new layer you create and Transparency then ok.
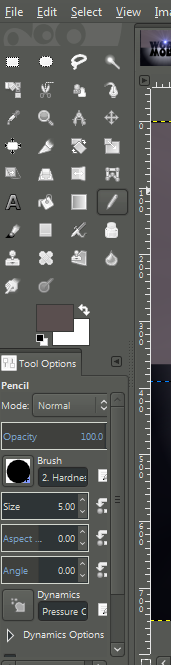
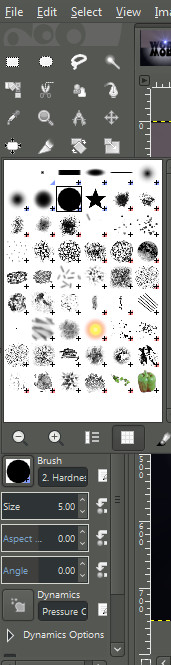
Then go to Pencil tools or drawing tools and then click the bold brush, the size of your brush are 5.00 and then change the color of your pencil make it red.
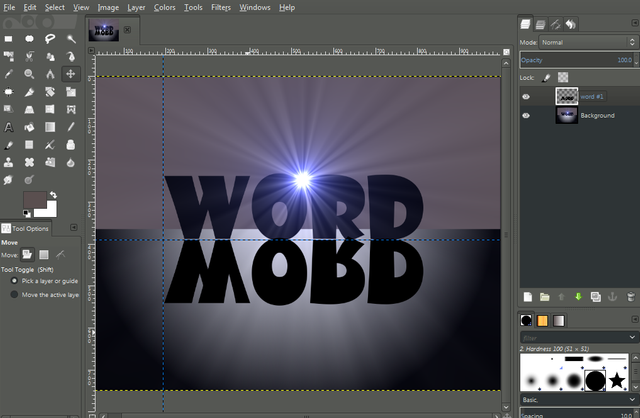
And then go to view and zoom out your image.
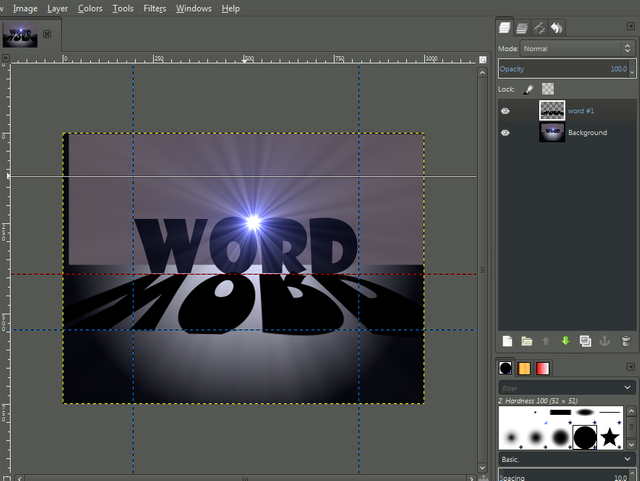
And then after that point the light with your pencil tools and then press shift to make it straight and make sure that your line are in the point of your bracket like this.

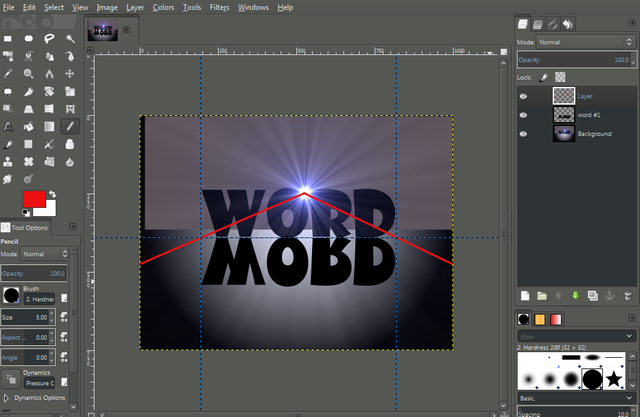
And then drag another line under your flip text like this,

And again go to selection tools and select the Flip text.

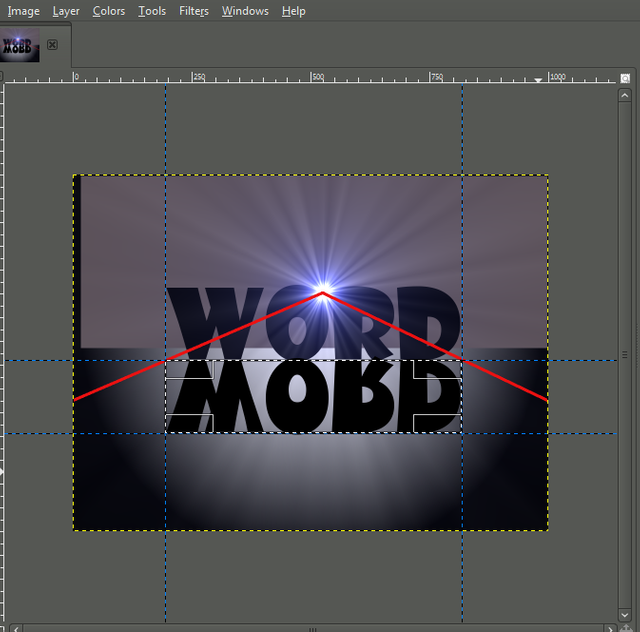
Ather you select the text go to Perspective tools and then click your text.
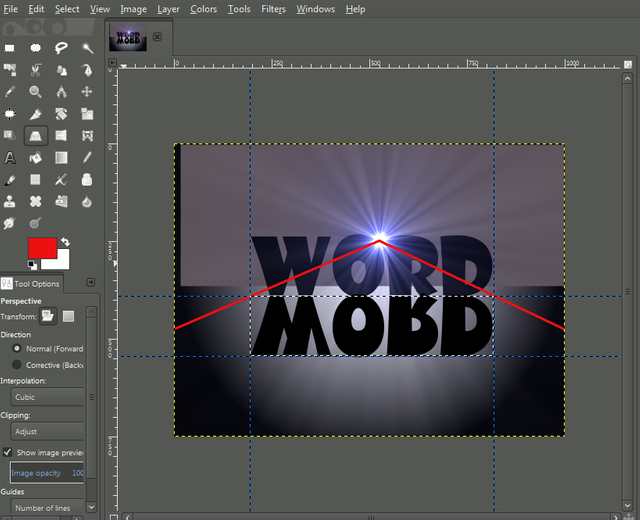
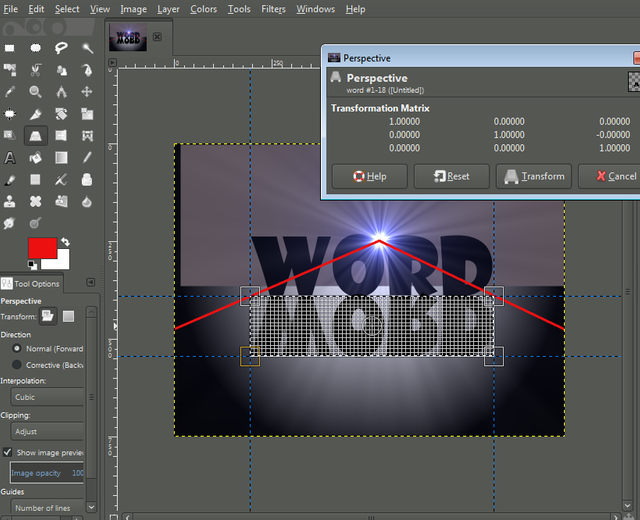
Follow the red line you make that is your pattern.
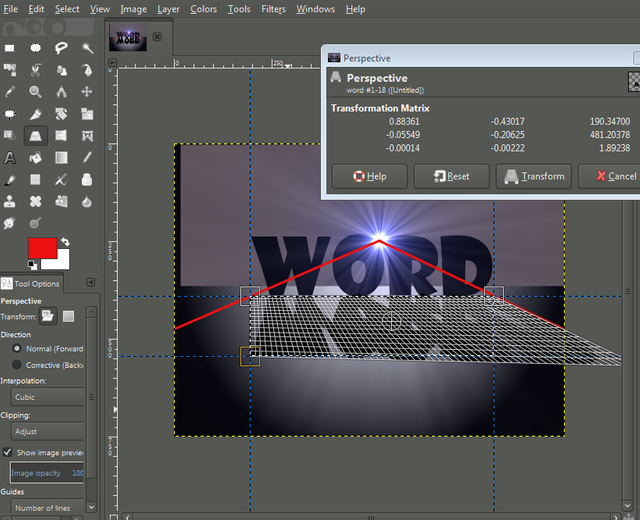

After that click transform.
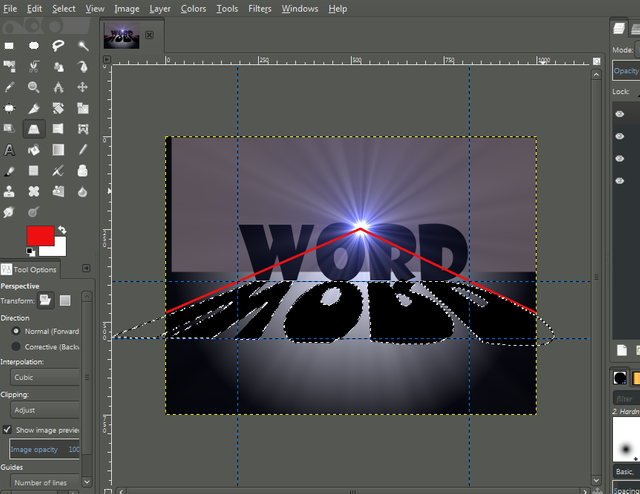
After you do that go back in your layer and you see the Floating Selection (Transformation) under the layer you can see the anchor floating layer click that.
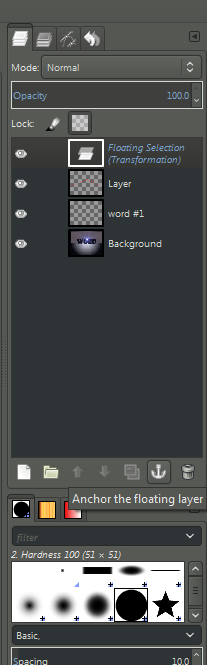
After that select the first layer and delete it to remove the red line on your image.

And then if you see the line on your image that is easy to remove just drag it in to the side and in to the top of your image.
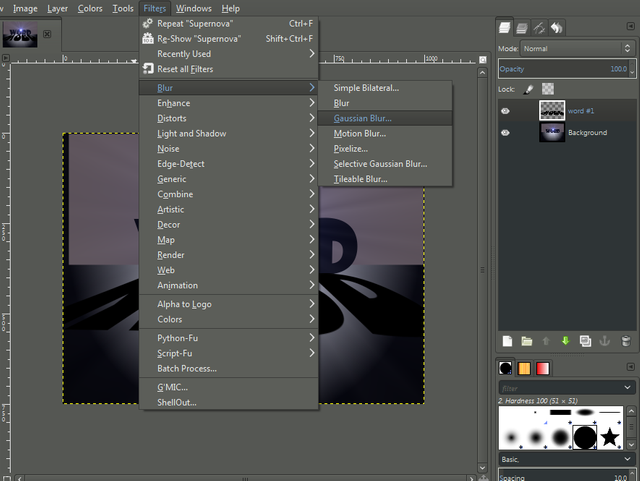
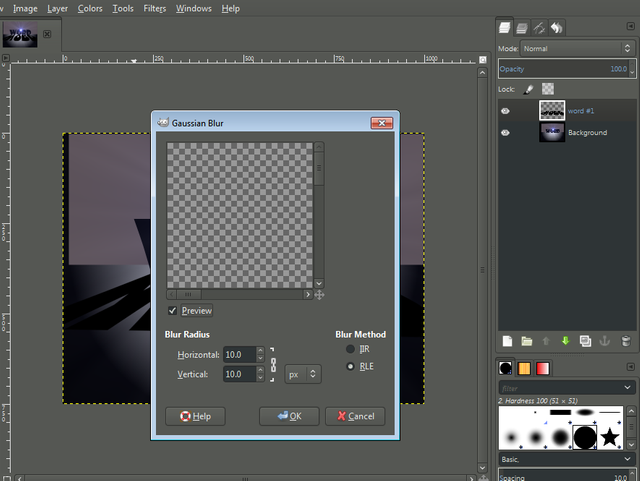
- And then after you do that go to filter and then click Blur after you click the blur click Gaussian Blur and make the blur radius in to 10.0 and then ok.
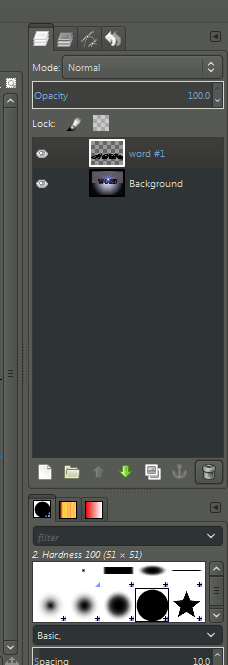
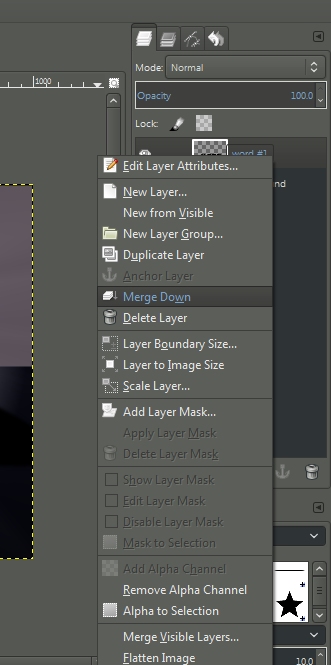
And then go to your layer again and right click your first layer and then click merge down to combine into the background.
And this is it the finish product of our project.
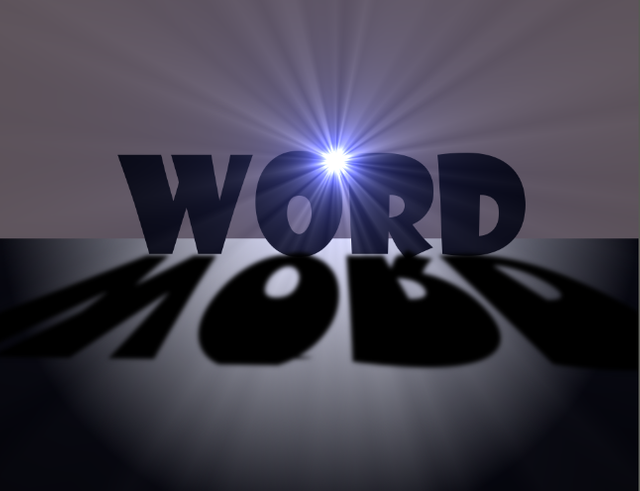
That all guys i hope that you follow my step and i hope that my tutorial are really help you thanks to all of you guys God bless...
Posted on Utopian.io - Rewarding Open Source Contributors
Your contribution cannot be approved yet. See the Utopian Rules. Please edit your contribution to reapply for approval.
You need to do three things:
You may edit your post here, as shown below:
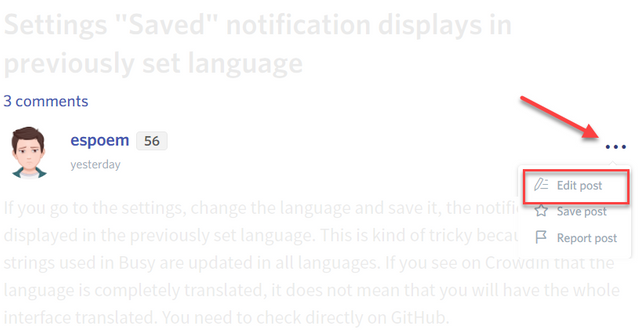
You can contact us on Discord.
[utopian-moderator]
Downvoting a post can decrease pending rewards and make it less visible. Common reasons:
Submit
Thank you for the contribution. It has been approved.
You can contact us on Discord.
[utopian-moderator]
Downvoting a post can decrease pending rewards and make it less visible. Common reasons:
Submit
Hey @leonardo1967 I am @utopian-io. I have just upvoted you!
Achievements
Suggestions
Get Noticed!
Community-Driven Witness!
I am the first and only Steem Community-Driven Witness. Participate on Discord. Lets GROW TOGETHER!
Up-vote this comment to grow my power and help Open Source contributions like this one. Want to chat? Join me on Discord https://discord.gg/Pc8HG9x
Downvoting a post can decrease pending rewards and make it less visible. Common reasons:
Submit