What Will I Learn?
You will learn how to:
- build your own apps in Docker Containers with steem-python.
- build docker base images from scratch.
Requirements
- Linux, Windows 10 Professional or Enterprise 64-bit or Mac OS Yosemite 10.10.3
- Docker Community Edition 18.03.0-ce (older Versions and the enterprise edition should also work fine.)
- Standard texteditor
- Terminal
- Basic knowledge in handling the terminal. Change directory etc.
Difficulty
Intermediate
Tutorial Contents
Topics
- Install Docker Community Edition
- Download Alpine Linux
- Write the Dockerfile for the base image
- Build the base image
- Write the Dockerfile for the dependencies
- Build dependencies image
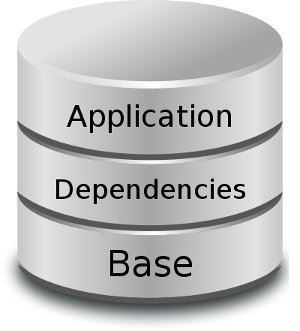
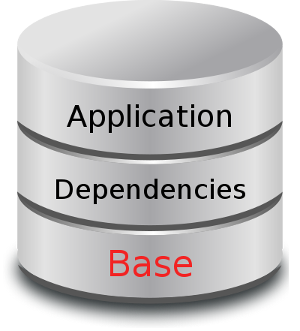
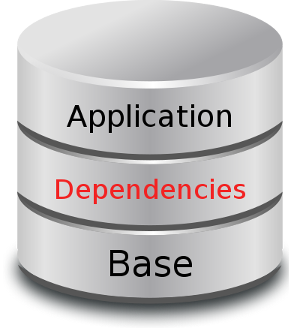
The tutorial is structured in a way that we divide the applications into three layers. The base, dependencies and application layer.
The first tutorial will only show the first two layers (base and dependencies).

Install Docker Community Edition
If you haven't done it already, please do it now.
The installation is well described on the Docker homepage.
In this tutorial I use the Community Edition of Docker.
Docker is available for Windows, Mac, Linux and even for Raspberry Pi.

Optional: Installation on Raspberry Pi
You can find information about the installation here.
- Install Raspbian
- curl -sSL https://get.docker.com | sh
Note: Normally I would not recommend using installation scripts directly from an internet source. However, this is by far the easiest way I know.
Download Alpine Linux
Now we will install our base image. For Docker, Alpine Linux has established itself as a lightweight base. Therefore we will download Alpine Linux now.
But before we start, we will build a directory structure. It'll be important to us later.

- Create three directories e.g. "00_base", "01_dependencies" and "02_applications"
- Go to https://alpinelinux.org/downloads/
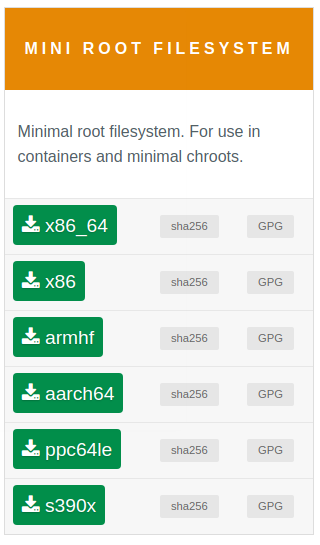
- Scroll down to the MINI ROOT FILESYSTEM section.
- Choose the correct architecture on which you want the apps to run later and download the image. In most cases x86_64 (64-bit) will be the right architecture. If you want to create a base image for a Raspberry Pi, choose armhf. If you have chosen the wrong image, you will quickly notice that.
- Move the file directly into the directory "00_base". The archive should not be unpacked. In my case, the file was called: "alpine-minirootfs-3.7.0-x86_64.tar.gz"
- I recommend renaming the file to "alpine.tar.gz".

Write the Dockerfile for the base image
Now we write our first Dockerfile for the base image.
- Create a file named "Dockerfile" in the directory "00_base".
- Fill the file with the following content:
FROM scratch

ADD alpine.tar.gz /

CMD ["/bin/sh"]
FROM scratchis a special token for creating containers from scratch. If you want to read more information about this, you can find it here.ADD alpine.tar.gz /This command unpacks the imagealpine.tar.gzinto the root directory/.CMD ["/bin/sh"]This is optional. But I recommend using it. It calls the shell if a container is started without arguments.

Your directory should look like this.
Build the base image

In this step we will create the base image. To do this, we open the terminal in the "00_base" directory. Windows users use the Powershell.
- Type in:
docker build -t alpine-base .
-t alpine-baseis the tag/name of the image..means that the docker file is located in this directory.
If everything was done right, you should get an output like this:
Sending build context to Docker daemon  2.003MB
Step 1/3 : FROM scratch
 --->
Step 2/3 : ADD alpine.tar.gz /
 ---> 3b89c568f0b7
Step 3/3 : CMD ["/bin/sh"]
 ---> Running in 7d614acecdfc
Removing intermediate container 7d614acecdfc
 ---> 8a3d4b18c01c
Successfully built 8a3d4b18c01c
Successfully tagged alpine-base:latest
You can check if everything works correctly with the following command:
docker run --rm -ti alpine-base cat /etc/alpine-release
3.7.0
You can explore the new image by simply typing docker run --rm -ti alpine-base. You will notice that it feels similar to a virtual environment of Virtualbox etc., because there are many paralels between Docker Containers and classic virtualization solutions.
Write the Dockerfile for the dependencies
Now we install the dependencies including steem-python on the base image of Alpine Linux.
To do this, we change to the "01_dependencies" directory and create another file called "Dockerfile" with the following content:
FROM alpine-base

RUN apk add --no-cache python3-dev \
                       openssl-dev \
                       build-base \
                       git\
    && ln -s /usr/bin/python3 /usr/bin/python \
    && git clone https://github.com/steemit/steem-python.git \
    && cd steem-python \
    && python setup.py install \
    && rm -r /steem-python \
    && apk del build-base \
               git

LABEL source="https://github.com/steemit/steem-python"
FROM alpine-basemeans that we refer to the previous image we created earlier.RUNExecutes normal commands within the container in the default shell. We use this to process the installation instructions as batch processing.apk add --no-cache python3-dev openssl-dev build-base gitAPK is the package manager on Alpine Linux.ln -s /usr/bin/python3 /usr/bin/pythonsets a symbolic link. So that you can also reach Python3 with the commandpythonand not only with the commandpython3.git clone https://github.com/steemit/steem-python.gitdownload the official steem-python repository.python setup.py installinstalls the official steem-python repository.rm -r /steem-python && apk del build-base gitclean up things you no longer need.LABEL source="https://github.com/steemit/steem-python"This is optional. But I recommend the use. Labels are especially useful in large docker environments.
Note: In this example && and \ were used very often. That makes it one long command. Thus, the name of the batch processing may not be quite correct. However, this has the advantage that only one layer is created. You could also have written each command individually with a new RUN statement. But with each RUN statement a new layer would have been written. This makes it easy to minimize the number of layers.

Your directory should look like this.
Build dependencies image

Now we build the dependencies image. We'll do it the same way we did before. Now open your terminal in the directory "01_dependencies" and enter the following:
docker build -t steem-python .
This may take a while.
docker images
If you did everything right, the previous command should give about this output:
REPOSITORY          TAG                 IMAGE ID            CREATED             SIZE
steem-python        latest              03dbcc08c3a8        4 minutes ago       98.8MB
alpine-base         latest              d249efc7adbe        13 minutes ago      4.14MB
With the following command, you can check if steem-python has been installed:
docker run --rm -ti steem-python steempy --version
steempy 1.0.0
That's it. We have now laid the foundation for an app development with Docker.
Curriculum
This is the first tutorial in a series of 3.
The next tutorials will cover the topics:
- Building the application layer with an example program
- Interaction of several containers with Docker Compose
Posted on Utopian.io - Rewarding Open Source Contributors
Thank you for the contribution. It has been approved.
There's typo:
archiketure;)You can contact us on Discord.
[utopian-moderator]
Downvoting a post can decrease pending rewards and make it less visible. Common reasons:
Submit
Corrected. Thanks for the review. :)
Downvoting a post can decrease pending rewards and make it less visible. Common reasons:
Submit
Hey @maxpatternman I am @utopian-io. I have just upvoted you!
Achievements
Utopian Witness!
Participate on Discord. Lets GROW TOGETHER!
Up-vote this comment to grow my power and help Open Source contributions like this one. Want to chat? Join me on Discord https://discord.gg/Pc8HG9x
Downvoting a post can decrease pending rewards and make it less visible. Common reasons:
Submit