Repository
Electron GitHub Address
https://github.com/electron/electron
My GitHub Address
https://github.com/pckurdu
This Project GitHub Address
https://github.com/pckurdu/Image-Editor-Application-With-Electron-Part-2
What Will I Learn?
- You will learn how to open files with the electron application.
- You will learn the
showOpenDialog()method and its properties. - You will learn the routing process using the
angularjslibrary. - You will learn the
$locationservice in angularjs. - You will learn the
$apply()method in angularjs. - You will learn
ng-viewin angularjs. - You will learn
flex-growin css. - You will learn
self-align: stretchin css.
Requirements
- basic electronjs knowledge
- basic css knowledge
- basic angularjs knowledge
- Atom Editor
Difficulty
- Basic
Tutorial Contents
We are ready to create the second part of the image editor application.
Our application is going to do picture editing work, so first we need to have a picture. We will provide these pictures from our computer.
In this tutorial I'll show you how to bring an image to the application.
We need angular routing to perform the editing process after we select our picture. You will also learn how to do angular routing.
I'll start by creating the select.html page first because I will do the image selection on select.html page.
After creating the select.html page, we can make the necessary adjustments for the routing process.
Routing Operations Configuration
With AngularJS we need a config code to perform routing operations.
We will config settings with the config() method.
Using the $routeProvider object, we can set the necessary pages and controller for routing.
In this example we will set up two pages. We can use the templateUrl properties to access these pages.
We can keep things under control by using the otherwise() method. in some cases they can do things we do not want the user to do. If this happens, we can display the message that we want the user to see otherwise.
Now let's create our config() method in script.js.
app.config(function($routeProvider){
    $routeProvider
    .when('/',{
        templateUrl:'./select.html',
        controller:'selectCtrl'
    })
    .when('/edit',{
        templateUrl:'./edit.html',
        controller:'editCtrl'
    })
    .otherwise({
        template:'Page Not Found'
    })
})
In the above code snippet we have set up for select.html and edit.html in app. I also set the controller of these pages.
The '/' shortcut will run select.html when the application is opened.
We can now define the required location for routing. I will identify this field in index.html
<div id="main" ng-view>

</div>
Using ng-view, we can show the routing pages where we want. I used ng-view in window div.
Design select.html
We need to design select.html page for future use of select.html page when we use ng-view when application is opened.
I will do the work of selecting images in the computer with both openShowDialog and drag &drop methods so I need to let the user know that they can use these features.
Let's create the select.html page according to this information.
<div id="imageSelector">
    <div id="dragDrop">
         <div><i class="fas fa-cloud-upload-alt"></i></div>
         <div>Drag&Drop Image Here</div>
         <div>or</div>
         <div>Click to Select Image </div>
    </div>
</div>
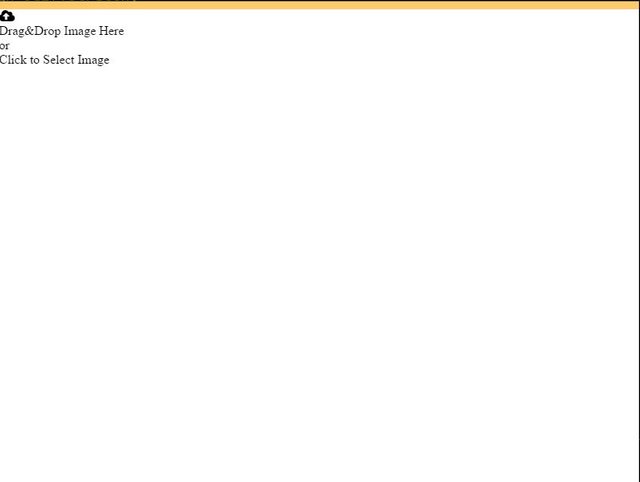
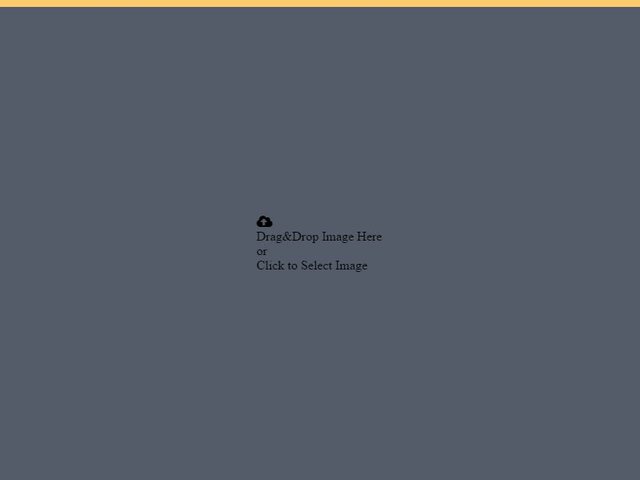
Our application now looks like this:
If our application remains so, we can make some improvements to the style.css file because it can not address the end user.
Let's start by giving the style on window id div.
We can set the background color here because this div covers the whole screen.
div#window{
    background-color: #535c68;
}
Let's line up the texts and shapes in a vertical way.
div#window{
    min-height: 100vh;
    display: flex;
    flex-direction: column;
    background-color: #535c68;
}
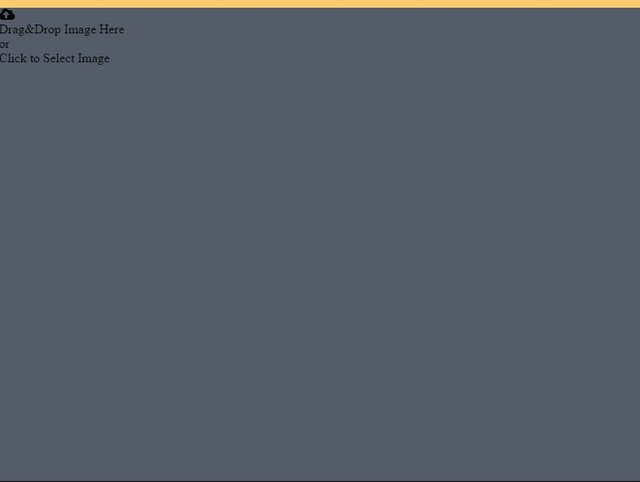
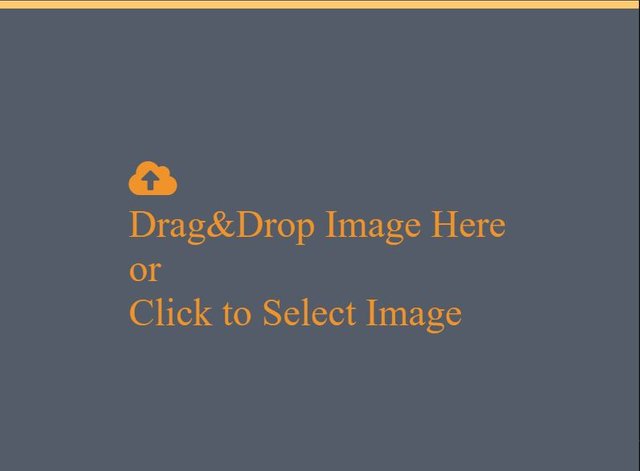
So we get the figure below.
Let's set main div.
Here I will set the shapes and texts horizontally.
Use the flex-grow feature to adjust the spacing between shapes.
div#main{
    flex-grow: 1;
    display: flex;
    flex-direction: row;
}
We check an entire page with the imageSelector div then we can make the whole area clickable.
With cursor: pointer, change the pointer shape when it is over the page.
div#imageSelector{
    cursor: pointer;
}
Let's center the texts and shape in it to create a better image on the page.
div#imageSelector{
    cursor: pointer;
    display: flex;
    justify-content: center;
    align-items: center;
}
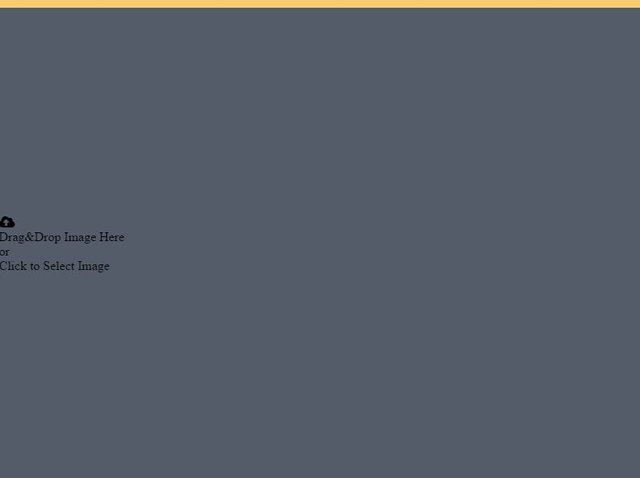
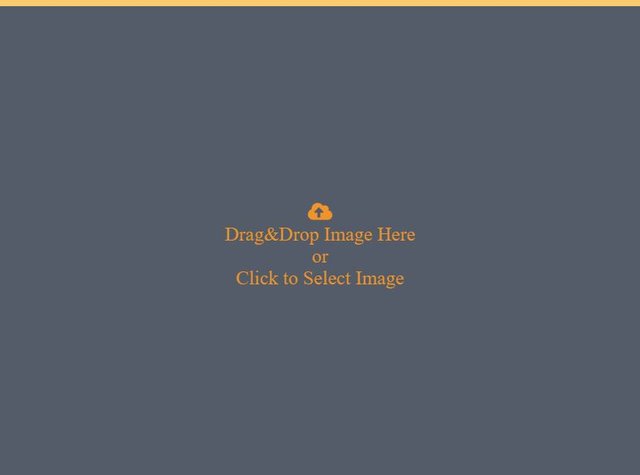
The following picture will appear after these operations.
With css align-self, we can align the selected element in a flexible box to the desired value.
The stretch feature stretches to cover the area.
self-align: stretch; and width: 100%; We can put the texts in the middle of the page.
div#imageSelector{
...
align-self:stretch;
width: 100%;

}
Now all we need to do is set the size and color of the text we need.
The final state of the div#imageSelector is down.
div#imageSelector{
    cursor: pointer;
    display: flex;
    justify-content: center;
    align-items: center;
    align-self:stretch;
    width: 100%;
}
The final version of our application is below.
Now we have to draw around the text to describe the drag method so we need to give style on dragDrop div.
There are 4 lines in this div and the paragraph heads start at the same line. We need to do display: flex first to center all line headings, then flex-direction: column; feature.
Let's adjust the height and width and resize the dimensions.
div#dragDrop{
    display: flex;
    flex-direction:column;
    height: 40vw;
    width: 50vw;
    justify-content: center;
    align-items: center;
    font-size:3vw;
}
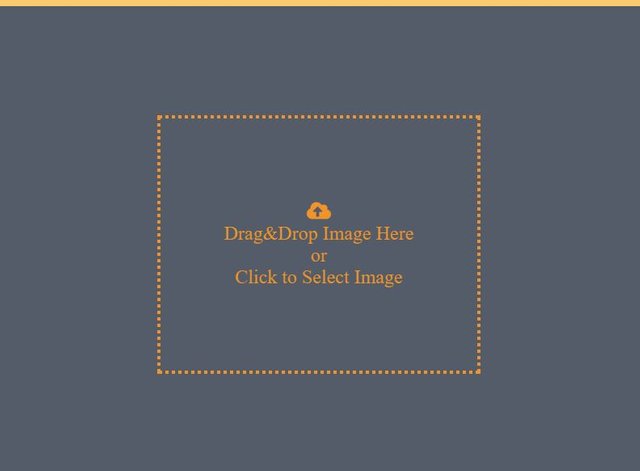
Our application looks like this:
We give this div border and we get the image we want.
div#dragDrop{
...
border:4px dotted #f0932b ;
so I set the view of the select.html page.
selectCtrl Operations
As selectCtrl we have defined it in config() method. I will perform file selection in this controller.
Let's define a function in this controller.
This function will work if you click on the page and it will be triggered by the ng-click() method. In this function I will run the openShowDialog() method.
In script.js
app.controller('selectCtrl',function($scope){
    $scope.imageSelect=function(){
       ...
    }
});
In select.html, let's define the ng-click() event.
<div id="imageSelector" ng-click="imageSelect()">
...
</div>
Create the openShowDialog() method in the imageSelect() function.
We need the dialog module in remote to run the openShowDialog () method.
The showOpenDialog() method has two parameters.
We can determine the properties of this method with the first parameter.
With the second parameter, we can find the selected file.
 $scope.imageSelect=function(){
        var {dialog}=remote;

        dialog.showOpenDialog({
            properties:['OpenFile'],
            filters:[{
                name:'Images',
                extensions:['jpg','jpeg','png']
            }]
        },function(file){
            if(!!file){
                var path=file[0];
                $location.path('/edit');
                $scope.$apply();
            }
        })
    }
I can determine which function opens the dialog window opened with the properties property.
I can filter the files to be selected with the filters feature. I see only image files selected for the application.
It appears that only image files will be selected from the dialog window that opens when you run the project and click on the page.
When a file is selected it must be redirected to the application edit.html page. We can do the redirection with the $location service.
In order for the $location service to work, the controller must also be defined.
app.controller('selectCtrl',function($scope,$location){
...
}
$scope. $apply(); we can refresh the page and run the $location service.
Last Words
So we can select the image when clicked on select.html page.
In the future tutorial we will select the image and then bring it to the edit.html page.
Curriculum
Image Editor Application With Electron(Part-1)
Proof of Work Done
https://github.com/pckurdu/Image-Editor-Application-With-Electron-Part-2

Thank you for your contribution.
We suggest you not focus too much on css, this tutorial has a lot of content about the css of the image editor application.
Your tutorial is quite short for a good tutorial. We recommend you aim for capturing at least 2-3 concepts.
Nice work on the explanations of your code, although adding a bit more comments to the code can be helpful as well.
Looking forward to your upcoming tutorials.
Your contribution has been evaluated according to Utopian policies and guidelines, as well as a predefined set of questions pertaining to the category.
To view those questions and the relevant answers related to your post, click here.
Need help? Write a ticket on https://support.utopian.io/.
Chat with us on Discord.
[utopian-moderator]
Downvoting a post can decrease pending rewards and make it less visible. Common reasons:
Submit
Thank you for your review, @portugalcoin!
So far this week you've reviewed 12 contributions. Keep up the good work!
Downvoting a post can decrease pending rewards and make it less visible. Common reasons:
Submit
Hi @pckurdu!
Your post was upvoted by @steem-ua, new Steem dApp, using UserAuthority for algorithmic post curation!
Your post is eligible for our upvote, thanks to our collaboration with @utopian-io!
Feel free to join our @steem-ua Discord server
Downvoting a post can decrease pending rewards and make it less visible. Common reasons:
Submit
I was actually hoping for a bit more from this tutorial.
For example drag and drop from the system-ui (as in drag from another application) : will that work here - or is it just from the filebrowser? What about pasting from the system copy buffer? Will it convert from base64?
I agree with the utopian reviewer @portugalcoin that you spent too much time talking about the CSS, but for that kind of emphasis I would have expected something awesome, but I just don’t like the corners of the drop area (the dots are clumped at the corner). There are more elegant ways of solving that.
I also find it disconcerting that you have not followed any specific style for your JS code - it is obviously not Standard style and it is also not AirBNB. This suggests you are not linting, which I would expect from a tutorial.
Finally, even though I am not a huge fan of angular, I would still like to know which version this is relevant to.
Downvoting a post can decrease pending rewards and make it less visible. Common reasons:
Submit
Hey, @pckurdu!
Thanks for contributing on Utopian.
We’re already looking forward to your next contribution!
Get higher incentives and support Utopian.io!
Simply set @utopian.pay as a 5% (or higher) payout beneficiary on your contribution post (via SteemPlus or Steeditor).
Want to chat? Join us on Discord https://discord.gg/h52nFrV.
Vote for Utopian Witness!
Downvoting a post can decrease pending rewards and make it less visible. Common reasons:
Submit