Snort Configuration Stages
Snort configuration stage, to run snort in mode NIDS . Step by step to be passed between them are: first do network configuration by typing:
#sudo apt-get install -y ethtool

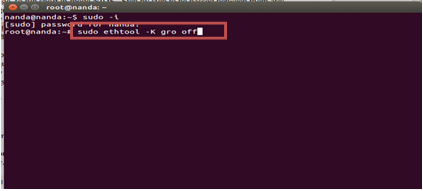
#sudo ethtool -K gro off
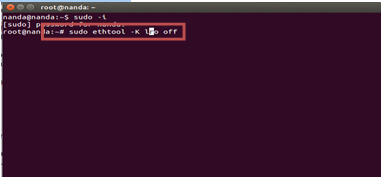
#sudo ethtool -K lro off
Then do the initial preparation before extending into the installation, preparation of support software packages, requirements for building NIDS and DAQ (Data AcQuisition).
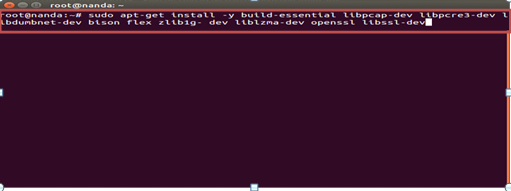
#sudo apt-get install -y build-essential libpcap-dev libpcre3-dev libdumbnet-dev bison flex zlib1g- dev liblzma-dev openssl libssl-dev
Next create a directory to save the downloaded tarball file:
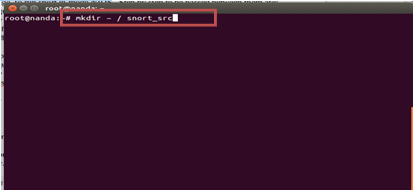
#mkdir ~ / snort_src
#cd ~ / snort_src
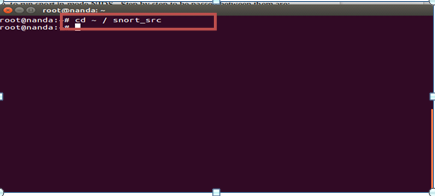
Then in to snort_src directory and download latest DAQ package and its configuration to connect with snort by:
#wget https://www.snort.org/downloads/snort/daq-2.0.6.tar.gz
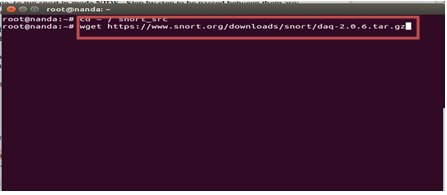
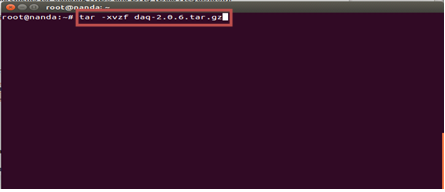
#tar -xvzf daq-2.0.6.tar.gz
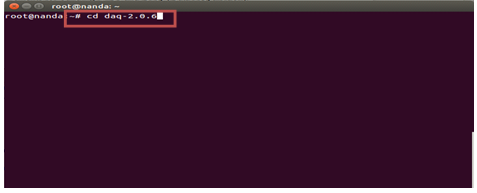
#cd daq-2.0.6
#./configure
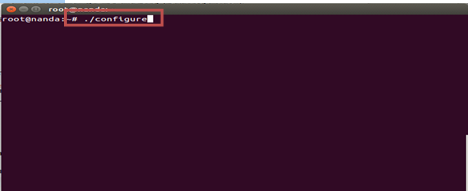
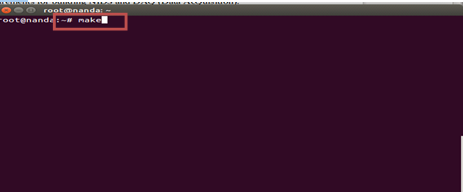
#make
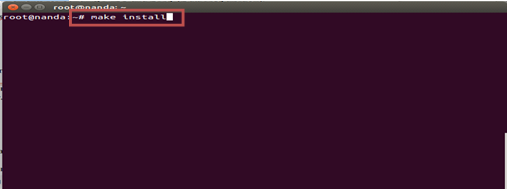
#make install
After all the packages are installed now do the NIDS snort configuration by:
#cd ~ / snort_src
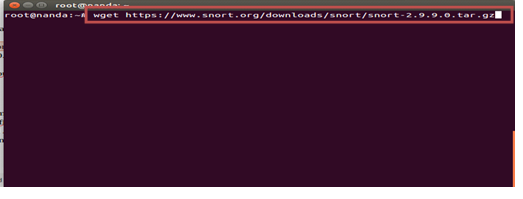
#wget https://www.snort.org/downloads/snort/snort-2.9.9.0.tar.gz
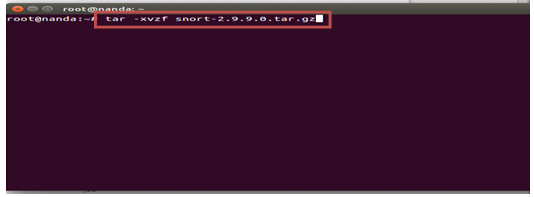
#tar -xvzf snort-2.9.9.0.tar.gz
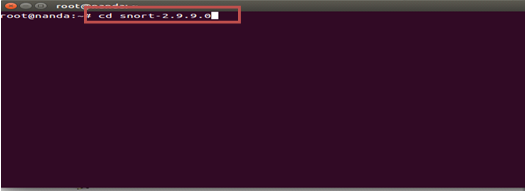
#cd snort-2.9.9.0
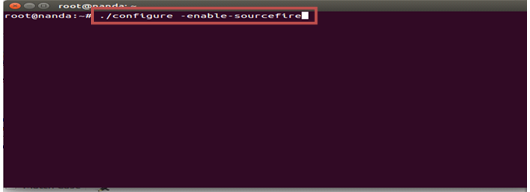
#./configure -enable-sourcefire
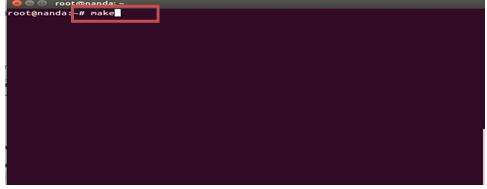
#make
#make install
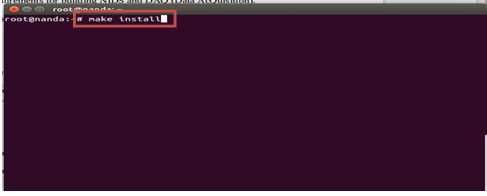
Important. Run the command below, if this command is passed then error will occur in the next step, type #sudo ldconfig, make the symlink snort binary in / usr / sbin by:
#sudo ln -s / usr / local / bin / snort / usr / sbin / snort
Test the snort by running the following command: snort -v, if the test runs normally it will show the snort version used.
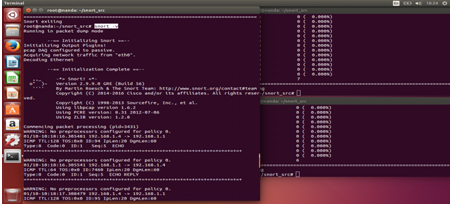
And iam use version Snort 2.9.9.0
Configure Snort in NIDS Mode
To make the snort run in NIDS mode the author needs to configure and create daemon scripts so that snort can run in NIDS mode, the NIDS snort mode configuration steps are as follows:
#sudo groupadd snort
#sudo useradd snort -r -s / sbin / nologin -c SNORT_IDS -g snort
Create Snort directory
#sudo mkdir / etc / snort
#sudo mkdir / etc / snort / rules
#sudo mkdir / etc / snort / preproc_rules
Create some files that store the rules and IP list
#sudo touch /etc/snort/rules/white_list.rules /etc/snort/rules/black_list.rules /etc/snort/rules/local.rules
Create a logging directory
#sudo mkdir / var / log / snort
#sudo mkdir / usr / local / lib / snort_dynamicrules
Customize permissions
#sudo chmod -R 5775 / etc / snort
#sudo chmod -R 5775 / var / log / snort
#sudo chmod -R 5775 / usr / local / lib / snort_dynamicrules
Changes in Ownership of folders
#sudo chown -R snort: snort / et c / snort
#sudo chown -R snort: snort / var / log / snort
#sudo chown -R snort: snort / usr / local / lib / snort_dynamicrules
The next step is to copy the snort configuration from the snort tarball to / etc / snort by:
#sudo cp ~ / snort_src / snort-2.9.9.0 / etc / *. conf * / etc / snort
#sudo cp ~ / snort_src / snort-2.9.9.0 / etc / *. map * / etc / snort
The above command means that the system has copied the configuration from the snort tarball to the / etc / snort directory, with the configuration layout as follows:
#snort binary file / usr / local / bin / snort
#snort configuration file /etc/snort/snort.conf
#snort log data directory / var / log / snort
#snort rules directory / etc / snort / rules
#/ usr / local / lib / snort dynamicrules
To see the snort directory that has been move can use the command: tree / etc / snort, if the process success it will come out the display as below:
#tree / etc / snort
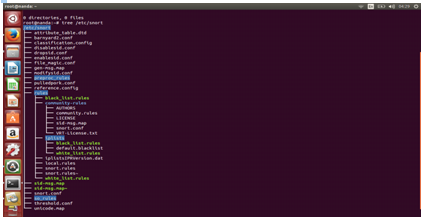
The next step is to create a path that points to /etc/snort/snort.conf by: sudo sed -i's / include \ $ RULE \ _PATH / # include \ $ RULE \ _PATH / '/etc/snort/snort.conf , next step edit the snort configuration using nano editor, by: nano /etc/snort/snort.conf, then edit line in line 45 by press ctrl + w + t fill 45, then edit it to resemble the following settings:
#ipvar HOME_NET 192.168.10.2/24
#ipvar EXTERNAL_NET any
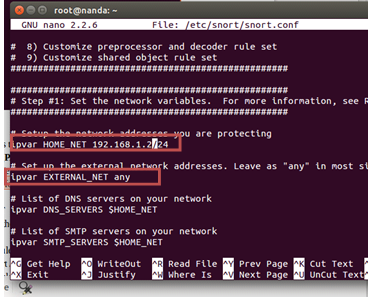
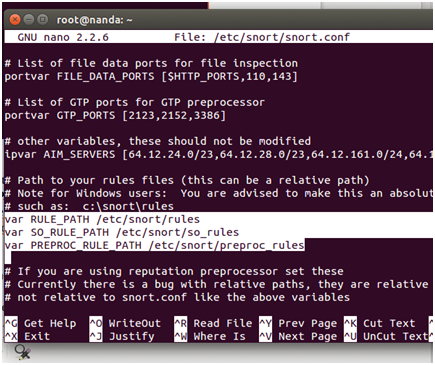
Then find again line 104 and change it to the following:
#var RULE_PATH / etc / snort / rules
#var SO_RULE_PATH / etc / snort / so_rules
#var PREPROC_RULE_PATH / etc / snort / preproc_rules
#var WHITE_LIST_PATH / etc / snort / rules / iplists
#var BLACK_LIST_PATH / etc / snort / rules / iplists
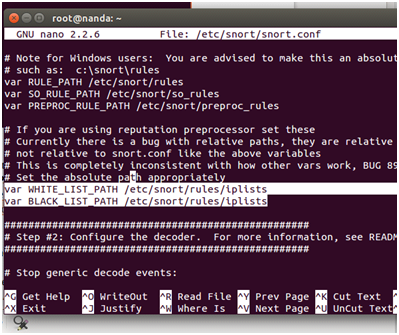
Then activate local.rules located at line 545 by removing a hash (#) that is in front of it, so it resembles the following:
include $ RULE_PATH / local.rules
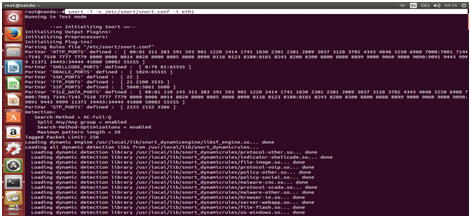
Next step verification the snort if the snort is to read the alerts to be configuration and stored in /etc/snort/rules/local.rules by:
#snort -T -c /etc/snort/snort.conf -i eth1
.........
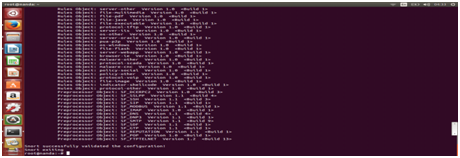
Snort successfully validated the configuration!
Snort exiting.
And you already to install snort with mode NIDS . Success!!!
Posted on Utopian.io - Rewarding Open Source Contributors
Your contribution cannot be approved because it does not follow the Utopian Rules.
You can contact us on Discord.
[utopian-moderator]
Downvoting a post can decrease pending rewards and make it less visible. Common reasons:
Submit