So I decided to try out motion graphics, It was fun doing this.
At first I thought I wouldn't be able to write down the tutorial. But when I started, ideas keep coming, and boom💥 I finished it.
This tutorial is divided into two parts; the first part will explain how I created the composition with Adobe After Effects, while the second part will explain how to render your project and convert it to a gif image with Adobe Photoshop.
This tutorial is original, it's is borne out my strong desire to bless others with my ability. I pray and hope you learn one or two tricks from this.
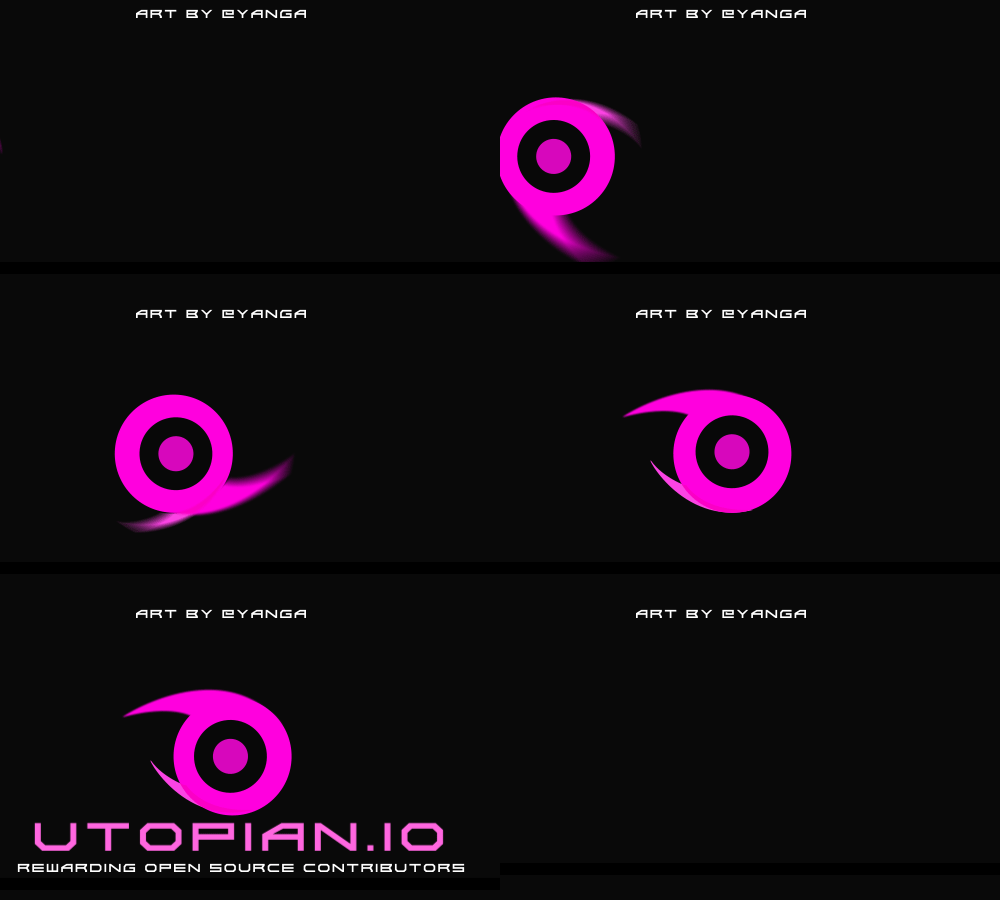
Note:
This tutorial is for both beginners and professionals, but you must have a little knowledge of graphics to be able to dilute this.
Tools used: Adobe Illustrator, Adobe After Effects.
STEP 1 PART A
Open AFTER EFFECTS (AE) in your PC, if you don't have, you can buy it at any computer shop outlet near you, or you acn download it online at here.
Click on COMPOSITION>COMPOSTION SETTING
or you can click Ctrl+N on your keyboard.

A dialog box will pop up,
Fill in as follows
Width-540px, Height-540px
Frame rate-24
Duration -3s
Background color -black (You can use any color you want).

STEP 2

Click and hold the Rectangular Tool, select the Ellipse Tool.

Draw a perfect circle by holding the Shift key on your keyboard while dragging it now.
Use #FF00DE for the fill

Rename that layer to "Circles" layer
Right click on the shape layer>Rename>Circles

Click on the Renamed layer, draw
another circle.
Use #080808 as the fill

Draw another circle, still in that "Circle" layer.
Use #FF00DE as the fill

STEP 2B
POSITION
Move the "current time indicator" to 3s
Click Content(under the shape layer)>Transform
click on the "stopwatch" behind "position" and set a keyframe at 3s.
Move the " time indicator" back to 0 seconds.
Drag the CIRCLES to your left till they are out of the composition
Or you set the position at Osec to -62.0, 155.0.
For the going back, set the keyframe at 5.12secs (234.0, 155.0 for postion.)
Take the time indicator to 6s, and set the position at -64.0, 155.0, or you can drag it out to your left.
ROTATION
For the rotation, at O sec set a keyframe and set the rotation at 0x +341.0°.
At 3s, set a keyframe, and set the rotation to 2x +22.0°
At 5.12s set a keyframe, set the rotation at 0x +0.0°
Set a keyframe at 6s, then set the rotation to 0x -90.0°.

STEP 3A

Right click on the composition>New>Shape layer
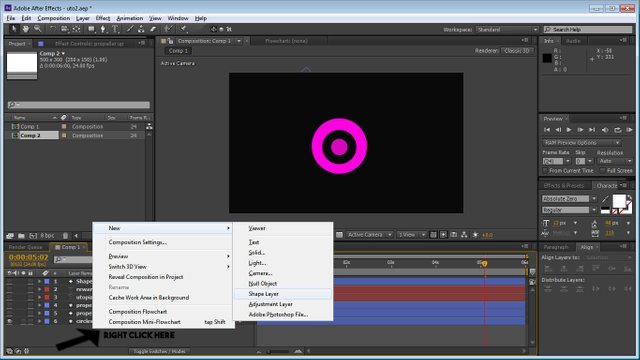
With the help of the PEN TOOL draw the wing

Make sure it's comes out this way
STEP 3B
Position
Set a keyframes at 0s, 1s, 3s, 5.12s, and 6s.
At 0s set the position at -54.0,155.0
1s-35.4,154.8
3s-236.0,155.0
5.12s-236.0,155.0
6s-543.0, 156.0

Rotation
Set the keyframes at 0s, 3s, 5.12s, 5.52s, 5.59s, 6s
At Os set the rotation at 4x +32.0°
3s-0x +0.0°
5.12s-0x +0.0°
5.52s-0x +61.0°
5.59s-0x -27.0°
6s- 0x +64.0°

OPACITY
Set the keyframes at 5.52s and 6s
and opacity at 100% and 0%. respectively.

STEP 4

Right click on the composition>New>shape layer
Or click on the pen tool and start to draw the second wing.

STEP 4b
POSITION
Set the keyframes at 0s, 1s, 3s, 5.12s, and 6s
At 0s set position at -61.0,157.0
1s-41.0,157.0
3s-236.0,157.0
5.12s-236.0,157.0
6s-33.0,157.0

Rotation
Set the keyframes at 0s, 3.5s, 5.12s, 5.5s, 6s
At the 0s keyframe set the rotation at 5x +32.0°
I actually set this keyframe at 3.5s against 3s, to create that late stopping effect. At this keyframe, set rotation at 0x +0.0°
At 5.12s-0x +0.0°
5.5s-0x -62.0°
6s-0x +72.0°

OPACITY
Set the keyframes at 5.12s and 6s and set the opacity at 100% and 0% respectively.

STEP 5A

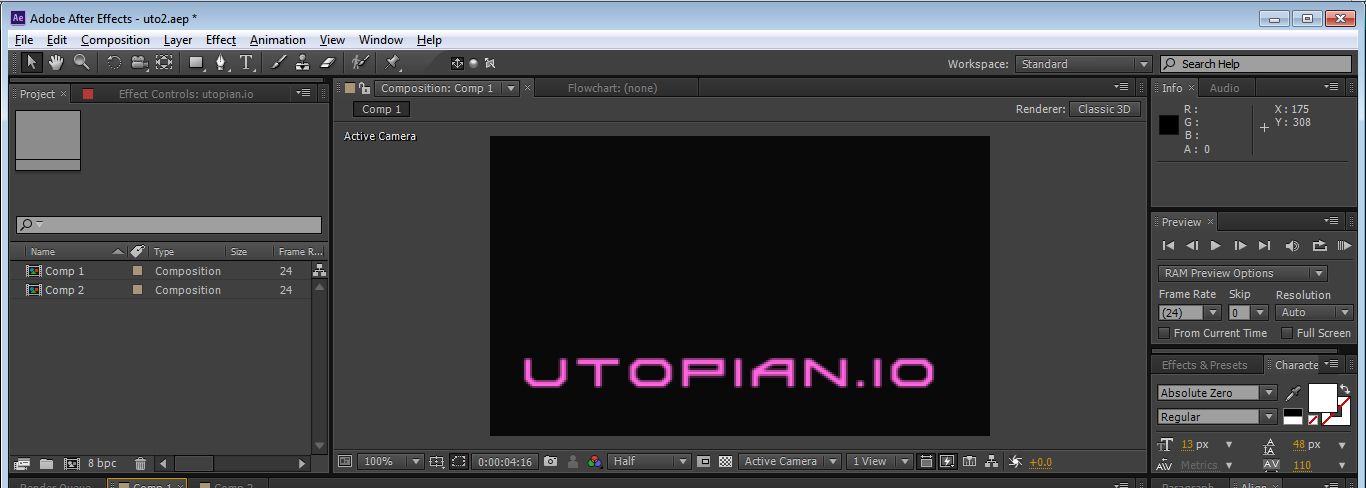
Right click on the composition>New>Text
Or select the type tool, click on the composition and start typing.
I used the font "Absolute Zero" and 47px
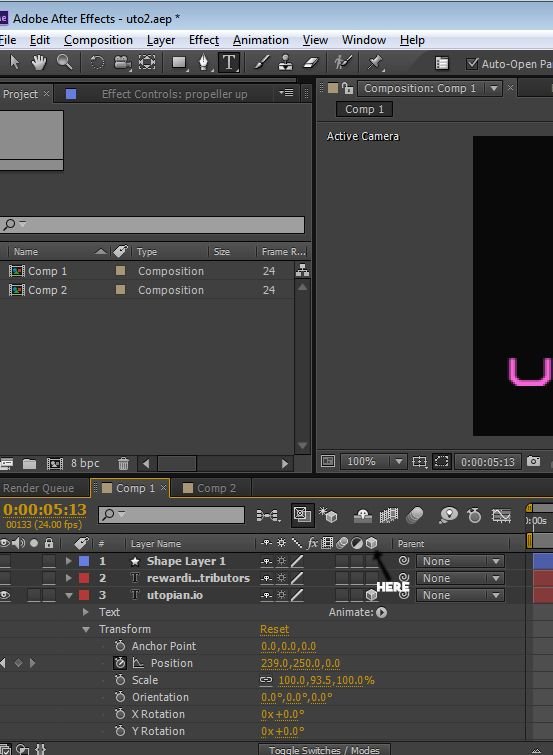
Change this to 3D layer
It's allows the layer to be manipulated in 3 dimensions.
STEP 5B
POSITION
Set the keyframes at 3s and 4s,
and set the positions at 3s-229.0, 255.0, -446.0
4s-239.0,250.0,-5.6

Click on animate, and select tracking.
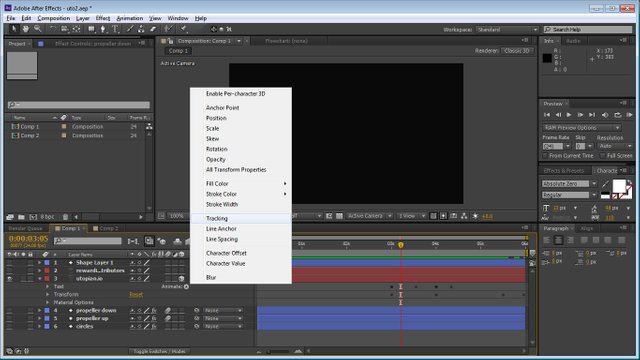
Click on Text>Animator 1
Set keyframes at 3s, 3.5s, 4s and 4.3s
At 3s set the tracking amount at 47
3.5s-40
4s--73
4.3s-0

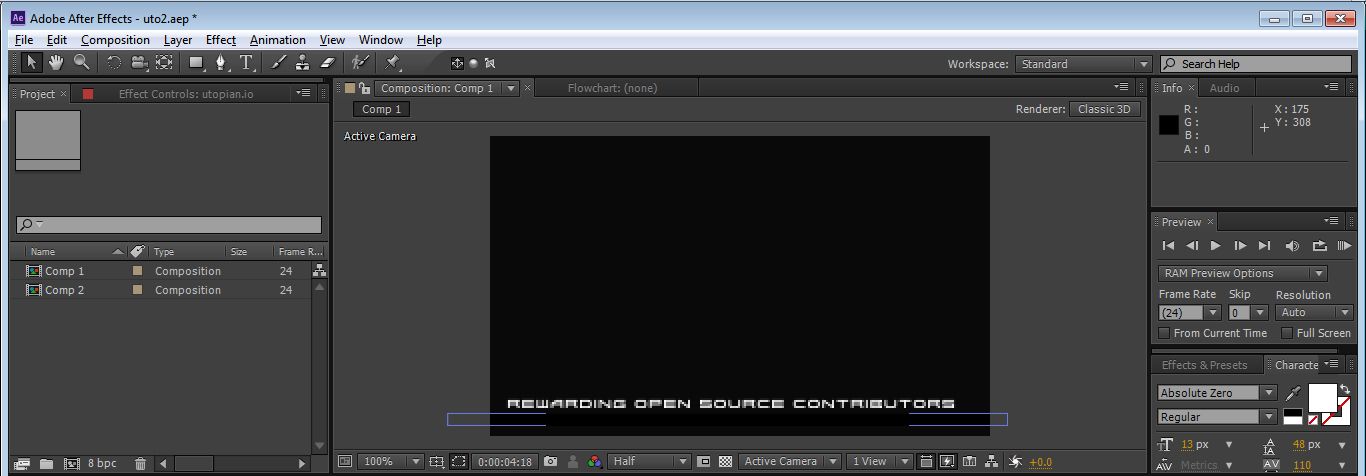
STEP 6A

Right click on composition>New>Text
I used the font "Absolute zero" at 13px.
Make sure the text is centralized.
STEP 6B
OPACITY
Create keyframes at 5.12s and 6s, and set opacity at 100% and 0% respectively.

To create the popping up effect of the text
Create a new shape layer

Set the keyframes at 3.59s, 4s, 5.4s, and 5.5s
Set the position at 250.0,150.0 for the keyframe at 3.59s
4s-250.0,164.0
5.4s-250.0,165.0
5.5s-250.0,151.0

PART B
STEP 1
Click on composition>Add to Render Queue

Click on the "output to", rename the file and save it where you want it to be saved.

Click on RENDER

Minimize After Effect, Open Photoshop
Click on File>Import>Video Frames to Layers

Select the rendered video, and click open

Select "From beginning to End, and click OK


Click on File>Save for web

Set the optimized file format at GIF,
and the looping options at Forever
Then save


Your gif is ready.
Posted on Utopian.io - Rewarding Open Source Contributors
I do like well-written guides, especially with supporting pictures. probably will never use it myself but resteemed so hopefully it reaches a wider audience.
HTH
Downvoting a post can decrease pending rewards and make it less visible. Common reasons:
Submit
Thanks for resteeming @dickturpin
Downvoting a post can decrease pending rewards and make it less visible. Common reasons:
Submit
You're welcome.
Downvoting a post can decrease pending rewards and make it less visible. Common reasons:
Submit
Your contribution cannot be approved because it does not refer to or relate to an open-source repository. See here for a definition of "open-source."
You're repo and the topic is irrelevant.
Also, Adobe is not open-sourced...
You can contact us on Discord.
[utopian-moderator]
Downvoting a post can decrease pending rewards and make it less visible. Common reasons:
Submit
Wait, the tutorial produced a gif for utopian.io, shouldn't that qualify?
According to the "graphics" tile here this looks like a valid contribution.
Oh, hey, all the rules in one place here.
Downvoting a post can decrease pending rewards and make it less visible. Common reasons:
Submit
Your post was on tutorial catog... It is valid if you had "graphics" as your catog
Downvoting a post can decrease pending rewards and make it less visible. Common reasons:
Submit
So if the OP edits the tags and swaps graphics in for tutorial, would it be accepted?
Downvoting a post can decrease pending rewards and make it less visible. Common reasons:
Submit
You know your landing page is badly written.
That sentence is poorly constructed and gives the uneducated reader the impression that it means free as in money. I wrote this for you:
Actually, none of the work is "Free" as in beer. There is the cost of hardware, hosting, materials and peoples time. I wrote this for you:
I'm not sure who these "Superiors" are but I suspect the blurb is talking about proprietary software which, as you point out, Adobe is one of. It would help if that distinction was made clear to visitors to the Utopia.io site.
What are the rules? I clicked on the menu item and it actually tells me nothing apart from "Abide by
our rules!" yes there's some vague stuff further down about suggestions but I couldn't find anything about "No proprietary software here please."?
I've been part of the Opensource community for over 20 years, I have a podcast on the subject, contributed to hundreds of projects, written thousands of pages of documentation and well known within the Linux/Opensource community and also a recognised Advocate. Please don't tell someone their work is irrelevant. It may well not be compatible with what Utopia.io is trying to achieve but it most certainly is not irrelevant.
Downvoting a post can decrease pending rewards and make it less visible. Common reasons:
Submit
This is a very good work you have done @yanga well done jor. Please I am still waiting for my portrait ✌
Downvoting a post can decrease pending rewards and make it less visible. Common reasons:
Submit
It's too complicated for me but you have done a nice job.
@seyiodus.
Downvoting a post can decrease pending rewards and make it less visible. Common reasons:
Submit