Hey Steemians,
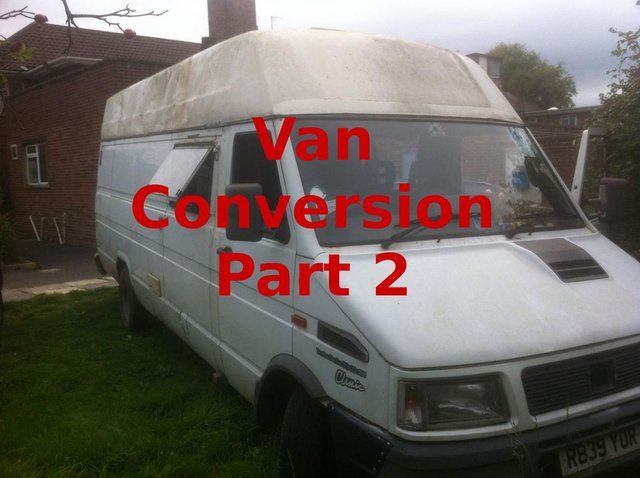
This post is going to cover the next few stages of my last van conversion.
- The floor
- Fitting a window
- Insulation
If you missed my last post here's a link to it, it's not essential to read it first but shows you how I got to this stage.
https://steemit.com/vanlife/@robali123/my-first-van-conversion-part-1
The Floor
So, next thing to get on with once the painted floor pan had properly dried was putting down a plywood floor.
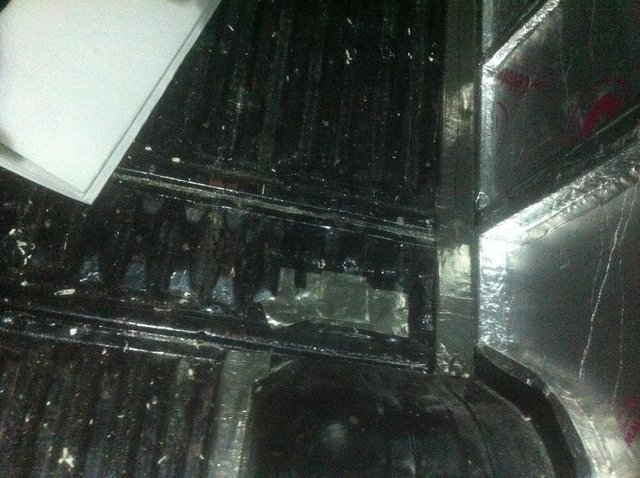
I read a tip somewhere about deadening the sound from the vibrating floor pan using roof flashing. This stuff is really cheap and has a bit of weight to it, enough to in theory stop some of the drumming noise you get with such a big van whilst driving. It's the same idea behind proper mass loaded acoustic vinyl, its just not super expensive!
Here you can see where i've started to stick a few strips down.
The next layer to go down was a damp proof flooring underlay. It's basically a thin sheet of foam. It has minimal insulation properties but it's better than nothing and was all my budget at the time could afford.
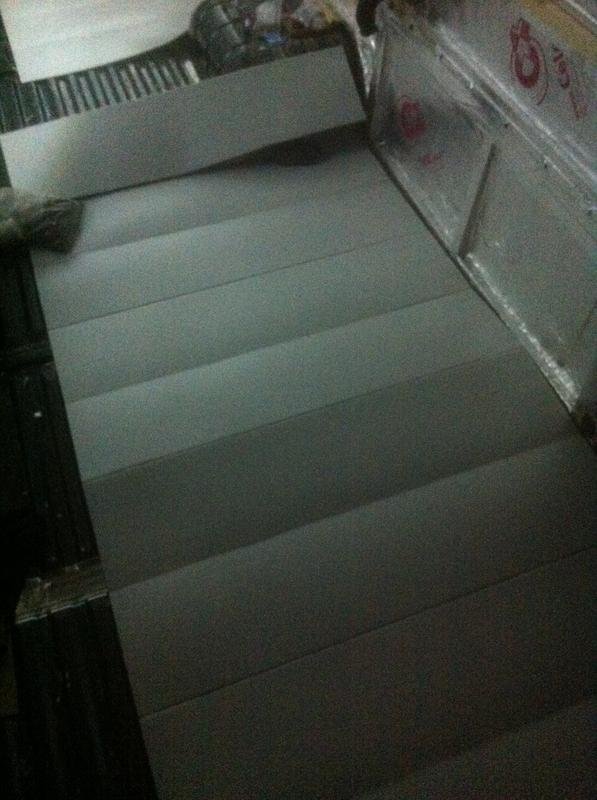
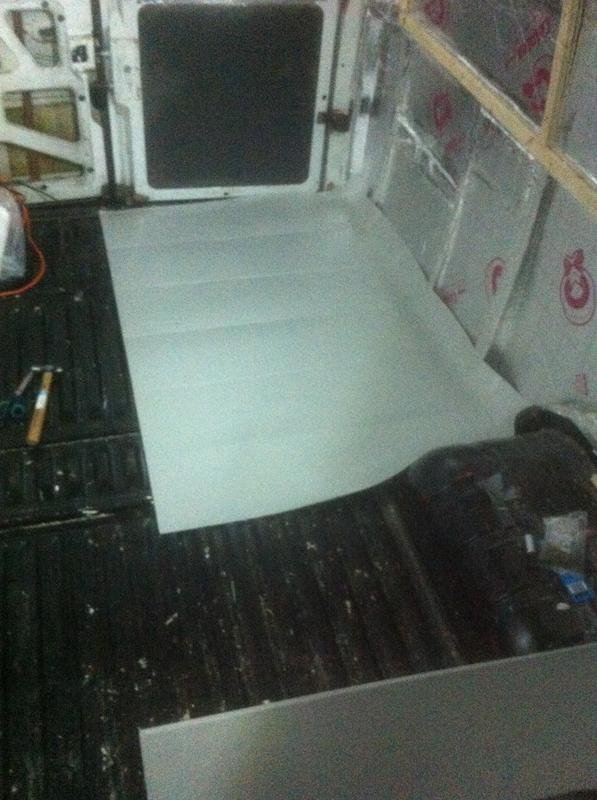
I covered the whole floor pan with this stuff.
Then it was time for the ply. I chose ply over chipboard or MDF for a few reasons despite them both being cheaper options. MDF is heavy, and does not do well when wet. I didn't want a warped floor if i spilt something or had a leak, and chipboard wasn't really a smooth enough surface for my vinyl flooring to adhere nicely too. Plywood is light, relatively strong, copes ok with being wet, and has a nice smooth surface to glue to.
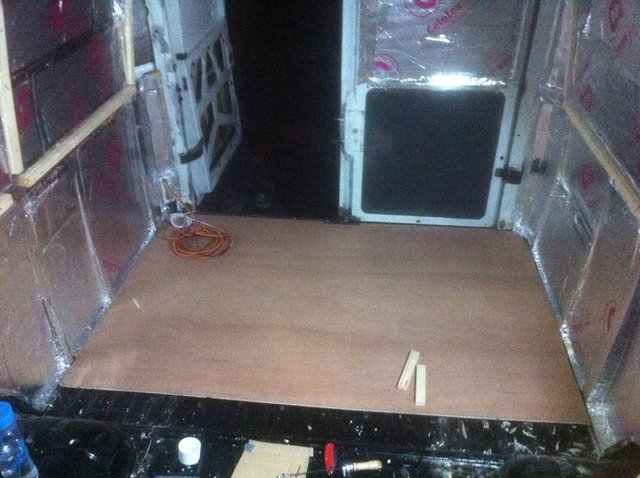
Now my woodworking skills aren't the worst, but they certainly aren't brilliant. My next challenge was to cut the ply to fit well around the wheelarches. I ended up using cardboard to make a crude template of the curves.

I then took the template and copied it onto a sheet of ply
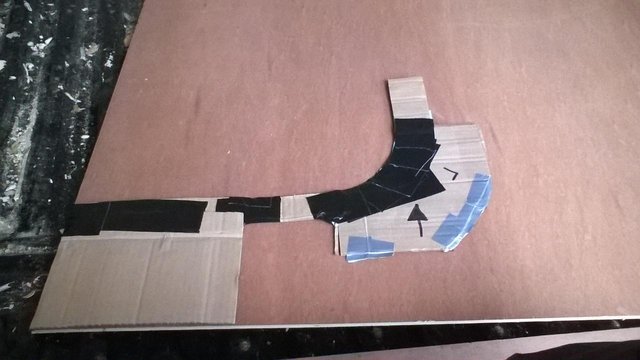
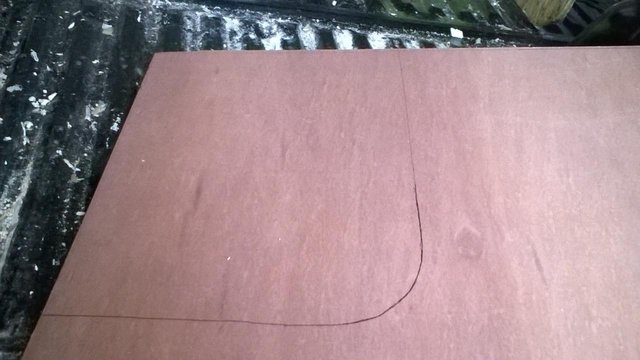
I didn't get it absolutely perfect but it was good enough for me! I'd learnt a new trick and my flooring was taking shape.

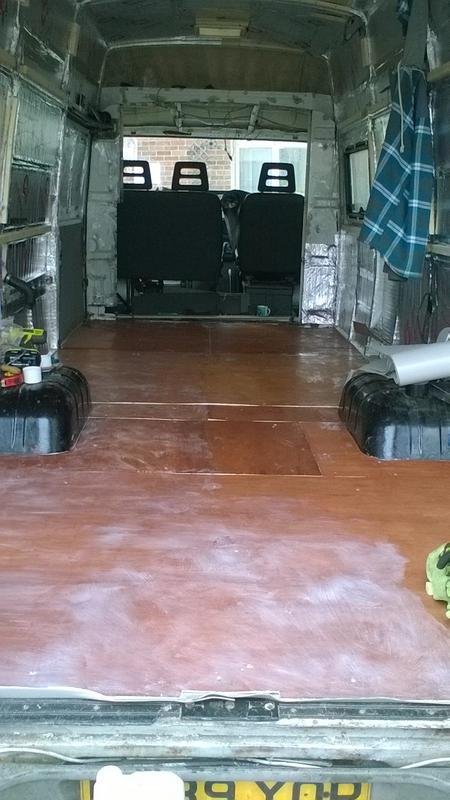
Here's the finished ply floor lining. The seams will all be taped before the lino goes down.
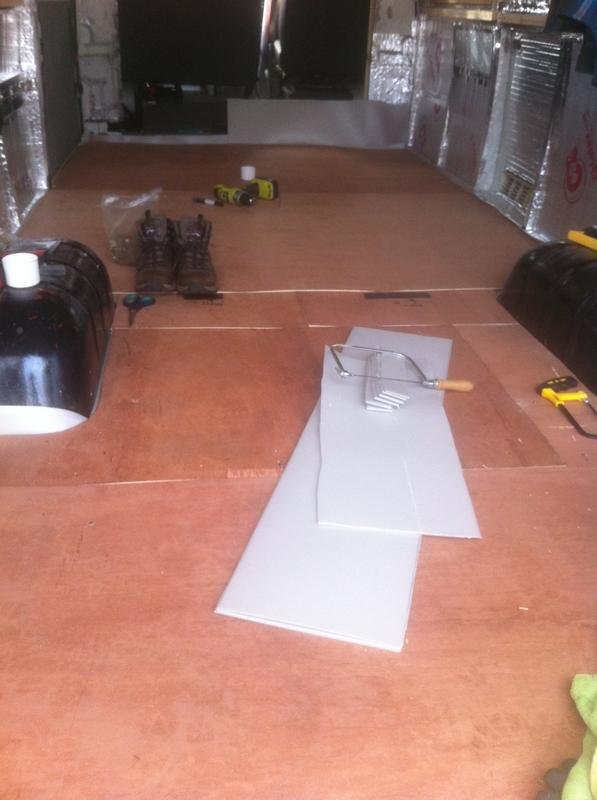
I added a couple of layers of pva on top to really seal the wood in case of water getting to it.
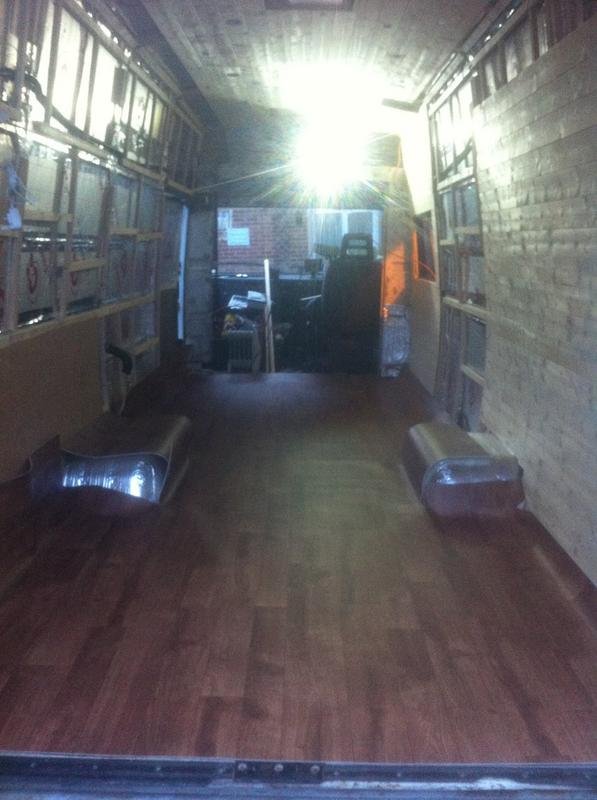
The final stage for the floor, which was actually later in the timeline, was the lino. I picked lino over wood as i have a dog, its easier to clean, was a lot cheaper and its less time consuming to lay. You can get all sorts of designs now, i went for a wood effect. Here it is just before being glued down. The whole thing was fitted in about 2 hours with my faffing included!
Insulating the walls
After lots of research on different insulation options I went for the best i could afford as it's quite an important part of the build.
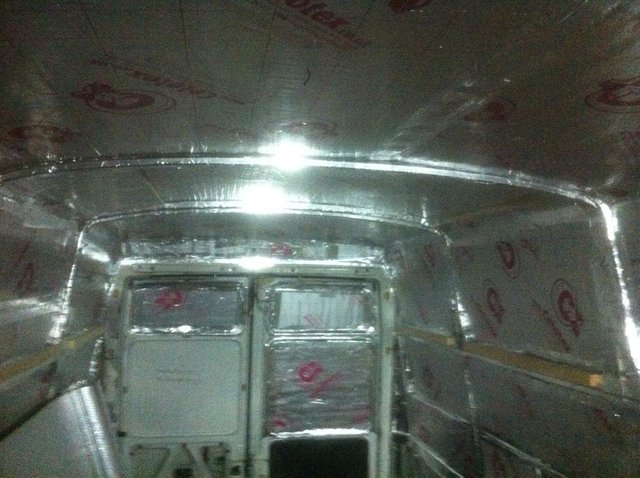
To begin with I used double backed foil bubble insulation roll. This stuff is easy to cut and glues straight to the metal of the van, acting as a vapour barrier.
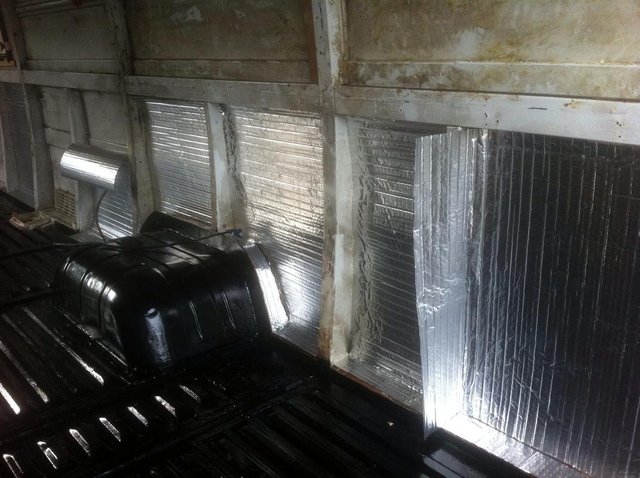
Since doing this i've learnt this stuff isnt a very good insulator so on my next build i used foil backed closed cell foam, it's got a higher price tag but does the job a lot better too.
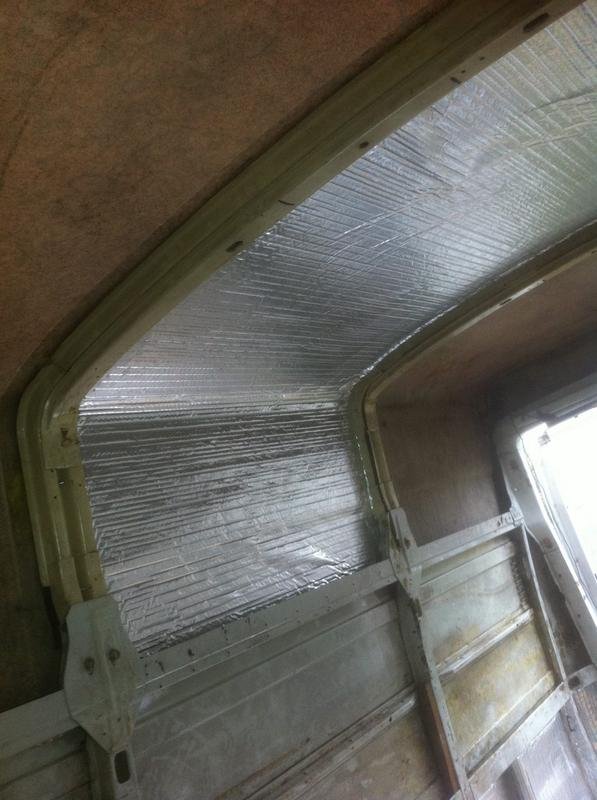
The bubble foil was quite a satisfying job as I could see the progress pretty quickly and it was the first clean job so far!
Once all walls and ceiling were covered I chose Celotex insulation board as the bulk insulation.
This stuff isn't cheap per sheet but its used for insulating houses professionally so it was worth the investment.
I cut the sheets with a Stanley blade to fit each cavity, then glued them in with high temp spray adhesive (FYI this stuff gets you really fucked up in an enclosed space like a van!)
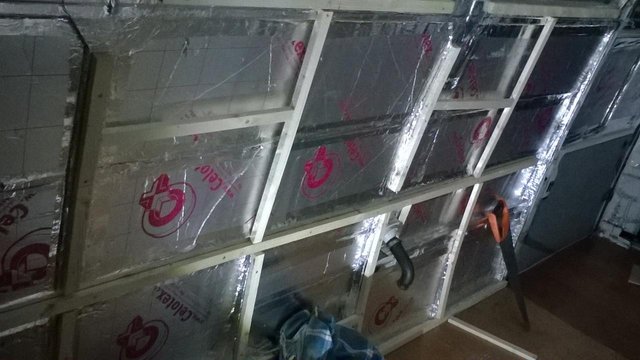
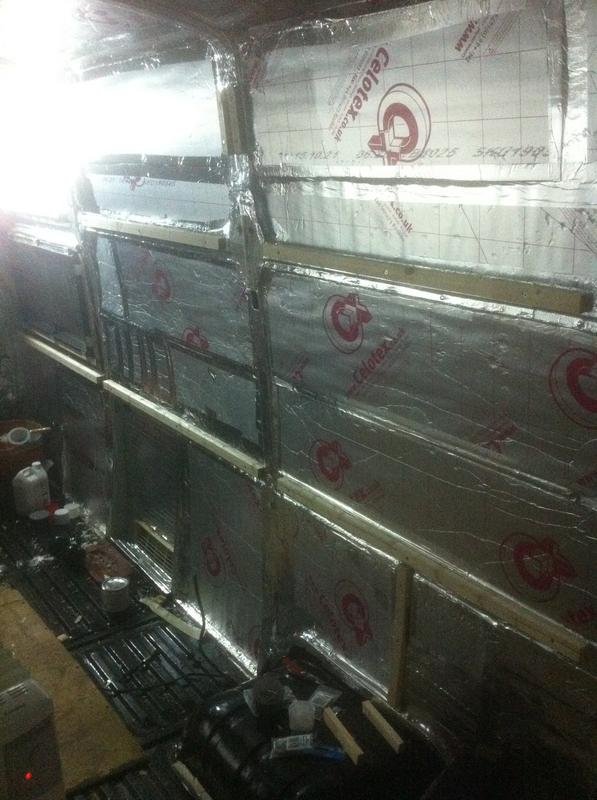
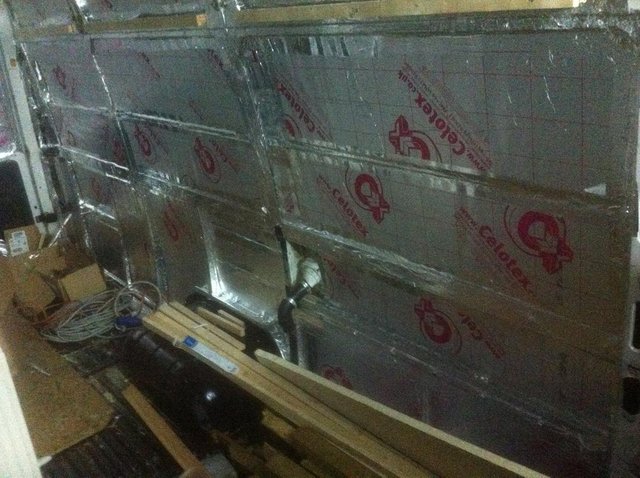
Took me about a week to get all the celotex in and seal all the joins with aluminium tape. Looks a bit like a weed grow room at this point.
Cutting and fitting a window
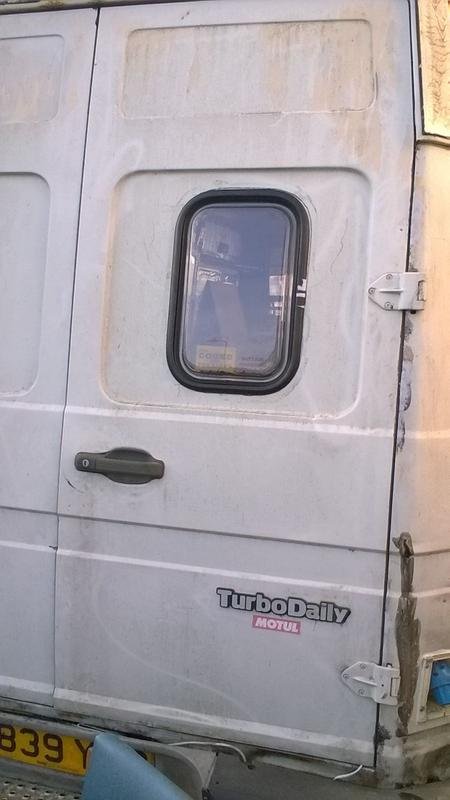
The idea of cutting a hole into my van was pretty scary. I did a bit of reading online and realised it's not a difficult job so bravely i marked and cut the hole using a jigsaw and metal blade, sealing the unpainted edge with paint.

I got the window for this build second hand from a caravan breaker. The install is pretty basic, pop the window with rubber in then add lots of sealant in the gap around the outside. Finally theres a small strip of rubber to wedge in the frame to tighten everything up. This last bit took me several hours of cussing and resulted in sore fingers. If you've done this bit of a window without the proper tools you'll understand.
Thats all for now. Next post will be the walls and ceiling cladding, 12 volt electrics, fitting the woodburner and beginning the furniture

Nice! I've been looking into camper vans - we had a Westfalia when I was a kid - and I'm looking at traveling in a van again! This was an inspiring post. Thank you! Following you now..
Downvoting a post can decrease pending rewards and make it less visible. Common reasons:
Submit
Ah nice! did it break down a lot? haha from what i've heard thats their thing!
i hope this inspires you to self build! its a really satisfying project and you can adjust the level of fancy-ness to your budget
Downvoting a post can decrease pending rewards and make it less visible. Common reasons:
Submit
Join our Discord Channel to connect with us and nominate your own or somebody else's posts in our review channel.
Help us to reward you for making it ! Join our voting trail or delegate steem power to the community account.
Your post is also presented on the community website www.steemmakers.com where you can find other selected content.
If you like our work, please consider upvoting this comment to support the growth of our community. Thank you.
Downvoting a post can decrease pending rewards and make it less visible. Common reasons:
Submit
Looks like you didnt skimp on insulation & thats a good thing - your investment into that kind of insulation will pay off in the future!
Downvoting a post can decrease pending rewards and make it less visible. Common reasons:
Submit
Your Post Has Been Featured on @Resteemable!
Feature any Steemit post using resteemit.com!
How It Works:
1. Take Any Steemit URL
2. Erase
https://3. Type
reGet Featured Instantly & Featured Posts are voted every 2.4hrs
Join the Curation Team Here | Vote Resteemable for Witness
Downvoting a post can decrease pending rewards and make it less visible. Common reasons:
Submit
Beep bop, this is @pushbot.
I just received a signal from the Mother Ship that you may require a push.
You just got a 8.74% upvote courtesy of @howtoweekly!
Message from the Mother Ship:
You can earn daily profit by delegating SP to make @pushbot stronger. Delegators receive a share in 95% of the earnings.
10 SP • 20 SP • 50 SP
100 SP • 200 SP • 500 SP
1000 SP • 2000 SP • 5000 SP
Any Other Amount
Downvoting a post can decrease pending rewards and make it less visible. Common reasons:
Submit
Ah thanks @howtoweekly for the extra upvote.very kind! I love what you're doing ☺
Downvoting a post can decrease pending rewards and make it less visible. Common reasons:
Submit