The Ledger Nano X is super secure but sometimes needs help sometimes to get the job done right.
As a cryptocurrency hardware wallet, the Ledger Nano X allows owners to securely store their digital assets in a secure offline environment, making transacting with cryptocurrencies far more secure.
However, although the Ledger Nano X can store private keys securely, not all digital assets can be directly managed through the Ledger Live application. As such, in order to manage some assets, the Ledger Nano X needs to be connected to a compatible third-party wallet to unlock the full range of capabilities, such as sending and staking cryptocurrencies.
EOS is one of the cryptocurrencies that requires a third-party wallet for complete management — in this case, FairyWallet.— in this case, FairyWallet.
Before you begin: You will need to have an initialized Ledger Nano X hardware wallet, plus the EOS app already installed on your Ledger device. To learn how to install apps to your device, click here.
Use the Ledger Nano X with FairyWallet
Update your Ledger Live application:
Ledger Live
Ledger Wallet
**(1) **To begin managing your EOS with your Ledger Nano X and FairyWallet, you will first need to download and install FairyWallet. The designated installation files for your particular operating system can be found on the official FairyWallet GitHub repository.

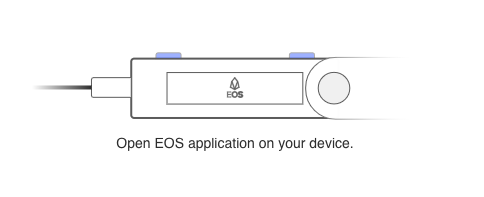
**(2) **Once installed, open FairyWallet and you should be presented with the above screen. While this screen is open, connect your Ledger Nano X to the device running FairyWallet and open the EOS app.

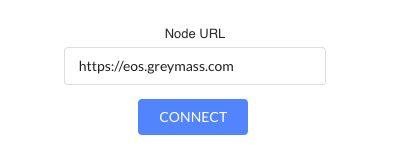
(3) FairyWallet should automatically detect your Ledger Nano X wallet and will ask you to enter a node. Enter the URL of one of the nodes provided below, or the URL of a node of your choice. Click ‘Connect’ once ready.
- https://eos.greymass.com — operated by Greymass
- https://api.eossweden.se — operated by Sw/eden
- https://nodes.eos42.io — operated by EOS42
- http://api-mainnet.starteos.io — operated by Starteos
- https://eosbp.atticlab.net — operated by AtticLab
- https://api1.eosdublin.io — operated by eosDublin
- https://node1.eosphere.io — operated by EOSphere
- https://node2.eosphere.io — operated by EOSphere

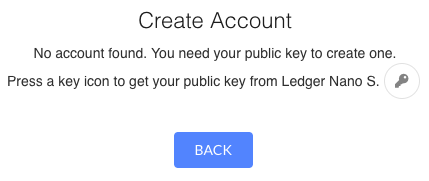
(4) You will then be redirected to the account creation process. When you see the above screen, click the key icon (next to Ledger Nano S) to retrieve your public key from your device.
You will then need to click the ‘Verify’ button on the prompt, and verify that the public key displayed in FairyWallet matches that displayed on your Ledger Nano X screen. If these match, confirm this on your Ledger Nano X device. Copy this public key as you will need it for the next steps.
Make sure your Ledger Live is up to date.
**Download Ledger Live Updated**

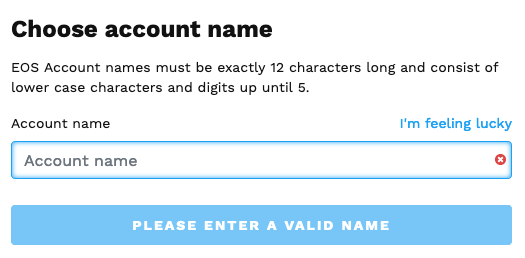
(5) Now that you have your public key, head to one the following popular EOS account creating services, and use your public/owner key to create an EOS account. Here, you will need to choose an account name that is at least 12 characters long and will likely need to pay a small fee.
https://eos-account-creator.com
https://www.zeos.co/en/home
https://eostoolkit.io/account/create
Tip: The above screen shows the process for eos-account-creator.com, but all platforms feature a similar setup process.
**(6) **Once your EOS account has been created, FairyWallet will automatically detect this and you will be able to click the Login button to access your account. You will now be able to manage your EOS directly from FairyWallet but will need your Ledger Nano X connected to verify sensitive actions.
For more information on using the Ledger Nano X with third-party wallets for each unique cryptocurrency, click here.
