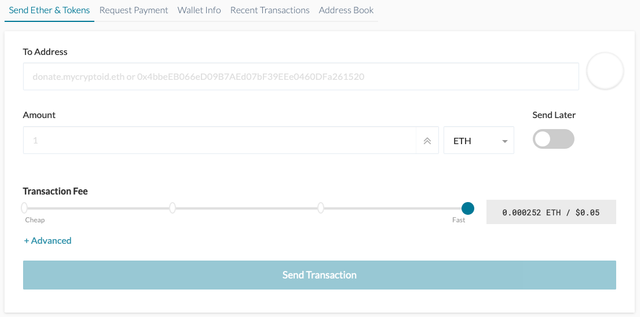
Since diverging from Ethereum (ETH) in 2015, Ethereum Classic (ETC) has gone from strength to strength,and is now one of the most popular digital assets.
Ethereum Classic (ETC) is a cryptocurrency that follows the original Ethereum protocol and runs smart contracts exactly how they were programmed to operate.
As a decentralized computing platform, Ethereum Classic allows individuals and businesses of all sizes to launch their own smart contracts and decentralized applications (dApps), which can perform practically endless functions — ranging from games, to casinos, to distributed voting platforms.
Thanks to its ambitious development schedule, Ethereum Classic has become a popular investment choice for many savvy traders, as some believe that like its spin-off (Ethereum), it too could enter the top 10 by market capitalization.
Like many other cryptocurrencies, Ethereum Classic can be directly managed using Ledger Live or can be managed through a third-party wallet — in this case, MyCrypto. This article will teach you how to do exactly that!
Before you begin: You will need to have an initialized Ledger Nano X hardware wallet, plus the Ethereum Classic (ETC) app already installed on your Ledger device. To learn how to install apps to your device, click here.
Connecting the Ledger Nano X with MyCrypto
Update your Ledger Live application:
- **Download Ledger Live for Windows**
- **Download Ledger Live for Android**
- **Download Ledger Live for MAC OS**
(1) To begin, plug your Ledger Nano X into your computer or pair it with your device, and enter your PIN to unlock the device.
Once unlocked, open the Ethereum Classic app, and leave your hardware wallet connected to your computer.
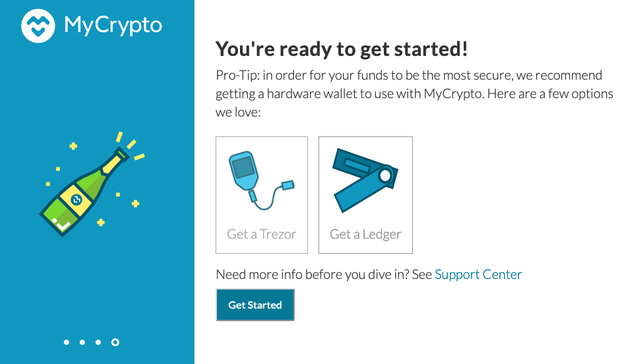
**(2) **With the Ledger Nano X connected, head over to the MyCrypto website and skip through the introductory screens until you are presented with the different login options.
When you see the above screen, click the ‘Get Started’ button.
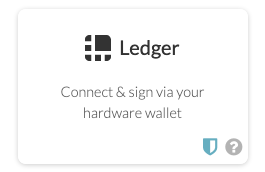
(3) On the subsequent screen, select the ‘Ledger’ option and then select the ‘Connect to Ledger Wallet’ option when prompted.
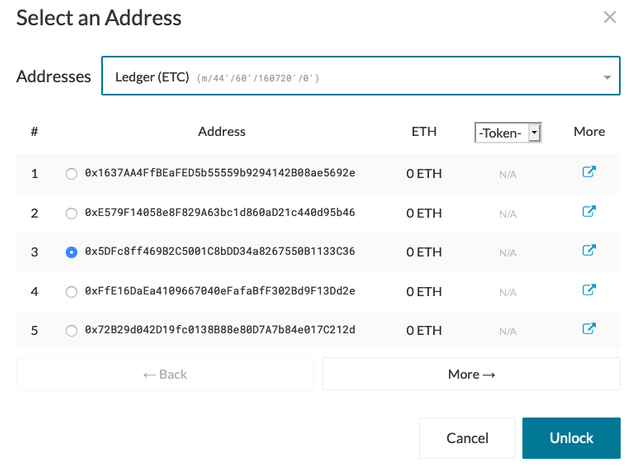
**(4) **MyCrypto will then provide a list of available addresses that can be used with your new wallet. You can select the one you wish to use based on the amount of ETH in its balance, or simply choose one at random if you have never received ETC before, and click the ‘Unlock’ button to confirm this.
Tip: Don’t forget to select Ledger (ETC) from the drop-down menu.
**(5) **MyCrypto will then load up your Ethereum Classic wallet, where you will be able to manage your ETC, send and receive payments and more. Note that you will still need your Ledger connected and unlocked to send payments or perform any other sensitive actions.
Create an Ethereum Classic Wallet in Ledger Live
(1) To begin managing your ETC with Ledger Live, connect your Ledger Nano X wallet to your computer and unlock your device using your pin.

(2) Next, open up Ledger Live on your connected computer or mobile device and select the ‘Accounts’ tab on the left. You will then be prompted to either ‘Open Manager’ or ‘Add accounts’, select the latter.
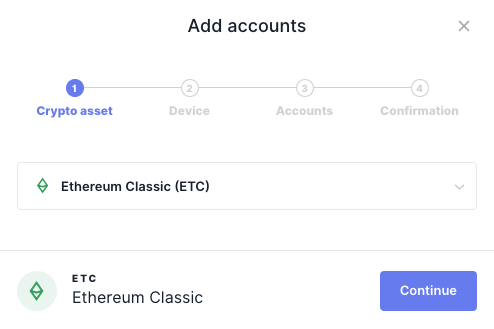
(3) On the Add accounts screen, select Ethereum Classic (ETC) from the drop-down menu and then click ‘Continue.
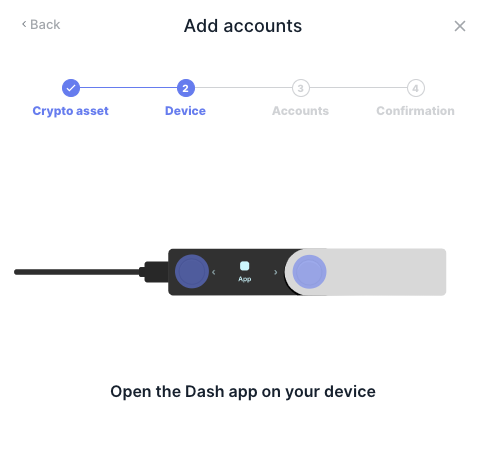
**(4) **Ledger Live will then ask you to open the Ethereum Classic app on your Ledger Nano X device. When you see this message, scroll to the Ethereum Classic app on your Ledger Nano X dashboard and open it — this will be automatically detected by the Ledger Live client.
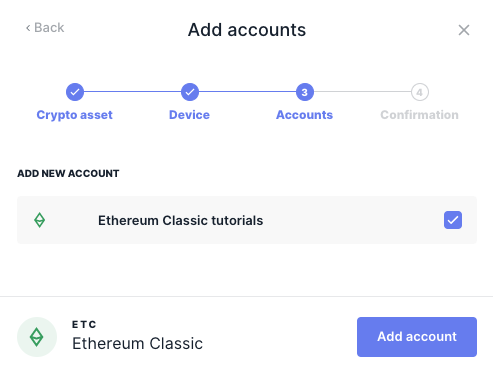
(5) On the third step, choose a name for your new Ethereum Classic account. This will be used to distinguish your Ethereum Classic wallets from one another (if you choose to add more than one). In this case, we have chosen ‘Ethereum Classic tutorials’, but you can name your account whatever you like.
Once ready, click the ‘Add account’ button to move on to the final step.

**(6) **Your new Ethereum Classic account will then be added to your Ledger Live accounts list. Note that you can repeat the above steps to add additional ETC accounts if you want to separate your funds or addresses for any reason.
**Tip: **You will need your Ledger Nano X nearby to perform sensitive actions, such as sending payments and signing messages.
For more information on using the Ledger Nano X with third-party wallets for each unique cryptocurrency, click here.

