
Hello Guys! Welcome to my first Laravel tutorial. I will be posting once a week for this Laravel tutorial, so please stay tuned and follow me for more.
Let's begin. Take note that this tutorial is not for beginners in web development. For you to use and develop website using Laravel, you must have the following knowledge:
- HTML
- Javascript
- Advance knowledge in PHP
- MySQL
- PC (any pc or laptop will do as long as it is running on WINDOWS OS)
- Internet Connection to download XAMPP, Composer and also for the setup of Laravel.

- What is Laravel
- Why do i need to use Laravel?
- What is Xampp
- How to install Xampp
- What is Composer
- How to install Composer
- How to install Laravel using CMD
- Hello World of Laravel


Laravel is an Opensource framework and was made using PHP. This web development framework follows the MVC or model-view-controller architectural pattern.

Since laravel uses MVC patterns, you can develop a website with fast, easy and with cleaner codes. There are so many opensource MVC online but if you are a PHP lover or expert, I am sure that you will love it.


Xampp is a free and opensource web server package solution. It has PHP, Perl, MySQL, Tomcat and Filezilla servers. Using Xampp you can setup a web server in no time. All you have to do is just simply download the software and install it.

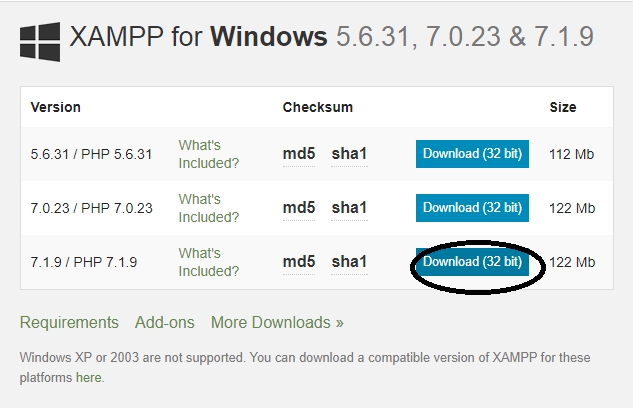
To install XAMPP, go to this link https://www.apachefriends.org/download.html.
Click the latest version of XAMPP to download:
Find the XAMPP installer that you have downloaded then click the it to proceed.
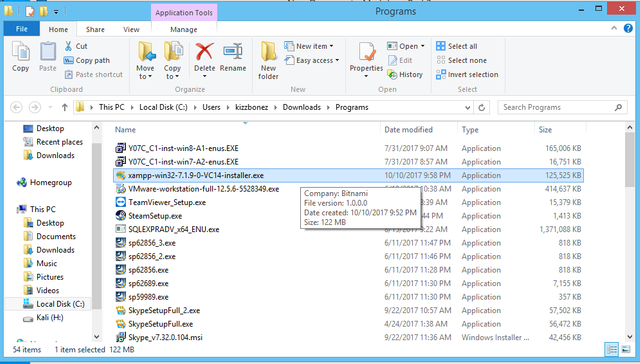
If the Warning Dialog appears, just click 'OK'.

Click 'Next'
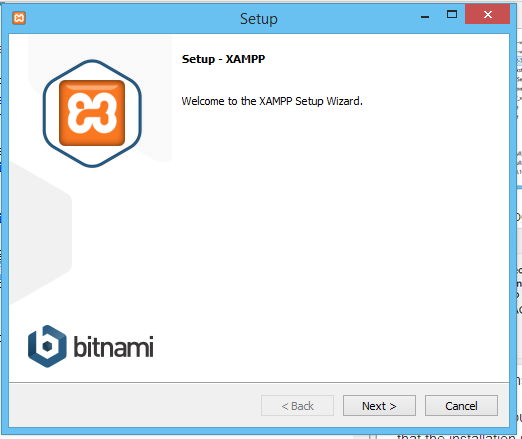
Check all the components and click 'Next'.

Make sure that the installation folder is 'C:\xampp'.You can choose any path but for this tutorial ,this is my recommended setting.
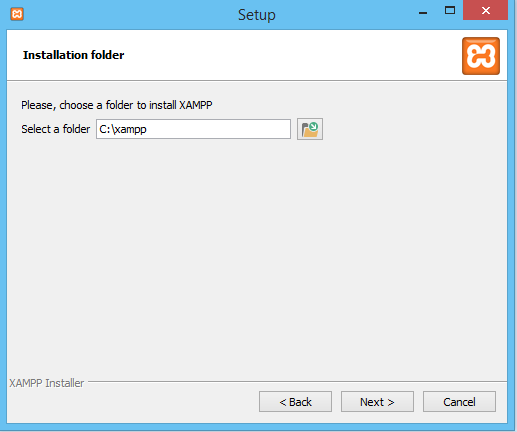
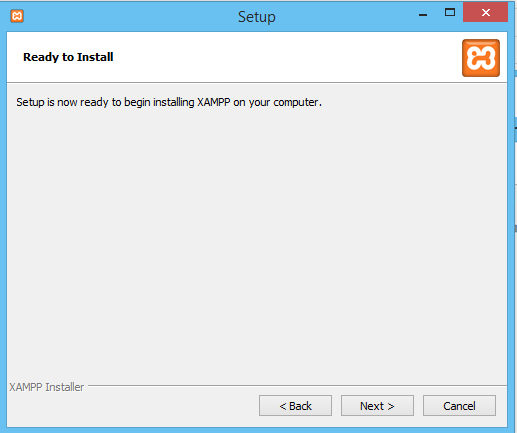
Click 'Next'.
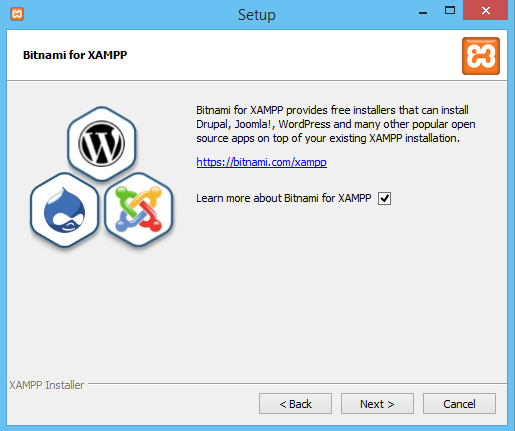
Click 'Next' again to proceed on installation process and wait until the installation finishes.
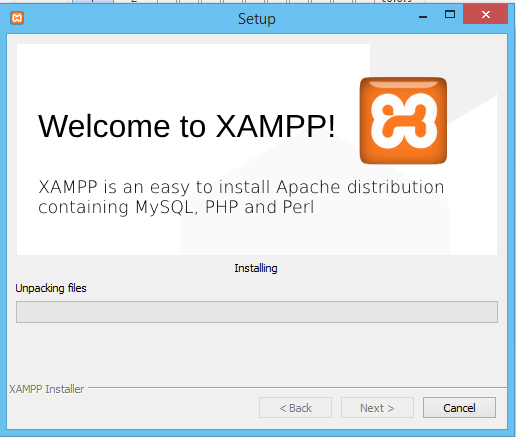
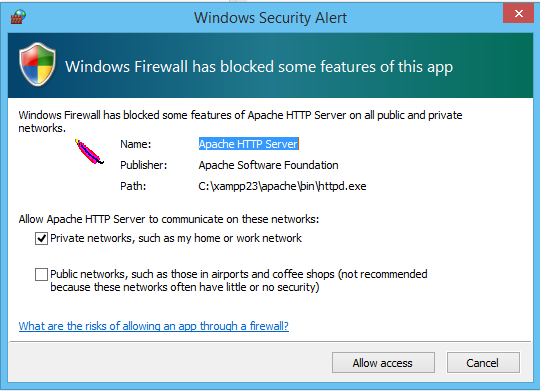
This might appear during the installation. If it does, just click 'Allow Acess'. This is only a permission for the Firewall to allow our Apache Server on our network.
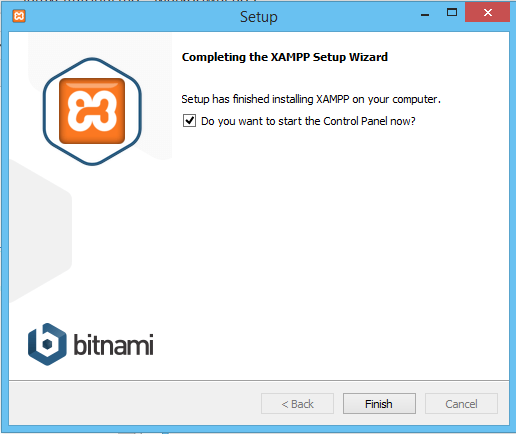
After the installation is finished, Click 'Finish'.
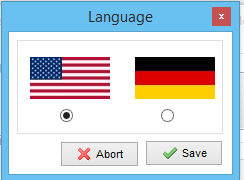
Now,select your preferred language then click 'Save'
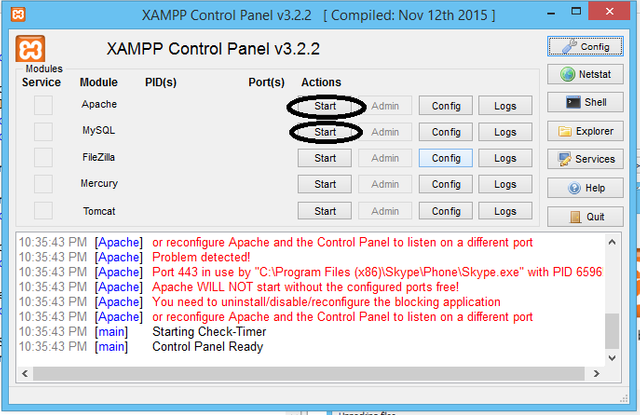
We are now going to Start the Apache and Mysql server by simply clicking the start buttons. (Note: If you are having a blocked port problem, you might have Skype installed that uses the same port of the Apache. Try to close the Skype program first before running the Apache Service).
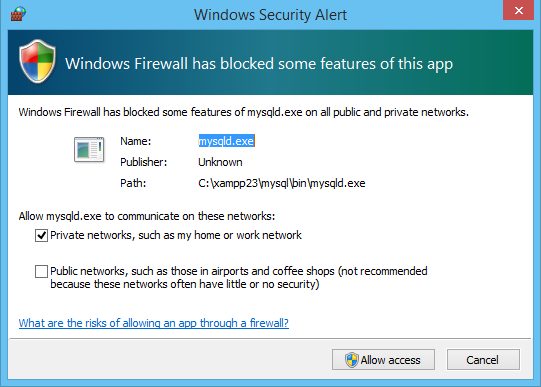
The Mysql firewall access might prompt.Just click 'Allow Access'.
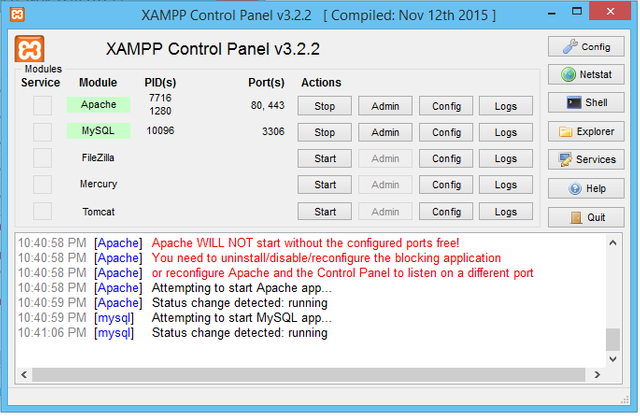
Now,our Apache and Mysql Server are now running:
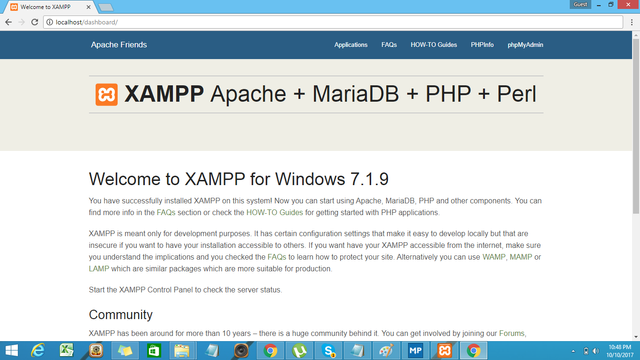
Let's check if the server is really working. Open a browser and type 'http://localhost' or 'http://127.0.0.1'.
If this appears, we are successfully installed the XAMPP server.

Composer is a PHP dependency manager software. If you are going to use other frameworks like Laravel, Symfony or Zend; this little software will help you manage the dependencies and libraries of your preferred framework. All you have to do is simply install it.


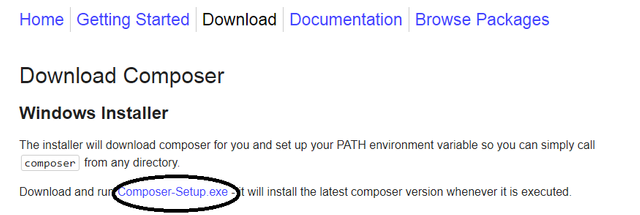
To install Composer, you have to download it from this link:
Click the 'Composer-Setup.exe' to download the installer.
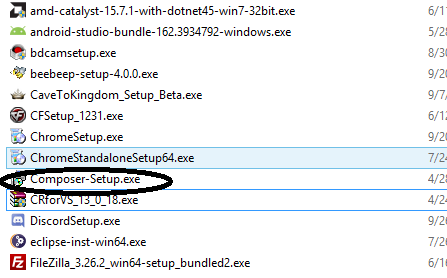
Find the Composer Installer and click it to install.
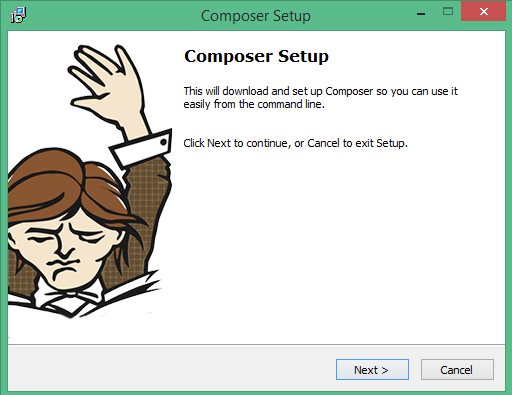
Click 'Next'.
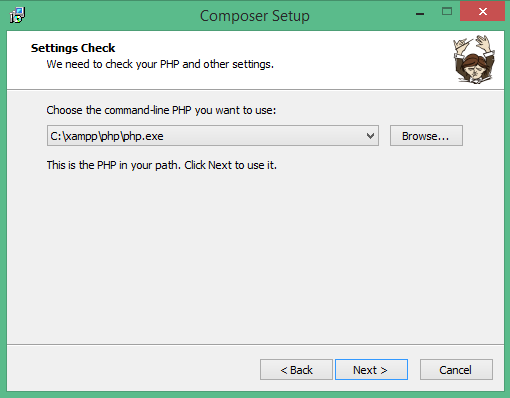
It will automatically find your PHP.exe .Just click 'Next'.
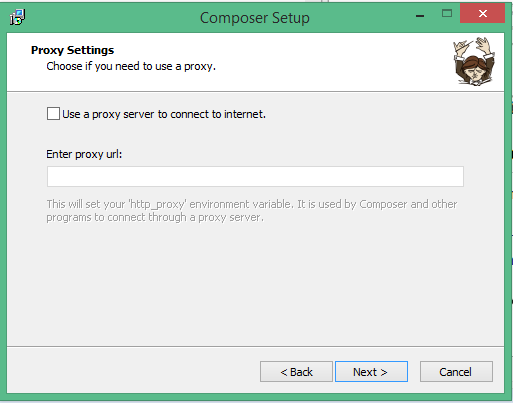
Leave the 'Use a proxy server to connect to internet' uncheck then click 'Next'.
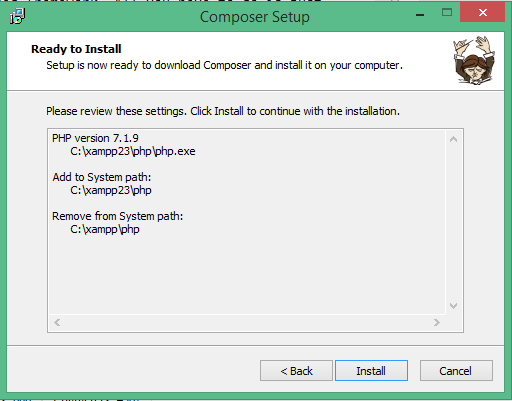
Click 'Install'.
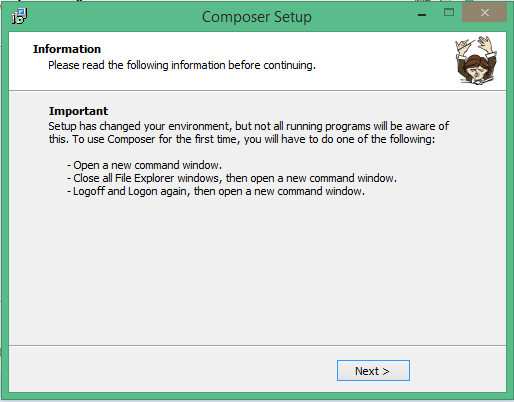
Click 'Next' again.
Click 'Finish'.
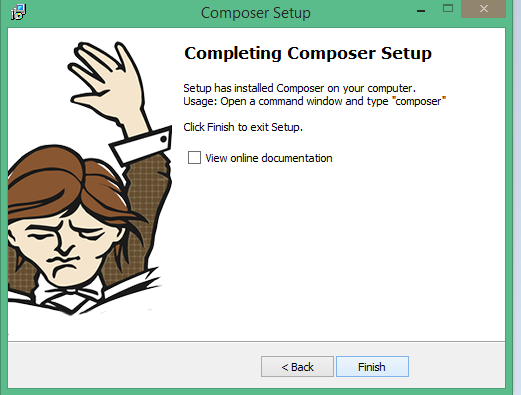
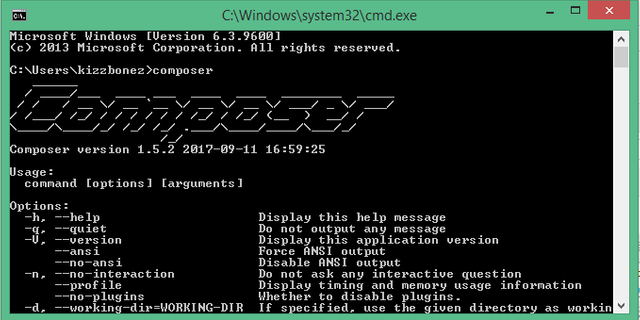
We have finished the installation of Composer. Let's Check if it's really successful. To check that, open a command prompt then type 'composer'.

If this appears, we can say that we have successfully installed the composer.

Since we have installed XAMPP and Composer already, we are now ready to install Laravel using Composer.
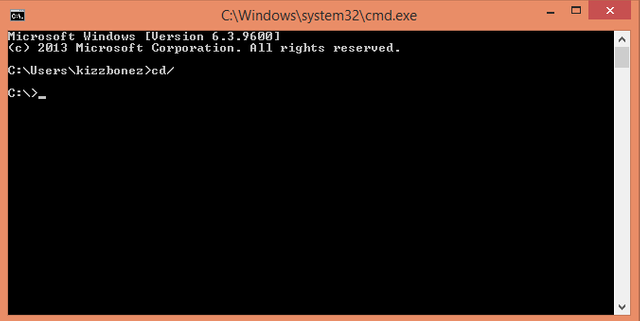
First open a command prompt then type 'cd/' then press 'Enter' on the keyboard to go to the root of '*C:*' drive directory.
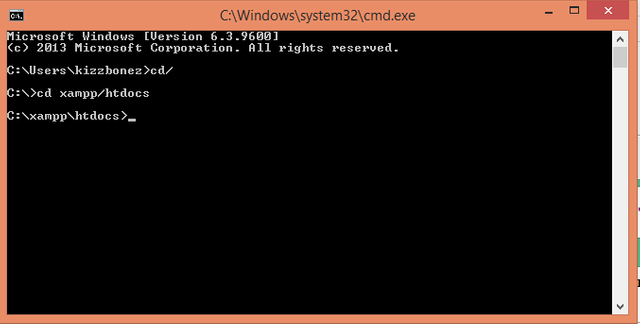
Now type 'cd xampp/htdocs' and press enter. This command will enable us to enter the '' and its subfolder which is 'htdocs' without using the explorer window.
Using the command below, we can now install laravel page on our PC.
'composer create-project --prefer-dist laravel/laravel myfirstlaravel'
You can change the 'myfirstlaravel' part of the command and named it on your own. This part of the command will be the name of the folder inside the 'htdocs' folder. After changing the name, just press 'Enter' and wait until composer finishes downloading the dependencies and library files of library. (Note:Internet is required to proceed).
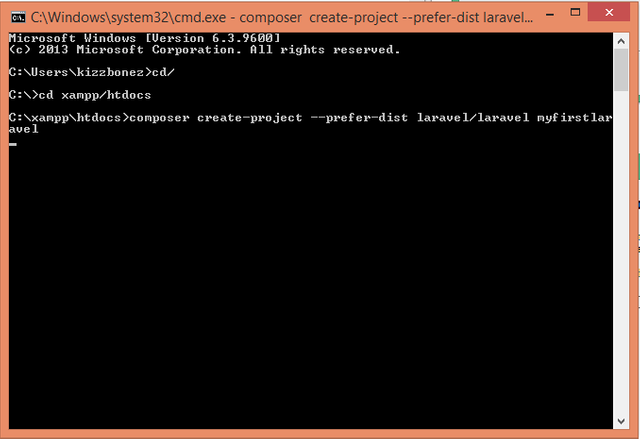
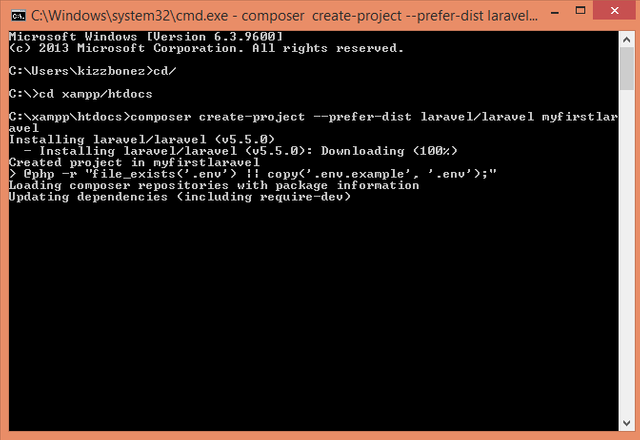
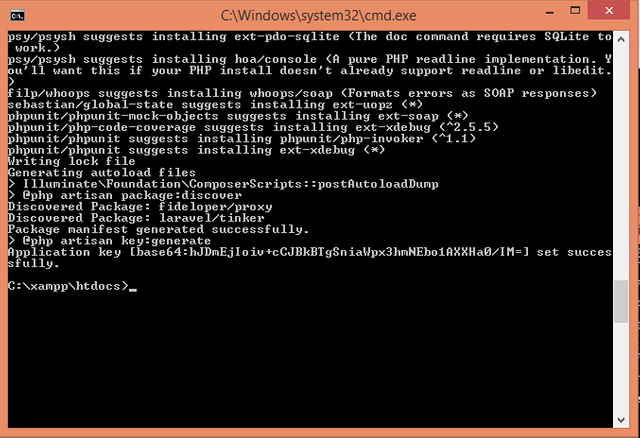
We are now done downloading the Laravel. What we are going to do next is to check if we really do have the file.
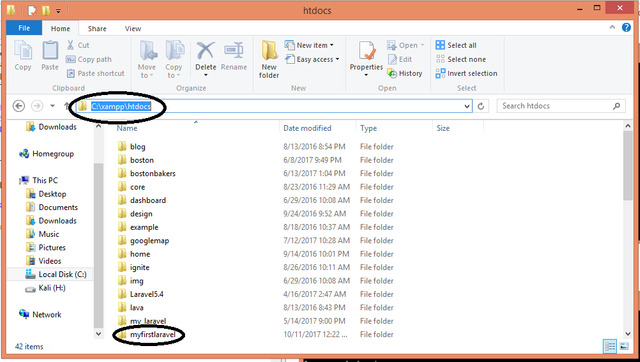
First go to the 'C:\xampp' folder.
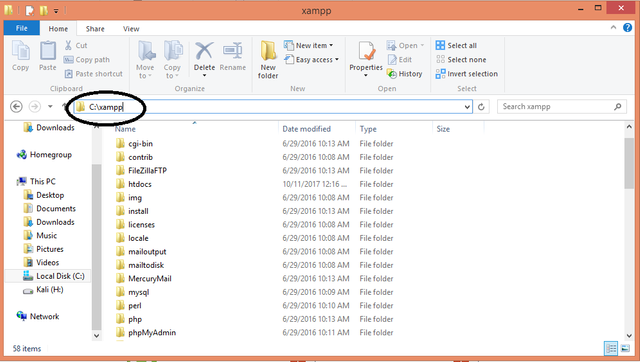
Open the 'htdocs' folder.
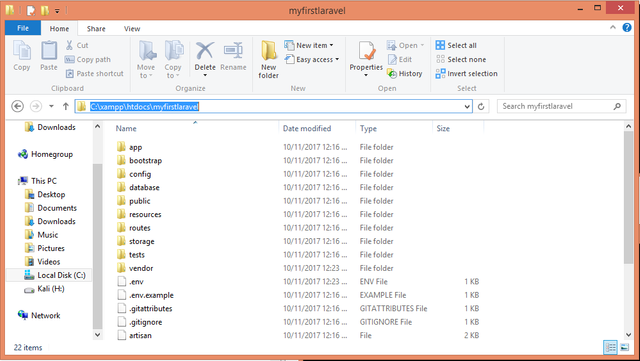
As you can see, we now have the 'myfirstlaravel'. If you are going to open it, you will going see the dependecies and file needed for laravel development.
These are the files that we have downloaded using the composer a while ago.
Now , lets see if can say that we have successfully installed the Laravel. First make sure that the Apache and the Mysql services are running then open
a browser.
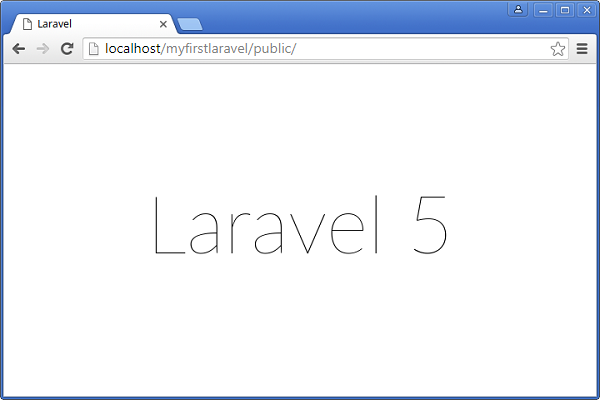
Type 'http://localhost/myfirstlaravel/public' then press 'Enter' button.

If you are successful, your view should like like this:
(Note:If you are having an error, just delete the 'myfirstlaravel' folder and repeat the process of laravel setup using command prompt/composer.)

You now have a Laravel installed on your server. All you have to do now is to learn the different components of Laravel before we begin to actual website development using Laravel.
We are going to study on next tutorial about folders that we have downloaded inside 'myfirstlaravel'. Follow me for more updates and resteem this tutorial .
Thank you so much for reading . I hope that you have enjoyed it . More tutorials to come.

@royrodgers has voted on behalf of @minnowpond. If you would like to recieve upvotes from minnowponds team on all your posts, simply FOLLOW @minnowpond.
Downvoting a post can decrease pending rewards and make it less visible. Common reasons:
Submit
Congratulations! This post has been upvoted from the communal account, @minnowsupport, by Kizzbonez from the Minnow Support Project. It's a witness project run by aggroed, ausbitbank, teamsteem, theprophet0, someguy123, neoxian, followbtcnews/crimsonclad, and netuoso. The goal is to help Steemit grow by supporting Minnows and creating a social network. Please find us in the Peace, Abundance, and Liberty Network (PALnet) Discord Channel. It's a completely public and open space to all members of the Steemit community who voluntarily choose to be there.
Downvoting a post can decrease pending rewards and make it less visible. Common reasons:
Submit
@reported has voted on behalf of @minnowpond. If you would like to recieve upvotes from minnowponds team on all your posts, simply FOLLOW @minnowpond.
Downvoting a post can decrease pending rewards and make it less visible. Common reasons:
Submit
@OriginalWorks
Downvoting a post can decrease pending rewards and make it less visible. Common reasons:
Submit
The @OriginalWorks bot has determined this post by @kizzbonez to be original material and upvoted it!
To call @OriginalWorks, simply reply to any post with @originalworks or !originalworks in your message!
To enter this post into the daily RESTEEM contest, upvote this comment! The user with the most upvotes on their @OriginalWorks comment will win!
For more information, Click Here!
Special thanks to @reggaemuffin for being a supporter! Vote him as a witness to help make Steemit a better place!
Downvoting a post can decrease pending rewards and make it less visible. Common reasons:
Submit