
Read part 1 if you haven't already
These next few steps will explain in detail how to set up everything to work for frontend development when you want to create webfont icons with Nexus Icons.
Setting Up Local XAMPP Web Server
If you already have web server with apache installed, you can skip this step.
Setting up local web server is easy. You just need to download it from here and install it. There are versions for all popular operating systems.
When you install it, make sure that Apache is running.
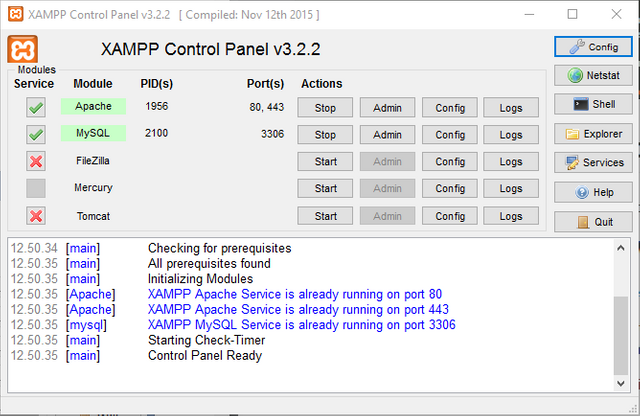
And then type in your browser "http://localhost". If you see XAMPP welcome message, you did everything ok.
Setting Up Production Environment with git, nodeJs and Gulp
There are three tools that we need to set up before we start to create icon fonts.
- Setting up Git
- Setting up nodeJs
- Setting up Gulp task runner
Setting up Git
The easy way - download nexus-icons
If you don't want to set up git, just download archive from github and unpack it in correct folder. It is the same folder where you would clone this repository from GitHub
The hard way and always up to date
If this is the first time you need to work with git, there is no need to worry. There are plenty of git applications that will make your life simpler. I prefer to use SourceTree, since it is quite easy to use. You can download it from sourcetreeapp.com
Also download and install Git from this URL git-scm.com/downloads
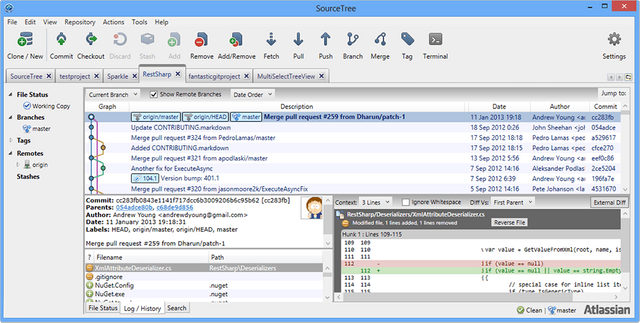
When you have installed Source Tree, you need to clone nexus-font-icons to folder located inside your web server. Go to github.com/Vlasterx/nexus-font-icons and find URL under "HTTPS clone URL".
In Source Tree click on Clone / New icon fill up Source and Destination paths like on this image.
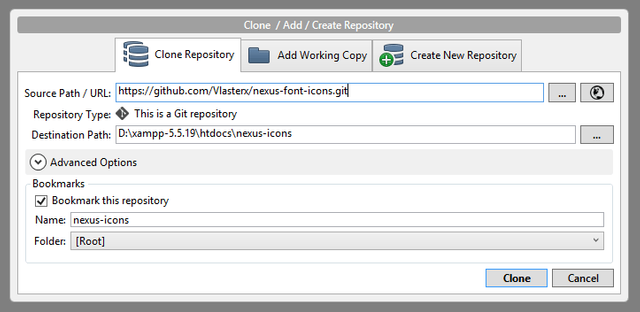
Destination path is where you have installed your web server.
Click on clone and you are finished with this step.
Setting up nodeJs
Node is great tool that is powered by javascript. It has great many packages that make life a lot easier for web developers. Gulp task runner is one of those packages. It is used to run many different tasks like minimizing CSS or JS for production or as in our case – to start many different tasks that will make our icon fonts in the end.
In order to install nodeJS, go to nodejs site, find version for your operating system and install it.
Since node and git use some Linux commands unavailable in Windows, and since we need to use some of them, I would also recommend that you download Cmder and install it on your Windows.
Open up Cmder, go to nexus-icons folder and type these commands:
npm install gulp –g
npm install
Congratulations, you are now ready to make some web font icons!
When ever you change your SVG's, just open command prompt, CD to main folder of this repository and type in
gulp
That's it.
Publishing Your Icons As Web Fonts
Nexus-icons are split in two main folders - Project and Public.
Steps for creating icons:
- Copy all SVG files that you have created into project/icons/
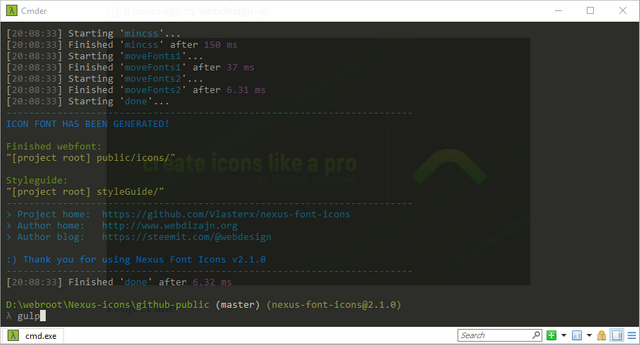
- Open Cmder , go to nexus-icons folder and type gulp
- If you installed everything correctly, your new font is now created and copied to public folder
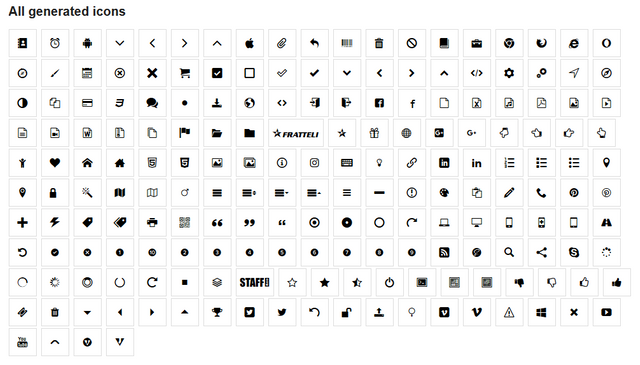
For your convenience, every time you create new icons, Style Guide will be created as well. It will also be located in public folder. Open up your browser and go to project folder ([localhost] / [Nexus-icon-location] /public/styleGuide) and see your new creation.
It will look something like this, depending on your icons ofc.

File Revving
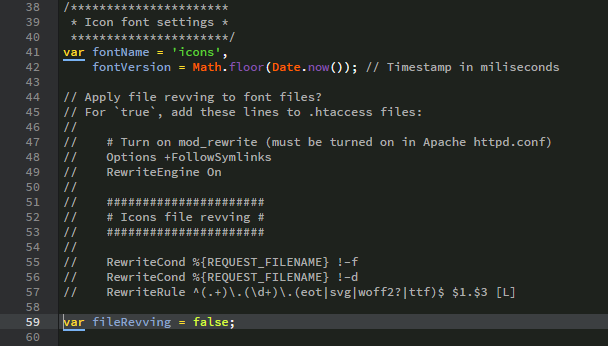
This font building pack can use font revving, which means that it will add different font version for each build. Apache server will be able to read and refresh fonts every time they are rebuilt without user needing to reload a page or empty browser cache, so keep in mind that .htaccess file and copy it on your server together with your new fonts.
If you are using some other server, be sure to keep file revving disabled.
This setting is located in "gulpfile.js"
Inlcuding fonts in your web site
You will have 2 CSS files you need include in your web site HEAD in order to use icon fonts.
<head>
  ...

  <link rel="stylesheet" href="icons/icons.min.css" />
  <link rel="stylesheet" href="icons/icons-glyphs.min.css" />

  ...
</head>
If you want to use SCSS in your code, you also 2 files you can include in your final CSS.
Benefits of using this program
So what are the benefits?
- You have full control over what icons you would like to use in your project. You don't have to force users to download every single icon from some fontpack like Font Awesome. Pick what you like and use it.
- It's fast. After you copy SVG's to project folder, it takes only few seconds to build entire webfont
- It's smaller in size than other solutions. For instance, I have used really great IcoMoon website to generate icon fonts before, but with this solution, with same icons final font files are smaller. Let's compare what happens with 491 SVG's when they are converted to webfont: Icomoon WOFF file size - 93.1KB, Nexus Icons WOFF file size - 43.2KB.
Author
Vladimir Jovanović
web site | Twitter | Facebook | LinkedIn | Steem