Habedere Steemians,
today I want to show you how I made the different parts of the dust control system.
If you missed the concept part; here it is:
https://steemit.com/woodworking/@theguymasamato/project-my-own-x-carve-dust-control-system
Most of the parts of this project are from the cnc machine.
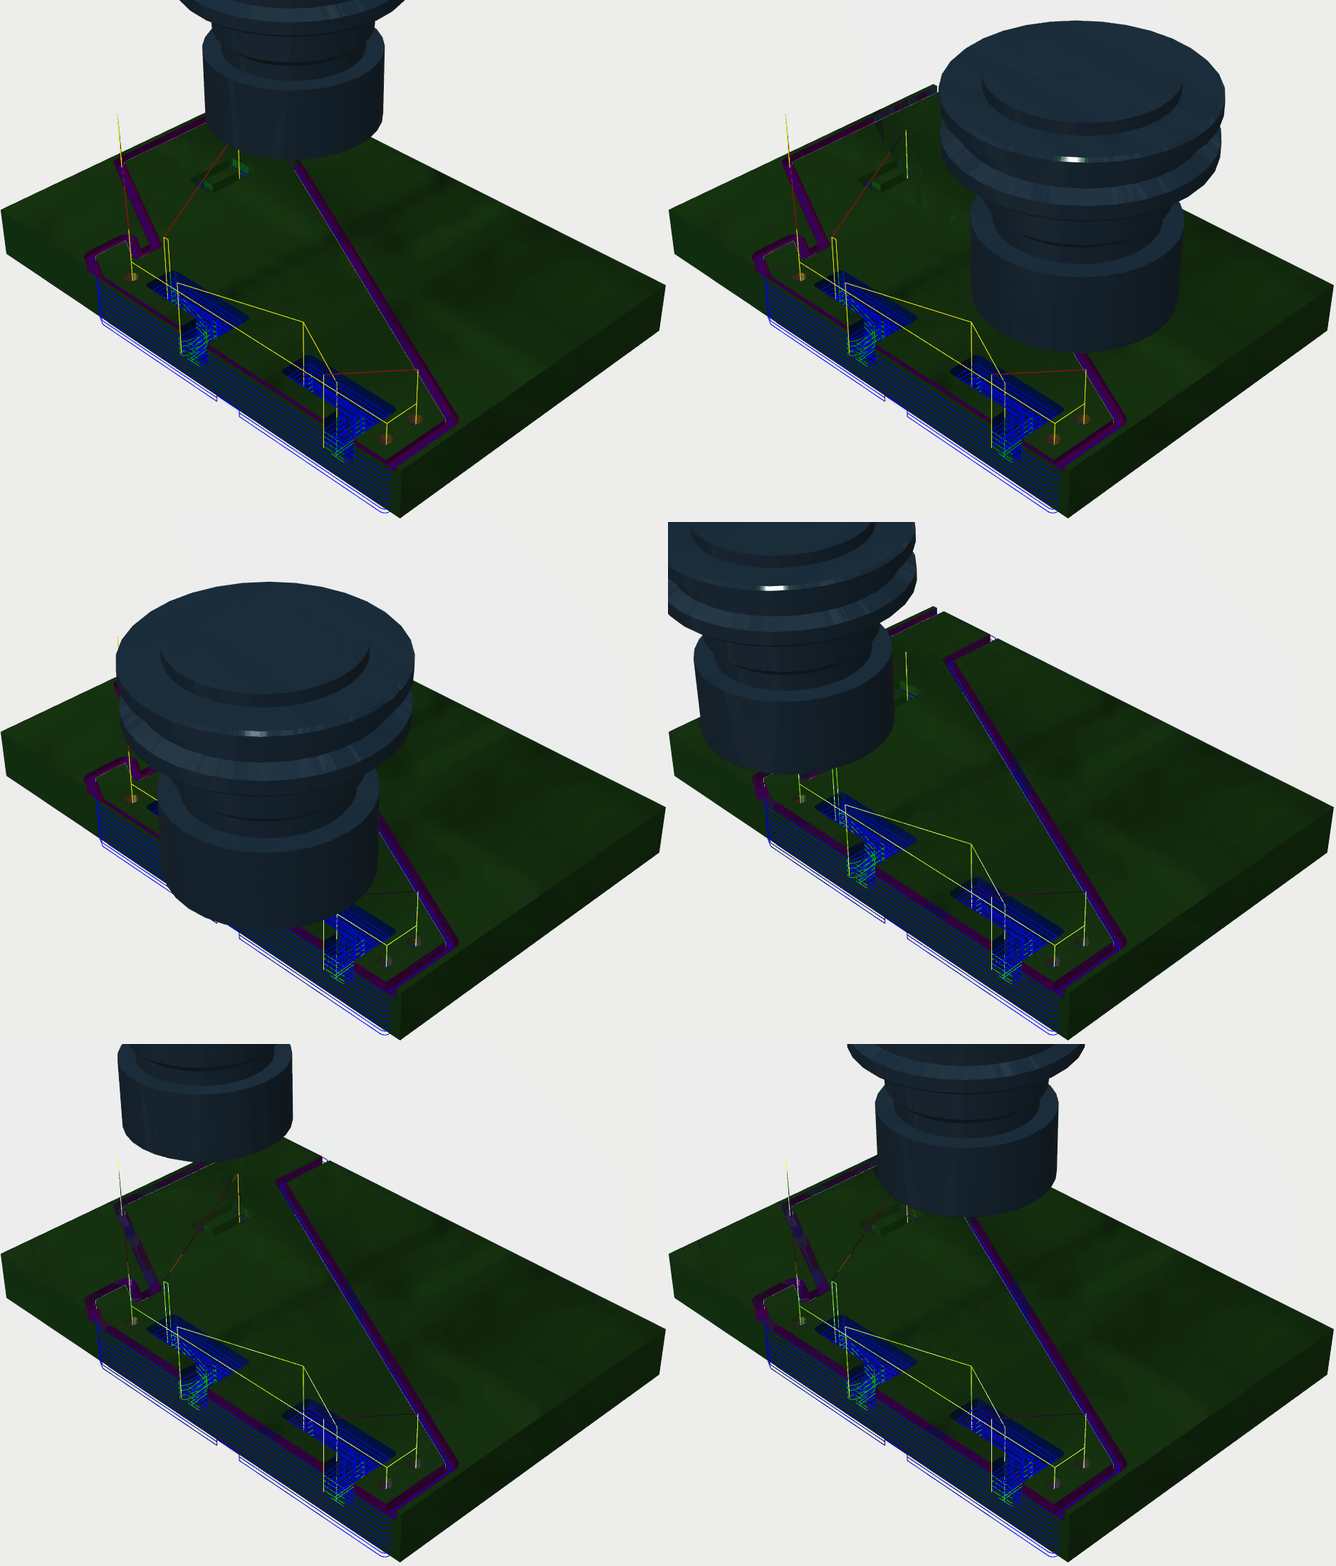
So I used my render model and created all toolpath's in Fusion 360.
Here is an example:

I used 15mm plywood, 3mm MDF and 10mm PMAA for the main parts.

The main parts are:
4 plywood gantry mounts
2 plywood main rails
2 MDF rail cover
2 plywood dust shoe mounts
1 PMAA dust shoe

Some of them need additional work after the cnc process.
On the original X-Carve gantry are 4 screws to hold the wheels in place.
These are in the way now.
To cover them I put the main rails on my table saw and cut 2 small slot out of the plywood.

The dust shoe mounts needs 2 holes for the screws.
So I put them on my drill press and add these to the mounts.

Here can you see now all parts that I'm using for this dust shoe.
To connect the dust shoe to my main dust control system I used a small piece of ht pipe.
For the brushes I bought a 30mm window brush strip and cut them to the right lenght.
To hold the dust shoe in place I will do that with small magnets.

What's next?
In the next update I will show you the finishing process, how the different parts work together and also how everything is mounted to the machine.
Servus and cu next time.
3rd update:
https://steemit.com/woodworking/@theguymasamato/project-my-own-x-carve-dust-control-system-done
You can read about us here
Downvoting a post can decrease pending rewards and make it less visible. Common reasons:
Submit