Originally, WordPress was not designed to create e-commerce sites. As the name suggests, WordPress is primarily used to design and manage content and information sites. But things have changed! There are today dozens of extensions that can turn a WordPress website into a professional e-commerce store. The best known and probably the most complete is WordPress’ WooCommerce plugin.

Unlike the proprietary solutions, WooCommerce has the advantage of being a totally free plugin, and to benefit from equally free resources (plugin and associated themes). As a result, the cost of implementation remains the most competitive in the market. It is therefore mainly intended for SMEs that wish to make available their online product catalogs.
Although there is a set of e-commerce solutions to sell products on the Internet, open source or proprietary solutions. It is never easy to choose the solution we need, so I want to introduce you to the reasons that make WooCommerce so successful, and why choose it.
Why Choose WooCommerce for E-commerce?
1) It is built for WordPress: This allows seamless integration with WordPress and allows you to connect with millions of WordPress users.
2) It is adaptable to your needs: Small or big, little or much, WooCommerce can adapt to your current and future needs.
3) It ensures maximum security: WooCommerce protects your data. They will never fall into the hands of a third-party platform. It also ensures the secure transaction between the consumer and you.
4) It is audited by Sucuri: This ensures that WooCommerce sticks to the programming standards and best practices of WordPress at the security level.
5) It has a global community: There are more than 350 programmers working on the project and more than one million WooCommerce installations today.
6) It is well documented: WooCommerce provides complete documentation and guides. They cover a wide range of topics such as installation, SSL, themes, extensions and more.
7) It has a set of free and paid extensions: The big plus of WooCommerce is that it has a large number of free and paid extensions. They allow you to customize your WooCommerce store with a wide range of features and integrations. For example, to create subscriptions, exclusive member access that will boost your business.
That being said, I am sure now that you must be curious about how to create your e-commerce store using WooCommerce.
Before You Install WooCommerce....
WooCommerce is, again, an extension of WordPress. Before you install WordPress’ WooCommerce plugin, you must already install WordPress. It's quite logical! This involves choosing a reliable hosting, defining a domain name, etc. Regarding WooCommerce hosting, do not aim too low. An e-commerce store consumes many more resources than a simple blog.
For starters, shared hosting can do the trick, provided you have more than 64MB of memory. Personally, I advise you to opt directly for managed cloud hosting. This will save you from having to change hosting after 1 months. That’s why, on this point, I highly recommend Cloudways — A Managed WooCommerce Hosting Platform.
Sign up for Cloudways
First, sign up for Cloudways Platform by completing a simple form and click LAUNCH NOW button. You can also continue with using your LinkedIn, Github, and Google account or if you have already signed up, log in to your account.
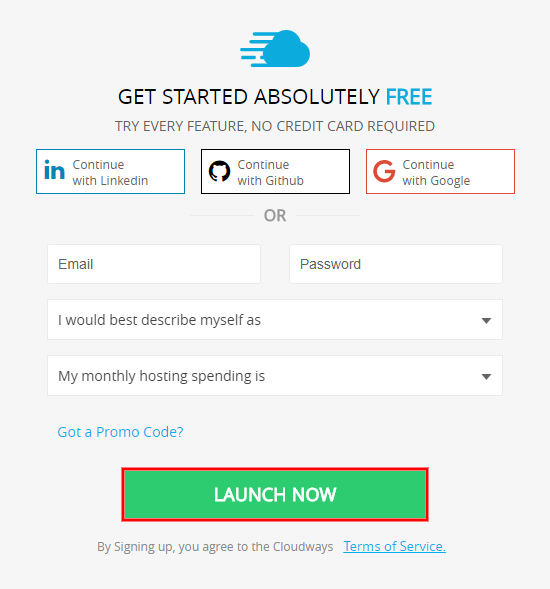
Now verify your email address to complete the signup process.
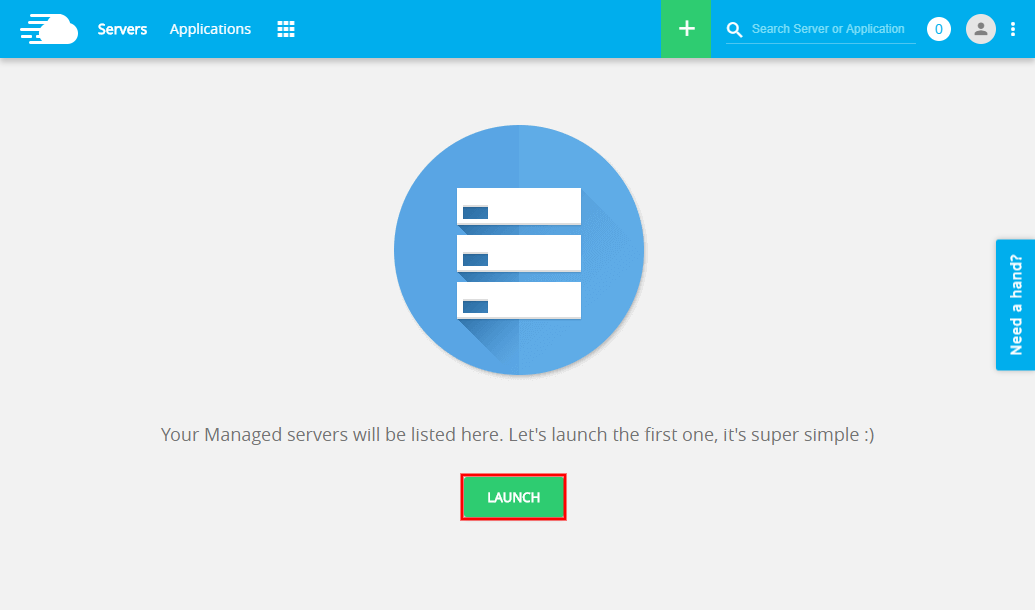
1) Enter Your Application & Server Details
Choose the latest version of WordPress with WooCommerce, name your Managed App and Server and select your Project.

**Note: **For the purpose of this article, I name my Managed App, Server as My WooCommerce and the project as My Project. However, you are free to choose any other names for your Application and Server Details.
2) Select Your Cloud Infrastructure
Since Cloudways is a PaaS (Platform as a Service) provider, it has integrated top-of-the-line cloud infrastructures for its users. I choose DigitalOcean, which is one of them.

3) Select Your Server Size
With DigitalOcean server, you have the option to host WordPress’ WooCommerce store on 512MB to 64GB server. I choose 1GB server, which has 1GB RAM, 30GB SSD, 2TB Transfer, and 1 Core Processor.

4) Select Your Server Location
Choosing Server Location is of the utmost importance in this tutorial since it has the direct impact on your page load times and latency. Therefore, you should choose the location, which is nearest to your target audience.

5) Launch Your Server
After entering the Application & Server Details, click LAUNCH NOW button.

Now, wait for a few minutes, till the server is ready!

Once the server is ready, go to Cloudways Platform and click Applications in the top-left menu.

Click on your WooCommerce application.

Log in to WooCommerce Admin Panel
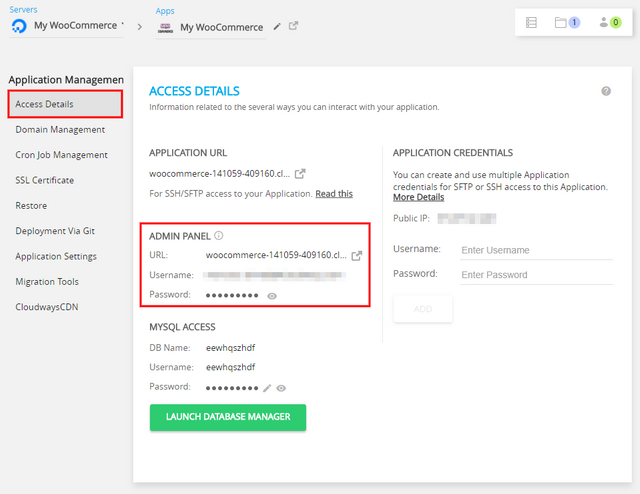
Go to ACCESS DETAILS > ADMIN PANEL. From there, you can find login credentials and the URL of your WooCommerce store. Click the URL and use the credentials to log in to the WooCommerce Dashboard.
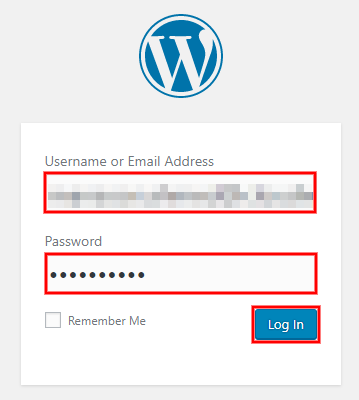
Copy and paste Username and Password from the ADMIN PANEL and click Log In button.
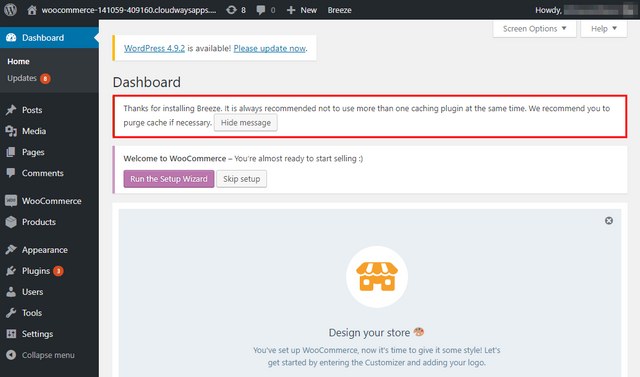
After getting into WooCommerce Dashboard, there is pre-installed caching plugin called as Breeze. This plugin was developed by Cloudways to further optimized the performance of WordPress-based websites.
Launch WooCommerce Store
You will see another message in the WooCommerce Dashboard: “Welcome to WooCommerce – You’re almost ready to start selling :)” a message asking you to Run the Setup Wizard. This is the easiest way to configure WooCommerce store, so press the button to start. If you accidentally hit the Skip Setup button, you can still run the Setup Wizard in WooCommerce > Help > Setup Wizard.

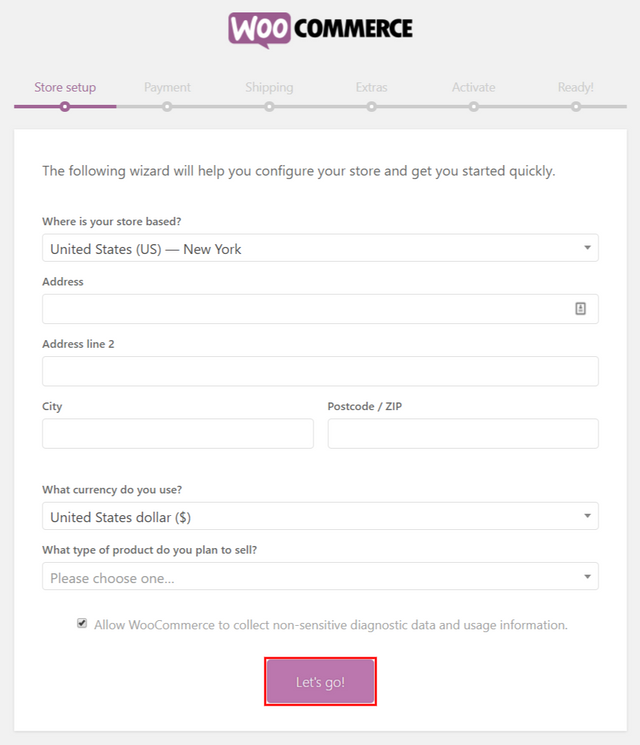
1) Store Setup
You must then specify the location of your WooCommerce store, the currency used, and the products you want to sell.
2) Payment
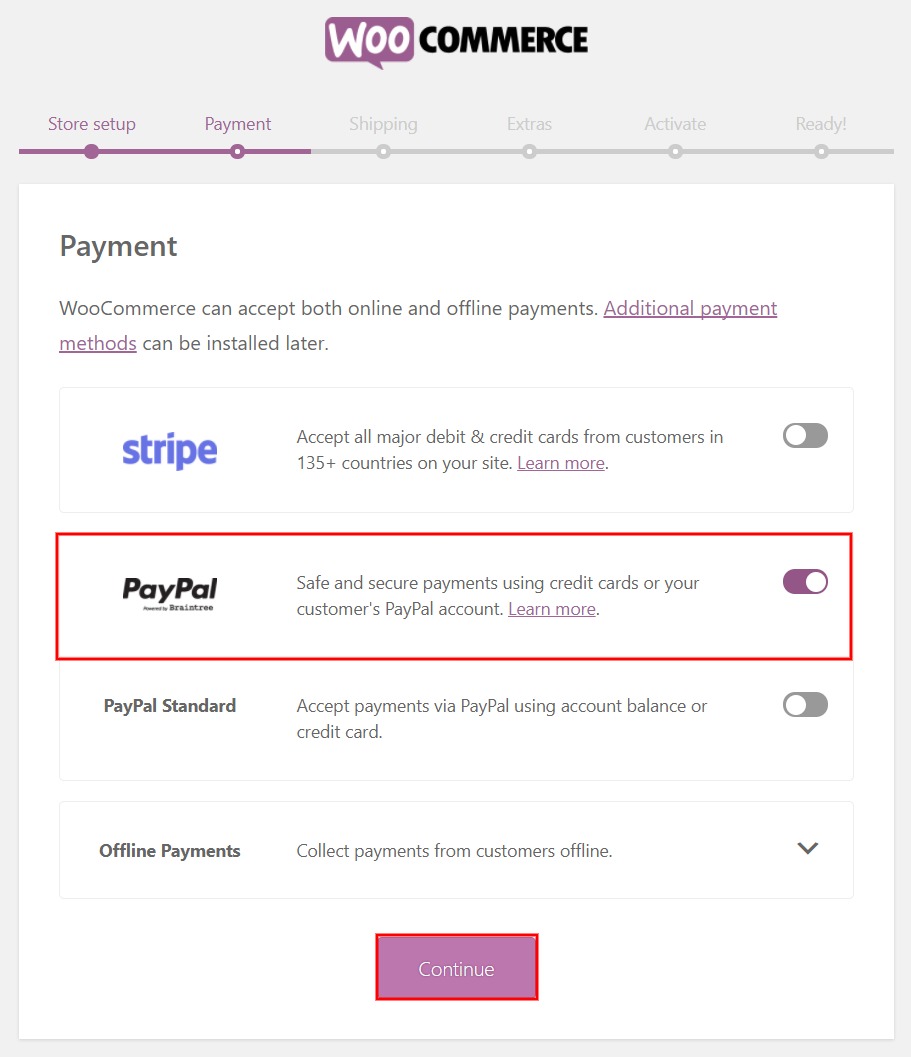
Payment setup is perhaps the most delicate step when creating an e-commerce store. I recommend adding PayPal to get started. However, you can then add other means of payment.
3) Shipping
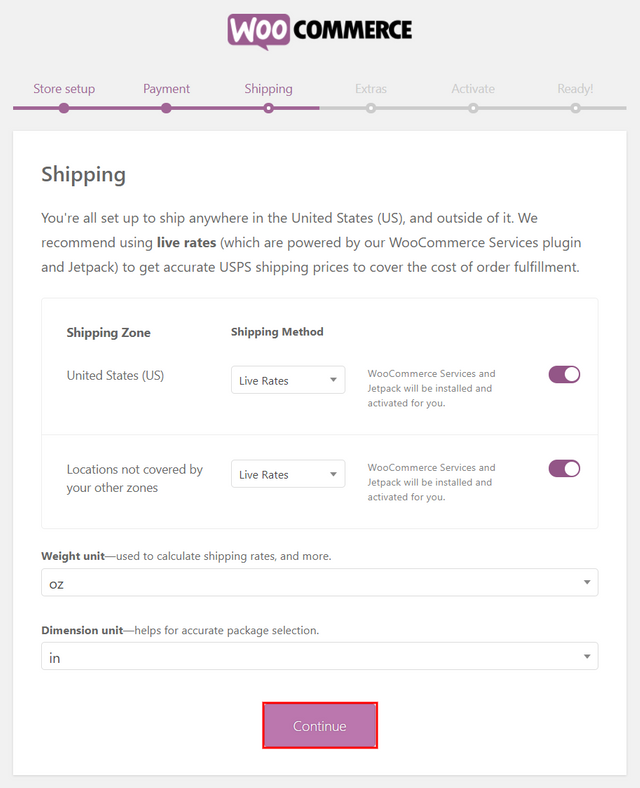
This Shipping section will interest you, if you sell your products around the world. Therefore, choose your Shipping Zone and Shipping Method carefully.
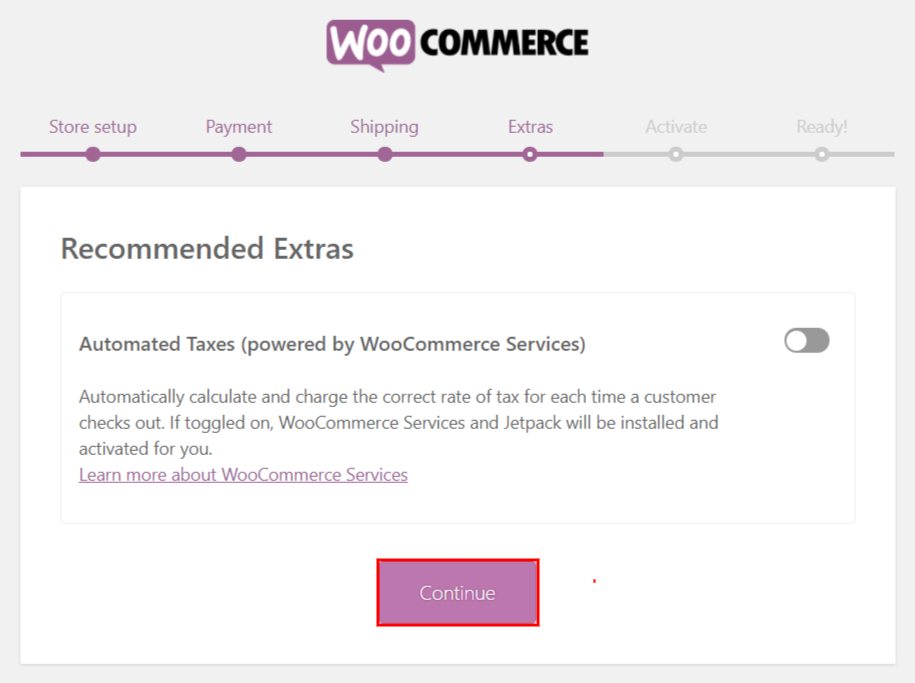
4) Extras
Depending on your requirements, toggle the most appropriate option to enable/disable automated VAT.
5) Activate
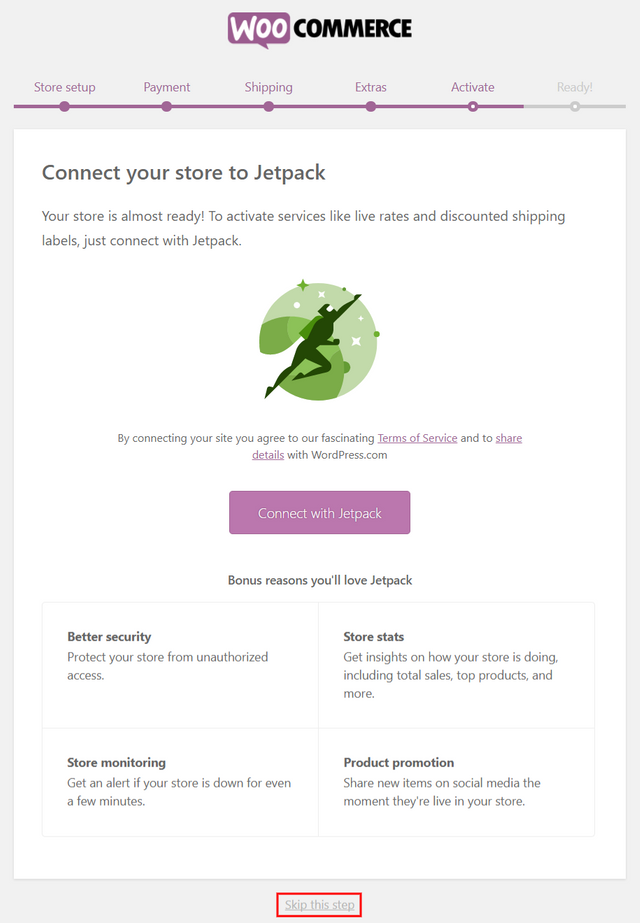
If prefer to skip this as it has no direct implication in launching WordPress’ WooCommerce store.
6) Ready!
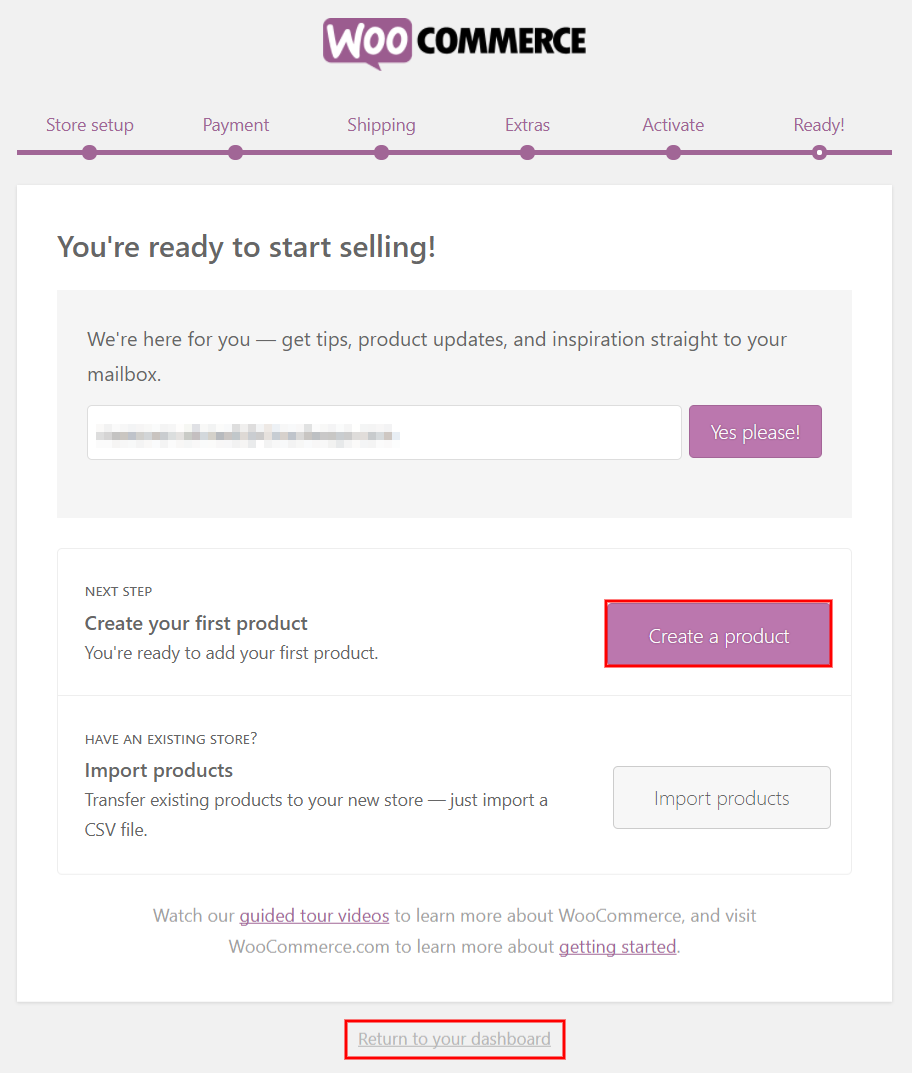
Congratulations! You have successfully launched your WooCommerce store. Now click Create a product to add your first product or click Return to your dashboard. To familiarize yourself with the product page editor right away, click on Create a product.
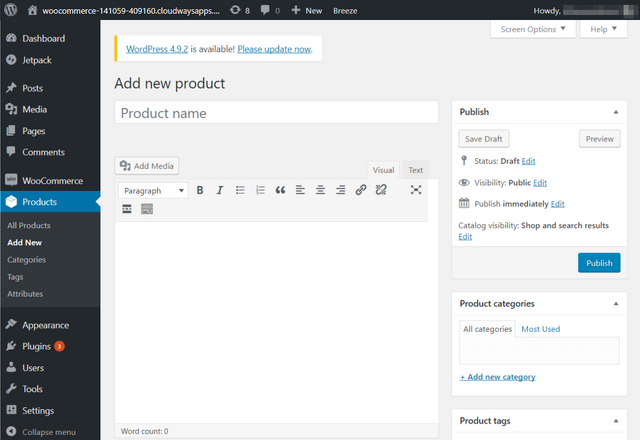
If you are already a WordPress user, then the product page editor should not distract you.
Add WooCommerce Products
There is no doubt: to have a functional WooCommerce store, you must first add products. But before going into the details, it is important to learn the basics of WooCommerce and to discover product categories, attributes and types:
Product Category
Product categories can help group your products. For example, if you sell clothing, "clothing", "underwear" and "sleepwear" are product categories. They allow the customer to quickly locate products in the same category. You can create as many categories as you want and change them at any time.
Product Labels
Labels help filter products. Size, color, fabric and tastes are product labels and help the user to choose the desired products easily. You can assign labels independently to each product or set up a global label for the entire web page.
Product Data
WooCommerce saves you time by having predefined product types:
Simple: They are shipped without any options. For example, a physical book.
Grouped: This is a group of similar items. For example, a dozen glasses.
External/Affiliation: You present the product on your website, but it is sold elsewhere.
Variable: These are products that have varying qualities like size, color, etc ... For example, clothes.
Virtual: These are products that do not require shipping, such as services.
Downloadable: These are products you can download. For example, songs, pictures, videos, ebooks, etc.
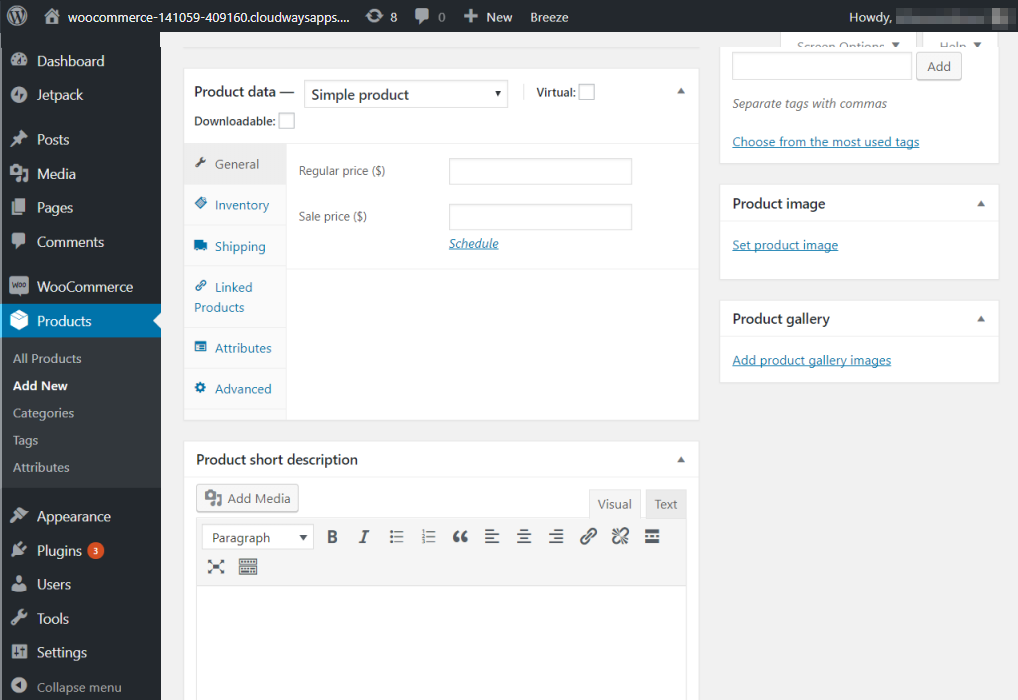
With so many types of products, it can be confusing to add a product to WooCommerce.
But do not worry, adding products to WooCommerce is pretty much the same as creating a new post on your blog. To get started, go to Products > Add New and write the title of your product and add a description. The description includes the most important and relevant information about your product.
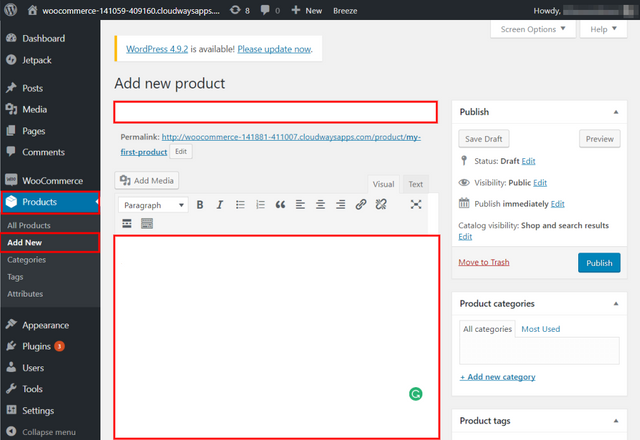
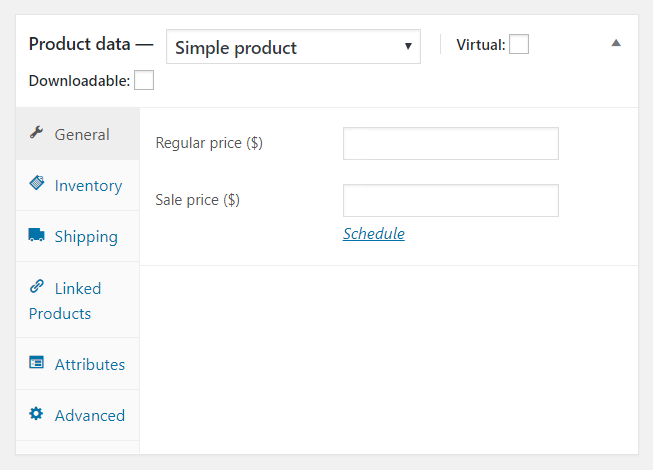
The Product Data section is where most of the work is done. In this section, you can customize your product. Using the drop-down menu, you can change its type. I recommend that you start with a Simple product to familiarize yourself with this section. It has the following options:
In the General section, set the price of the product you plan to sell. You can also set a promotion price and even schedule sales dates.
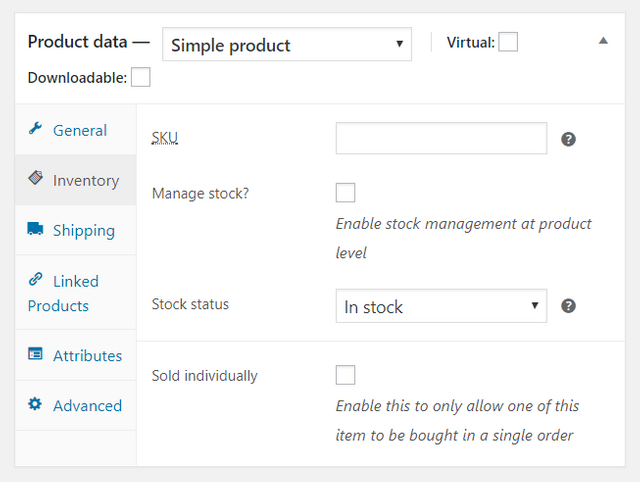
The Inventory section helps you organize Stock Management Unit (SKU). Fill in if the product is in stock or out of stock. Check the Sell individually option if you want to sell only one item at a time.
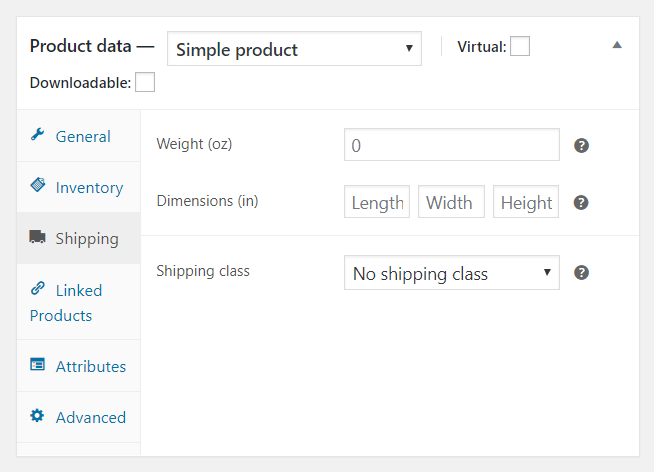
The Delivery section deals with delivery and logistics. Here you can provide the dimensions, weight and delivery class of your products.
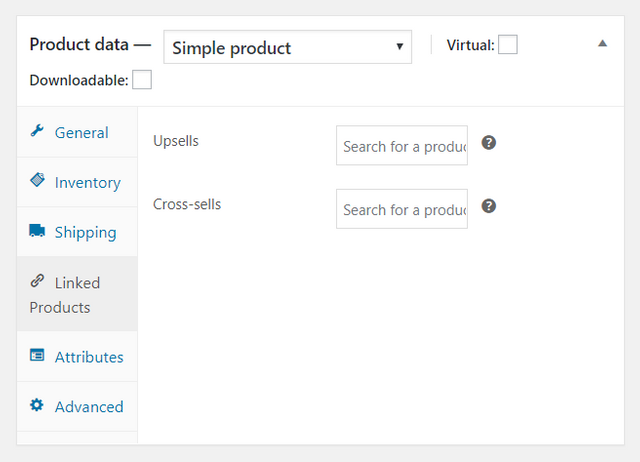
The Linked Products section allows you to add related products and market similar products to the user. This promotes your product by using upsells and cross-sells. Just search for a particular product and select it from the drop-down list.
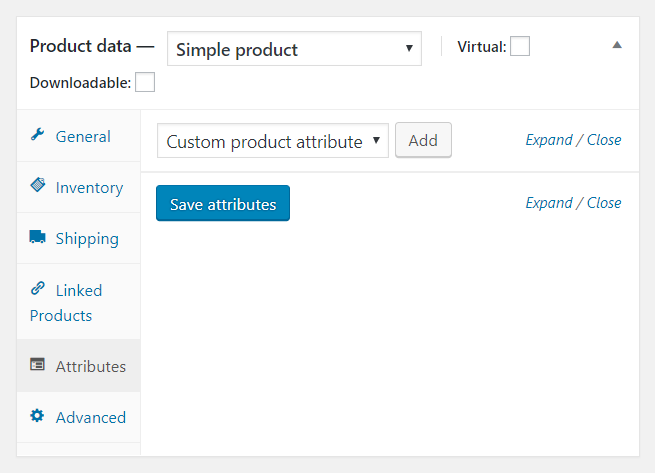
The Attributes section allows you to add attributes to your product. For example, if you sell t-shirts of different colors, you can specify the colors here.
The Advanced section allows you to create purchase notes for customers and enable or disable notifications. You can also specify the order in the menu here and choose custom order positions for your product.
After filling in all the details, Publish your product!
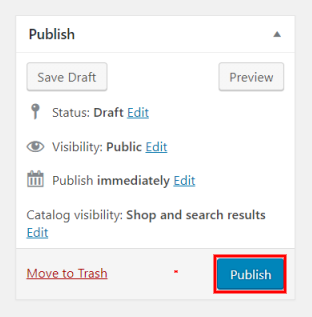
That’s all! You have added a WooCommerce product to default settings.
Wrapping Up!
WooCommerce is definitely a great tool to turn WordPress into a complete e-commerce store. The best thing about WooCommerce is that you do not need a thorough knowledge of programming to sell your products with. I hope that this tutorial on Setting up WooCommerce Store will have helped you to create your own a store without any hassle!