Hello guys! I'm back and it's been a while, I know. Well I'm about to try a new medium today. Of course some of you know me about making art tutorials from watercolor and graphite drawings and animation. Well this time, I wanna step up a little and try out some digital drawing. Although I'm making digital drawing a bit in some of my animations, I'm going to try a concept artist style today.
I don't have my wacom tablet with me so I'm using my phone for now since I have a Samsung Note phone that has a touch pen. I also purchased an application which allows me to make sketches and digital paintings.
Artflow studio is the app I'm using right now and I find it easy and awesome on what this app could offer. Like the photoshop, it has the same function from tools and interface that's why I like it so much.
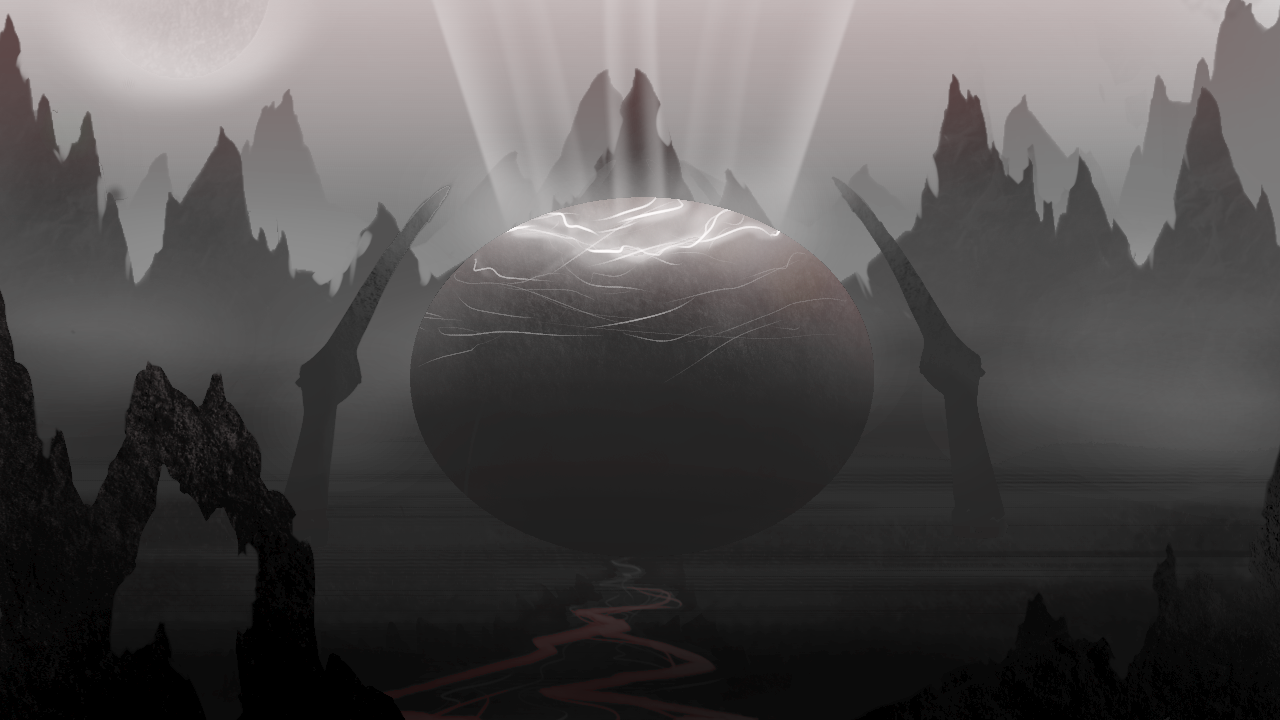
I call this art today "The Eye Of Ymir".
If you don't know about norse mythology, YMIR is a huge giant monster. I'm not really sure about it's origin but it's a big giant monster that was slayed by Gods and I know Odin was one of them and the body was sliced in half to make the earth and sky. Now I'm trying to make a concept art about its eye that was taken and became the source of energy from a dark city.
Now guys... I'm going to give you some tips on how to make a digital painting. It's just a simple basic tips so you get the idea.
If you're making a landscape artwork or anything that has an environmental scene, you have to make sure about the depth and distance of everything to make it so realistic. What I'm talking about is the space between object to object and we know our planet has an atmosphere. You need to make it a 3 dimensional look to create that depth. You have to understand the farther it is, the more blurry it needs to be especially the details. Here, I'll show you some step by step photos. And I added some foggy effect to make it more better and realistic. It also gives that 3 dimensional spaces between objects if you put a foggy effect.
IMAGES

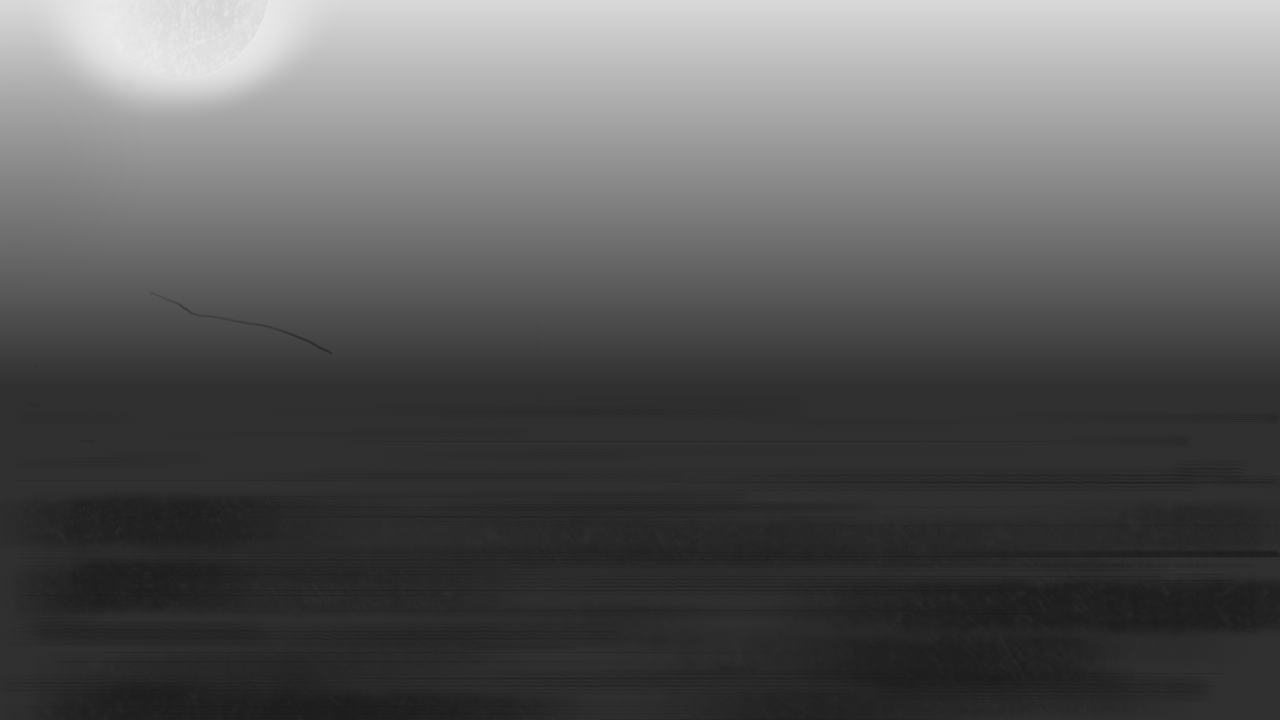
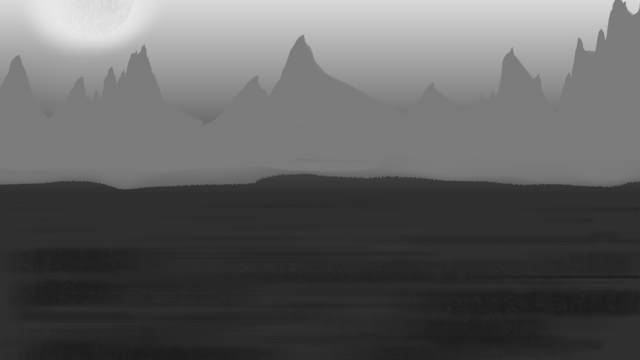
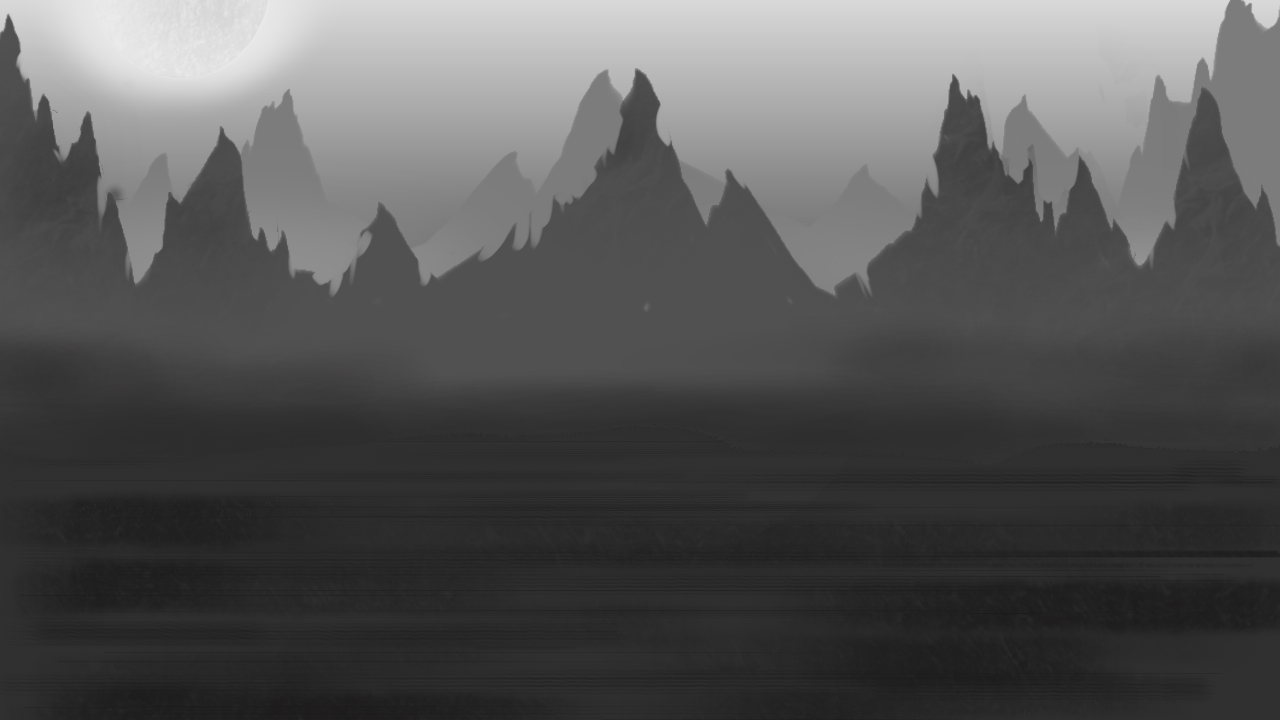
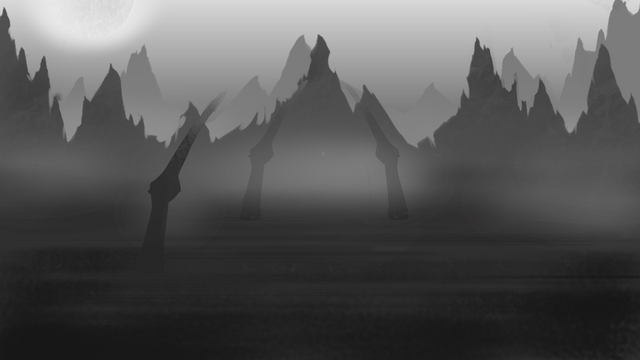
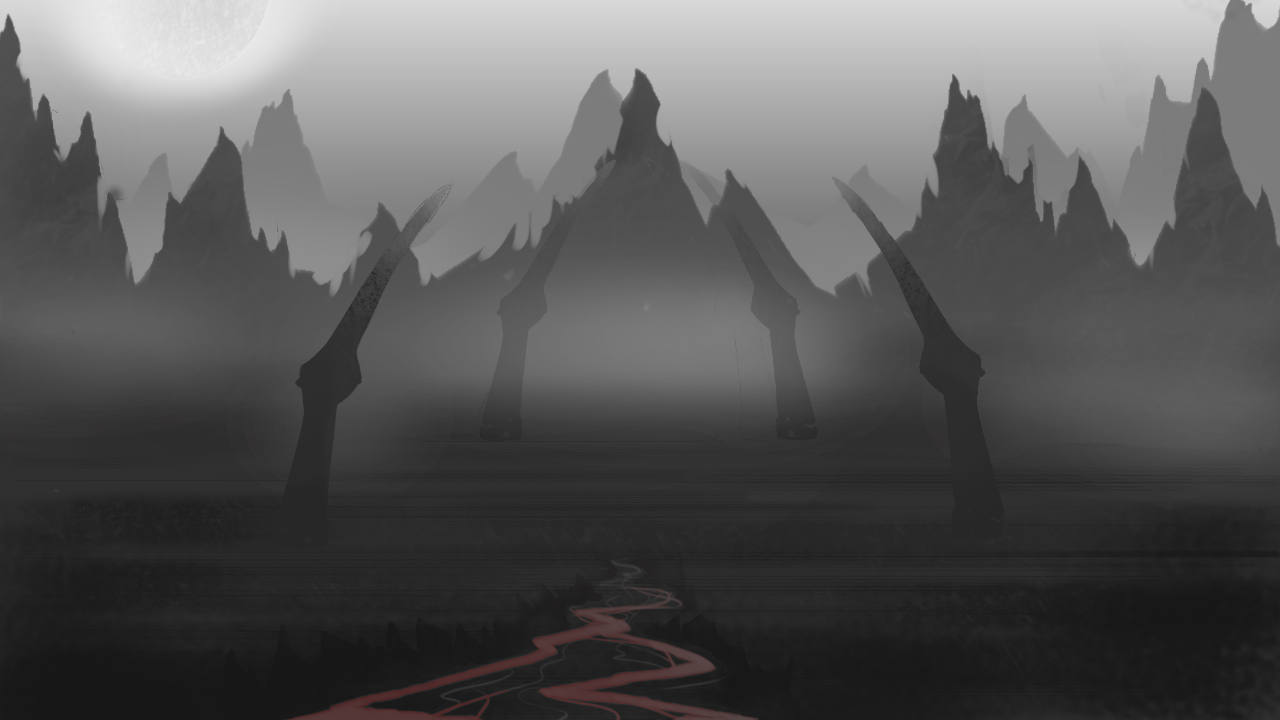
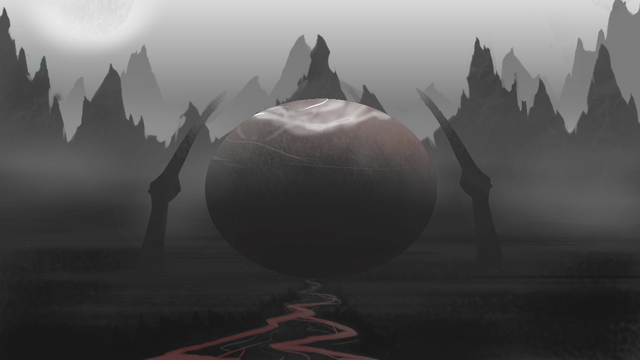
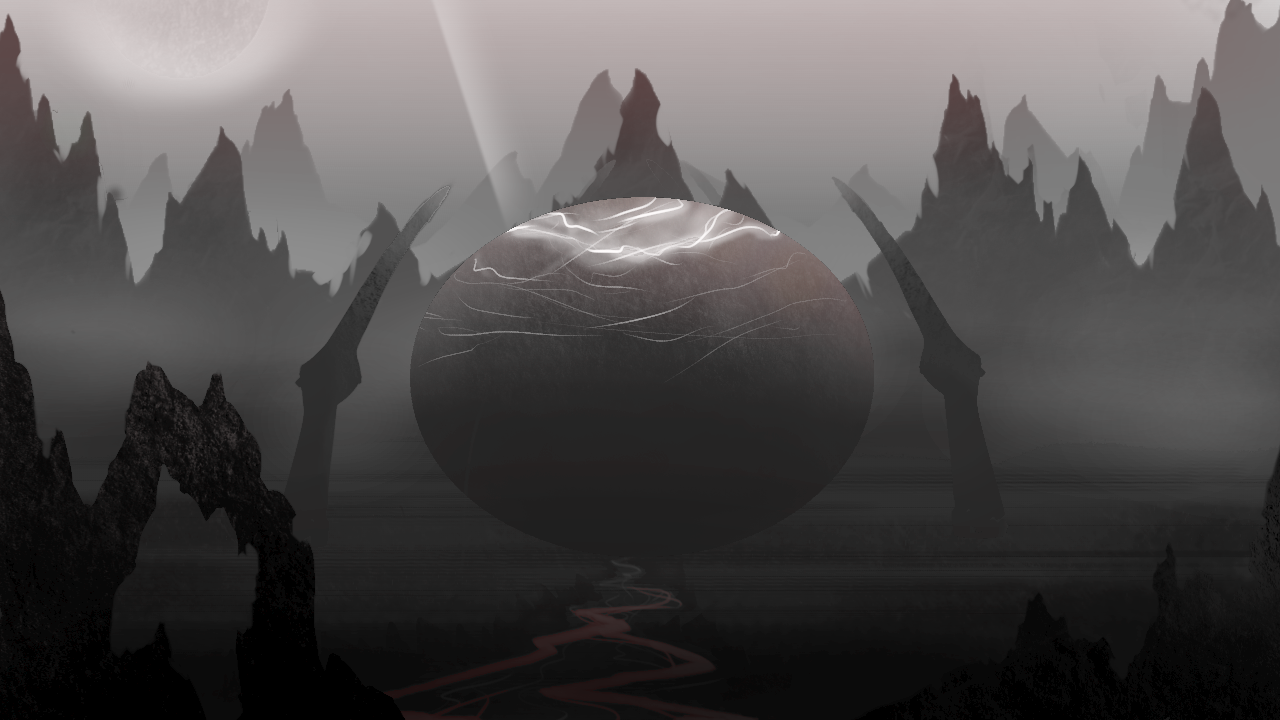

There you go guys!! Hope you like it.
It's just concept art and what I express.
See you guys!!!
Bye!!!

Downvoting a post can decrease pending rewards and make it less visible. Common reasons:
Submit
You got a 1.52% upvote from @postpromoter courtesy of @gremayo!
Want to promote your posts too? Check out the Steem Bot Tracker website for more info. If you would like to support the development of @postpromoter and the bot tracker please vote for @yabapmatt for witness!
Downvoting a post can decrease pending rewards and make it less visible. Common reasons:
Submit
Keep on sharing your arts tutorial.
Downvoting a post can decrease pending rewards and make it less visible. Common reasons:
Submit