SPANISH
Saludos amigos de steemit, en esta ocasión realice un post que sirve como tutorial para la ilustración digital utilizando Corel Painter 12; todo el que manipula programas de diseño sabe que pasamos muchas veces en el proceso de "ensayo-error" tratando de conseguir acabados mágicos que permitan resaltar nuestro resultado final, en esta guía te muestro mi proceso de pintura a fondo y te doy algunos tips para que puedas obtener resultamos muchos mejores.
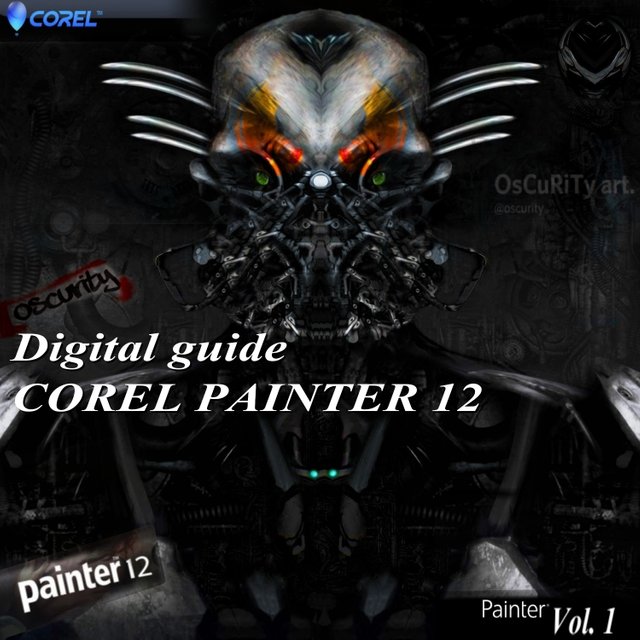
COPYRIGHT BY @oscurity

 >
>TO DOWNLOAD

WELCOME TO THE WORLD OF COREL
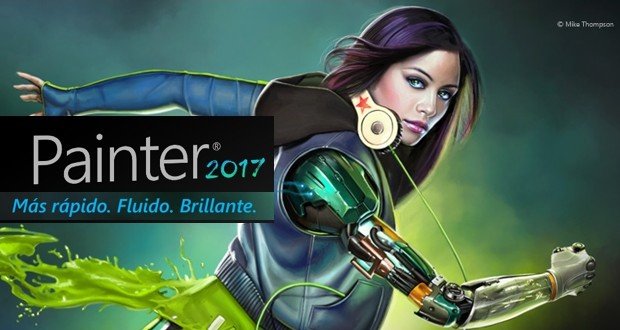

In my previous posts I highlighted the importance of using Corel Painter as a tool for beginners, I recommend it since unlike Adobe Ps the parameters of the brushes are easier to calibrate and the finish is much more realistic.
En mis post anteriores destaco la importancia de usar Corel Painter como herramienta para principiantes, yo lo recomiendo ya que a diferencia de Adobe Ps los parámetros de los pinceles son mas fácil de calibrar y el acabado es mucho mas realista.

|
 |
| |
|
WE START / COMENCEMOS

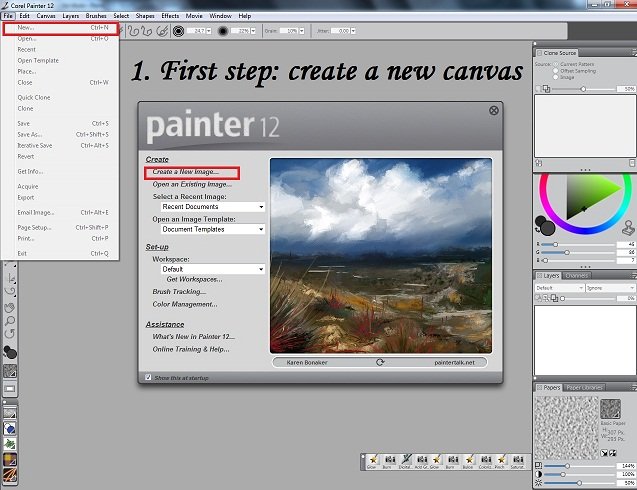
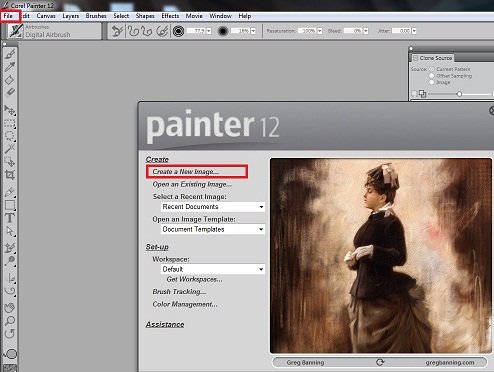
There are two alternatives to create your canvas, opening: (FILE-NEW) or directly by clicking on NEW on the promotion screen that appears immediately upon opening the program.

Characteristics of the canvas / Característica del lienzo


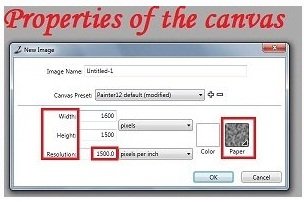
This part is very important, the following image shows the size of the canvas: width / length and resolution, likewise the texture of the canvas in this case I have selected the grain type sheet. I recommend that you work with the width and length in 1500 and the resolution in: 1500 to begin.
Create your sketch / Crea tu boceto


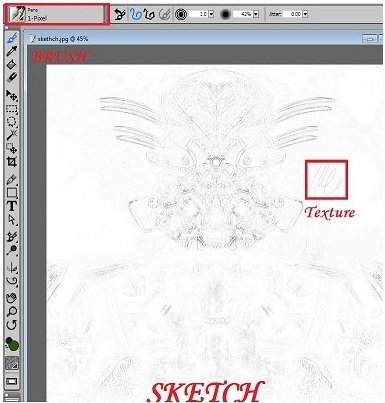
We make our sketch, you can use the pen and place it in 40 percent opacity, or use the (pencil 2b), try to make your strokes as clear as possible and then regulate it with the equalizer in the effects option.

USE DISTRESS / UTILIZAR EL DISTRESS


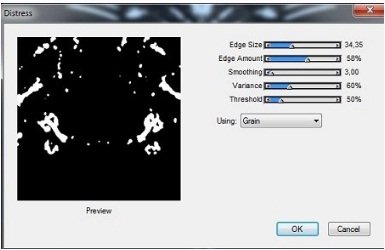
When you select the (Distress) that we achieved in Effect-Surface control, this mini screen appears with all these parameters we are going to place them as it is in the image, the distress what it does is apply dark light to our image we can apply it with the sheet grain.

WE APPLY THE TEXTURE WITH THE DISTRESS / USAMOS EL DISTRESS PARA TEXTURIZAR


You can see the repertoire of paper that accompanies the base of Corel Painter, however you can create any type of texture and this part is important because later this will help you to create skins, backgrounds, clothes, everything you need so that your paintings remain Real, I will teach you how to create papers quickly.
Puedes observar el repertorio de papel que acompaña la base de Corel Painter, sin embargo tu puedes crear cualquier tipo de textura y esta parte es importante porque mas adelante esto te servirá para crear pieles, fondos, ropa todo lo que necesitas para que tus pinturas queden reales, te enseñare como crear papeles rápidamente.

Creating the papers (textures) in Corel is very simple you can extract them from the internet, you can create them if you have a tablet, you can download them in the Corel database if you have the original program like me, the first thing you do is select the whole texture by applying ctrl + to then go to the upper right symbol in libraries paper press and finally press capture paper, you will get an ignore image and press just ok, that image in future post will teach you to create the paper in advanced mode.
Crear los papeles (texturas) en Corel es muy sencillo puedes extraerlas de Internet, puedes crearlas si tienes tableta, puedes bajarlas en la base de datos de Corel si tienes el programa original como yo, lo primero que haces es seleccionar toda la textura aplicando ctrl+a luego vas al símbolo superior derecho en libraries paper lo oprimes y por ultimo pulsas capture paper, te saldrá una imagen ignórala y pulsa solo ok, esa imagen en futuros post te enseñare a crear el papel en modalidad avanzada.
 |
|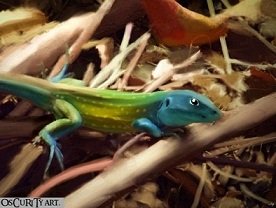 |
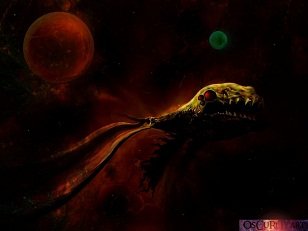
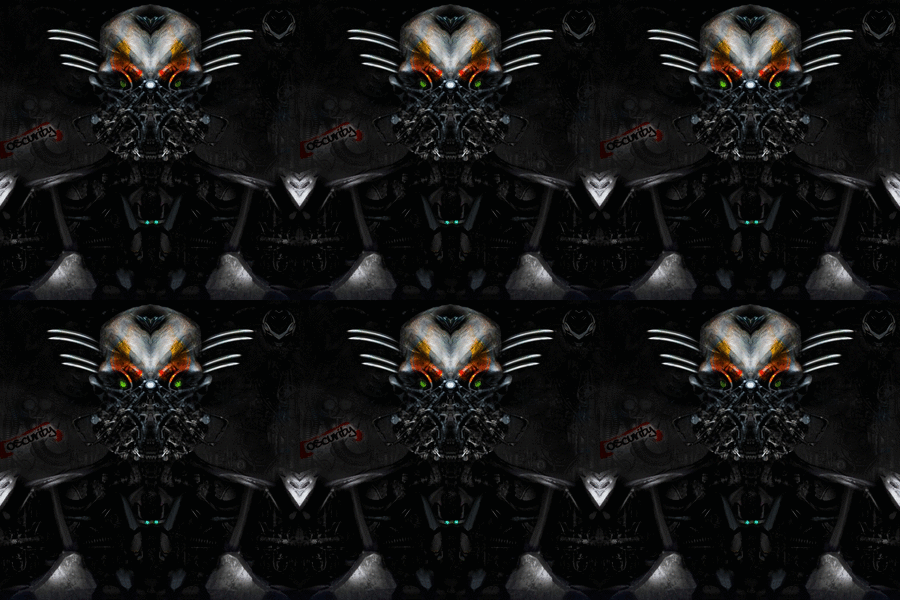
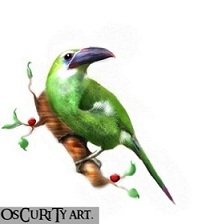
|Although you do not believe in these two illustrations there are more than 50 types of textures that I had to create to make the paintings realistic, the skin, the background, the feathers all contain textures.
Aunque no lo creas en estas dos ilustraciones hay mas de 50 tipos de texturas que tuve que ir creando para que las pinturas quedasen realista, la piel, el fondo, las plumas todo contiene texturas.
Painting process / Proceso de pintura

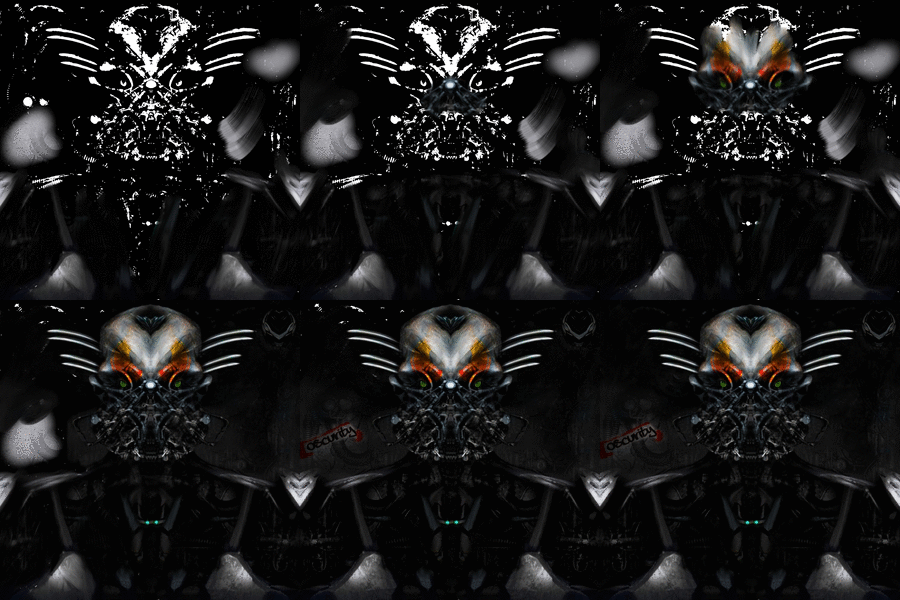
Everyone has a different way of illustrating, everyone works as they feel more comfortable remember that this guide shows you the way in which I am comfortable but maybe you get a way that is much faster than mine, it is only question to go testing, you should always have a color palette thinking of the basic colors of your character in my case gray, colors to highlight your character and obviously the light, although you do not believe many colors are touching the limit of white more than everything where light is projected but ATTENTION never tend to be completely white.
Cada quien tiene una manera de ilustrar distinta, todos trabajan como se sientan mas cómodo recuerda que esta guía te muestra la manera en como a mi se me hace cómodo pero quizás tu consigas una manera que sea mucho mas rápida que la mía, solo es cuestión de ir probando, siempre debes tener una paleta de color pensando en los colores básicos de tu personaje en mi caso grises, colores para resaltar tu personaje y obviamente la luz, aunque no lo creas muchos colores están tocando el limite del blanco mas que todo donde se proyecta la luz pero ATENCIÓN nunca tienden a ser completamente blancos.
BRUSHES AND PARAMETERS / PINCELES Y PARAMETROS

 )
)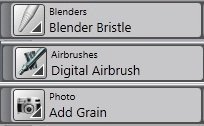
I always use the:
- Blenders bristle
- Digital airbrush
- Add photo (adds textures)


You can see the three main brushes that apply in this illustration, I always apply the blender bristle that is an alloy between the oils and diffused, later I apply the digital airbrush to give realism to the image and remove imperfections and finally I apply the texture, you can see the texture of the brushes in the image. I always calibrate my brushes at an opacity of (29) percent.
Puedes observar los tres pinceles principales que aplique en esta ilustración, siempre aplico el blender bristle que es una aleación entre el oils y difuminado, posteriormente aplico el digital airbrush para darle darle realismo a la imagen y quitar imperfecciones y por ultimo aplico la textura, puedes ver la textura de los pinceles en la imagen. Siempre calibro mis pinceles en una opacidad del (29) porcentaje.
REMEMBER / RECUERDA

The configuration of the parameters are very important if not your brush will not be well calibrated and your result will not be optimal.
Blenders bristle: opacity: 29 viscosity: 10 blend and wetness 90
Digital airbrush: opacity: 29
Add grain: what you are looking for

TIPS / CONSEJOS

- Do not be afraid to play with brushes
- Do not get frustrated if it does not come out the first time
- The digital tablet catapults you to be professional not the mouse
- Take tutorials from professional painters as a guide
- No tengas miedo de jugar con los pinceles
- No te frustres si las cosas no te salen a la primera
- La tableta digital es la clave para llevar a un nivel profesional no el ratón
- Toma guías de tutoriales de profesionales

- COREL PAINTER 12
- DURATION: 18,54 hours all ilustrations
- BRUSH: impasto, bulge, dodge, burn, add grain, saturation, distort, pencil 2b, blenders bristle others
- Difficulty: HARD
- Size: 1100x1200 x 1400mp

FOLLOW MY ART IN / SIGUE MI ARTE DE CERCA EN:

THANKS BY / AGRADECIMIENTO
@artzone @slothicorn @stateofthearts @theunion @cervantes @hr1 @curie @isaria @TO YOU (Thanks for you support)/ (gracias por sus votos).
REMEMBER @OSCURITY IS NOT AN ART IS A STYLE


Dear Artzonian, thanks for using the #ArtzOne hashtag. Your work is valuable to the @ArtzOne community. Quote of the week: Art, freedom and creativity will change society faster than politics. -Victor Pinchuk
Downvoting a post can decrease pending rewards and make it less visible. Common reasons:
Submit
Thanksssss
Downvoting a post can decrease pending rewards and make it less visible. Common reasons:
Submit
FELICIDADES!!!!
El TRAIL de SalvadorDali te ha apoyado con 0.08
Downvoting a post can decrease pending rewards and make it less visible. Common reasons:
Submit
Fino
Downvoting a post can decrease pending rewards and make it less visible. Common reasons:
Submit
Congratulations! This post has been upvoted from the communal account, @minnowsupport, by OsCurity from the Minnow Support Project. It's a witness project run by aggroed, ausbitbank, teamsteem, theprophet0, someguy123, neoxian, followbtcnews, and netuoso. The goal is to help Steemit grow by supporting Minnows. Please find us at the Peace, Abundance, and Liberty Network (PALnet) Discord Channel. It's a completely public and open space to all members of the Steemit community who voluntarily choose to be there.
If you would like to delegate to the Minnow Support Project you can do so by clicking on the following links: 50SP, 100SP, 250SP, 500SP, 1000SP, 5000SP.
Be sure to leave at least 50SP undelegated on your account.
Downvoting a post can decrease pending rewards and make it less visible. Common reasons:
Submit
un día de estos me voy a poner a dibujar con tus consejos...ya verás
Downvoting a post can decrease pending rewards and make it less visible. Common reasons:
Submit