As I mentioned in my previous post about the amigurumi chihuahua that I made from the pattern in the book Ami Ami Dogs, I liked the overall design but wasn't a fan of the way the various body parts attached together to form the final figure. I wanted to try altering the pattern to have the parts joined via crochet stitches. For a while I wasn't sure exactly how I wanted to do it because I could think of at least three ways, and eventually I broke the deadlock by saying "just treat it like an experiment and try all the ways". So far I've tried two.
First experiment
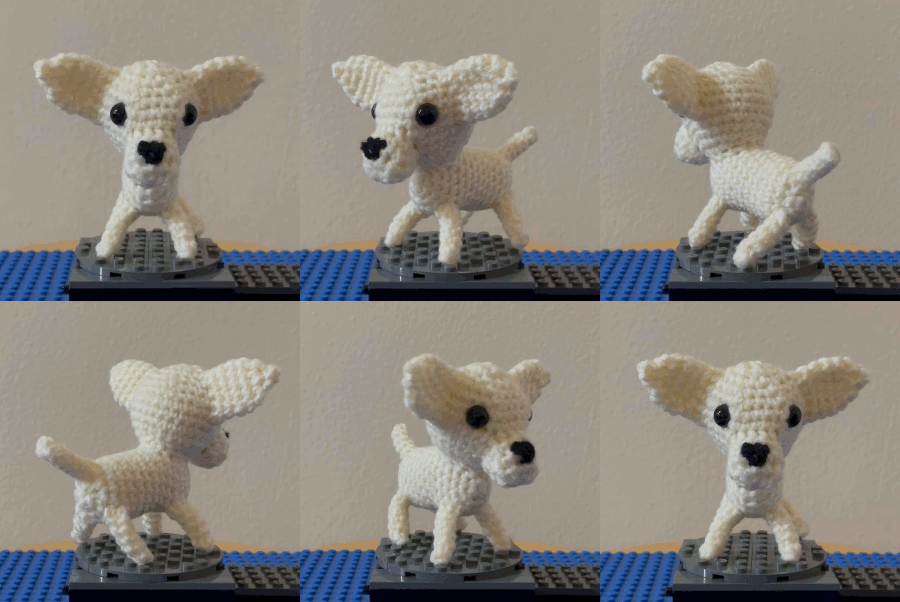
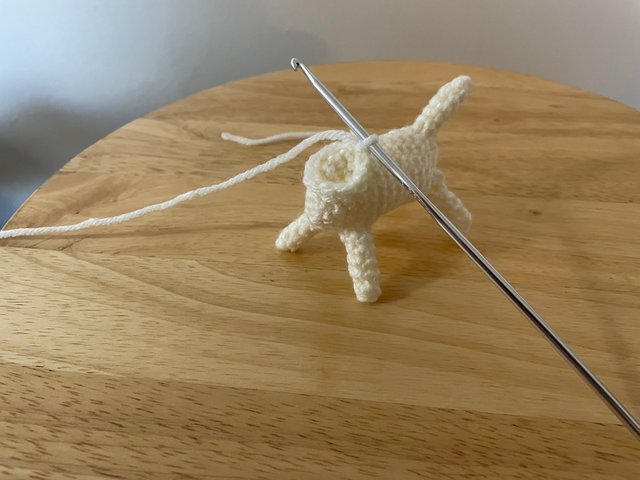
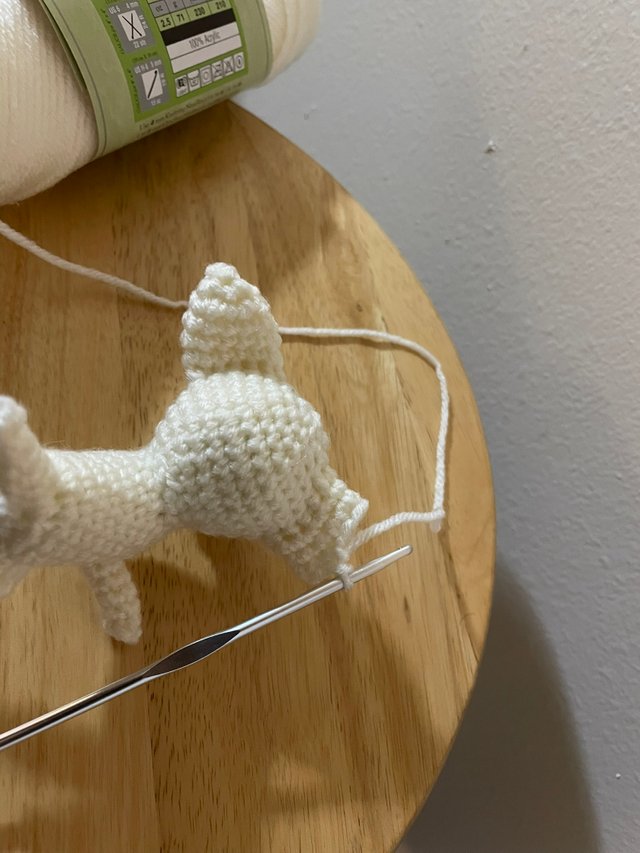
Rather than the white yarn I used for the first one, I switched to an "ivory" color. I also noticed I was running low on small plastic eyes, so I decided to switch to the next higher size. The first approach I tried was to stay very close to the original pattern, but instead of making all the parts and then sewing them on, I made the core rounded-cylinder of the body and then used pick-up stitches to start building out the other body parts. Using pick-up stitches, where you basically just single-crochet around anywhere you can poke your hook through on an existing piece, was a new technique for me. It took me a little while to get the hang of it, and I also found it hard to decide where to poke the hook through until I decided to plan it out ahead of time by marking my desired stitch locations with some dark-colored sewing thread which I removed later. Also, because I was going from the body out to the tip of the part I had to try to read the pattern for most of the body-parts backwards, which tripped me up a few times (for example, doing a decrease when I was supposed to be doing an increase, since I was going in reverse) but it mostly worked.
I think it worked out OK, but the pick-up technique is still very heavy on judgment calls about where to position the stitches. This is especially a problem for the legs, since you have to extrapolate where the completed legs will be based on where you stitch the base. Also I much prefer starting from a magic ring and building out rather than starting at a surface and then needing to converge together and close it up (I'm better at the magic ring, and it also looks neater on the completed figure).
Here's a 360 view:
Second experiment
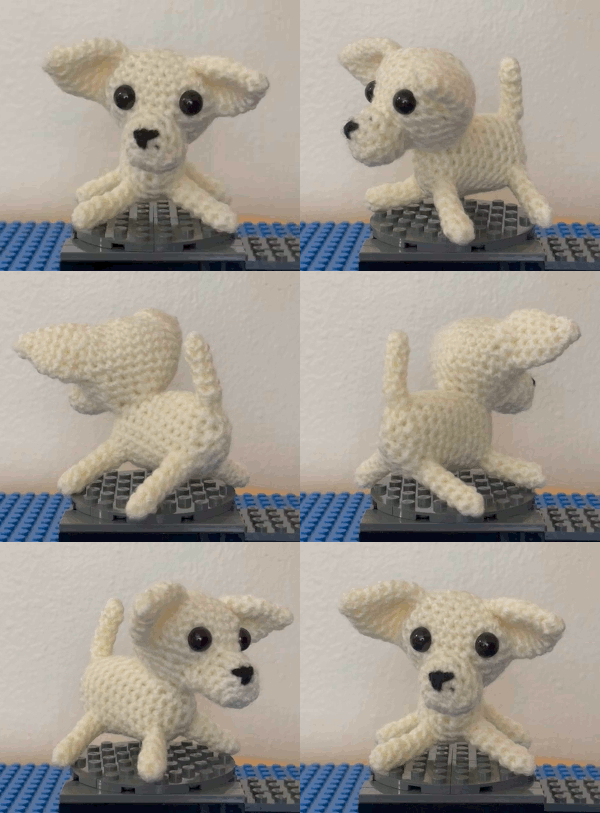
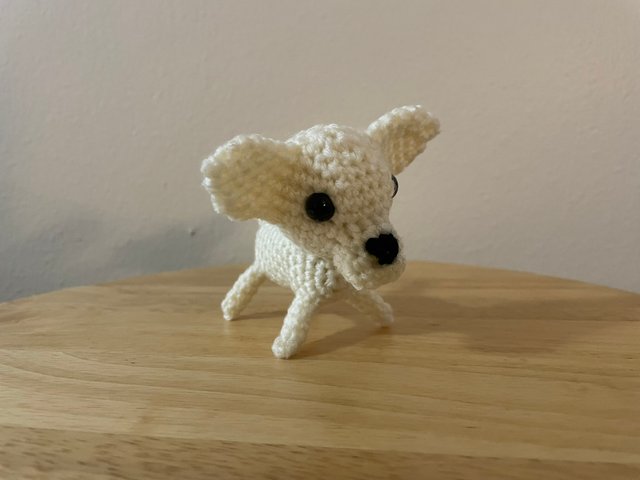
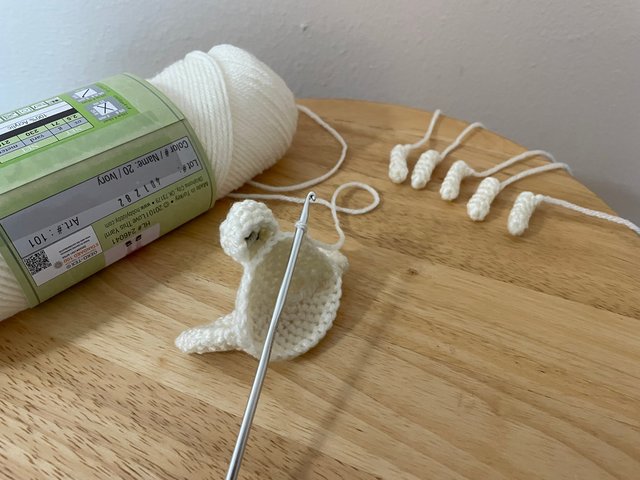
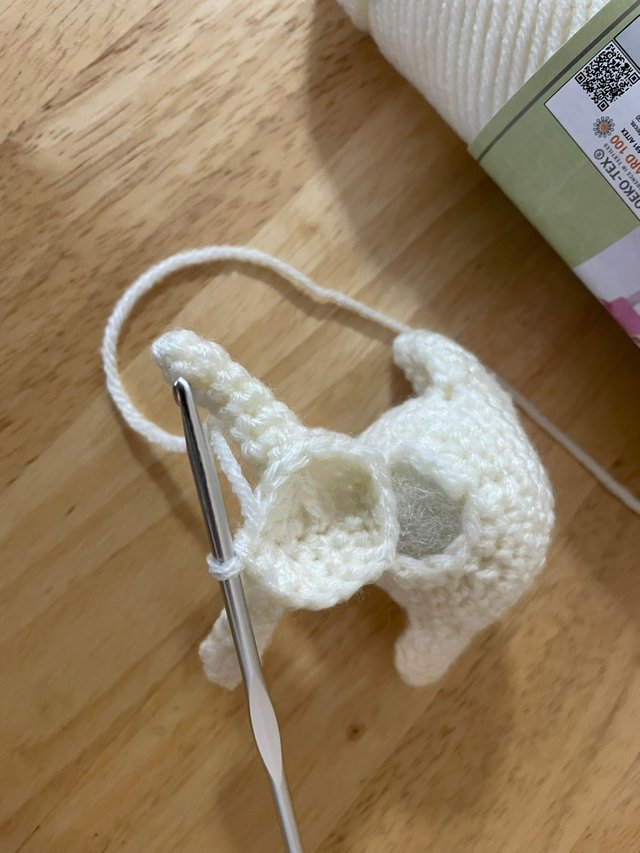
For the second one I decided to return to the original idea of making the ears and legs first, but then to attach them via crochet stitches while making the head and body. At first I thought I would be able to do something by pulling loops through to essentially crochet "through" the existing pieces, but I ended up having a really hard time seeing and keeping track of the stitches. So I rethought things and tried a different approach: for attachments which are perpendicular (like the ears to the side of the head) I used something like a single-crochet-two-together (sc2tog) stitch like I'd use for a decrease, but I grabbed one "v" from the piece I was working on and one from the piece-to-be-joined, so they'd end up stitched together and I'd have the expected number of stitches in the round. And for places where the stitches where in parallel, like at the neck, I just pulled the initial loop for the stitch I was adding through both existing stitches to join them. Figuring out how to do these joins was a little brain-bendy (I kept getting things backwards or flipped around) but it eventually seemed to work pretty well.
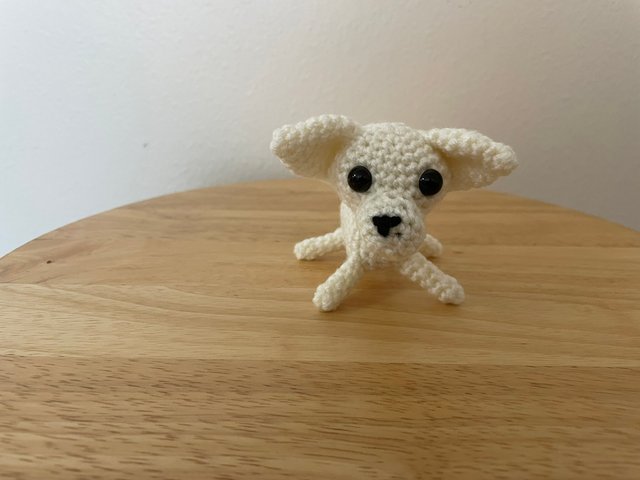
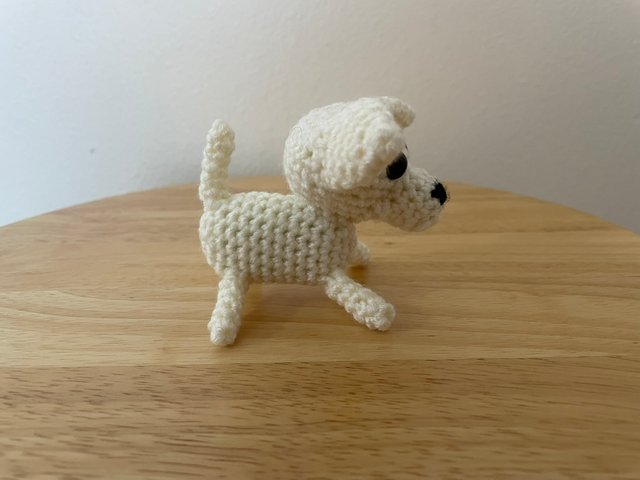
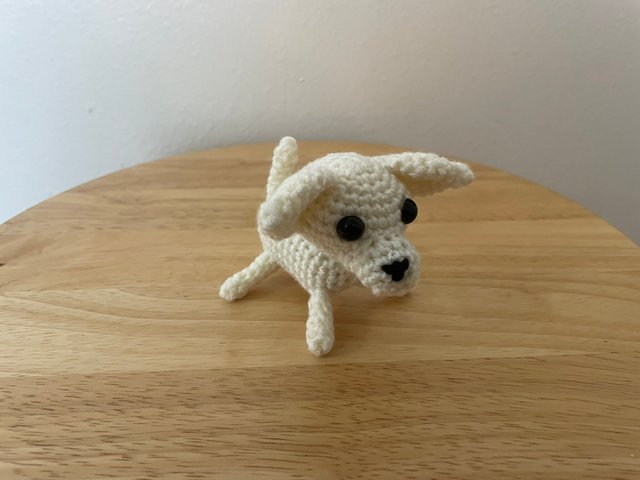
I think this had the best result so far. The legs ended up more splayed than I expected, and where I placed the nose ended up being a bit crooked on the final piece, but in terms of technique I think it worked well.
Here's a 360 view:
Thoughts so far
As I was thinking about posting about them I decided to name the first one Pick-up, since I used pick-up stitches, and the second one Ringo because I was able to go back to using a magic-ring as the starting point for the parts. These first two experiments were trying to stay very close to the original pattern. One of the issues I had with both is leg placement, and part of that is built into the geometry of trying to attach cylinders to a big cylinder, it's hard to get them to point down instead of out at an angle (I tried to use some taller half-double-crochet stitches on one side to create a slanted top for Ringo's legs but the height differential ended up being so small as to be insignificant). I think I will probably do at least one more experiment where I work on that, possibly by re-designing parts of the pattern.
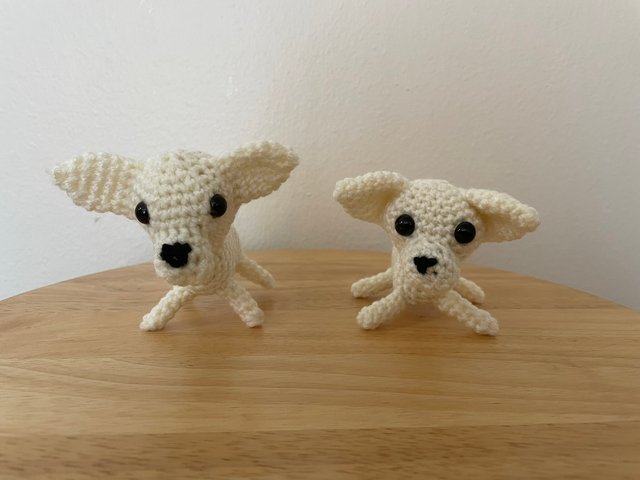
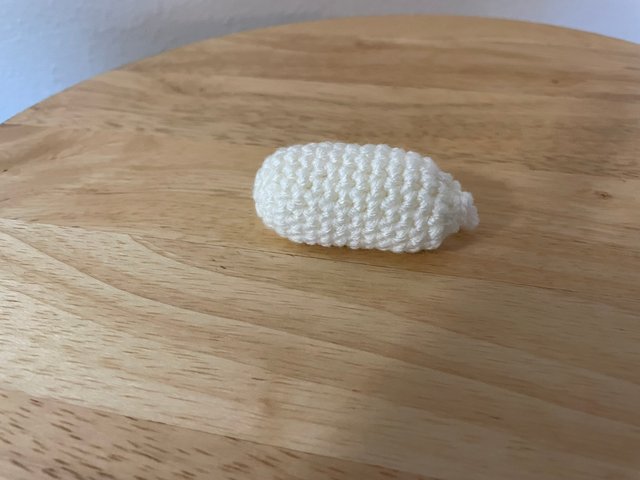
Here are some pictures of all three of them together (pencil in the foreground for scale):
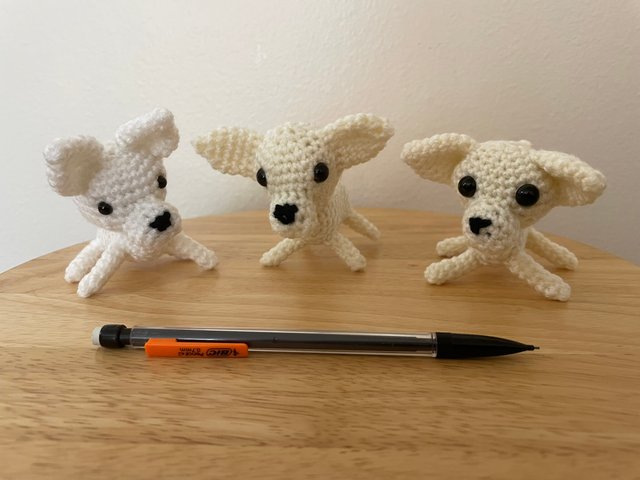
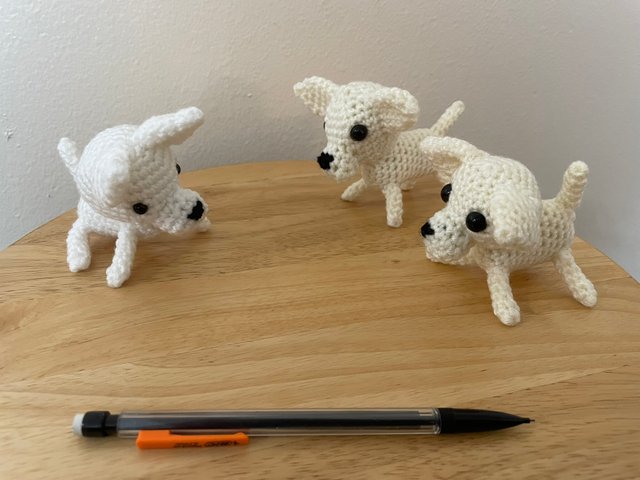
The three dogs look adorable together @danmaruschak !
I noticed how you've moved the ears so they're a bit more apart now.
It's interesting how using three different methods of attaching the legs (sewing, Pick-up and Ringo) still arrive at a similar result.
My main experience is in knitting in the parts of the gnome : nose, beard, hat and body to avoid all that sewing but I did all that on a horizontal plain. It's a different case when it comes to the chihuahua legs because they need to point down afterwards so having a reference for their placement is essential - and the pen shows how small all the project is.
I guess I'd make the legs first and then pick up part of the leg on one row and then the rest one or two rows further on - I'm not sure how well that would work though. I look forward to reading about your crocheting experiments.
Downvoting a post can decrease pending rewards and make it less visible. Common reasons:
Submit
Thank you for sharing on steem! I'm witness fuli, and I've given you a free upvote. If you'd like to support me, please consider voting at https://steemitwallet.com/~witnesses 🌟
Downvoting a post can decrease pending rewards and make it less visible. Common reasons:
Submit