👇PL👇
We're getting closer to the final bake. Tonight I plan to prepare the dough and filling, tomorrow I will assemble them. Let's talk a bit more about the filling.
Zbliżamy się do ostatecznego wypieku. Dziś wieczorem przygotuję ciasto i nadzienie, a jutro połączę je. Porozmawiajmy nieco o nadzieniu.
English
In the initial post I have mentioned the ingredients for the filling. There isn't an awful lot to do with it, but I had to prepare the orange peel. Well, I didn't have to, but I did want to.
Just to remind you, I have followed the ArtKulinaria recipe.
Orange peel
You see, there are two types of orange peel in stores:
- expensive orange peel
- crappy orange peel
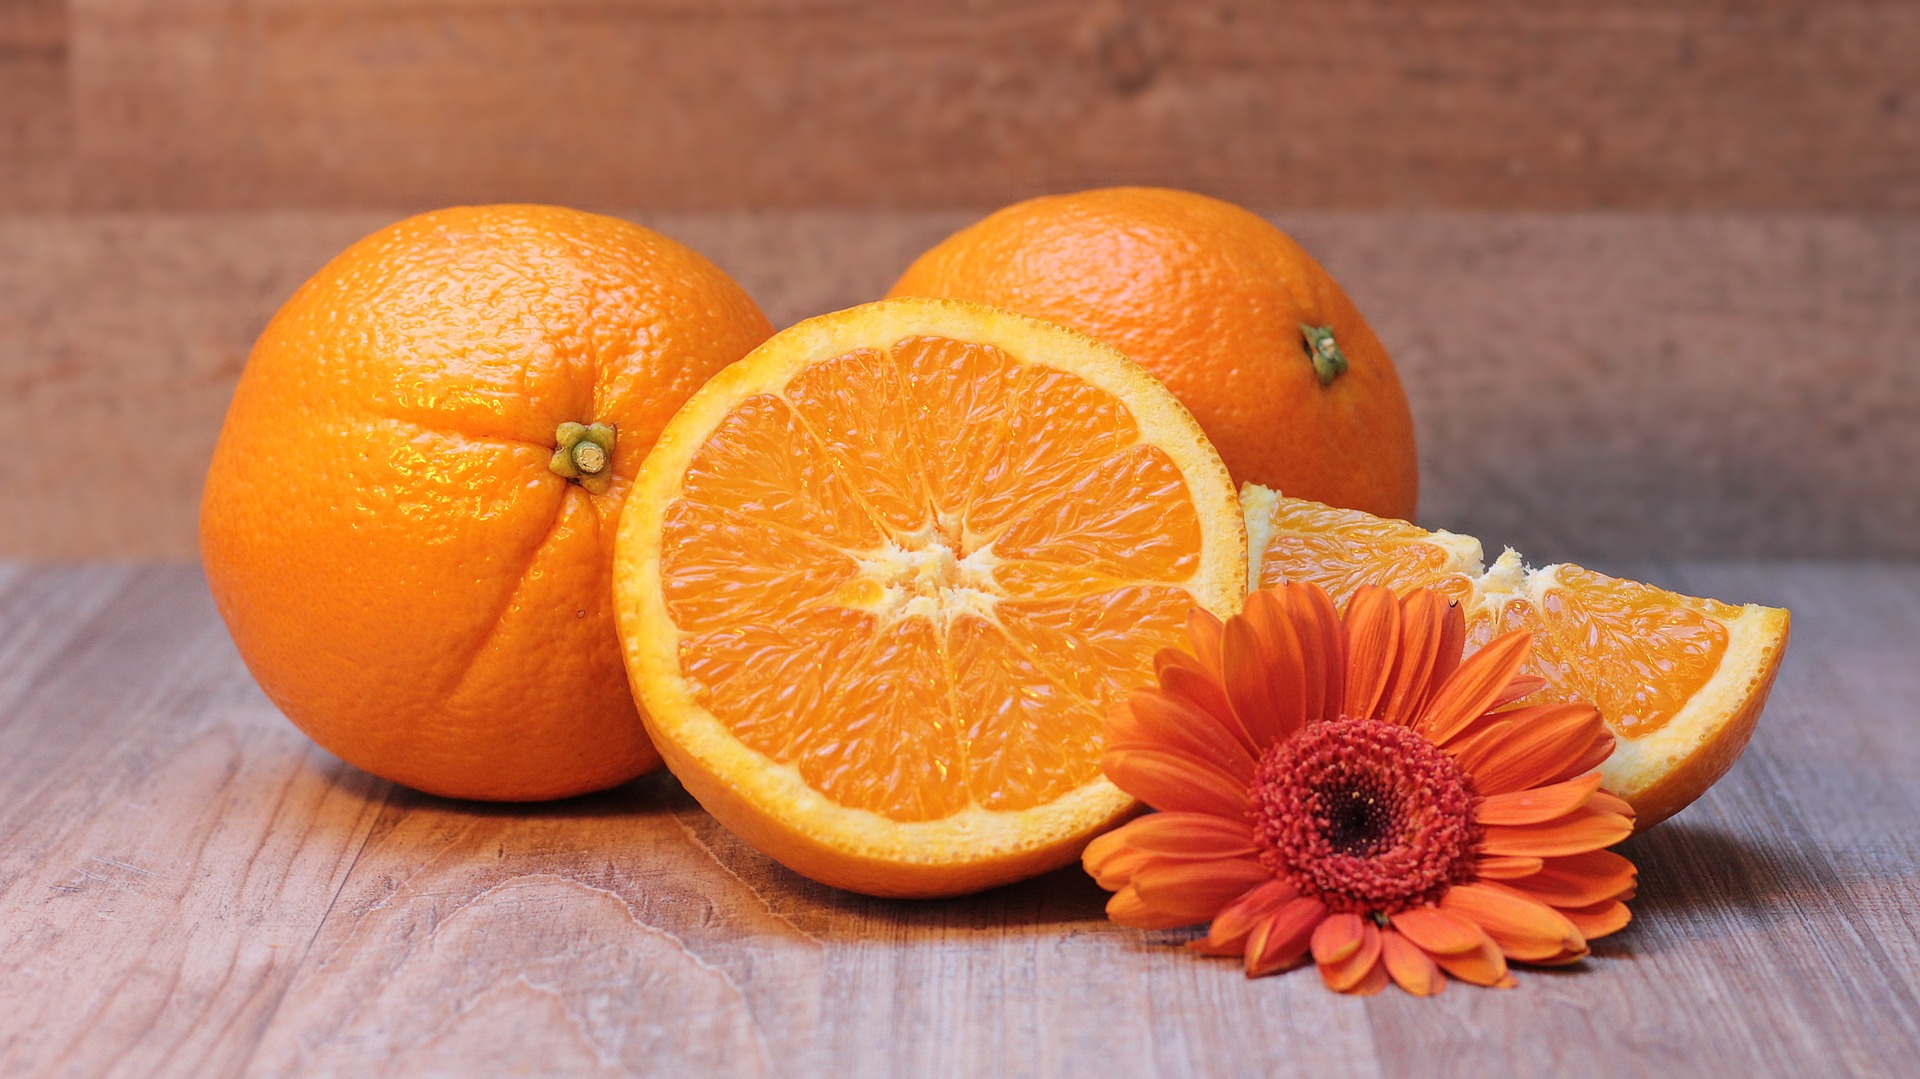
I do buy organic oranges which are on the rather pricey side, but I get nice oranges and orange peel.
Planning
Get good oranges. You will need a sharp knife, fillet knife can be helpful.
Ingredients
- 7-8 nice big oranges, best organic
- two 250 ml cups sugar
- 125 ml water
Preparation
- Wash the oranges very thoroughly. If you use the normal ones from store, you can also rinse them with freshly boiled water
- Peel the oranges. I usually make four cuts and have the peel quarters, then halve them again to make them narrow enough
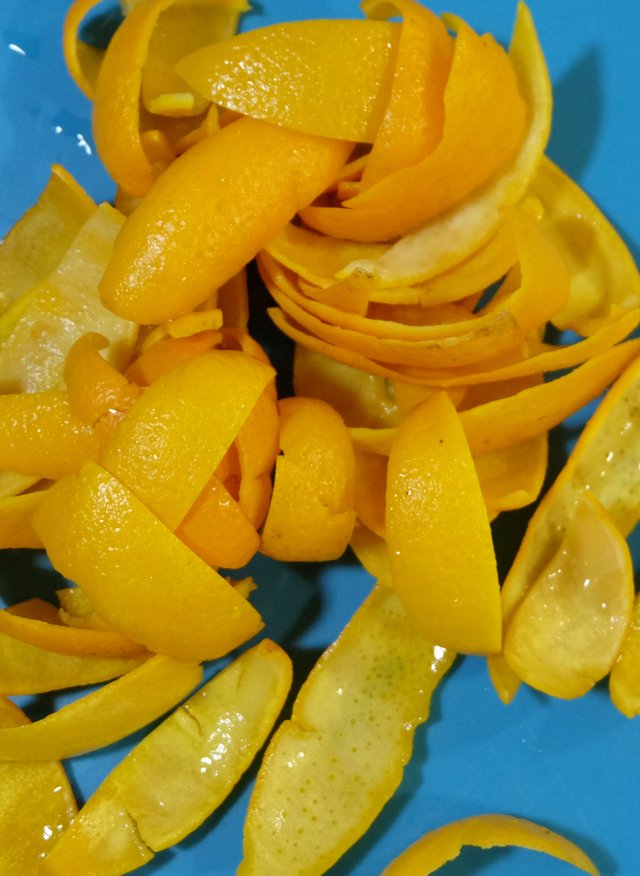
- Remove the white stuff: albedo (it has a name, now you know), try to only leave the orange part of it
- Dice it finely
- Mix sugar with water in a saucepan, put on low heat and add orange peel. Cover. Stir from time to time. Rather frequently so that the sugar doesn't turn into caramel
- After about 20 minutes take the lid off, keep stirring from time to time
- After about 25 minutes more, the juice will reduce a bit, but will still be quite runny, and the orange peel will be semi-translucent. This is the right time to stop heating and transfer to a container - a jar looks pretty, I use a regular plastic container
- Store in the fridge
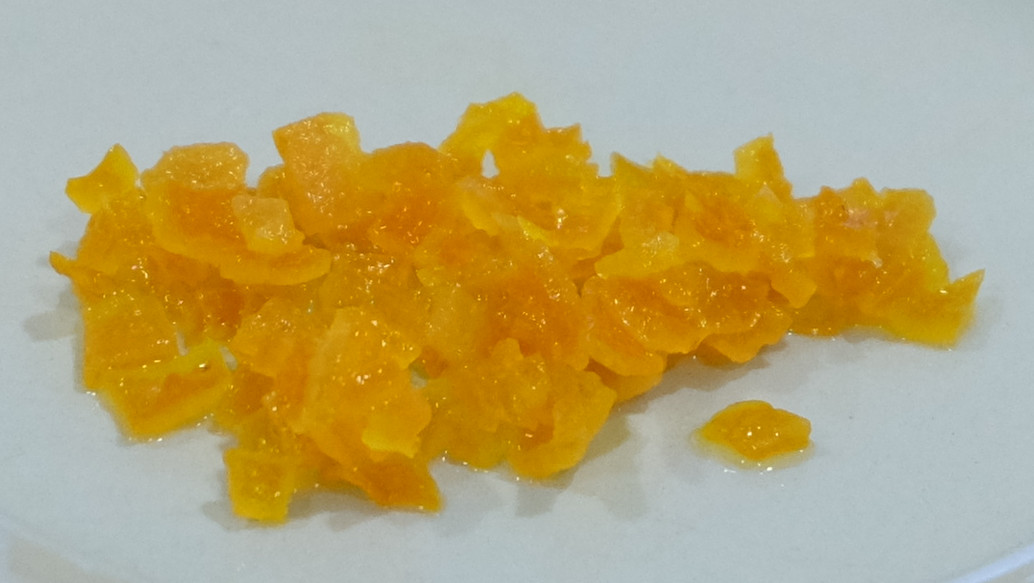
It may turn quite hard, so I recommend stirring from time to time before it solidifies. It may turn hard earlier, it's fine - Add a bit of warm water (a tablespoon or so) and put on a low heat stir it into a bit more runny mixture and then transfer it.
The whole filling
There isn't anything particularly difficult about this, except for the poppy seeds rinsing. In a saucepan it some of the seeds go to the surface so you cannot really remove the water. I ended up using a gauze on a strainer to stop it from going through.
Planning
Just do it a day before you make the filling.
You will have to let the poppy cool down and then to let the whole filling cool down before adding eggs and crumbles, so just factor this into your plan. You can cook the poppy in advance if you need to make a break in preparation and use the second cooling down for that too.
There is no raising agent in here, so time is not so critical.
You will need:
- a rather large saucepan (the seeds more than doubled the volume).
- two bowls
- a grinder for grinding the poppy seeds (they are also referred to as meat grinders)
Ingredients
This is enough for around 24 croissants
- 500 g white poppy
- 300 g dried sponge cake crumbs (I got some ladyfingers from the store and ground them as I had no time to make one at home)
- 500 g sugar (I followed the author's advice to use 250 g sugar and 250 g honey)
- 85 g butter
- 85 g raisins
- 85 g nuts (I followed the author's advice to use 100 g almonds)
- 2 tablespoons of orange peel
- 250 g eggs (without shells, of course), this is approximately 5 eggs
- a couple drops of almond oil or extract
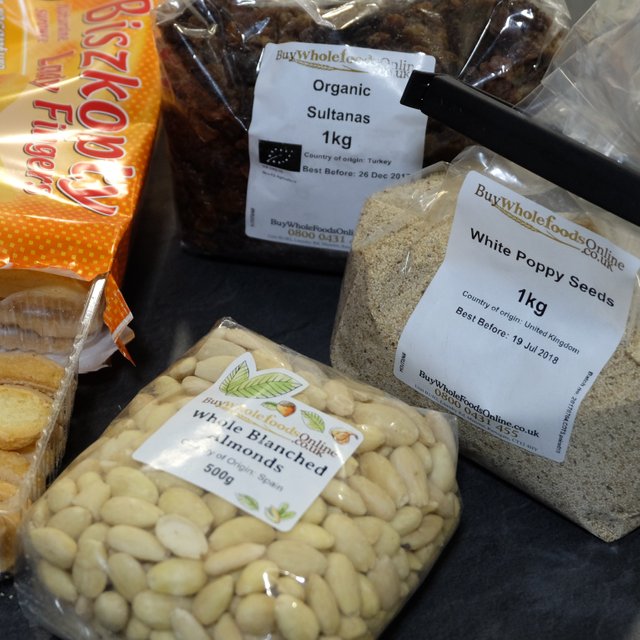
I know it looks like a sponsored picture but it isn't. I just like this store.
Preparation
Before
- Blanche you almonds. I have bought already blanched ones
- Grind your almonds finely
- Grind your sponge cake finely
- Chop the raisins
- Rinse the eggs with boiling water - put them on a plate in your sink and pour a lot of freshly boiled water onto them. This is important: you will be adding raw eggs to the filling and leaving it this way until baking
Actual Recipe
- Rinse the poppy, then put in a saucepan, cover with boiling water and hold on a small heat for about 30 minutes. Stir from time to time
- Remove the water form the poppy and let it cool down
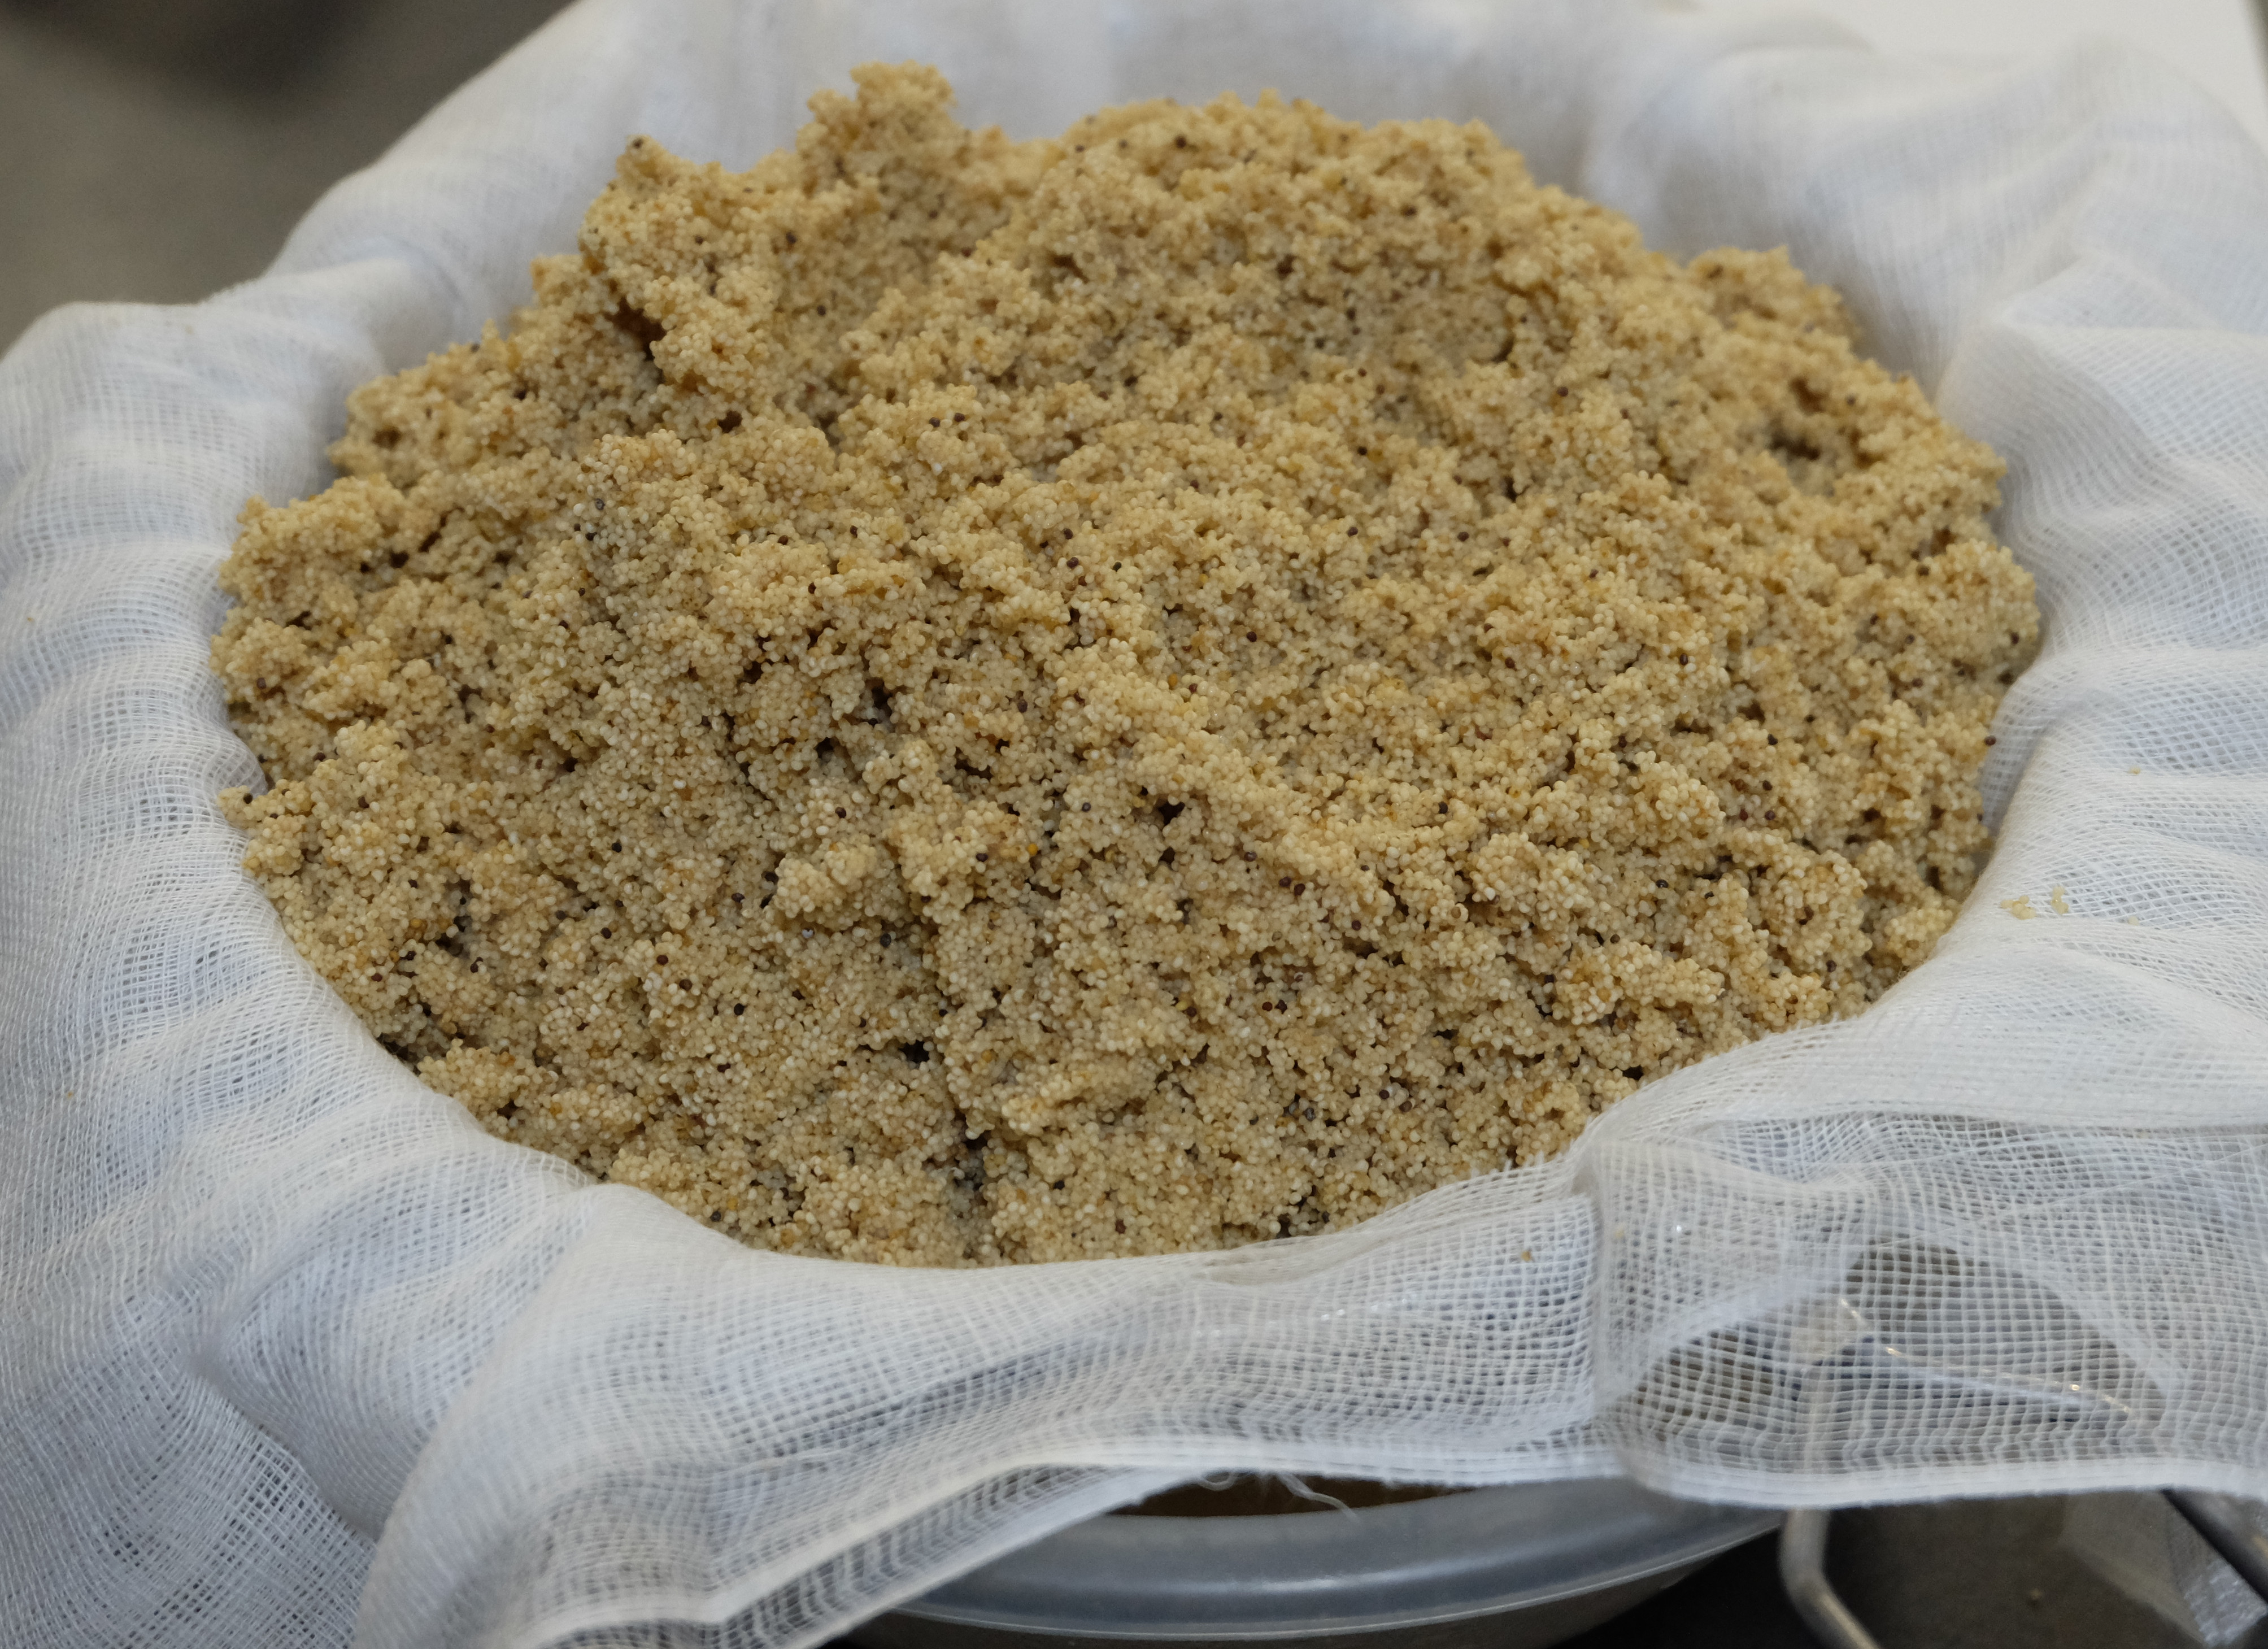
- Grind it three times in a food grinder with smallest holes
- Melt the butter on a low heat, add sugar and honey and dissolve into a syrup
- Add chopped raisins, the orange peel and almonds. Stir it regularly for a few moments, until you can see everything soaked the syrup up a bit
- Add ground poppy, mix it well and keep stirring for 5-10 minutes on a low heat. Make sure it does not burn on the bottom
- Let it cool down
- Keep mixing the filling in a mixer now. Note that I don't know what word to use here, Polish "ucierać" means something like smearing on the walls of a bowl to make finer and I used mixer part with rubber feathers doing precisely that. Without it I would use a whisk beater. Add a few drops of the almond extract and the sponge cake crumbs until they get incorporated
- Start adding eggs, one by one. Do not add another egg until the previous one gets incorporated. If the filling starts getting runny, don't add any more eggs
I refrigerated it for the following day to make the croissants. Things got real, the final attempt is coming.
I've decided to use a #stmartinsday tag to document the progress of this challenge. Have a look at it to see the future and (soon) past posts on it.
Thank you for your upvotes, you keep me motivated to do my best. If you like my posts, be sure to follow me to see the next steps
Polski
We wstępnym wpisie wspomniałem składnii na nadzienie. Nie wymaga ogromnej ilości pracy, ale musiałem przygotować jeszcze skórkę pomarańczową. No, nie musiałem, ale chciałem.
Gwoli przypomnienia, skorzystałem z przepisu od ArtKulinaria.
Skórka pomarańczowa
Jak pewnie wiecie, w sklepie są dwa rodzaje skórki pomarańczowej:
- droga skórka pomarańczowa
- gówniania skórka pomarańczowa
Ja kupiłem ekologiczne pomarańcze z wolnego wybiegu, które są dość drogie, ale przynajmniej mam i smaczne pomarańcze, i skórkę do przeróbki.
Planowanie
Sukces zależy od pochodzenia - trzeba pochodzić, żeby znaleźć ładne pomarańcze.
Skorzystasz z garnuszka. Polecam również nóż do filetowania.
Składniki
- 7-8 ładnych, dużych pomarańczy, najlepiej ekologicznych
- dwie szklanki 250 ml drobnego cukru
- 125 ml wody
Przygotowanie
- Wyszoruj dokładnie pomarańcze. Jeśli są standardowe z marketu, dobrym pomysłem będzie sparzenie ich wrzątkiem
- Obierz pomarańcze. Ja zazwyczaj nacinam skórkę w cztery ćwiartki, obieram i kroję jeszcze na połówki, aby były wygodnie wąskie

- Usuń białą część: albedo (ma nazwę, teraz już wiesz). Staraj się pozostawić tylko pomarańczową warstwę
- Pokrój w drobną kosteczkę
- Wymieszaj cukier z wodą w garnku, umieść na małym ogniu i dodaj skórkę pomarańczową. Przykryj. Mieszaj od czasu do czasu, raczej często, aby cukier się nie skarmelizował
- Po około 20 minutach zdejmij pokrywkę i dalej mieszaj od czasu do czasu
- Po około 25 minutach syrop nieco się zredukuje, ale jeszcze będzie lejący, a skórka stanie się półprzezroczysta. Teraz jest dobry czas, aby przestać grać i przełożyć skórkę do pojemnika na przechowanie - słoik wygląda ładnie, ja korzystam z plastikowego pojemnika
- Przechowuj w lodówce

Może stwardnieć, więc radzę jeszcze przemieszać przed zastygnięciem ze dwa razy. Może też skamienieć jeszcze w garczku, to nie problem - dodaj odrobinkę ciepłej wody (po łyżce) i podgrzej lekko, aby znów się zrobiło lejące i wtedy przełóż.
Całe nadzienie
Tu nie ma niczego szczególnie trudnego, miałem jedynie problem z wypłukaniem maku. W garnku część zaczyna pływać i nie da się usunąć samej wody, użyłem więc gazy na sitku, aby mak nie przeleciał.
Planowanie
Wykonaj na dzień przed pieczeniem.
Musisz dać ostygnąć makowi, a w międzyczasie całemu nadzieniu, więc weż to pod uwagę. Mak możesz ugotować z wyprzedzeniem, jeśli musisz sobie zrobić przerwę. Możesz też wydłużyć drugie studzenie. Tu nie ma żadnego wyrastania, więc czas nie jest aż tak krytyczny.
Będziesz potrzebować:
- raczej dużego rondla (mak podwoił objętość w gotowaniu).
- dwóch misek
- maszynki do zmielenia maku
Składniki
Wystarczy na 24 rogale
- 500 g białego maku
- 300 g okruchów biszkoptowych (ja kupiłem te całe Ladyfingers i zmieliłem, bo już nie wyrobiłem się z pieczeniem własnego biszkoptu)
- 500 g cukru (za radą autorki użyłem 250 g cukru i 250 g miodu)
- 85 g masła
- 85 g rodzynek
- 85 g orzechów (za radą autorki użyłem 100 g migdałów)
- 2 łyżki skórki pomarańczowej
- 250 g jajek (bez skorupek, rzecz jasna), to około 5 jajek
- kilka kropli olejku lub ekstraktu migdałowego

Wiem że to wygląda jak sponsorowane zdjęcie, ale nie jest. Zwyczajnie lubię ten sklep.
Przygotowanie
Przed robieniem
- Zblanszuj migdały. Ja kupiłem od razu obrane
- Zmiel migdały na drobno
- Zmiel biszkopt na okruchy
- Posiekaj rodzynki
- Wyparz jajca wrzątkiem - połóż je na talerzyku w zlewie i polej dużą ilością świeżo zagotowanej wody. To jest ważne: będziesz dodawać surowe jajka do masy i zostawisz tak na jakiś czas przed pieczeniem
Przepis właściwy
- Wypłucz mak, umieść w garnku, zalej wrzątkiem do przykrycia i umieść na małym ogniu na jakieś 30 minut. Mieszaj od czasu do czasu
- Usuń wodę z maku i daj mu ostygnąć

- Zmiel mak trzy razy w maszynce z sitkiem z najmniejszymi oczkami
- Stop masło na małym ogniu, dodaj cukier z miodem i rozpuść na syrop
- Dodaj siekane rodzynki, skórkę pomarańczową i migdały. Mieszaj regularnie przez kilka chwil, aż zobaczysz, że bakalie nasiąknęły syropem
- Dodaj zmielony mak, dobrze połącz i mieszaj co chwilę przez 5-10 minut na małym ogniu. Pilnuj, żeby nie przypaliło się od spodu
- Pozostaw do ostygnięcia
- Teraz ucieraj masę. Dodaj do niej kilka kropli ekstraktu i okruchy biszkopta, aż dobrze się wymiesza
- Zacznij dodawać jajka. Rób to pojedynczo. Kolejne jajko dodawaj dopiero gdy poprzednie się całkiem wchłonie. Jeśli masa zrobi się lejąca, nie dodawaj już jajek
Schowałem masę do lodówki, aby użyć następnego dnia. Sytuacja jest poważna, czas na ostateczną próbę.
Postanowiłem użyć taga #stmartinsday, aby udokumentować moje przygotowania do tego wyzwania. Zerkaj do niego aby obejrzeć wszystkie wpisy na ten temat.
Dziękuję za Twoje głosy, motywujesz mnie, aby starać się jeszcze bardziej. Jeśli podobają Ci się moje wpisy, obserwuj mnie, aby zobaczyć kolejne.
Padłam :) "wyparz jajca wrzątkiem.." Takiego najprawdziwszego rogala świętomarcińskiego to bym zjadła... ehhh. Kupiłem pomarańcze z wolnego wybiegu - za te zwroty masz upvot i follow.
Downvoting a post can decrease pending rewards and make it less visible. Common reasons:
Submit
Dzięki. Strach pomyśleć co bym dostał za rady o jajkach:

Albo o mleku:

Downvoting a post can decrease pending rewards and make it less visible. Common reasons:
Submit