
To demonstrate how to prepare the things that are needed to create a token, there are certain requirements that necessary before proceeding with the creation of a token. The main requirements are; choose the preferred blockchain to create the token on, supported wallet to store the token on the blockchain, depositing coins to use as transaction gas fee and the right tool such as the remix IDE.
Blockchain - Choosing the right blockchain is the first step in creating a token. For this, I prefer to create the token on the Binance Smart Chain because of its similarities with the ethereum blockchain, faster transactions and low transaction fees.
Supported wallet – For this, I am making use of the metamask wallet as it is a widely supported wallet on the binance smart chain. To begin making use of the metamask wallet, the first step is to go to the download the metamask wallet from the official metamask website.
Downloading and Installing Metamask wallet
Downloading and installing the Metamask wallet is a straight forward process. To do this, first is to visit the official metamask website at https://metamask.io to download the correct metamask version.
Next is to click on download now on the front page of the metamask website
.png)
Next is to choose the platform to install the metamask. For this, I selected chrome. After that, click on install Metamask for chrome
.png)
Next, it will automatically open the chrome webstore, click on add to chrome
.png)
Once the installation is completed, the metamask wallet extension will be installed on your chrome browser.
Next is to follow the installation process to begin the process of setting up the metamask wallet.
After the installation process is completed, Select get started
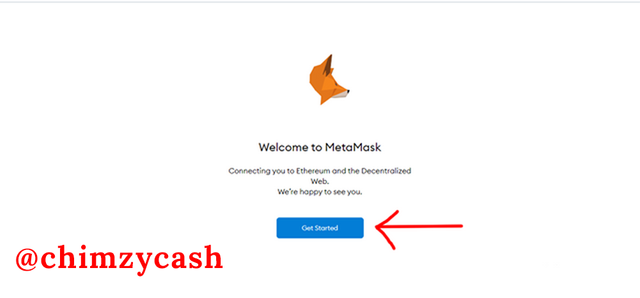
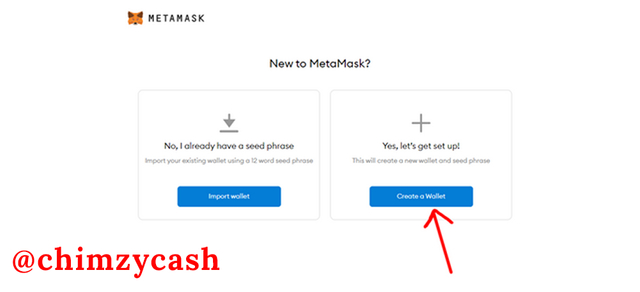
choose the create a wallet option to create a new wallet or import wallet to import an existing wallet using the seed phrase. For this, i selected create wallet and agreed to the terms
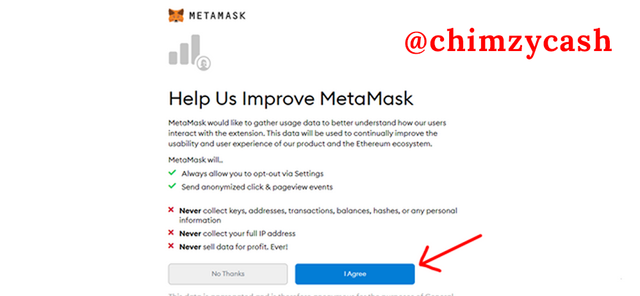
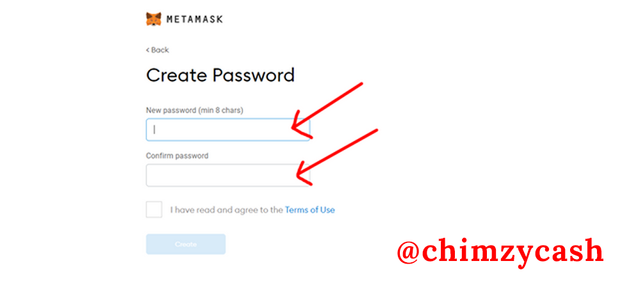
For wallet security, a strong password is needed. On the create password page, ensure to input a strong password for stronger metamask wallet security. Confirm password, tick the agree to terms of use check box and click on create
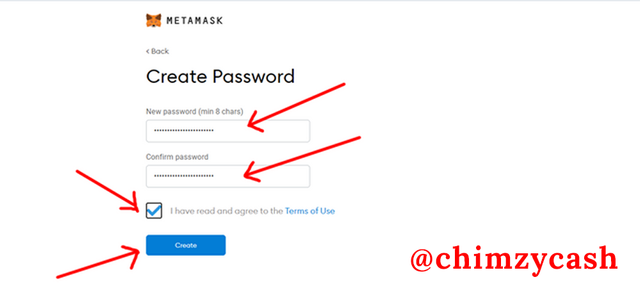
Next step is backup of the secret phrase. The seed phrase of the wallet will be displayed, reveal by clicking on click to reveal the secret words or backup seed phrase.
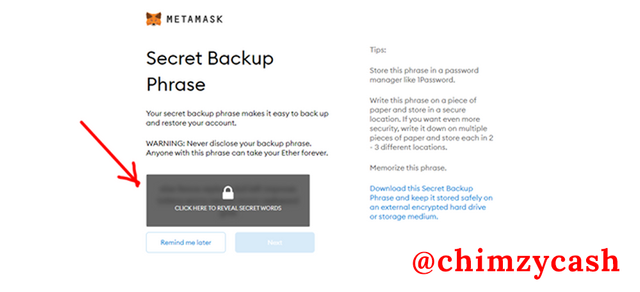
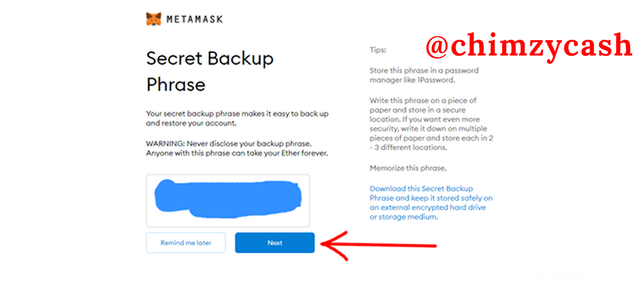
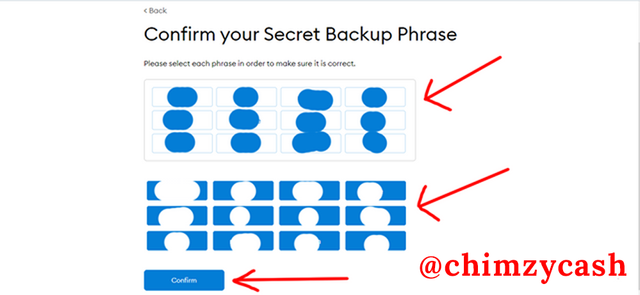
After that, the next page is to confirm the secret word or backup seed phrase.
In the secret backup phrase confirmation section, select the each phrase in their right order and after that click on confirm.
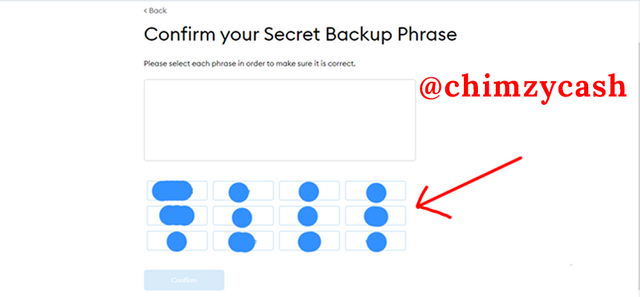
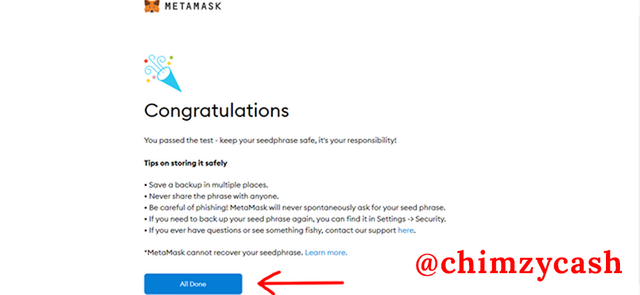
Congratulations, the setup of the metamask wallet is completed. Click on all done to exit.
Configuring Binance Smart Chain Mainnet on Metamask wallet
Binance smart chain does not come by default on metamask, only ethereum mainnet. The binance smart chain has to be manually configured. This is a simple process.
To configure the binance smart chain mainnet on metamask wallet, click on the ethereum mainnet dropdown at the top of the wallet.
.png)
Next, click on add network to proceed to the page to input the configuration settings.
.png)
After inputting the configuration settings, click on save to save it on the metamask wallet.
.png)
Done, the Binance Smart Chain Mainnet has been added to metamask.
.png)
