So your laptop’s hard drive is full and you need to get an external HDD as soon as possible but unfortunately you don’t have enough cash to get one, but then you have an old pc that’s probably not working well stashed somewhere with its hard disk still intact. Do you know you can use the old hard disk as an external drive? I bet you didn’t. Most people don’t know this and they probably have old pcs in their homes and maybe their offices too. Making use of the old hard drive saves you the cash you would have spent in getting an external hard disk. So now I’m going to show you how you can easily convert your old hard disk into an external drive for backing up and storing your files.
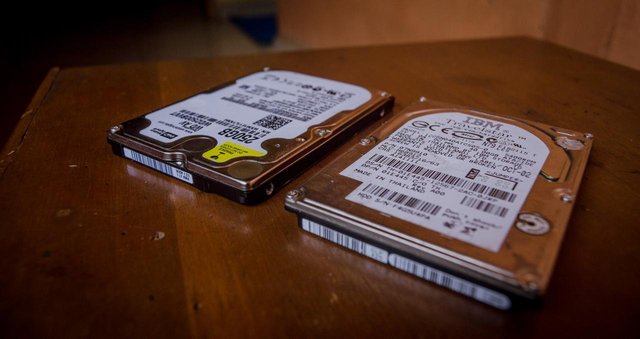
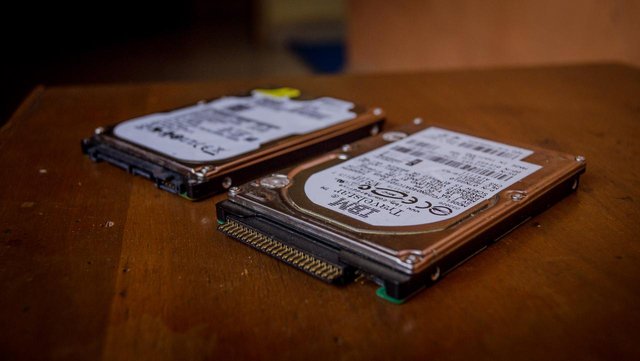
Many persons do not know what an external Hard disk is until their current hard disk is full. So before we begin lets know what an external hard disk is.
What is an external hard drive?
An external hard drive is a storage device used to store and back up files on a computer via a USB cable or wirelessly. External hard drives have high storage capacities like the normal hard drives found in computers.
Before we begin we need an external hard drive casing. You can get this easily online. They come in different colours and shapes. When purchasing an external hard drive casing, make sure you get one that is padded. This will protect the disk whenever it accidently falls.
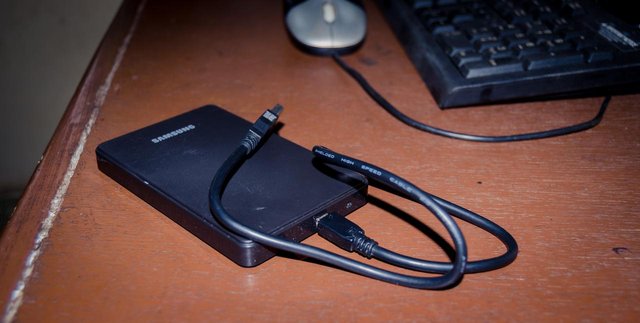
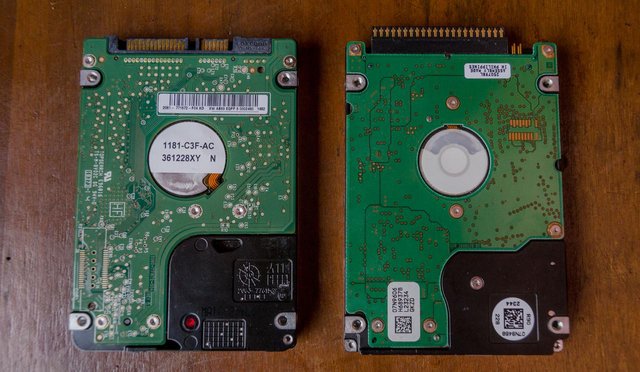
I just got an external case online and this one is quite the common type so I’m going to use it to illustrate how to use an old HDD as an external hard drive and also the hard disk I would be using is a SATA hard disk pulled from an old dell pc. If the old pc you have is quite very old, the hard drive inside may not be a SATA type but IDE. This means you need to get an IDE hard disk case. The image below show the difference between the two types of drives which is their connection points..
So now let's begin
Step 1
Locate and remove the hard drive form the old pc.
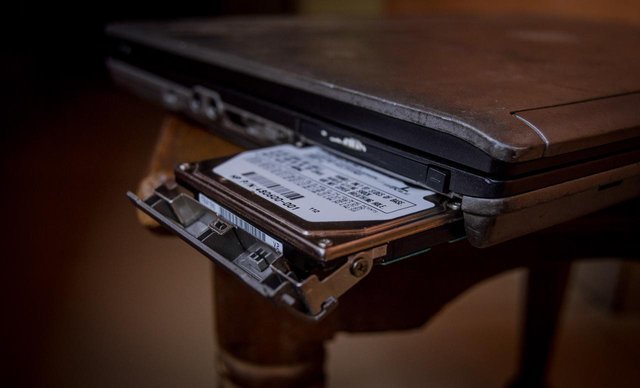
Step 2
Open the case and carefully slot the hard drive into it.
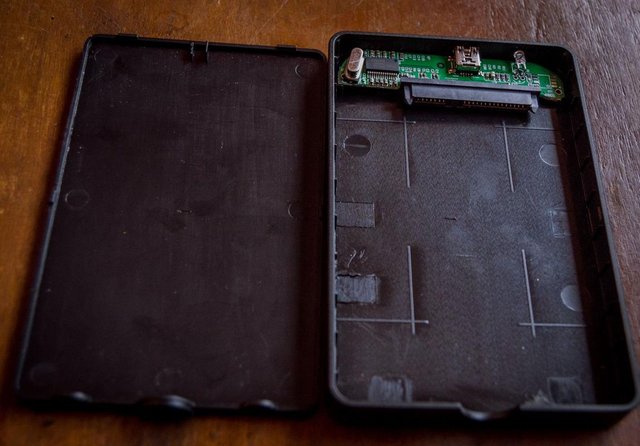
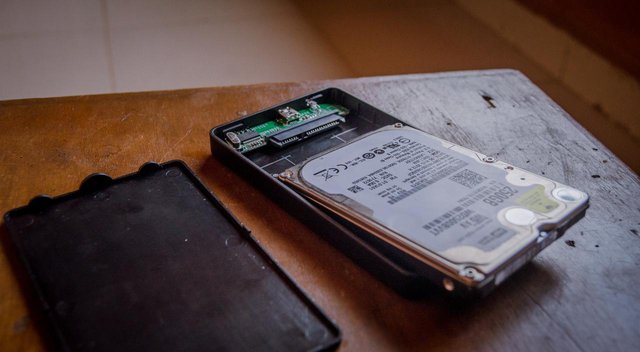
Step 3
Now close the case and plug its USB cable to your Pc, it should show a blue light to indicate that its connected after which the light starts going on and off repeatedly to show that the drive is working and functioning properly.
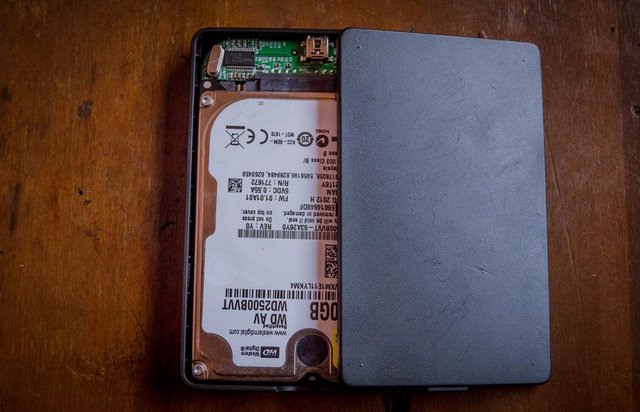
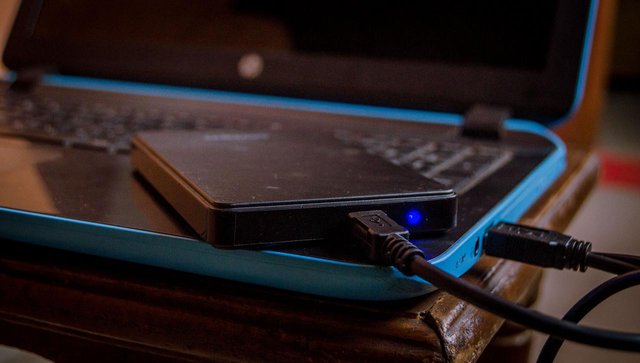
That’s it. Easy and simple. Mounting an IDE disk in its casing is quite easy and simple too.
Make sure your new external hard drive does not fall, this could spoil the disk and you could lose all your files. So always keep it in a safe place.
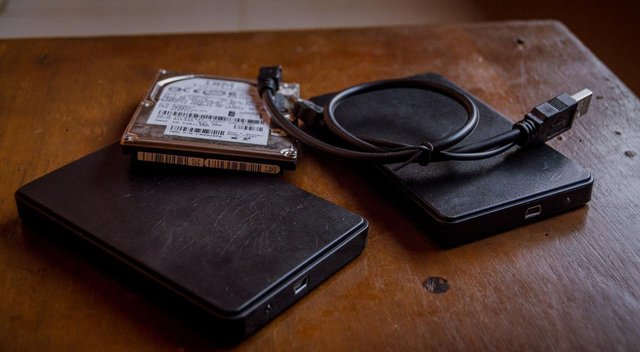
All images here are my original works shot with my Nikon D5100 DSLR camera.
This is my first post about computer related stuff and I hope it was helpful. My photography stuff takes up most of my hard drive space, what takes up yours? let’s talk in the comments.
This is probably something everyone will end up having to do one day, so heads up to you for jumping the gun and teaching everyone the ropes.

Cool man!
Downvoting a post can decrease pending rewards and make it less visible. Common reasons:
Submit
I'm glad you find this useful. Thanks.
Downvoting a post can decrease pending rewards and make it less visible. Common reasons:
Submit
Nice, now i can use my old hard drives
Thanks for the tutorial
Downvoting a post can decrease pending rewards and make it less visible. Common reasons:
Submit
I've done this so many times over the years with broken laptops. The one thing that I would add is to be careful which case you buy. The cheaper ones tend to be just that; cheap. Hard drives are delicate, so a more sturdy case will always be a better choice.
Great article btw.
Downvoting a post can decrease pending rewards and make it less visible. Common reasons:
Submit
Thanks for stopping by. And yes, the cheap ones fail over time but could last long if you treat them with great care buh it's safer to get a sturdy case that has a pad around it.
Downvoting a post can decrease pending rewards and make it less visible. Common reasons:
Submit
very handy thing! where to find it?
Downvoting a post can decrease pending rewards and make it less visible. Common reasons:
Submit
Just go online, you'd get them. Check ebay or aliexpress.
Downvoting a post can decrease pending rewards and make it less visible. Common reasons:
Submit
A really good explanation I really appreciate this one Man
Downvoting a post can decrease pending rewards and make it less visible. Common reasons:
Submit
Indeed you are an engineer 😏
Downvoting a post can decrease pending rewards and make it less visible. Common reasons:
Submit
Wow great explanation, this will come In handy :)
Downvoting a post can decrease pending rewards and make it less visible. Common reasons:
Submit
Thanks @xr-hammergaming, mehn that's a long username😂.
Downvoting a post can decrease pending rewards and make it less visible. Common reasons:
Submit
Haha yes it is, It's my gaming name Ive used for years lol
Downvoting a post can decrease pending rewards and make it less visible. Common reasons:
Submit
Nice .. thanks for sharing
Downvoting a post can decrease pending rewards and make it less visible. Common reasons:
Submit
This sounds so simple that in my head I'm thinking to myself "why did I not think of this before"
Thank you for this post!
Small question, what are the read/write speeds like? Is it more limited by the USB (2/3/3.1) speeds or the HDD rpm speeds?
Downvoting a post can decrease pending rewards and make it less visible. Common reasons:
Submit
Well both USBs and hdd rpm speeds play a major part in hard disk drive speeds. A solid state drive (ssd) connected to a usb 3.0 port can have a write speed of up to 250mbps while a 5400rpm hdd while still connected to a usb 3.0 may have a write speed of 45mbps so the external hard disk drive speed may be higher depending on the HDD rpm speeds. Usb ports also have a part to play in write/read speeds. If a 5400rpm hdd averages 45mbps on a usb 3.0 port, its write speed would also reduce to about 22mbps. I hope this is helpful bro. Cheers..
Downvoting a post can decrease pending rewards and make it less visible. Common reasons:
Submit
Yeah, very helpful!
Thanks for the info!
Downvoting a post can decrease pending rewards and make it less visible. Common reasons:
Submit
Have a few HDD's lying around, never thought about doing this. Would be an excellent solution for some of my retrogaming back-ups. Thanks for the tutorial!
Downvoting a post can decrease pending rewards and make it less visible. Common reasons:
Submit
I'm glad you find this helpful. I use most of my HDDs for backing up my heavy games like CODs, quantum break and mortal kombat X. They were taking up too much space.
Downvoting a post can decrease pending rewards and make it less visible. Common reasons:
Submit
Great tutorial. Wonderf way to get some extra life out of those old drives.
Downvoting a post can decrease pending rewards and make it less visible. Common reasons:
Submit
Nice!
I haven't done this in a long while but have been meaning to now that a lot of TVs have USB ports and everything. I was also thinking it would be good for those media boxes (like Kodi boxes without Kodi), can have that set up for a media center instead of hooking up an old laptop.
Downvoting a post can decrease pending rewards and make it less visible. Common reasons:
Submit
Nice post man, i learnt alot.
Downvoting a post can decrease pending rewards and make it less visible. Common reasons:
Submit