
I recently read a post about 3d printers, and since I've got mine running again, I thought I'd walk through the steps necessary to make a 3d printed Steemit keychain.
Step 1: Make a vector file of the Steemit logo
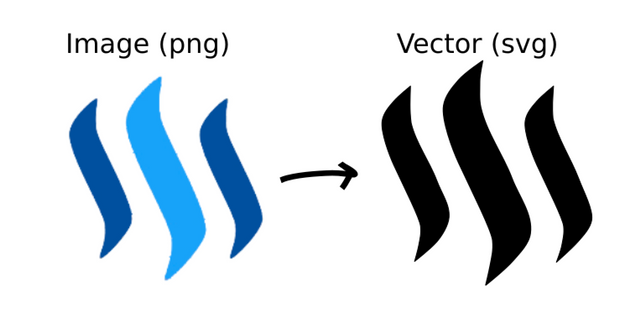
I use Inkscape for my vector designs because it is free and open source. Using the Bezier Curves Tool you can get a very good copy of the logo.
Save this file as a .svg file.
Step 2: Import the vector file into a 3d print modeling program
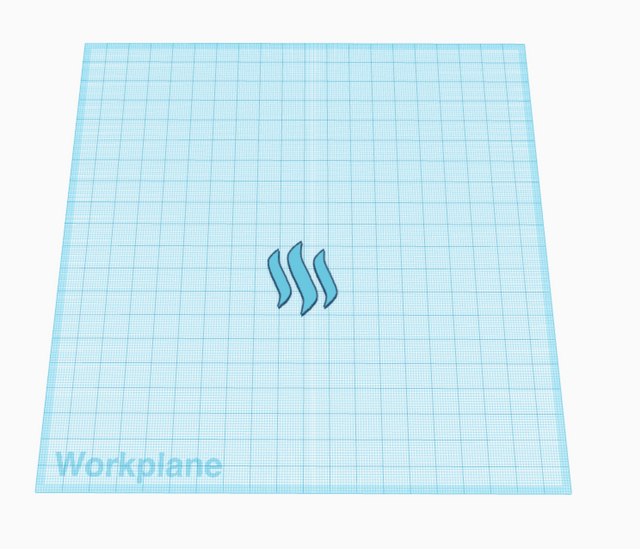
I use Tinkercad because it is free and very user friendly. I have also used Hexagon, and my skilled friends use Maya.
You can import an SVG and get cracking on the design immediately.
Step 3: Make a quick design and print
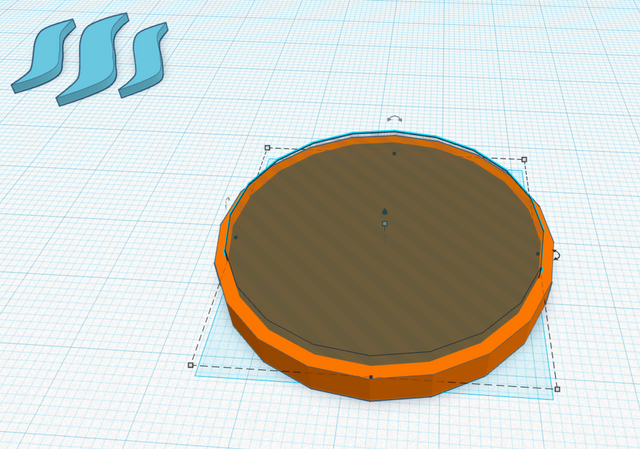
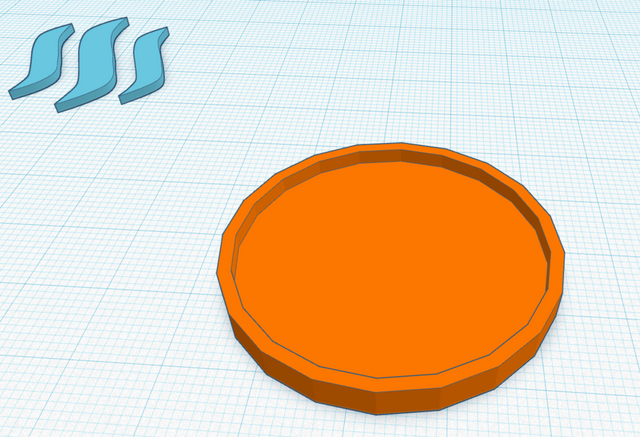
To make the coin, I take a cylinder and make it 4mm x 40mm diameter.
I then use a 2mm x 37mm cylindrical hole to prepare the area where the logo will be removed.
At this point I can just use the imported logo, covert it to a hole, then cut out the logo shape. Or I can texture the thinner part of the coin.
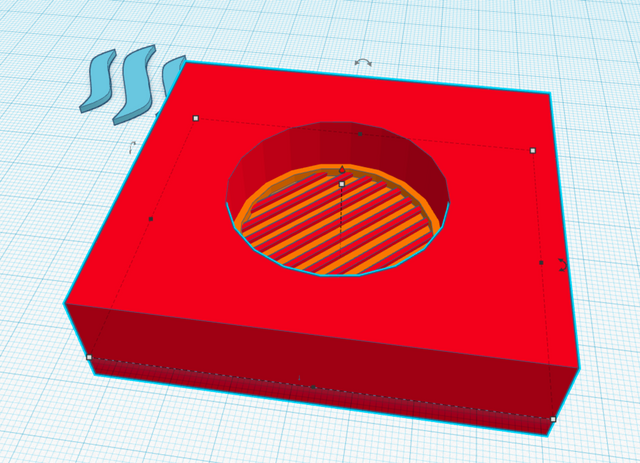
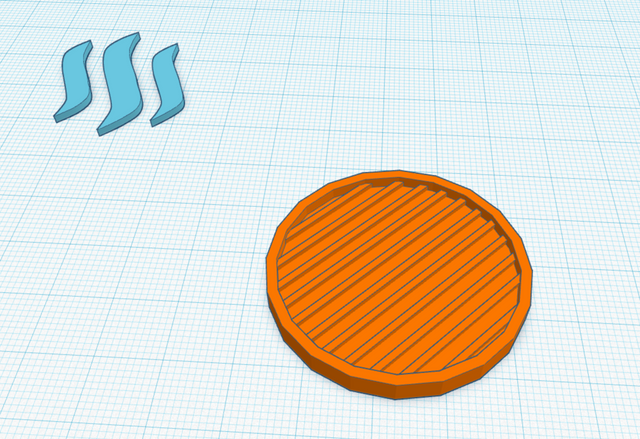
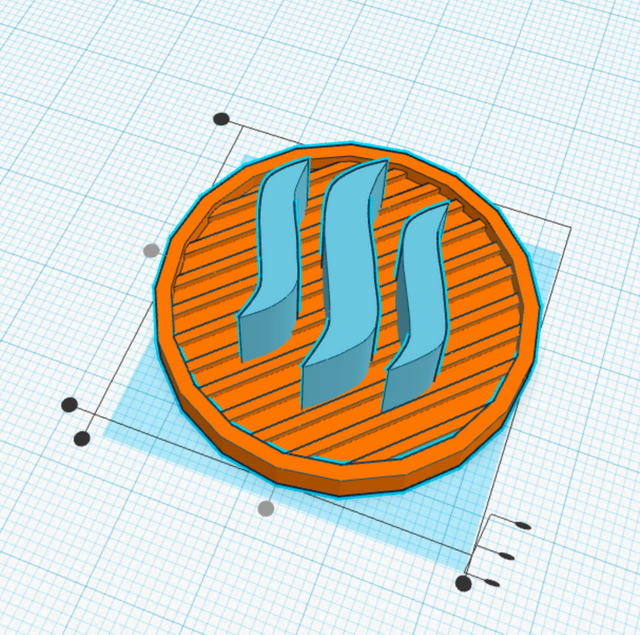
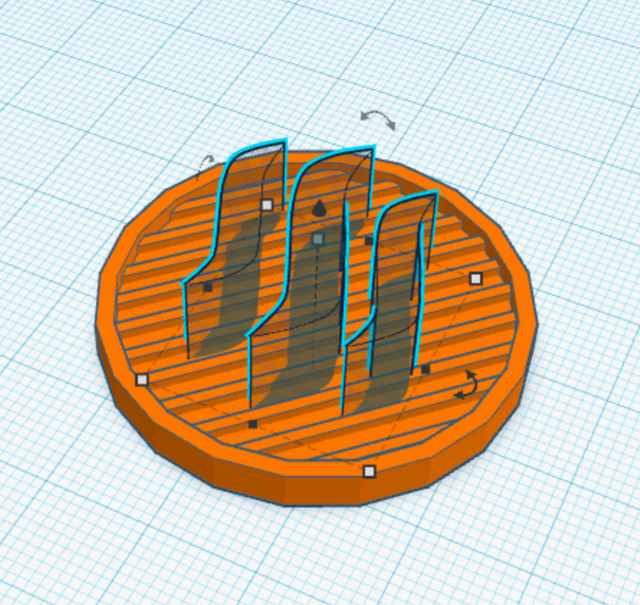
The part only needs an additional hole (I chose a 3mm diameter hole) at the top and it is ready to print.
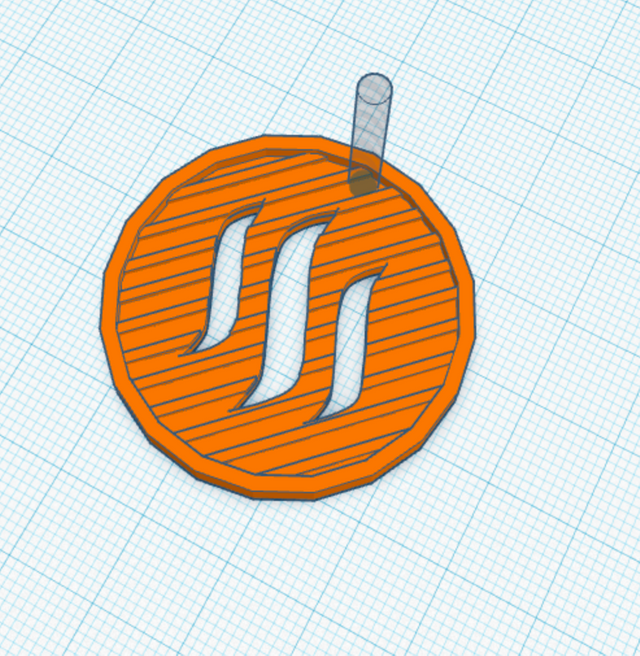
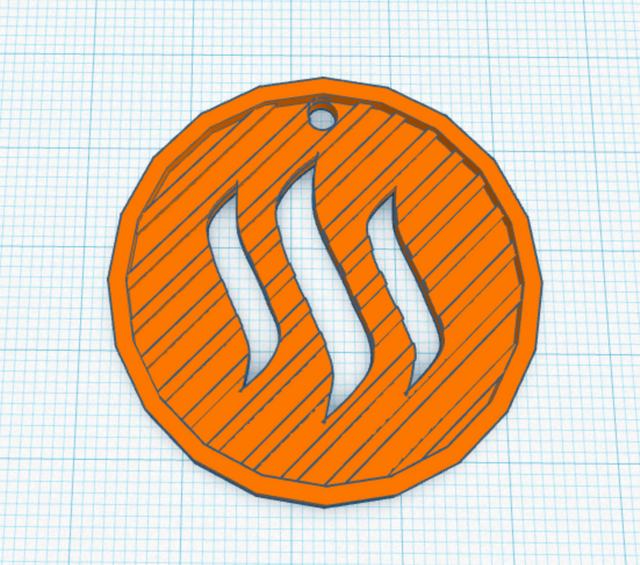
This design is neat because it allows you to use it as a stencil or even as a cookie cutter.

Edit: I've adjusted this design to have a 4.5-5mm hole at the top so it can slide on the ring I have.
Thanks for creating http://www.steemimg.com , @blueorgy !
Nice Job! ;)😄😇😄

Downvoting a post can decrease pending rewards and make it less visible. Common reasons:
Submit
This is great! And I'd never heard of Inkscape, which looks AMAZING.
Downvoting a post can decrease pending rewards and make it less visible. Common reasons:
Submit
I use it with my stylus as well.
Downvoting a post can decrease pending rewards and make it less visible. Common reasons:
Submit
I like the simple process that you used to make the keychain! Cool stuff!
Downvoting a post can decrease pending rewards and make it less visible. Common reasons:
Submit
It's very interesting post and very beautiful!!
I follow you now :))
Downvoting a post can decrease pending rewards and make it less visible. Common reasons:
Submit