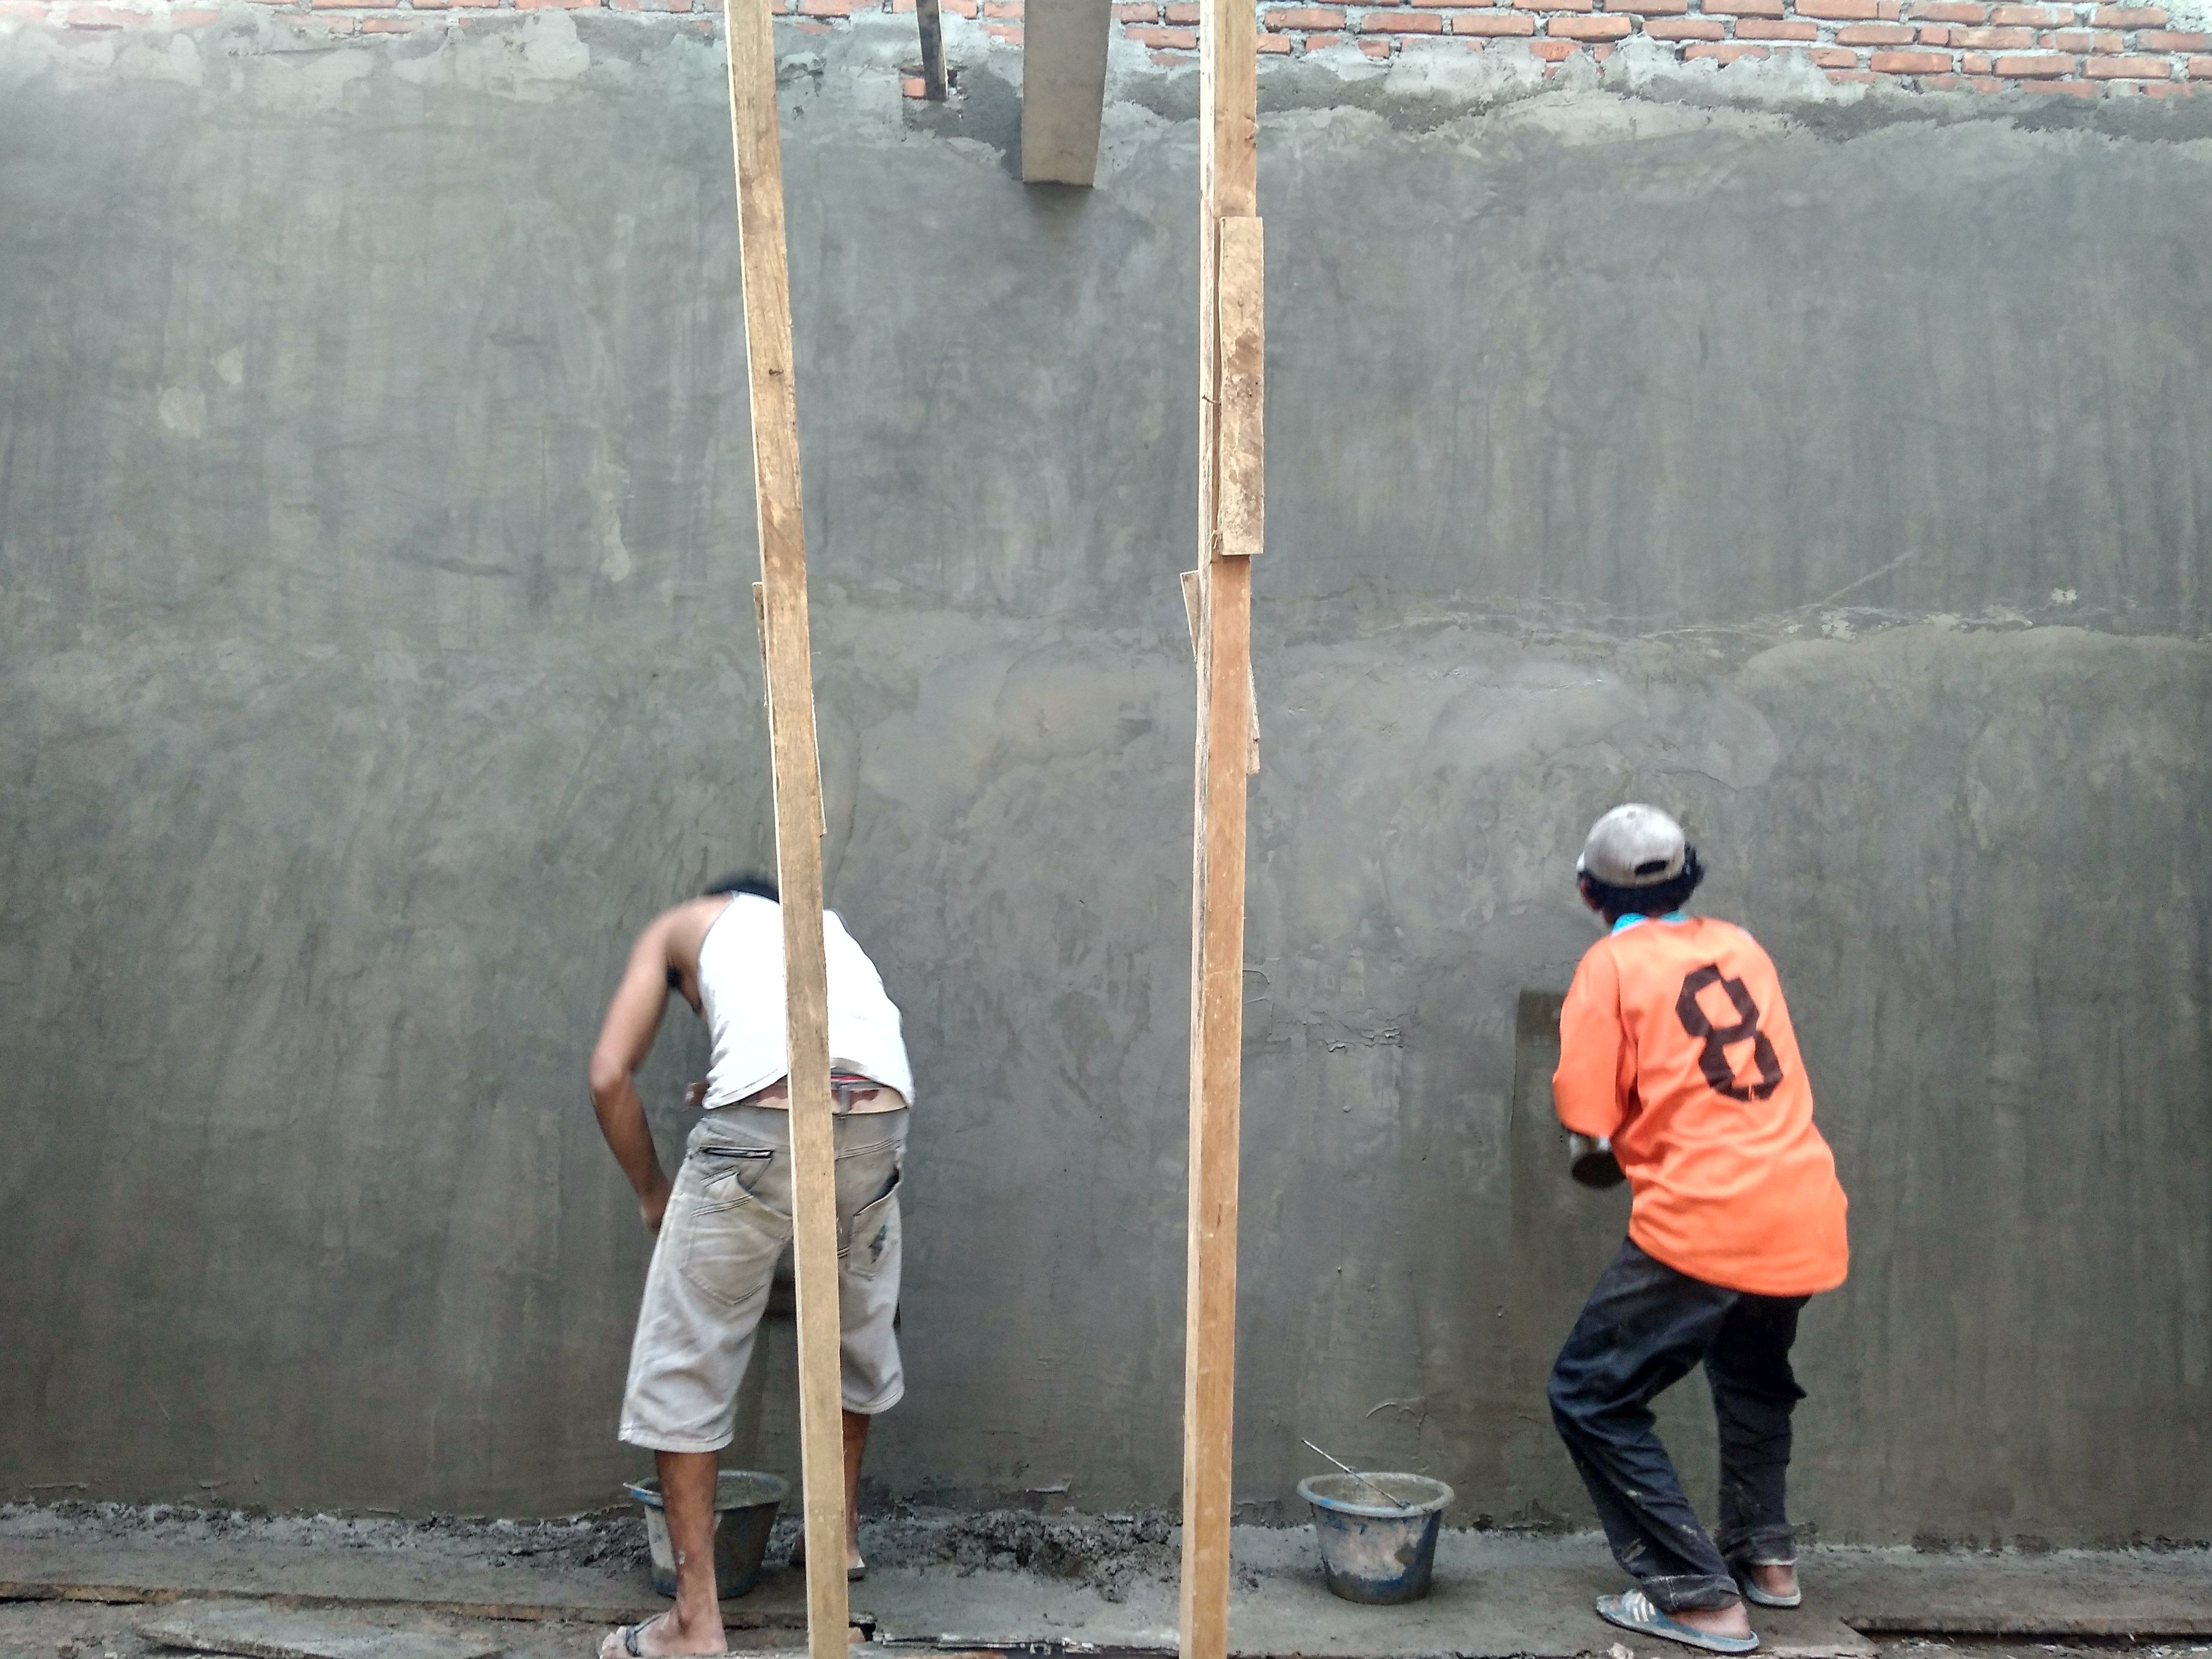
How to plaster the right wall? Plastering is the work of pasting mortar to the wall to make the surface flat. The material used in plastering is mortar (plaster) made from a mixture of cement, sand, and water. In terms of construction, the application of plaster will increase the strength of the wall and protect it from extreme conditions.
The main purpose of plastering the walls is to make the surface more neat, clean, and beautiful. Plaster can also increase the strength of the walls and conceal defects that may arise, and protect the walls from extreme weather and climate conditions. With the plaster, the wall surface is also not quickly dirty, easy to paint, and easy to clean.
Based on the ingredients of plastering, plaster can be divided into 3 kinds of plaster cement, lime plaster, and clay plaster. The cement plaster is made by mixing cement and sand using a ratio of 1: 3, 1: 4, or 1: 5. The lime plaster is a plaster of lime and sand, in which the used lime is processed first. While clay plaster derived from clay mixed with straw or cow dung, and usually applied to traditional houses.
Below is full instructions from arafuru.com on how to plaster the wall correctly.
Tools and materials :
- Cement
- Sand
- Water
- Triplek
- Small wire (optional)
- Yarn
- Roskam
- Jidar
- Meter
- Bucket
- Cetok
- Cement cement paper
- Stairs
Steps:
- Establish the walls of buildings by arranging bricks or bricks in such a way according to the planning that has been determined. Make sure the wall is installed in a position that is really upright. The reason this is a big effect on the quantity of mortar needed, where a neat wall is more efficient than a bent wall.
- Make a plastering mixture of sand, cement, and water with a comparison to the specifications of the building you want to make. Do not forget to note also the example of the suggested mortar on the packaging of cement sack. The use of the right building material composition will produce high quality plaster mortar.
- Before the process of wall plastering begins, you can moisten the wall with enough water to saturate the condition. In this way, the mixture of plaster becomes more easily attached to the surface of the wall.
- Prepare the wall to be plastered by spreading the vertically upright bobbined thread. This thread is intended to limit the work space on the wall so that we can focus on one area at a time. The recommended thickness is about 1.5-3 cm while still taking into account the mean factor and upright of this yarn.
- The above steps can be repeated until all the brick walls that have been built covered by plaster. In stretching the yarn as a work-room divider, you should take a width of 1 to 1.5 meters so that the engraving can be more focused. Meanwhile, to ensure the surface of the plaster is completely flat, always use jidar regularly. Avoid working in a hurry because it will definitely produce poor quality plaster.
- Perform water watering on all walls that have been plastered for 7 days in a row. It is intended to increase the density of plaster and prevent the occurrence of cracked walls. Once the condition has dried up, you can start a shoe work to smooth the surface of the wall.
Happy working!