 Tutorial

What Will I Learn?
As part of the "Space Invaders" clone, I'm building as part of the beginners set of tutorials, I decided that I needed to wrap Sprites across the borders of the screen; i.e. much like Asteroids, where the rocks float over one edge and appear on to the other.
In Godot Engine, this requires a little trickery! I've created a solution that I'm happy to share with you.
This tutorial will show you how the problem is solved and will give you a Generic Sprite Scene that you can reuse in your own games!
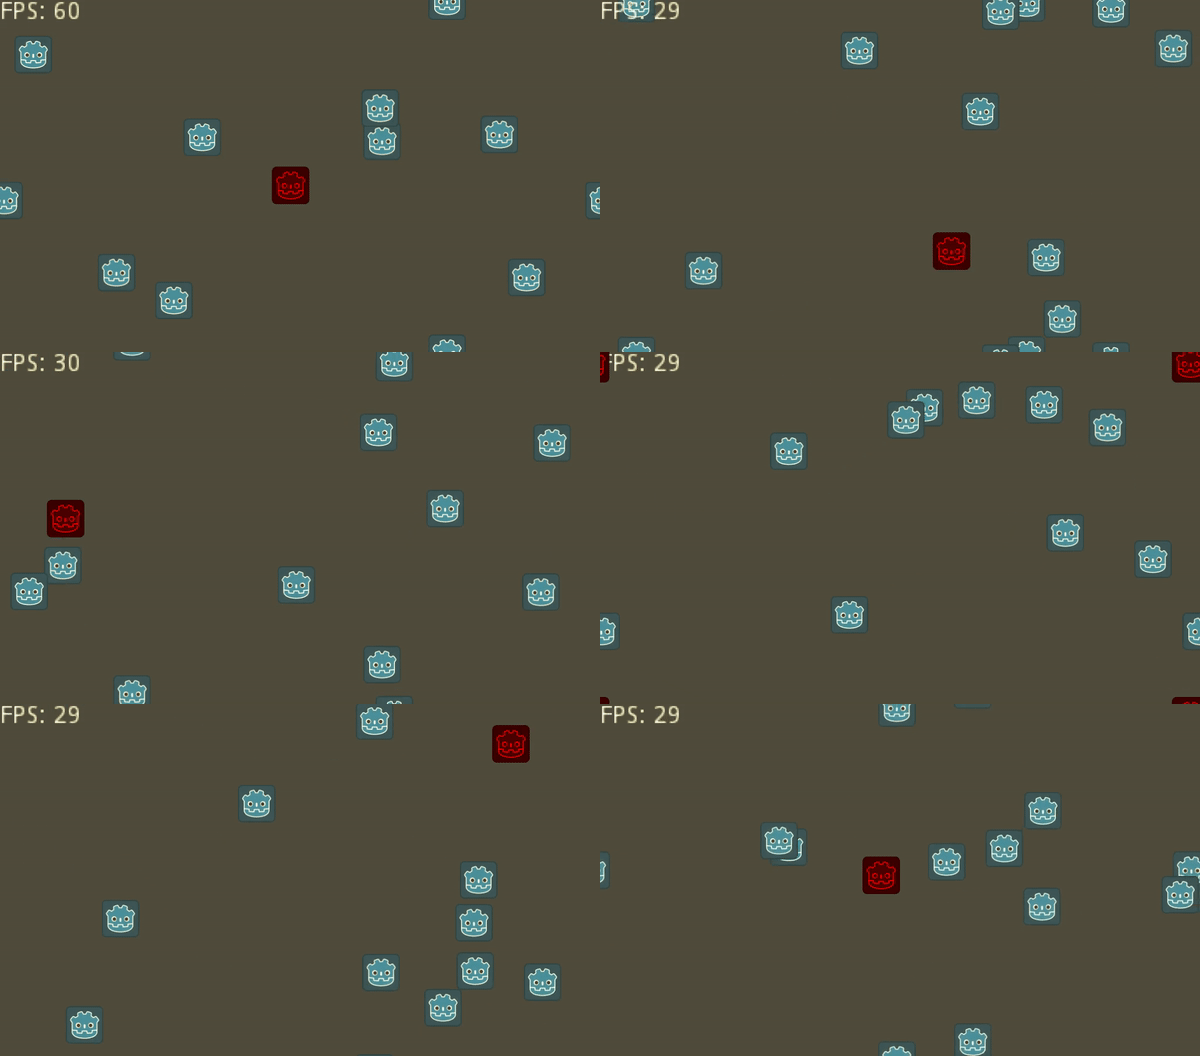
Note: the recording method records at 30fps
Assumptions
- You have installed Godot Engine v3.0
- You are familiar with GDScipt
You will
- Learn why screen wrapping was required
- Learn how screen wrapping would work
- Learn how to implement the wrap
Requirements
You must have installed Godot Engine v3.0.
All the code from this tutorial will be provided in a GitHub repository. I'll explain more about this, towards the end of the tutorial.
Screen wrapping (an overview)
For the Clone we are creating in the Tutorial, I decided that the Player and Invaders should seamlessly wrap around the screen and automatically for me, i.e. when the Player touches the left border, they start to emerge on the right:
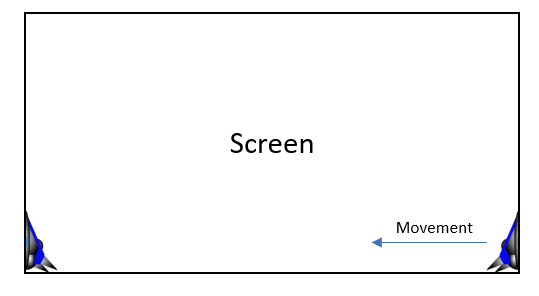
I originally intended for the Player ship to be restricted to the borders of the screen; however, following playtesting, I discovered wrapping to the other side of the screen would enable the player to escape attacks! This is an extremely useful feature of the game!
Further to this, I also thought it would be nice visually, if the Invaders wrapped horizontally and vertically; especially when they reverse directions.
How would screen wrapping work?
I knew I would be wrapping Sprites, therefore I decided what I wanted was a customised, generic and extended version of the Sprite class.
As the Sprite reaches a border, a new duplicate Sprite would be created and placed on the other side, either Horizontally or Vertically:
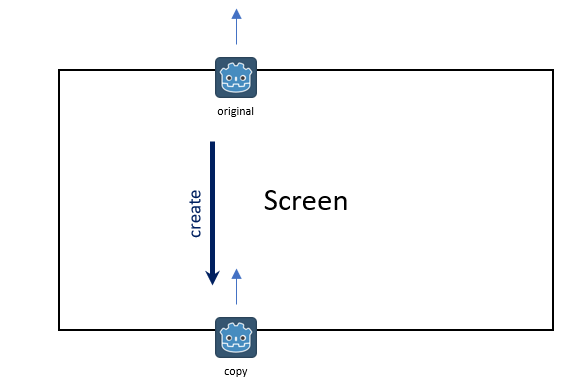
As can be seen above, when the 'original' Sprite reaches the top border, a copy is created at the bottom.
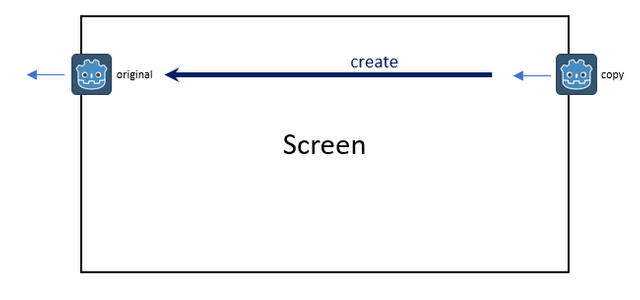
This is true in the Horizontal direction too; as the original Sprite reaches the left border, a new Sprite is created on the right.
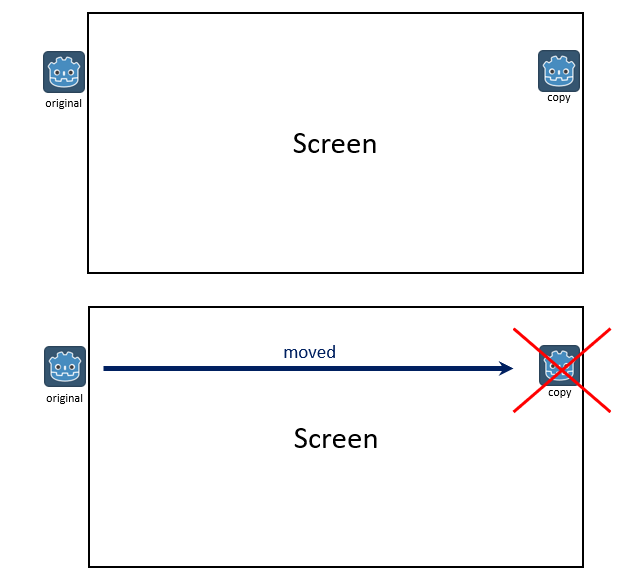
At the moment the original Sprite exits the left-hand side (is fully offscreen), it is repositioned over the copy, and in turn, the copy is removed; giving the illusion that the Sprite was wrapped around the screen!
One final 'special' situation has to be considered:
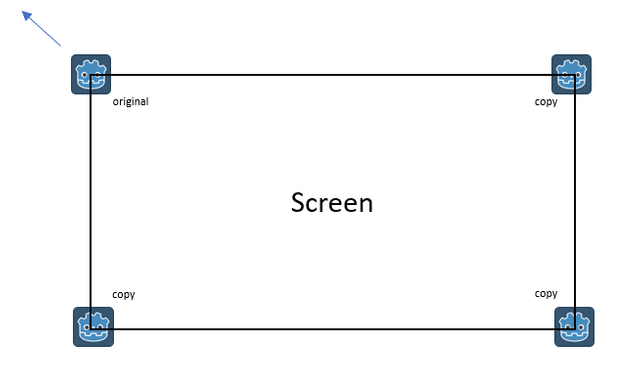
It is possible for the original Sprite to move into the corner, which requires a copy to be added Horizontally, Vertically and into the opposite corner!
The implementation
Given I expect you to be competent Godot Engine developer with GDScript knowledge, I'm not going to explain the code line by line.
I have added comments to the GitHub copy.
Instead, I'm going to summarise the implementation design, provide details on things of note and explain how to use it!
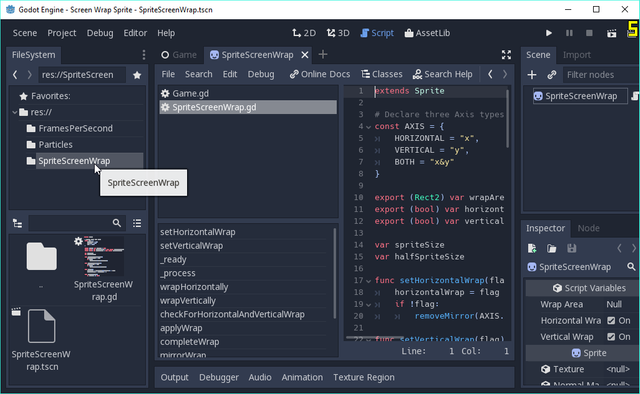
In the project, there is a folder named SpriteScreenWrap and inside is a Scene SpriteScreenWrap.tscn. This can be seen in the above screenshot.
The Sprite Scene script extends the Sprite. Please look through the code's comments and you should be able to follow its design.
In essence:
- It requires the wrapArea Rect2 to be set (i.e. position start at X & Y as well as size W & H).
- When it is added to the scene tree, it calculates the Sprite's size and half size once and caches it.
If you need to change the texture, you will need to ensure these sizes are recalculated!
- You position the Sprite where you like in your game, via position or global__position as usual.
- At every game frame, the Sprite checks whether wrap is occurring and automatically creates the child copies for you!
- The position of the Sprite is changed to the wrapped side automatically for you; therefore you should never manage the X & Y positions outside the class; i.e. use its position and _global__position variables
To use this in your game, just move the entire SpriteWrapScreen folder into yours and then add instances of the SpriteWrapScreen scene! Don't forget to set the area size and toggle in which Axis the wrapping should occur!
Game Scene
The example code provides a Game Scene:
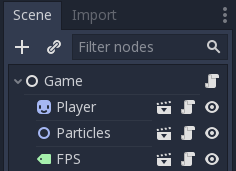
Here, there is a Player sprite (Red) that is controllable by the Cursor Keys. It will move and wrap as you would expect.
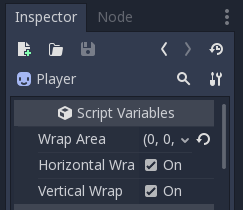
IMPORTANT NOTE: please look at the Inspector Script Variable settings for the Player. I've set the Wrap Area to the screensize and left both Horizontal and Vertical wrapping enabled. Try playing with these settings!
There is also a Frames Per Second (FPS) scene, that I drop into games so that I can see how well it is performing. It simply add's up delta time and updates the frames per second every second.
Finally, there is a Particles scene, which will add a set of random moving Sprites for you! Again, check the Inspector Script Variables, as it enables you to change the number to generate and the area for them to roam. The code has been annotated too!
Here's a snapshot of the Invaders game with the new Wrapping Sprite added:
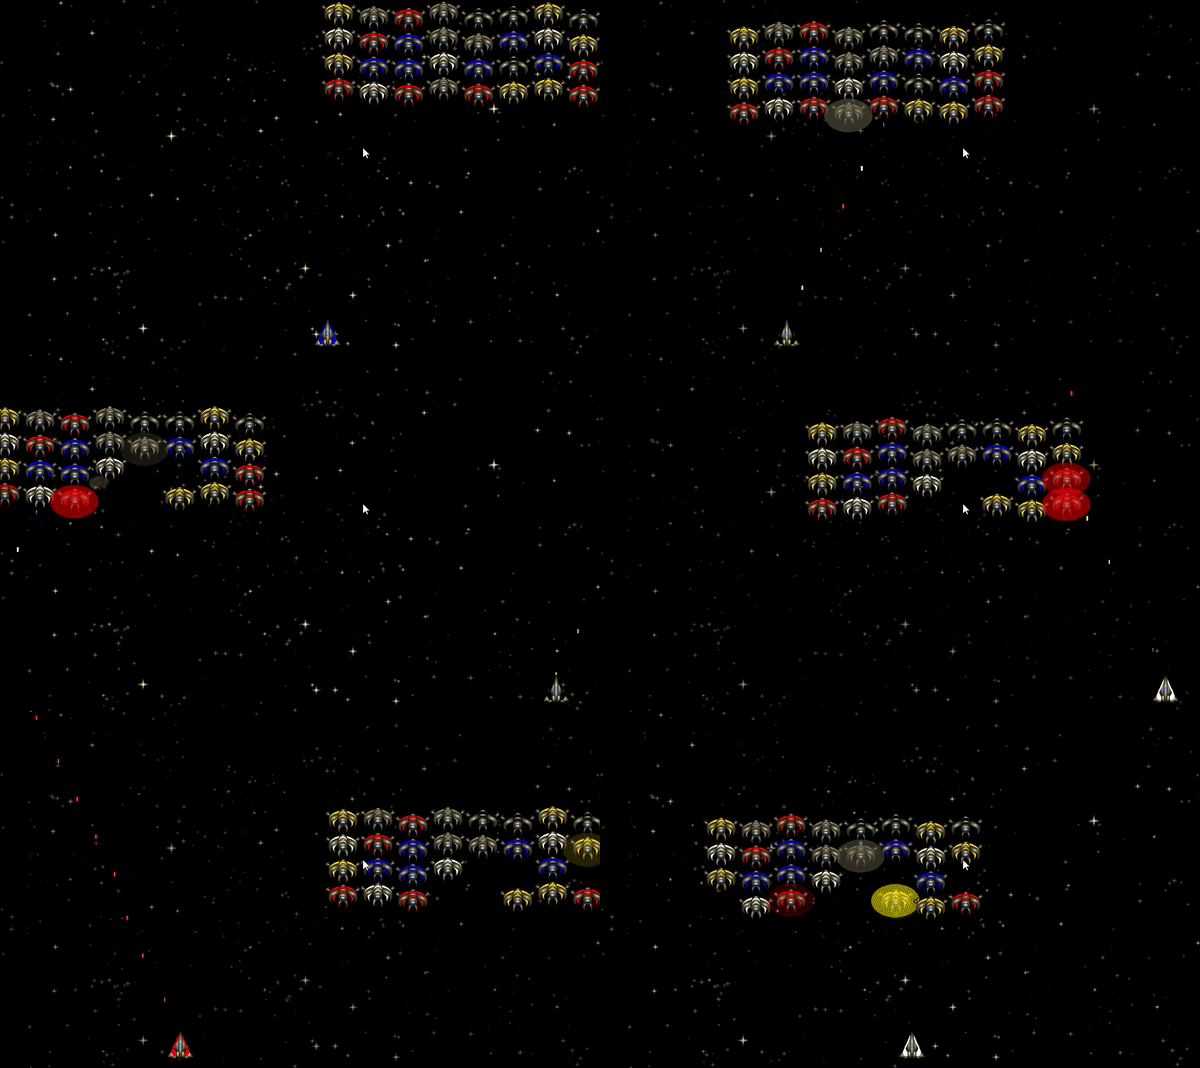
Please note: the recording process destroys the smoothness of the game!
Finally
That concludes this article. I will continue to build the "Space Invader" clone as part of the tutorial, but with this new Sprite as the basis for all Sprites, thereby using all the available screen.
Don't forget to check out the game on itch.io. I'm publishing the game in advance of tutorials, so it is worth you checking it out periodically! You'll be able to guess what is coming up in my posts!
Please do comment and ask questions! I'm more than happy to interact with you.
Sample Project
I hope you've read through this Tutorial, as it will provide you with the hands-on skills that you simply can't learn from downloading the sample set of code.
However, for those wanting the code, please download from GitHub.
You should then Import the "Screen Wrap Sprite" folder into Godot Engine.
Other Tutorials
Beginners
Competent
Posted on Utopian.io - Rewarding Open Source Contributors
Thank you for the contribution. It has been approved.
You can contact us on Discord.
[utopian-moderator]
Downvoting a post can decrease pending rewards and make it less visible. Common reasons:
Submit
Thank you Roj
Downvoting a post can decrease pending rewards and make it less visible. Common reasons:
Submit
we need to learn everyday ALWAYS................
Downvoting a post can decrease pending rewards and make it less visible. Common reasons:
Submit